Chapter 1 Starting the Administration GUI and Logging In
This manual provides the instructions and information you need in order to configure and manage the SunScreen firewall. The main part of the manual describes how to do these tasks using the administrative graphical user interface (GUI). Appendix A describes how to configure and manage the firewall using the command line interface. The various features of SunScreen and the theory behind SunScreen are discussed in the SunScreen Reference Manual.
This chapter provides basic information you will use throughout the book. It assumes that you have already installed the Administration Station and Screen software using the SunScreen Installation Guide.
This chapter describes:
Terms Used in This Book
To manage the SunScreen firewall effectively, you need to know what certain terms mean. A few of the basic terms are defined below. Other terms will be defined throughout the book when they are first used. All terms can be looked up in the Glossary in the back of this manual, just before the index.
A Screen is the system running the firewall software. An Admin Station is a system used to configure and administer the Screen. An Admin Station can be attached locally to the Screen or it can exist at a remote location on your network or across the Internet.
Common Objects are the smallest unit that you define on a Screen. Common Objects include items like the addresses of networks and individual hosts, different services (network protocols), and the usernames of people authorized to administer the Screen.
Policy Rules are the individual rules that make up a Policy (see following explanation). Policy Rules describe the relationships between the Common Objects (for example, hosts that can communicate with each other). There are four types of policy rules:
-
Packet Filtering rules describe network traffic flow policy.
-
Administrative Access rules describe who can access the Screen and what they can do once they access it.
-
Network Address Translation (NAT) rules describe network address translations.
-
Virtual Private Network (VPN) rules describe the Screens that participate in a VPN and the hosts for which they provide the VPN.
The collection of all these relationships comprise the Security Policy.
A Policy is a named set of policy rules. When you installed the SunScreen, it created an initial policy for you, based on the information you gave it. The name of this policy is Initial. The default policy rules after a new installation are basically that everything is "open". In other words, there is no packet filtering or any other type of firewall activity going on.
Administration GUI Browser Requirements
You can use any browser that supports Java and is compliant with JDK 1.1 to configure, administer, edit, and manage the Screen. You can use Netscape, the HotJava browser, or Internet Explorer as long as the browser has the required Java support. The only restriction applies to accessing local system resources.
Note -
The Netscape Java plug-in provided with Solaris 8 is not compatible with the SunScreen applet. Therefore, in order to save log files and load certificates using Netscape, you must install the required version of the plug-in (as documented in the following sections).
Accessing Local System Resources
Because Netscape Navigator and Internet Explorer do not support the Java mechanism for applet signing, the Administration GUI cannot get access to your system's local resources (browser security mechanisms prevent this type of access.)
The operations that require access to your local system resources are:
-
Loading Certificates from a diskette
-
Backing up all Policies
-
Restoring all Policies
-
Saving Log Files
-
Loading Jar Signatures
If you do not need to perform any of these operations, you can go to "To Log In to the Administration GUI". If you need to access local system resources, you should read the following sections.
To work around local access limitation you can do one of the following:
-
Use the Java plugin.
-
Use the Hotjava browser version 1.1.
You can find versions of Netscape and HotJava as well as the required Java Plugin on the SunScreen CD-ROM.
To Install the Java Plugin
In the following procedure, you will install the Java plug-in 1.1.2, save the identitydb.obj file, then set the NPX_PLUGIN_PATH environment variable.
Note -
The identitydb.obj file verifies the signature on the Java files and must be installed on the administration station if you are using the Java plug-in.
-
Make sure the SunScreen CD-ROM is still in the CD-ROM drive, then install the Java plug-in by typing:
$ cd /cdrom/cdrom0/SunScreen/javaplugins
$ cp plugin-112i-solsparc.sh /tmp
$ cd /tmp
$ sh plugin-112i-solsparc.sh
-
Next, save the identitydb.obj file by typing:
$ cd /opt/SUNWicg/SunScreen/admin/htdocs/plugin/plugins/
$ cp identitydb.obj $HOME
$ cd
-
Now, set the environment variable by typing:
$ NPX_PLUGIN_PATH=$HOME/.netscape/plugins:$NPX_PLUGIN_PATH
$ export NPX_PLUGIN_PATH
or, if using csh:
% setenv NPX_PLUGIN_PATH $HOME/.netscape/plugins:$NPX_PLUGIN_PATH
To Distribute the identitydb.obj File
After you install the Java plugin, you may want to save the identitydb.obj file for use on other Administration Stations. To save the file:
-
Go to http://localhost:3852/plugin/plugins.
-
Use the right mouse button to save the link as a file. If your browser does not support saving a file with this method, go to /opt/SUNWicg/SunScreen/admin/htdocs/plugin/plugins to access the file identitydb.obj.
-
Save identitydb.obj on a diskette for distribution to all Administration Stations.
Copy the file identitydb.obj from the diskette to one of the following locations if it does not already exist in one of these locations.
-
$HOME on Unix systems
-
C:\WINDOWS directory for Windows 95 users
-
C:\WINDOWS\PROFILESsername for multiuser Windows 95 & 98 systems
-
C:\WINNT\PROFILESsername on Windows NT systems
If the file identitydb.obj already exists in these locations, add SunScreen as one of the accepted signers to the file identitydb.obj (see ss_addsigner man page).
To Use HotJava and Set the Default Security Level
-
Make sure the browser's directory (/usr/dt/bin/) is in your path.
-
In a terminal window, open the browser by typing:
% hotjava &
-
Click the Edit button of the browser to display the menu.
-
Click the arrow on Preferences to display the choice list.
-
Click and highlight Applet Security to display the Applet Security page.
-
Click Medium Security for both signed and unsigned applet windows.
-
Click the Apply button at the bottom of the Applet Security page to set these choices as defaults.
-
The Hotjava Security Violation window may appear when you add certificate IDs or backup or restore a policy.
-
Check Allow reading all files.
-
(Optionally) leave Allow this action checked. (This window will then appear each time you add a certificate ID or restore a backed-up Policy.)
-
Click the OK button on the Security Violation window.
-
Using the Administration GUI
To Start the Administration GUI
For Browsers without the Java Plugin
-
To Connect to a Screen with local administration, type:
% http://localhost:3852
-
To Connect to a Screen with remote administration type:
% http://Name_of_the_Screen:3852
where Name_of_the_Screen is the name of the machine running the Screen software.
For Browsers with the Java Plugin
-
To Connect to a Screen with local administration, type:
% http://localhost:3852/plugin
-
To Connect to a Screen with remote administration type:
% http://Name_of_the_Screen:3852/plugin
where Name_of_the_Screen is the name of themachine running the Screen software.
Note -HA Configurations Only: Use the name of the interface dedicated to High Availability (HA) for all HA administration. Otherwise, you will only connect to the currently-active HA host instead of the primary HA host.
To Log In to the Administration GUI
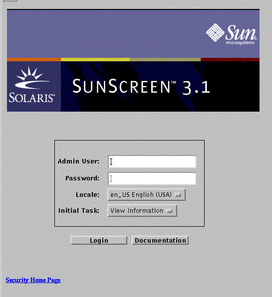
Every time you start the Administration GUI, you must log in with a username and password. The initial username and password are both admin. The Login page is shown in Figure 1-1.
Figure 1-1 The SunScreen Login Page
-
Type your user name and your password in the Admin User and Password Box.
The initial username and password are both admin.
-
Select the locale.
Currently, the only locale available is en_US (US english).
-
Select the initial task.
There are two choices for initial task:
-
View Information (Figure 1-2) shows the current status of the Screen, allows you to view and manage the logs, and shows the statistics for SKIP.
-
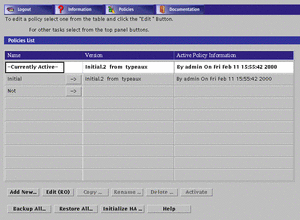
Manage Policies (Figure 1-3) allows you to create, edit, and manage SunScreen policies, policy rules, and common objects including the Admin user IDs.
Once logged in, you can move between the Information and Policies pages by selecting the appropriate task from the Administration GUI Navigation Buttons.
-
-
Select login to log in.
Note -The other button on the page opens a page to the on-line documentation.
Figure 1-2 Initial Information Page
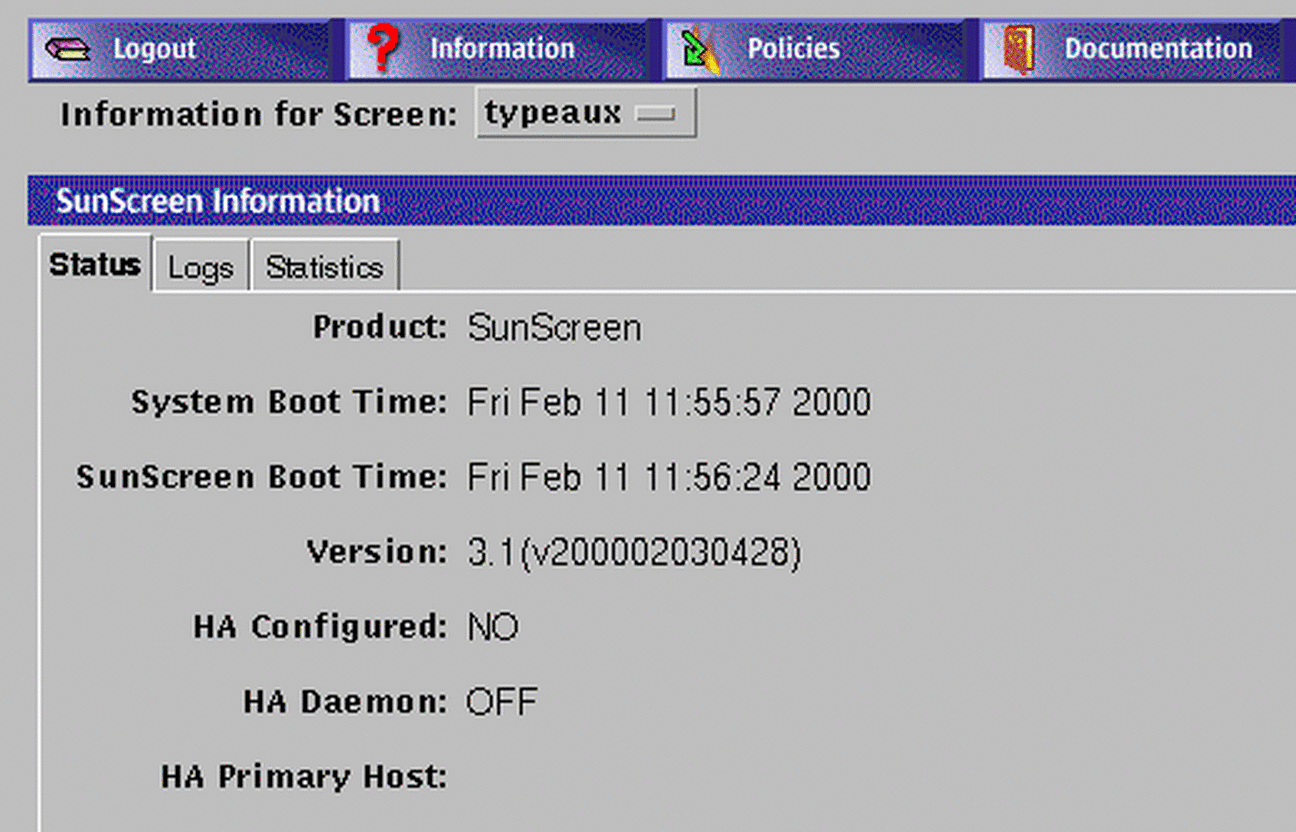
Figure 1-3 Initial Policies Page
Changing the Admin User Password
The security of the network relies on only authorized people changing the SunScreen rules. It is extremely important to change the password for the Admin User. Use the following procedure to change the password for the Admin user.
To Change the Admin User Password
-
Log in to the SunScreen using the default admin user and password, selecting Manage Policies as the initial task.
If you are already logged in, select Policies from the Administration GUI Navigation Buttons across the top of the page.
-
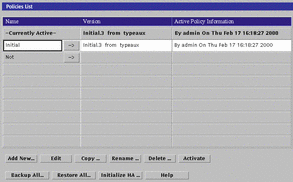
Highlight the policy named Initial from the Policies List panel of the Policy List page by clicking on it (second line from the top). Do not select the policy named Currently Active (Figure 1-4).
The buttons below the policy list become active, and the Edit button changes from Edit(RO) to Edit. (Compare Figure 1-4 to Figure 1-3.)
Figure 1-4 Selecting a Policy to Edit
-
Select the Edit Button.
A "Loading Java Applet" warning window appears during the time the Policy Rules page is loading.
-
In the Common Objects panel, set the following variables:
For Type, select Admin User, and leave the second button at Add New; For Search String, enter admin; For Search on Screen, select *; For Search Subtype, leave at All (top part of Figure 1-5).
-
Select the Search button.
At the far right of the Results choice list should be the statement 1 found (middle right of Figure 1-5.)
Figure 1-5 Common Object Panel for Admin User Search

-
Select admin from the Results choice list.
The Detail field should display the details of the admin, including the encrypted password (bottom part of Figure 1-5.)
-
Select the Edit button at the bottom part of the Common Objects panel.
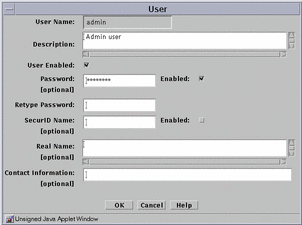
The User dialog applet should appear (Figure 1-6).
Figure 1-6 User Dialog Applet
-
De-select the User Enabled and Password Enabled checkboxes, and enter the new password twice.
If you do not de-select the checkboxes, you will not be able to edit the password.
-
When you have finished typing and retyping the password, re-select the User Enabled and Password Enabled checkboxes, then select the OK button from the bottom of the applet.
If you do not re-select User Enabled and Password Enabled, the admin user will not be active on the policies.
-
Click Yes when asked to Activate the policy.
- © 2010, Oracle Corporation and/or its affiliates
