Chapter 2 Getting Status and Managing Logs
This chapter describes the following components of the Information page in the administration GUI:
-
Viewing information
-
Viewing statistics
-
Logs
-
Setting the retrieval mode
-
Setting a Log viewing filter
-
Saving and clearing the Log
-
Altering the log file size for a Screen
Finding the Information Page
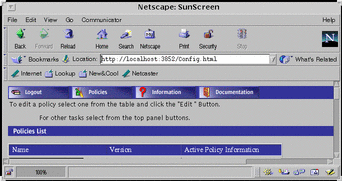
Click the Information button in the SunScreen banner (shown below) to view statistics, logs and otherinformation such as product, system boot time, SunScreen boot time, version, and information about High Availability.
Figure 2-1 SunScreen Banner

To View Status Information
-
Click the Information button in the SunScreen banner.
The Information page appears.
-
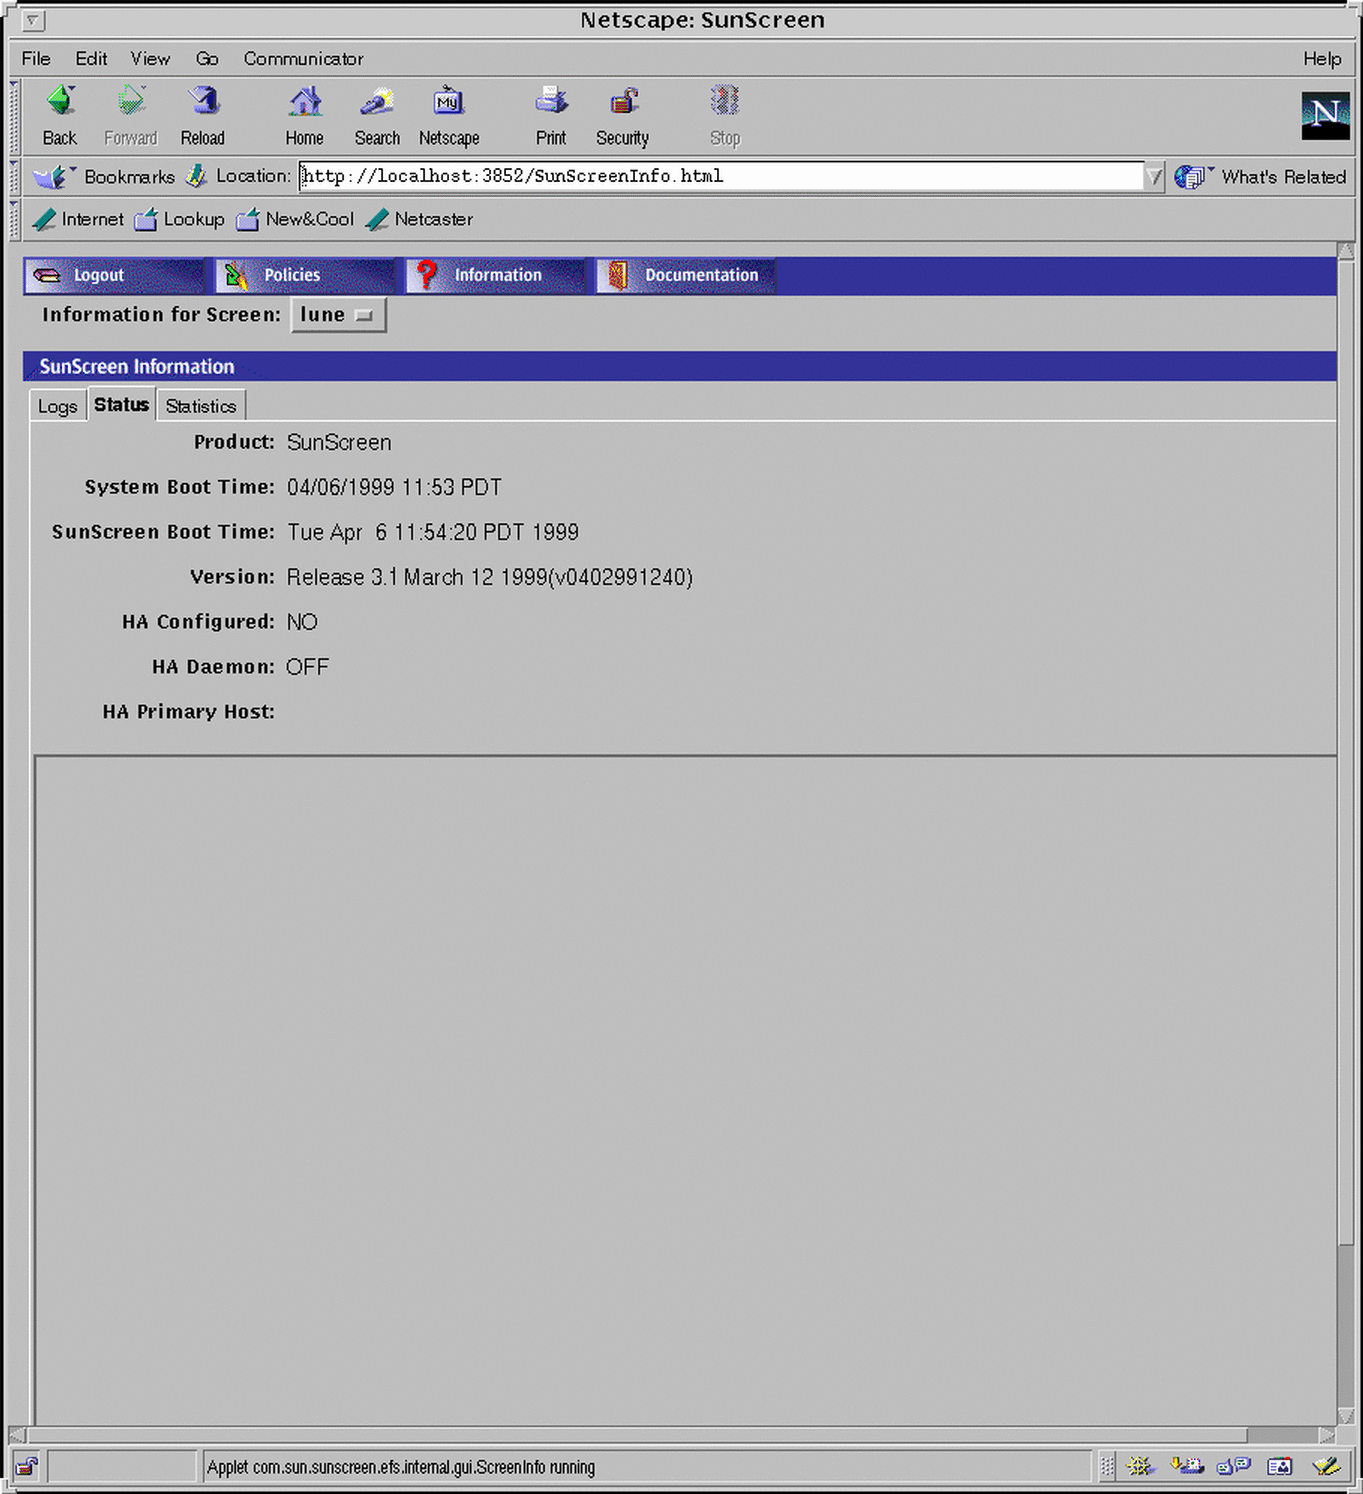
Click the Status tab.
The Status page displays.
Figure 2-2 Status Page

The Status page shows SunScreen product information as well as HA configuration information.
Viewing Statistics
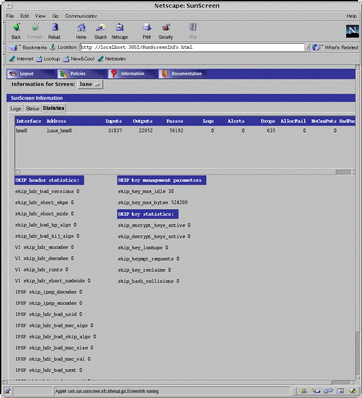
The Statistics area shows the traffic statistics for each network interface as well as the SKIP statistics. The various fields for the interface, SKIP key management, SKIP key statistics, and SKIP header statistics are described in the SunScreen Reference Manualmanual.
To See the Statistics
-
Click the Information button in the SunScreen banner.
The Information page appears.
-
Click the Statistics tab.
The Statistics page displays.
Figure 2-3 Statistics Page

Viewing Logs
You view logged packets using the Log tab. You can configure policies in the packet filtering rules so that a packet gets logged when it matches or when it does not match a particular policy rule criterion. For a complete description of logs and retrieval settings see the SunScreen Reference Manualmanual.
To Set the Retrieval Mode
-
Click the Information button in the SunScreen banner.
-
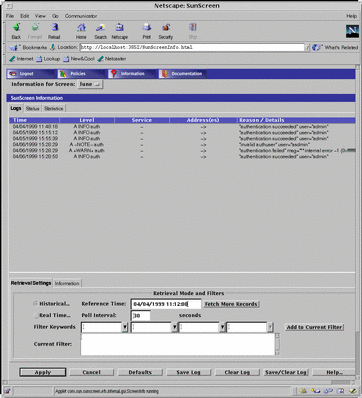
Click the Log tab in the Information page.
The Log page appears.
Figure 2-4 Retrieval Settings Tab in the Log Area

-
Click the Retrieval Settings tab at the bottom of the log.
The two retrieval modes are historical and real time.
Saving and Clearing the Log
Depending on your network configuration and the logging rules you specify, log files can grow very large. You should periodically save and clear the logs to avoid the circumstance where very large, verbose logs fill up all existing disk space. All Admin Users except those with an access level STATUS can perform Save or Clear operations on the logs.
Some browsers do not allow you to perform save operations because this action involves a local write operation which is not allowed by the Java security model (sandbox). If you use Netscape Navigator or Internet Explorer, you must use the Java Plug-in to enable save operations. The HotJava browser will allow you to perform these operations without the Java Plug-in with the medium/low security level set.
Note -
Saving a log to a file does not clear the log records from the Log page.
To Save the Log
-
From the Information page, click the Log button.
The Log page appears.
-
Click the Save Log button at the bottom of the Log page.
The Save File dialog appears.
-
Type the pathname of the directory, and the name of the file for the saved logs.
-
Click the Save button.
To Clear the Log
The following steps clear the page of any log records without saving them or the log file.
To Save and Clear the Log
The following steps clear the display of any log records and save the log file.
-
From the Information page, click the Log button.
The Log page appears.
-
Click the Save/Clear Log button.
The Save File dialog window appears.
-
Type the pathname of the directory, and the name of the file for the saved logs.
-
Click the Save button.
To Change the Log File Size for a Specific Screen
-
From the Policies page, choose and edit the policy to be altered.
-
Choose the desired Type: Screen common object.
-
Edit the Screen common object.
-
Under the Miscellaneous tab, change the Log Size entry.
-
Save the change in Save Changes.
-
Activate the policy.
-
Restart the Screen for the log file size change to take effect.
- © 2010, Oracle Corporation and/or its affiliates
