Using the Administration GUI
To Start the Administration GUI for Browsers Without the Java Plug-In
To connect to a Screen with local administration, type:
http://localhost:3852 |
To connect to a Screen with remote administration, type:
http://Screen_Name:3852 |
where Screen_Name is the name of the machine running the SunScreen software.
To Start the Administration GUI for Browsers With the Java Plug-In
To connect to a Screen with local administration, type:
http://localhost:3852/plugin |
To connect to a Screen with remote administration, type:
http://Screen_Name:3852/plugin |
where Screen_Name is the name of the machine running the SunScreen software.
Note -
HA Configurations Only: Use the name of the interface dedicated to high availability (HA) or to a dedicated Admin interface for all HA administration; otherwise, you will connect to the currently active HA host instead of the primary HA host.
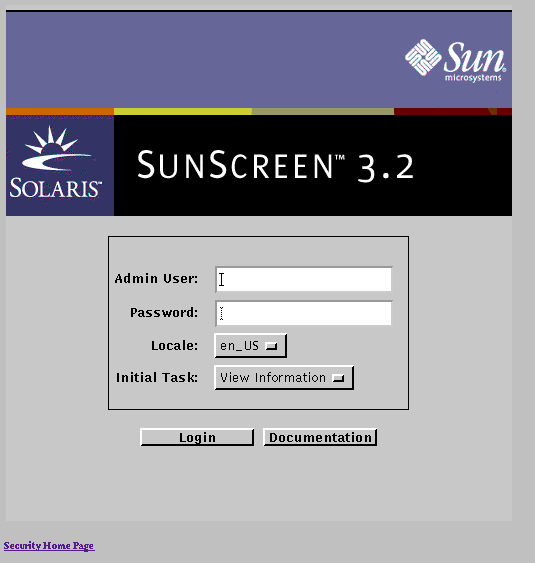
To Log In to the Administration GUI
You must log in with a user name and password every time you start the administration GUI. The initial user name and password are both admin.

-
Type your Sunscreen Admin User name in the Admin User field.
The initial user name is admin. To change the Admin User, you can add another Authorized User and use that Authorized User name when you log into Sunscreen (see "To Add an Authorized User").
-
Type your Sunscreen Admin User password in the Password field.
The default user password is admin. Change the password for the default login account as soon as possible to prevent unauthorized access to the Screen's policies. For a description on how to change passwords, see "Changing the Admin User Password".
-
The default is en_US [English USA]. This also means that the libraries used to generate messages are in US English.
-
Select the initial task.
There are two choices for the initial task:
-
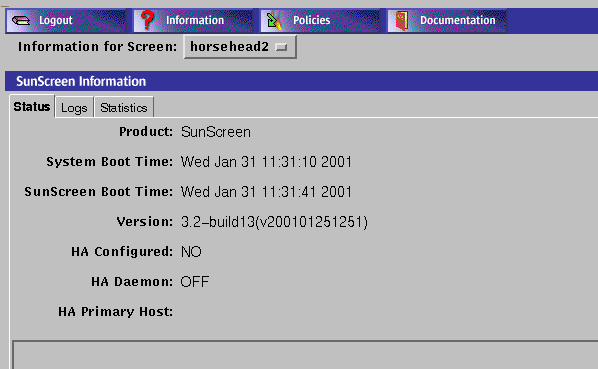
View Information
The information page shows the current status of the Screen, enables you to view and manage the logs, and shows interface statistics.

-
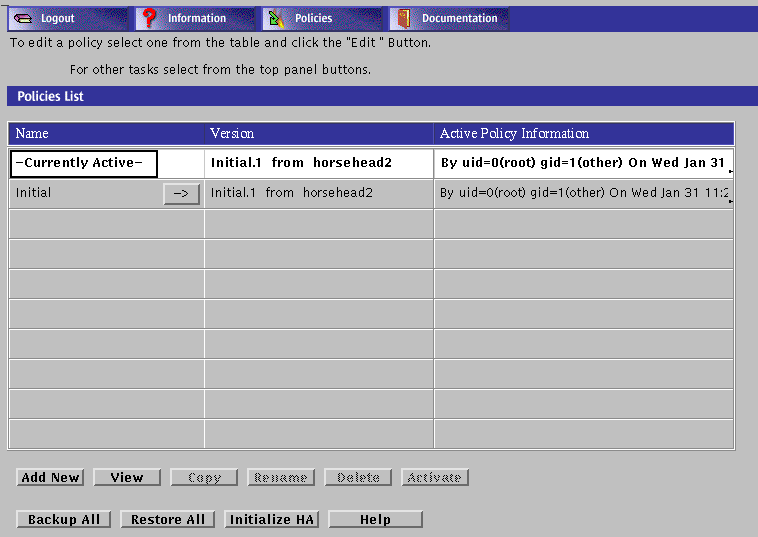
Manage Policies
The policies page enables you to create, edit, and manage SunScreen policies, policy rules, and common objects, including the Admin User IDs.

Once logged in, you can move between the Information and Policies pages by selecting the appropriate task from the administration GUI navigation buttons.
-
-
Click the Login button to log in.
Opens the page that you chose for the Select Task field after successful authentication.
-
(Optional) Click the Documentation button to display online documentation.
Click one of the links to open the appropriate documentation. You do not have to log in to look at the online documentation.
Administration GUI Navigation Bar and Buttons
The administration GUI navigation bar and navigation buttons, shown below, appear at the top of administration GUI pages. You should use these button for moving among the pages of the administration GUI.
If these buttons are missing from a page of the administration GUI, it means that you have unsaved changes from your editing session. Once you have saved your changes the buttons reappear.
The following table describes the administration GUI navigation buttons.
Table 1-1 Administration GUI Navigation Buttons
- © 2010, Oracle Corporation and/or its affiliates
