Adding Jar Signatures and Jar Hashes
You administer the Screen through any browser that supports the Java platform and is compliant with Java Developers Kit (JDK) 1.1. Because Netscape Navigator and Internet Explorer do not support the Java mechanism for applet signing, the administration GUI cannot access your system's local resources. (Browser security mechanisms prevent this type of access to local system resources.) See "Administration GUI Browser Requirements" for more information.
Jar Signatures and Jar hashes are described in the SunScreen 3.2 Administrator's Overview.
To Add a Jar Signature
-
Execute the steps in "To Modify the Policies Associated with a Common Object".
-
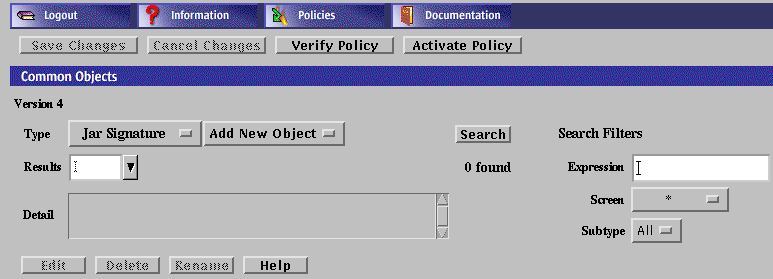
Select Jar Signature from the Type list.
-
Select New from the Add New list.
The Jar Signature dialog box appears.
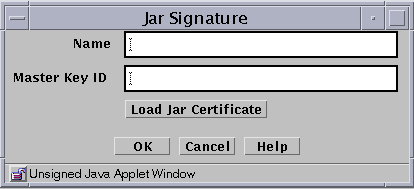
The following table describes the controls for the JAR signature dialog box.
Table 2-19 Controls for the Jar Signature Dialog BoxControl
Description
Name
Identifies the name of the certificate.
Master Key ID
Identifies the certificate ID.
Load Jar Certificate Button
Loads the certificate used to authenticate the Java archive. This procedure requires that your browser can allow local access to files.
OK Button
Stores the new or changed information.
Cancel Button
Cancels any new or changed information.
Help Button
Calls up the page of online help for this common object.
-
Type a name in the Name field.
-
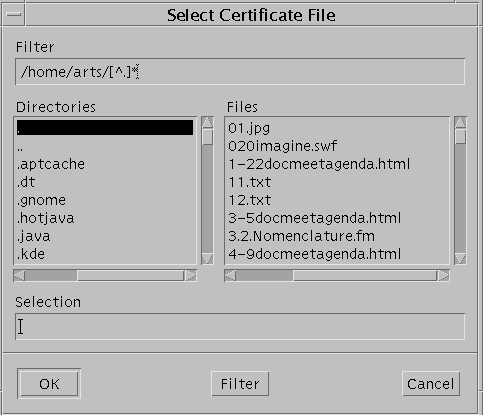
Click the Load Jar Certificate button.
A dialog box appears. Navigate through the paths to find the certificate used to sign the Java archive.
-
Select on the Certificate file.
-
Click the OK button.
To Add a Jar Hash
You can set up the HTTP proxy to filter Java applets based on the hash value of the Jar file. The Jar hash object is automatically saved when it is edited or when a new Jar hash object is added. Changes apply immediately and cannot be cancelled.
-
Execute the steps in "To Modify the Policies Associated with a Common Object".
-
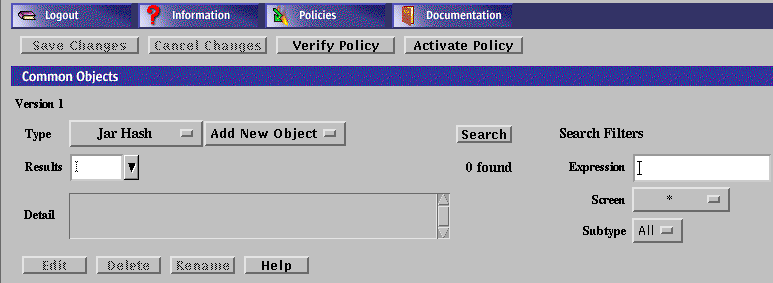
Select Jar Hash from the Type list.
-
Select New from the Add New button.
The Jar Hash dialog box appears.
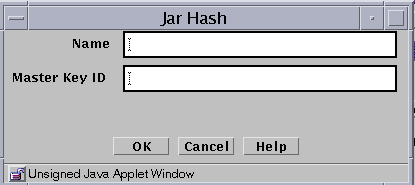
The following table describes the controls for the Jar hash dialog box.
Table 2-20 Controls for the Jar Hash Dialog BoxControl
Description
Name
Identifies the name of the certificate.
Master Key ID
Identifies the certificate ID.
OK Button
Stores the new or changed information.
Cancel Button
Cancels any new or changed information.
Help Button
Calls up the page of online help for this common object.
-
Type the name for this certificate in the Name field.
-
Type the MD5 hash of the Jar archive in the Master Key ID field.
-
Click the OK button.
- © 2010, Oracle Corporation and/or its affiliates
