Installing High Availability
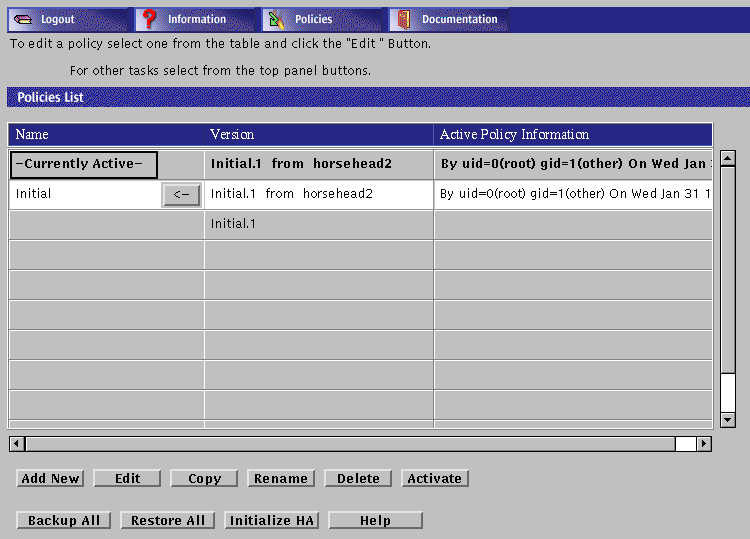
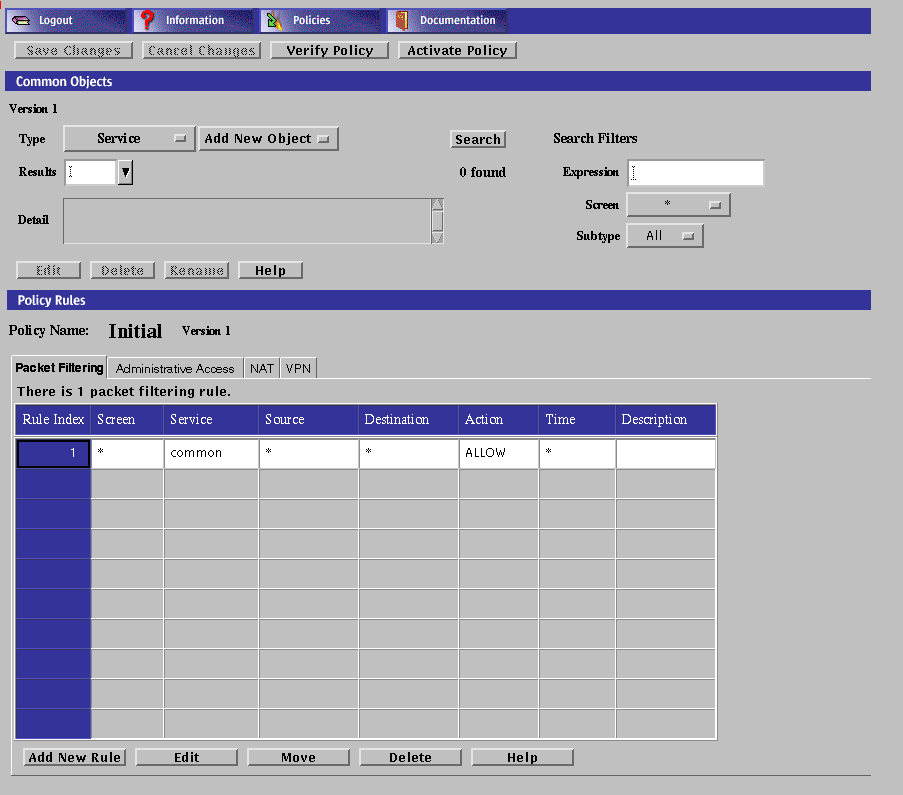
To Edit the Policy
To Install the SunScreen software in an HA Configuration
-
Configure identical interfaces on all HA machines, by editing the /etc/hostname.interface-name file or running the ifconfig command.
-
Dedicate one interface on each machine to HA.
-
You must have a dedicated network between the HA hosts that, for reasons of security, is not connected to any other network.
-
All the HA machines must be configured with the same interface names and be connected to the network and to each other in the same way.
-
The dedicated HA interface must have a unique address name and IP address (so that the configurations, including interface configurations, can be synchronized later).
-
-
Connect the HA interfaces of the HA machines one at a time after installing the operating system (if necessary) and configuring the routing on these machines.
Since the HA hosts have the same names and IP addresses, you must connect the non-HA interfaces of only one of the HA machines (for example, HA1, as shown by the solid line in Figure 5-1). This machine will become the primary and active HA Screen. This approach prevents confusion from arising in the routing and ARP tables on the active HA Screen. After the HA configuration is complete, the HA software keeps the routing and ARP tables orderly.
-
Connect the secondary Screen, for example, HA2 (as shown by the broken line in Figure 5-1) to the hubs.
You do not have to install any special software for HA other than SunScreen. The HA software is automatically installed as part of SunScreen.
Note -Do not perform this step until you have installed, configured, and tested the both the primary (active) and secondary HA Screens.
Figure 5-1 Wiring Before and During HA Configuration

To Install HA on the Secondary HA Screen
-
Start the full SunScreen install on the secondary HA Screen.
-
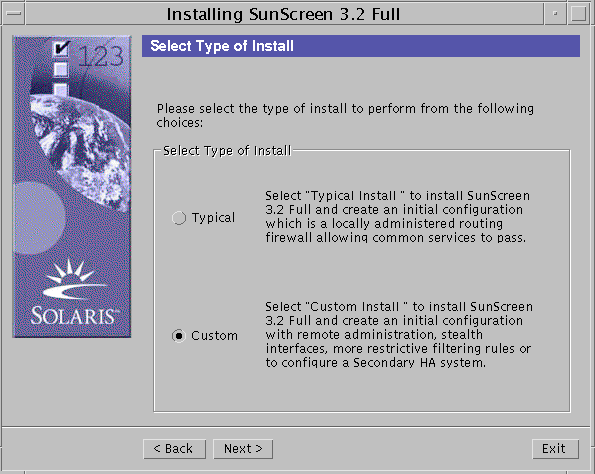
Select the "Custom" option on the Select Type of Install panel and click the Next button.
-
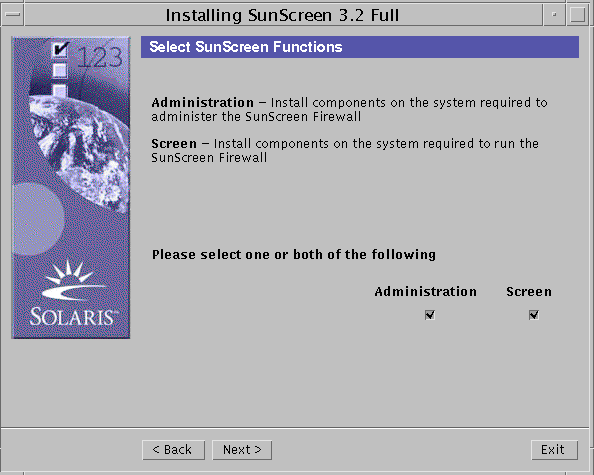
Select which Sunscreen function you want to install
-
Click Next
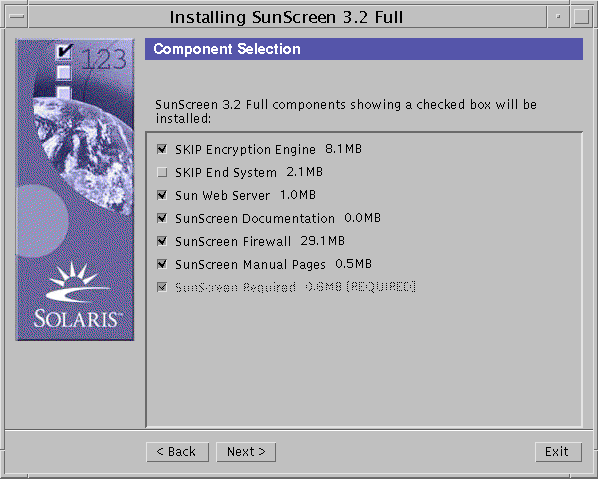
The Component Selection Dialog appears.
-
Select the components to be installed and click Next.
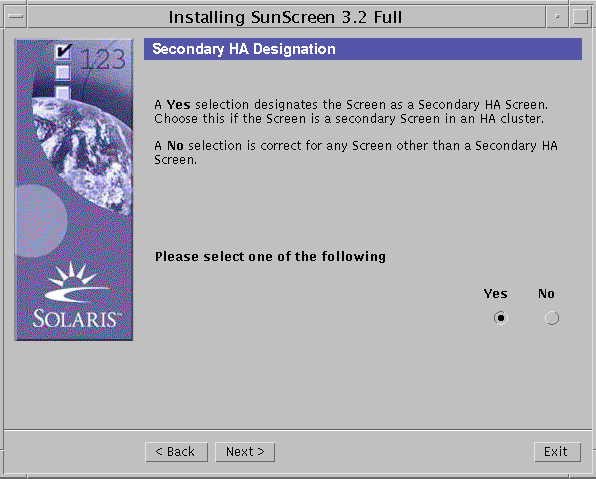
The Secondary HA Designation dialog appears.
-
Select Yes and click the Next button.
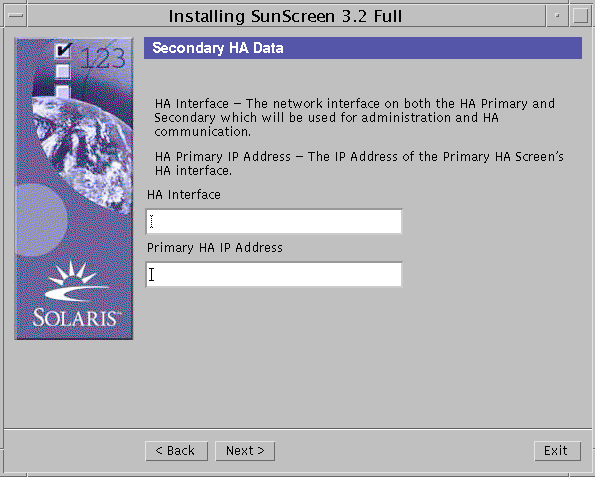
The secondary HA data dialog box appears.
-
In the secondary HA Data dialog box:
-
Click the Next button.
-
Reboot the secondary HA Screen when the final panel appears.
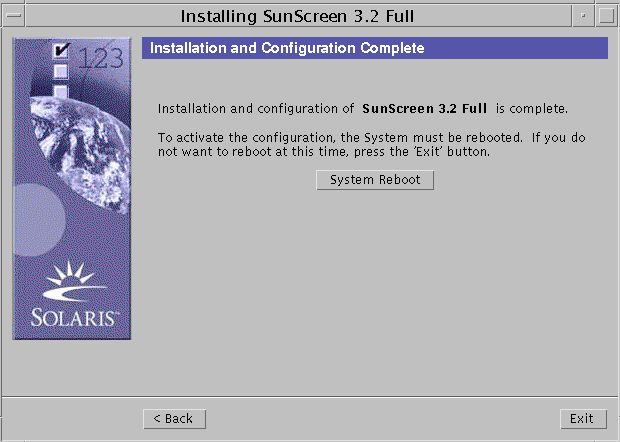
Note -You should ignore the plumbing error message on the stealth/routing interfaces during bootup. Once the HA configuration is pushed over from the primary, this error is eliminated.
To Define the HA Interface
The dedicated HA interface can be any interface on the Screen that has been plumbed and is not defined as a screening interface. To define an HA interface, perform the following steps:
-
Execute the steps in "To Edit the Policy".
-
Select Interface from the Type list.

-
Click the Search button.
-
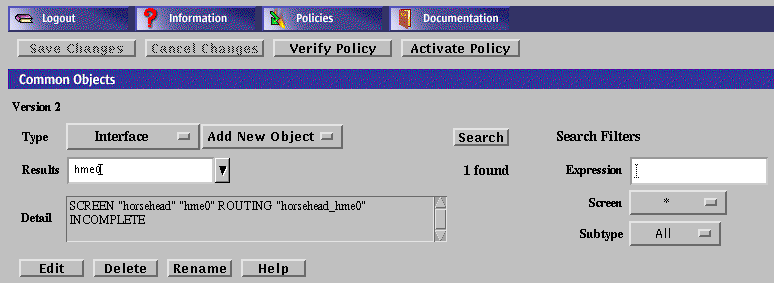
Select the interface name that you want to dedicate to HA and click Edit.
If the interface does not appear, select New from the Add New list.
-
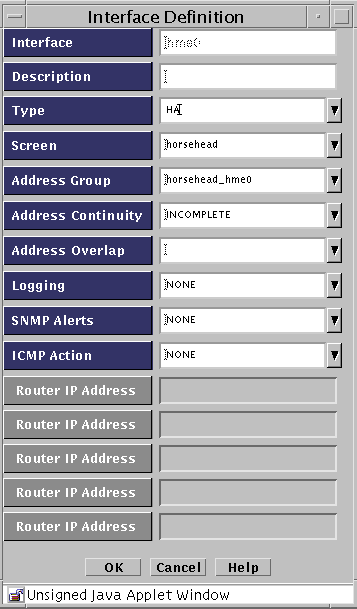
Define the interface, selecting HA as the Type.
-
Click the OK button.
To Define the Screen Object for the HA Primary Screen
-
Execute the steps in "To Edit the Policy".
-
Select Screen in the Type list.

-
Click the Search button.
-
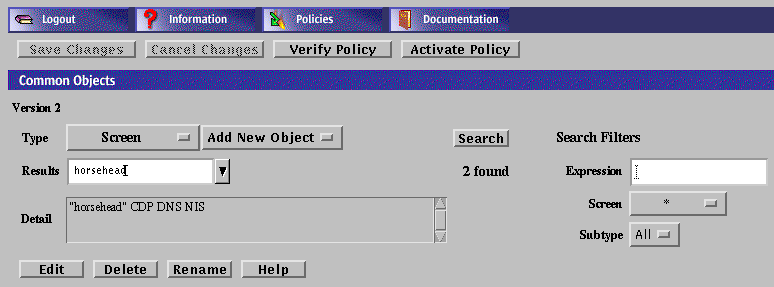
Select the name of the Screen that you want to use as the primary HA Screen, then click the Edit button.
If the Screen object is not yet defined for the primary Screen, select New from the Add New list and type the name of the primary Screen in the Name field.
-
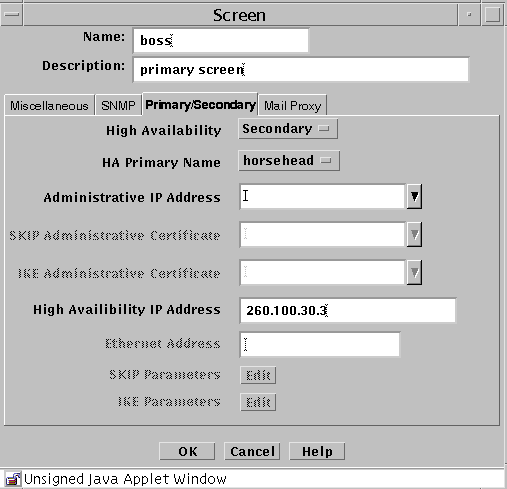
Select Primary in the High Availability field.
-
Type the IP address of the primary Screen's dedicated HA interface in the High Availability IP Address field.
-
Type the Ethernet address of the interface on the primary Screen in the Ethernet Address field.
-
Click the OK button.
To Initialize HA on the Primary HA Screen
-
Execute the steps in "To Edit the Policy".
-
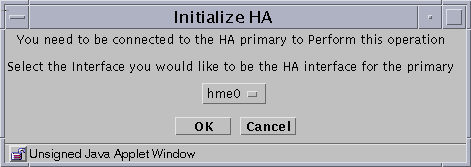
In the Policies List page, click on Initialize HA.
The Initialize HA dialog box appears.
-
Select the interface to be the HA interface from the Interface list.
Note -The HA interface on the primary HA Screen and secondary HA Screen must be the same.
-
Click the OK button
The Policies List page appears.
To Add the Secondary HA Screen to the Primary HA Screen
-
Execute the steps in "To Edit the Policy".
-
Select Screen from the Type list.

-
Select New from the Add New Object list.
The Screen dialog box appears.
-
Type the name of the secondary HA Screen in the Name field.
-
Click the Primary/Secondary tab in the Screen dialog box.

-
Set the following values in the Primary/Secondary area of the Screen dialog box:
- High Availability
-
Secondary
- Primary Name
-
Name of primary Screen
- Administrative IP Address
-
Leave blank
- High Availability IP Address
-
Secondary Screen IP address
-
Click the OK button.
-
Click the Save Changes button on the Policies List page.
The Activate Policy dialog box appears.

-
Click Yes.
-
Fully connect the secondary HA Screen to the network.
After adding an HA secondary Screen and activating your policy, the new secondary Screen may become active. If it does, you must direct the secondary Screen to become passive before you can perform additional administration on the primary Screen.
Note -Make sure all wires and cables are connected properly.
-
Configure the service and policy rules on the primary HA Screen.
All changes made on the primary HA Screen are automatically copied to all secondary HA Screens.
-
Save and activate the policy.
To Allow Non-Administrative Traffic on an HA Network
-
Execute the steps in "To Edit the Policy".
-
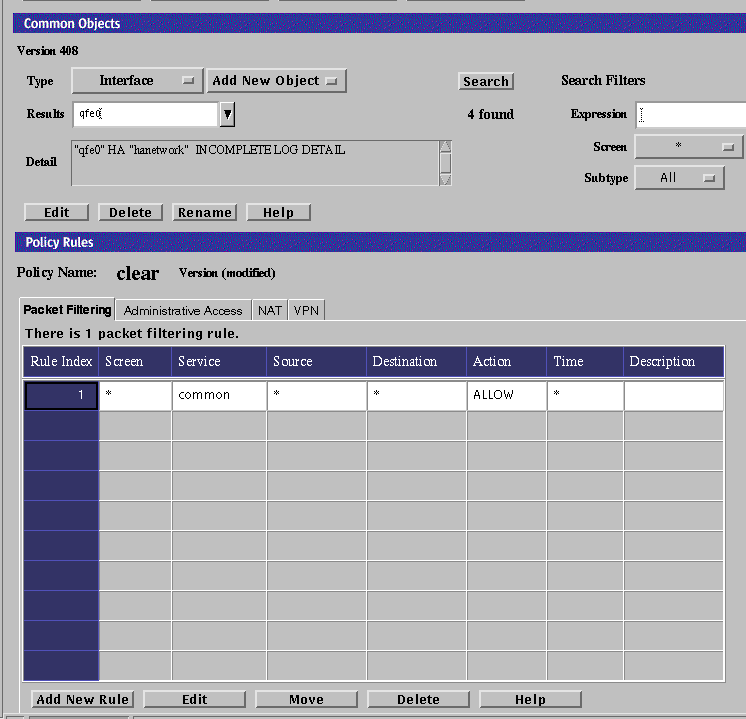
Select Interface from the type list.

-
Click the Search button.
-
Select the interface name.
-
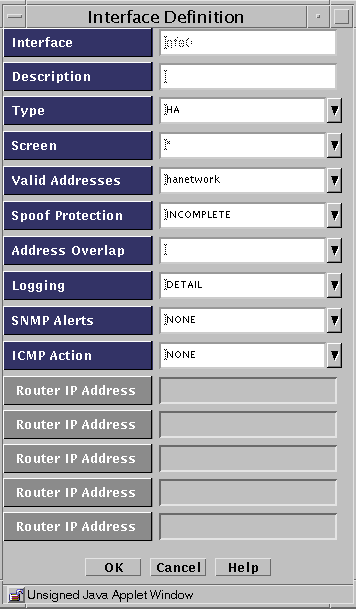
Click the Edit button.
-
Note the name in the Valid Address field for later use as the Destination Address for the new rule to be defined.
-
Click the Cancel button to close the Interface Definition panel.
-
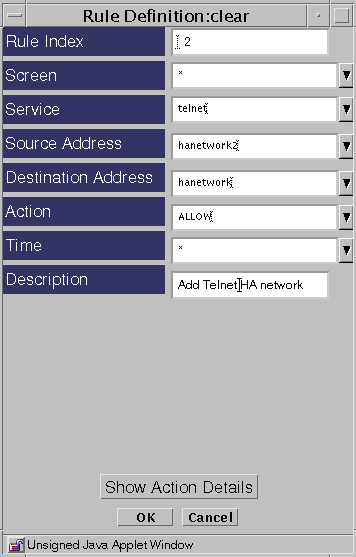
Click the Add New Rule button.
-
Fill in the fields. Make sure you set the Destination Address to the same name that was in the Valid Address field in Step 6above.
-
Click OK.
-
Click Save Changes.
The Activate Policy dialog box appears.

-
Click Yes to activate the policy.
- © 2010, Oracle Corporation and/or its affiliates

