| C H A P T E R 5 |
|
Editing Records |
The Record Editor enables you to add, modify, and delete records in a dataset that is displayed on the Data File Editor Menu. You can edit records in either hexadecimal or character format.
This chapter includes the following topics:
|
1. Start the region and make a client connection.
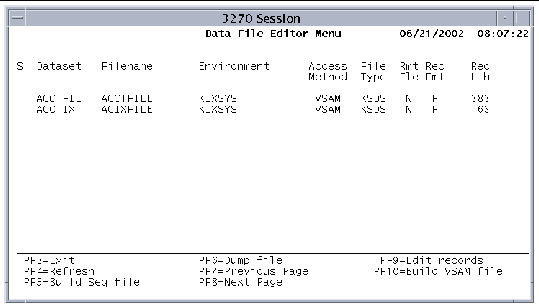
2. Display the Data File Editor Menu shown in FIGURE 5-1:
3. When the Data File Editor Menu is displayed, use the selection field (S) to select the file to edit.
All the fields and function keys on this screen are described in Accessing the Record Editor Functions.
4. Press PF9 to display the Record Editor screen shown in FIGURE 5-2.
The Dsn field, indicated by the arrow, shows the name of the dataset you are editing. To the right of the Dsn field is a field indicating the type of dataset (KSDS, ESDS, or RRDS). Also displayed are the record length (Rcd lth) and, for KSDS datasets, the key offset (key ofs) and key length (key lth).
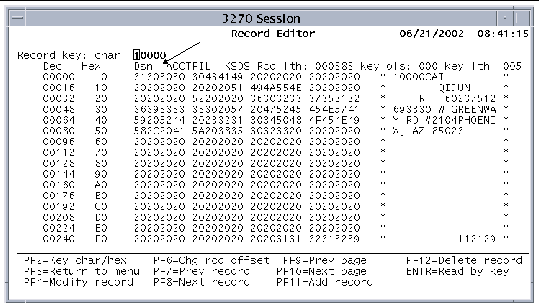
The following keys are active on the Record Editor main screen:
|
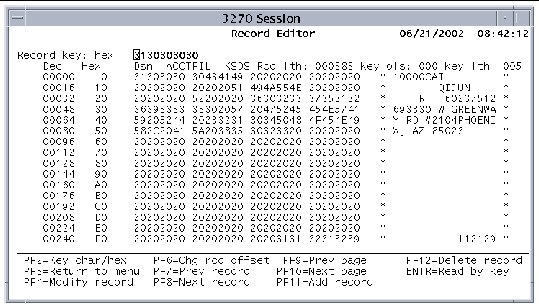
Changes the display format of the data in the Record key field from character to hexadecimal or vice versa; valid for KSDS datasets only. If the Record key reads char, as in FIGURE 5-2, the data you type into the field is interpreted as characters. Similarly, if the description reads hex, as in FIGURE 5-3, you must enter the data in hexadecimal values. |
|
Displays the Modify screen, which enables you to modify the record data. See Modifying Records in a Dataset. |
|
|
Changes the byte offset into the record of the area you want to display. Note that the first field in the decimal column becomes unprotected. Type in an offset, then press the Enter key to change the offset or press PF3 to return to the Record Editor screen without changing the offset. |
|
|
Adds records to the dataset. See Adding Records to a Dataset. |
|
|
Deletes the current record. See Deleting Records From a Dataset. |
|
|
Reads a dataset record using the key in the Record key field. For a KSDS dataset, you can specify a character or hexadecimal key. For an ESDS dataset, you specify an offset, and for RRDS dataset, you specify a record number. If the record you request is not found, the editor displays the next record in the file with a key greater than the key specified. |
The Modify screen is displayed when you press the PF4 key on the Record Editor main screen. You can modify the character area of the screen, the area of the screen on the right that is bounded by asterisks, or the hexadecimal area on the left, by pressing PF4 or PF5, respectively. The area of the screen that you can edit is then highlighted and unprotected.
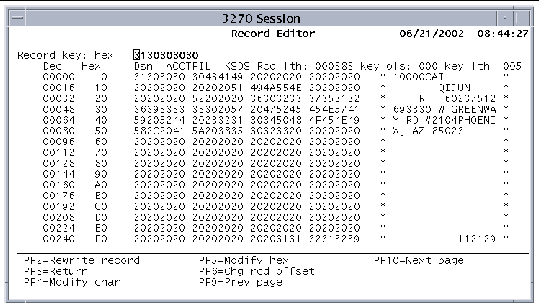
The following function keys are active on the Modify screen:
|
Rewrites the record with the data you entered on the screen. |
|
|
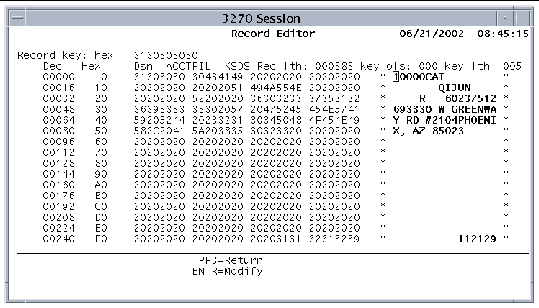
Modifies the character section of the record displayed. The character display area bounded by asterisks is highlighted to indicate that the area is unprotected. You cannot modify the area of the record that contains the key to the file. An error message is displayed if you try to do this. FIGURE 5-5 shows the Character Mode Modify screen. Press the Enter key on the Character Mode Modify screen to return to the Record Editor Modify screen, retaining any changes you made. Press PF3 to return to the Record Editor Modify screen without retaining the changes. |
|
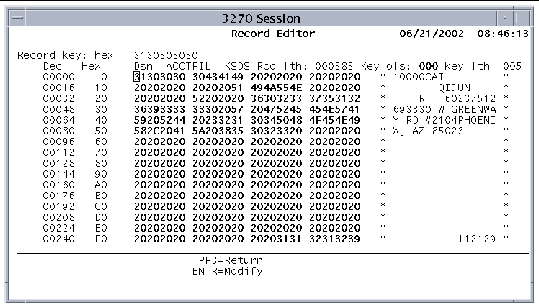
Modifies the hexadecimal section of the displayed record. The hexadecimal area is highlighted to indicate that the area is unprotected. FIGURE 5-6 shows the Hex Mode Modify screen. Press the Enter key on the Hex Mode Modify screen to return to the Record Editor Modify screen, retaining any changes that you made. Press PF3 to return to the Record Editor Modify screen without keeping the changes. |
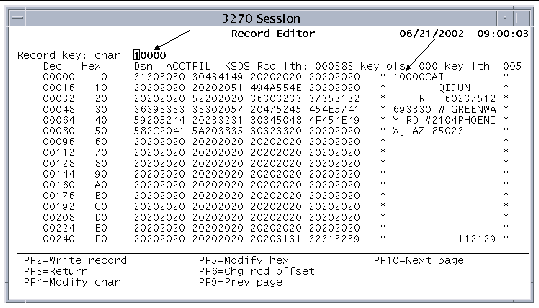
To add records to a dataset, press PF11 on the Record Editor screen. The Add Record screen looks and acts like the Modify screen. However, data validation is performed when you add records. When the Add Record screen is displayed, type the new data. You can add records in the character area of the screen or to the hexadecimal area. Use the PF4/PF5 keys to choose the character/hexadecimal area.
Because duplicate keys are not allowed in KSDS datasets, you must edit the key to make it unique. The arrow on the right in the figure indicates the key. When you press Enter, the record key, indicated by the arrow on the left, changes to the new key.
The following keys are active on the Add Record screen:
|
1. Press PF12 on the Record Editor main screen to display the Delete Record screen.
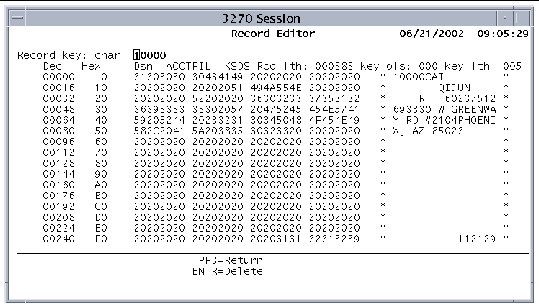
2. Press Enter to delete the displayed record.
Press PF3 to return to the Record Editor main screen without deleting the record.
Copyright © 2004, Sun Microsystems, Inc. All rights reserved.