 To Complete an Upgrade of a Solaris OS on an x86 Laptop
Before You Begin
Complete Steps 1–10 in To Start an Installation or Upgrade of the Solaris OS on an x86 Laptop.
-
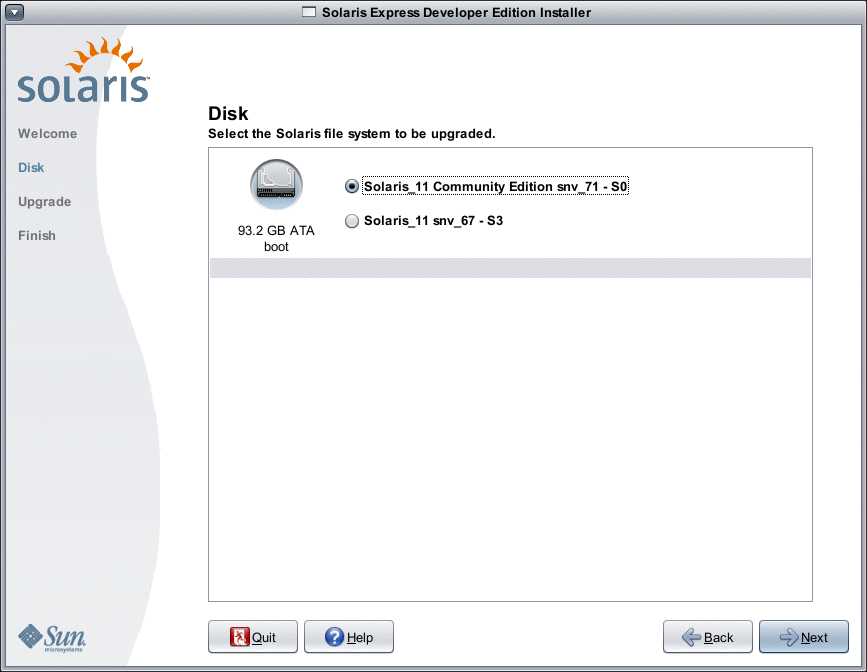
In the following panel, select the disk and the existing Solaris OS to be upgraded.

This panel displays the internal disks, external disks, and solid-state drives that are available on the system. To be recognized by the installer, the disks and solid-state drives must be turned on at the time the computer boots.
This panel also lists existing Solaris operating systems on each disk. Solaris OS releases that are too old are noted as such and cannot be selected.
-
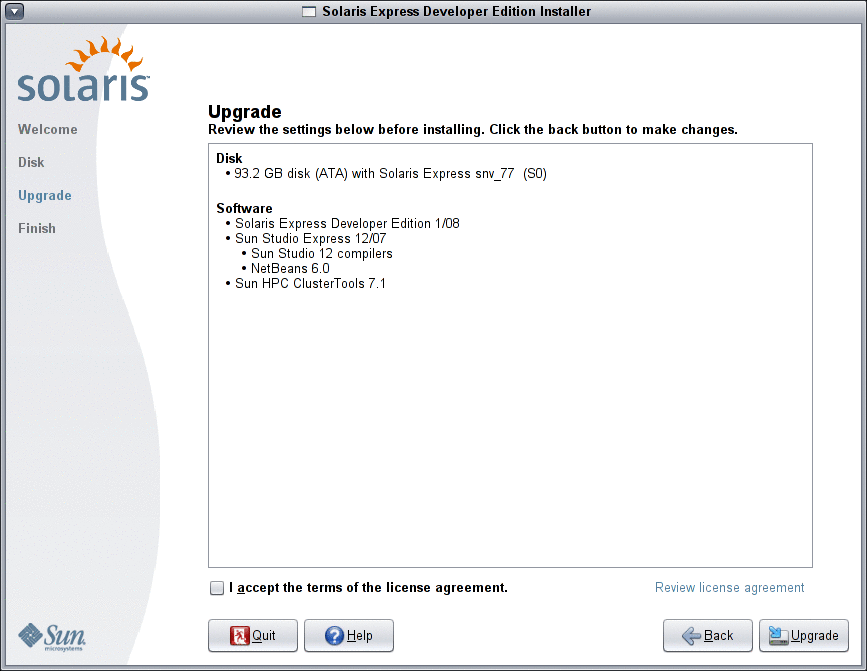
In the following panel, review and confirm upgrade specifications and the license agreement, then click Upgrade.
Use the back button to make changes.

CAUTION: The upgrade begins when you click Upgrade. You cannot stop the upgrade unless you turn off the computer. Terminating the upgrade leaves the disk in an indeterminate state.
-
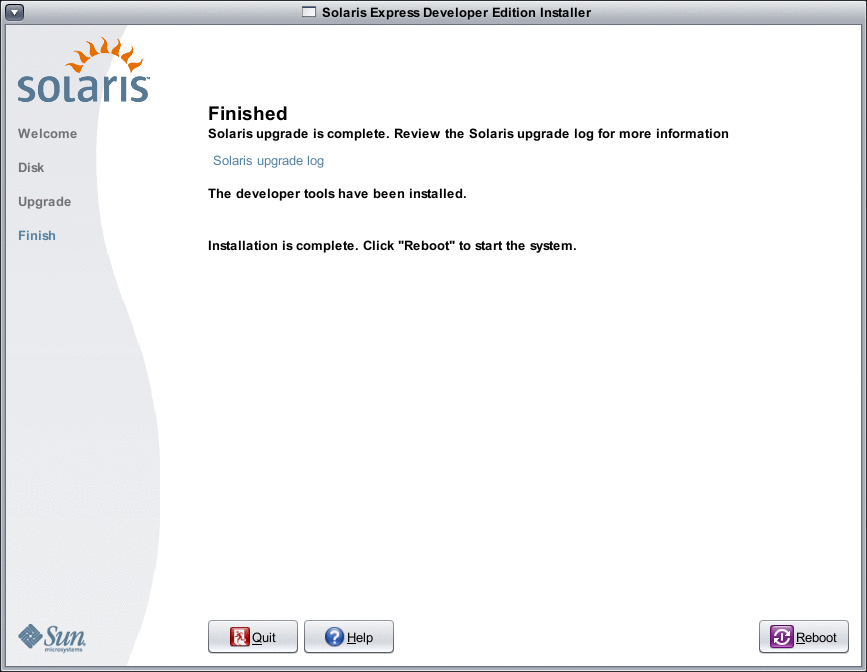
Review the upgrade results.

The final panel displays completion messages. You can review upgrade logs in this panel. You can either Quit or Reboot from this panel.
Next Steps
Review the post installation tasks listed at the end of the installation procedure.
- © 2010, Oracle Corporation and/or its affiliates
