2.4.2 What to Do
-
Extend and adjust the cabinet's anti-tip legs.
-
Open (or remove) the front and back rack enclosure door(s).
-
Disconnect all external cables attached to the back panel of the system.
As you disconnect each cable, label it with a strip of masking tape indicating the cable's origin and its terminating connection.
 Caution -
 Do not disconnect the power cable(s) from the system power inlet(s) unless you are installing or replacing the power distribution board, the main logic board, or a power supply. The power cord grounds the system.
-
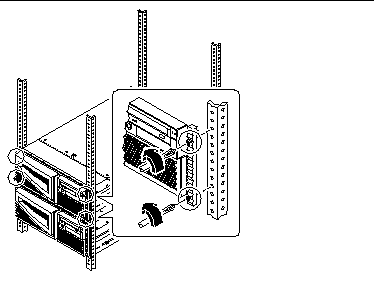
Loosen the four captive screws that secure the system to the left and right vertical rails at the front of the rack.
Use a Phillips #2 screwdriver to loosen the captive screws, which are in recessed access holes in the decorative panels affixed to the system's front panel.

-
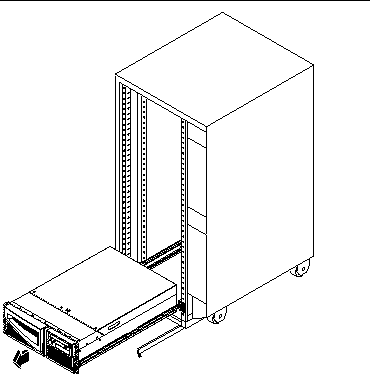
Slide the system chassis evenly out of the rack enclosure until the inner glides stop in the slide.
Grasp the system's front bezel and pull the system smoothly out of the enclosure. Continue pulling the system until the back of the chassis clears the enclosure and you hear the flat spring catches in the glides engage with an audible clicking sound. The system is then fully extended and secure.

- © 2010, Oracle Corporation and/or its affiliates
