| C H A P T E R 4 |
|
Managing the RFID System |
This chapter includes the following topics:
The RFID Management Console is a graphical user interface for managing the readers and components of the RFID Event Manager system.
The RFID Management Console may be used to both monitor and modify the various components of the RFID Event Manager. The console provides insight into the health of the readers and components and can be used to quickly assess the status of the Event Manager system.
The Management Console may also be used to modify various read and write attributes of the Event Manager components as the system is running.
|
Consult the installation documentation if you have not yet installed the RFID software.
1. Open a web browser and enter the RFID Management Console URL.
The URL is of the following format: http://IP-address:port-number/sdui.
The variable, IP-address, is the IP address of the system where the management console software is deployed, such as 10.6.165.71. The port-number is the HTTP port number of Application Server. An example is http://10.6.165.71:8080/sdui
The RFID Management Console login screen is displayed.
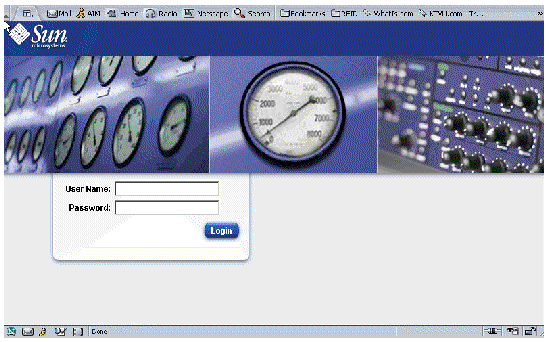
2. Type the User Name and Password.
The RFID Management Console Welcome screen is displayed.
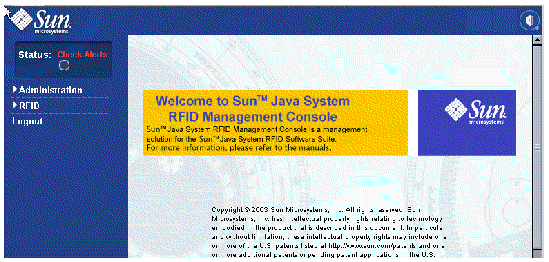
3. Choose the task to perform from the links on the left-hand side of the screen.
From the Administration menu, you can perform the following tasks:
The Groups menu item enables you to group different readers together for easier tracking. This screen displays the groups that have been created and the number of readers that are in each group. There is a default group named ALL that contains a list of all available readers. The ALL group enables you to always see all the available readers in the entire system.
To administer the groups, select the appropriate icon as needed. The icons are defined in TABLE 4-1
|
|
|
|
|
|
|
|
|
|
|
|
|
|
1. Choose Administration  Groups.
The following screen is displayed showing the default group ALL and any previously created groups and the number of readers that are in each group:
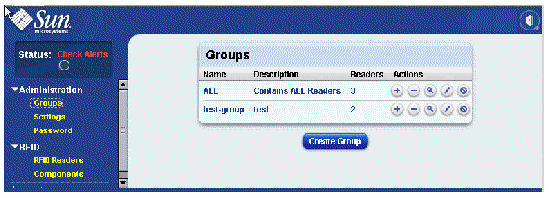
If no groups have been created, only the "ALL" group is displayed.
The Create a new group screen is displayed:
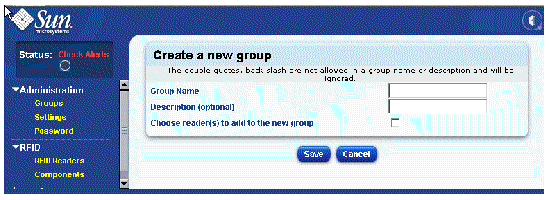
3. Type the values for Group Name and Description.
4. (Optional) Click the check box, Choose reader(s) to add to the new group.
Selecting this check box enables you to add readers to the new group at the same time as creating the group. If the check box is not selected, only the group is created and the readers must be added at a separate time.
5. When you are ready, click Save to save the group.
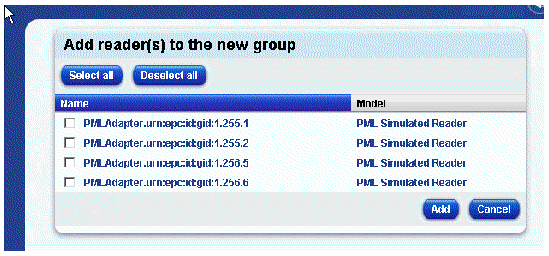
a. Select the readers to add to the group.
b. Click Add when finished selecting readers.
The Settings menu shows the following options:
You can add Jini Locators to the Jini Lookup Server. Adding Jini Locators enables you to expand the Jini network across subnets. These Locators are saved across system restarts so that each time you start up the system, the Jini Lookup Server starts with the saved configuration. You can also delete previously created Jini Locators.
1. Choose Administration  Settings.
The Jini Locators list is displayed on the Management Console.


2. Type the Locator in the format jini://IP-address:port-number.
3. (Optional) Type a description for the Locator.
1. Choose Administration  Settings from the main RFID Management Console panel.
The Email Notification Configuration dialog appears. (This dialog appears along with the Jini Locator dialog as shown in the previous procedure.)
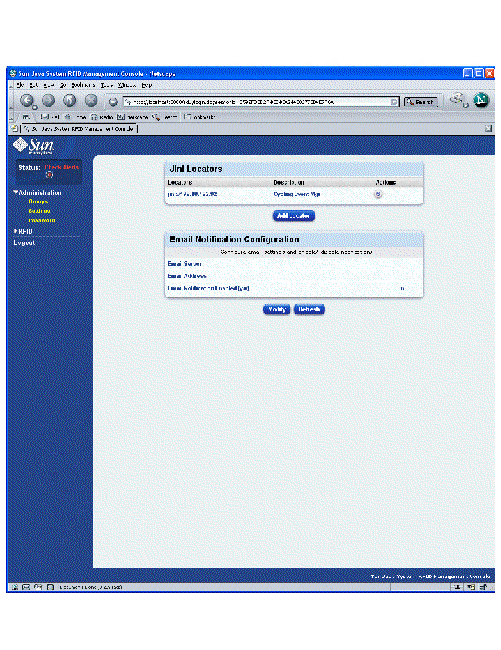
The Email Notification Configuration modification dialog appears on the Console.
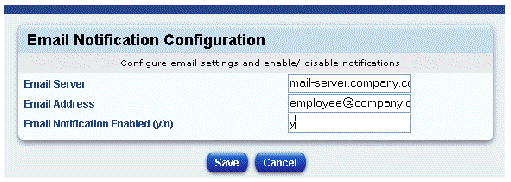
3. Type your valid email server and email address.
4. Enable the Alerts email notification by typing y in the Email Notification Enabled (y/n) text box.
5. Click Save to save your changes.
You are returned to the original Settings panel on the Console and should see the following confirmation message.

Use the following procedure to change the default password used for accessing the RFID Management Console.
1. Choose Administration  Password.
You see the following dialog on the Management Console.
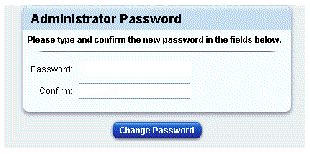
3. Type the same value in the Confirm text field.
4. Click Change Password to save the new value.
The following options are available from the RFID menu:
Due to the dynamic nature of RFID readers, it is possible that a short-lived network malfunction can cause a reader not to be seen for a period of time. Rather than delete such a reader from its Group (which would require it to be added back to the group manually if it was reactivated) every reader that has ever been added to a group is shown. If for some reason, a reader disappears from the network, it is marked as "inactive" and is displayed by with the icon with the horizontal dash which looks greyed out. This is shown in TABLE 4-3.
FIGURE 4-1 shows how a reader appears if you choose Administration --> Groups menu item. In this screen shot you can see that two of the readers are inactive and one is active. The delete Action icon will also be greyed out.
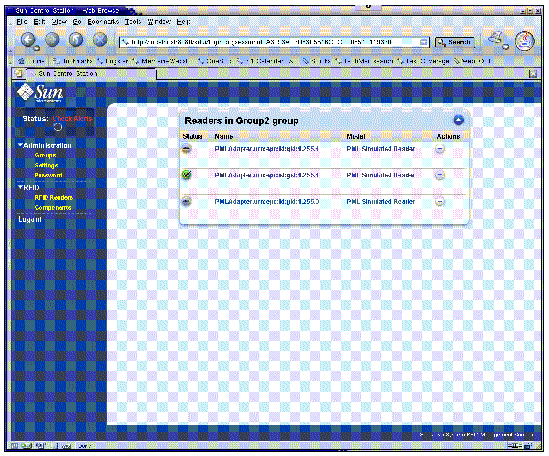
FIGURE 4-2 shows how the inactive readers appear from the RFID --> RFID Readers menu option. As you can see, there are three inactive readers and one active reader. The Actions icons for the inactive readers are greyed out because you cannot inspect them or see their tags when they aren't actively on the network. If the readers should become active again later, then they would appear with the green Status icon and be selectable for other actions.
|
The RFID Readers menu option enables you to view readers by group and to see and to set the reader attributes. You can quickly see the status of all devices.
The following screen displays on the Management Console showing the existing reader groups:
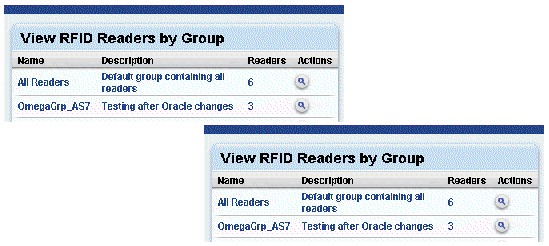
2. To view the readers in a group, click the Inspect icon in the Actions column.
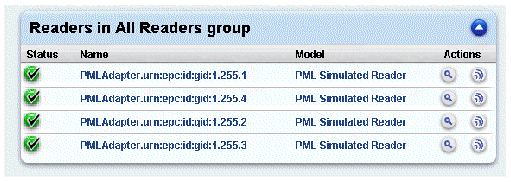
For example, if you click the Inspect icon for the All Readers group, the Readers in All Readers group panel is displayed. TABLE 4-2 describes the Actions icons.
|
|
|
|
|
View Tags - Display the RFID tags that are within view of the selected reader |
3. Review the Status of the readers in the selected group. The Status icons are described in TABLE 4-3.
|
|
|
|
|
|
|
|
|
|
|
|
|
|
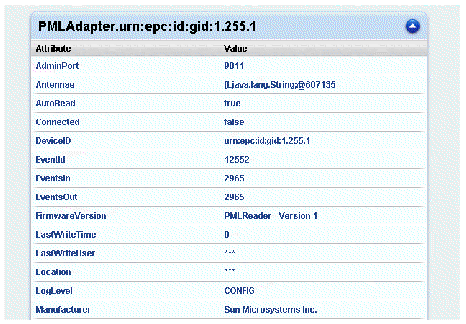
4. (Optional) To view reader attributes, click the Inspect icon ( see TABLE 4-2) located in the Actions column.
The RFID Reader Attribute Screen is displayed. TABLE 4-1.
5. (Optional) To modify reader attributes:
a. Scroll to the bottom of the Reader Attribute pane and click Modify.
A pane displays showing the modifiable attributes.
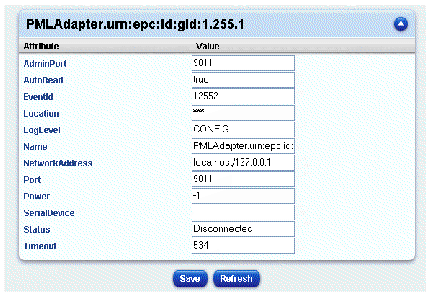
b. Type your changes and click Save.
c. (Optional) Click Refresh to see if attribute values have changed while you have been reviewing the values.
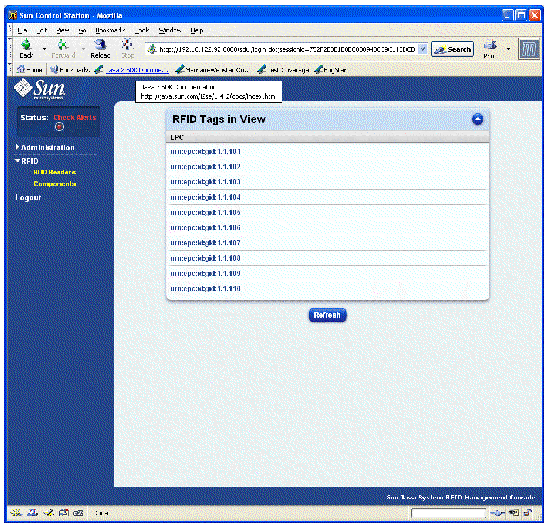
6. (Optional) To view the tags in view of a selected reader:
The RFID Tags in View pane is displayed on the Management Console. This pane looks similar to the following:
|
The Components menu option enables you to view all RFID system components for each running service.
A list of RFID services similar to the following is displayed:

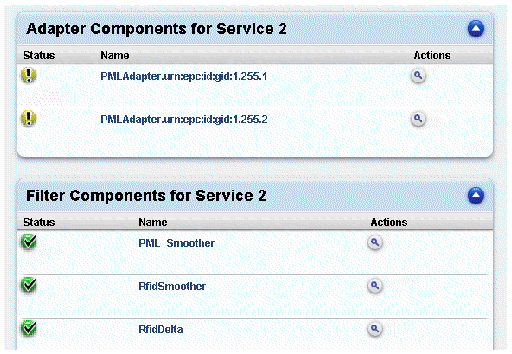
2. Click the Inspect icon in the Actions column to view the components for a specific service.
Each component type is grouped in its own table, similar to the following:
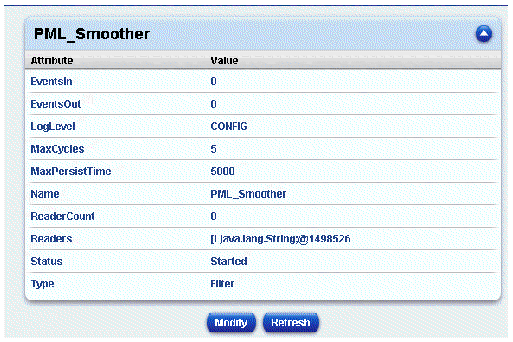
3. (Optional) To view the component attributes, click the Inspect icon located in the Actions column.
You see something similiar to the following:
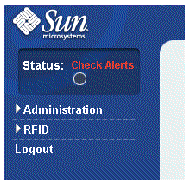
The Management Console enables you to see Alarms from the RFID reader network. The red Check Alerts label and the button below it indicate that there are alarms to be viewed. When you review and dismiss the alert from the Alerts display, the alert is archived in a database. When all alerts have been archived, the Check Alerts button turns green to indicate there are no more alerts. When new alerts arrive, it turns red again.
|
Copyright © 2004, Sun Microsystems, Inc. All Rights Reserved.