| C H A P T E R 8 |
|
Updating the Critical System-Specific Drivers |
This chapter describes how to update the Windows Server 2003 installation with the Sun Fire X4600 server-specific device driver software.
| Note - The figures in this appendix show another system, but the updating process is identical. |
This appendix contains the following sections:
The procedures in this appendix assume that you have already:
To update the system-specific drivers:
1. Copy the DriverUpdatePackage.exe file from its current location to a local drive on the Sun Fire X4600 server.
| Note - A version number that represents the current version of the software update package will also be part of the package name. |
2. Start the DriverUpdatePackage.exe application.
The Sun Fire X4600 server Driver Update Package Setup dialog box displays.
FIGURE 8-1 Driver Update Package Setup Dialog Box

FIGURE 8-2 Microsoft .NET Framework Dialog Box
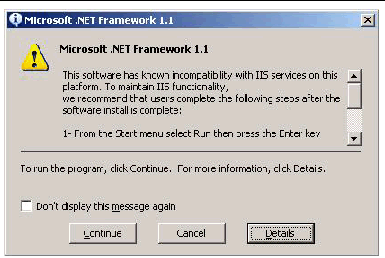
4. Install Microsoft .NET as follows:
The License Agreement dialog box displays.
FIGURE 8-3 .License Agreement Dialog Box
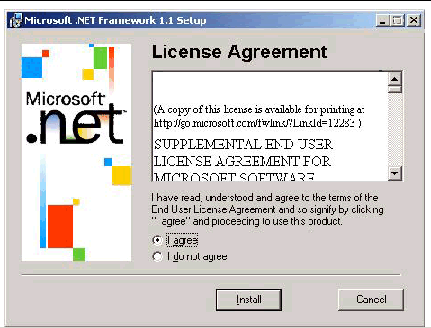
b. Click the option I Agree, then click Install.
The Installing Components dialog displays.
FIGURE 8-4 Installing Components Dialog Box
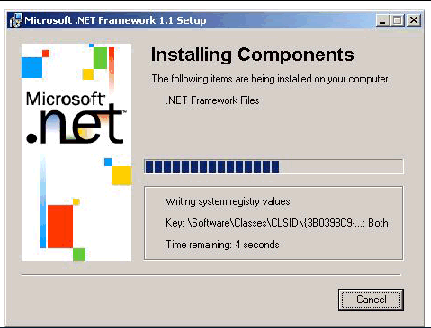
After the installation completes, an Installation Complete dialog box displays.
FIGURE 8-5 Installation Complete Dialog Box
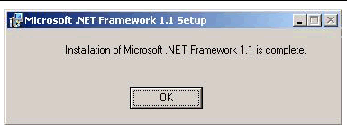
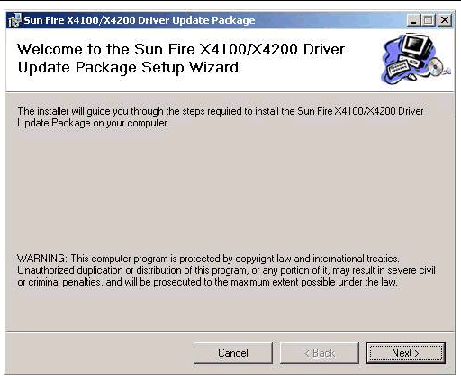
The Sun Fire X4600 server Driver Update Package Setup Wizard dialog box displays.
FIGURE 8-6 Driver Update Package Setup Wizard Dialog Box
The Select Installation Folder dialog box displays.
FIGURE 8-7 Select Installation Folder Dialog Box
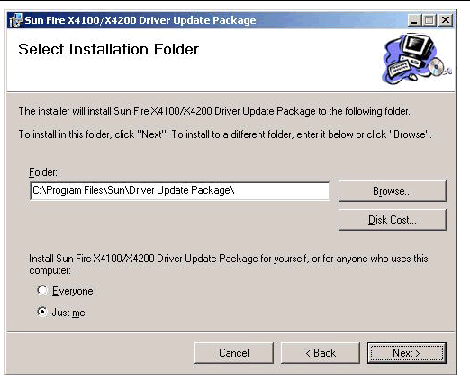
| Note - For 64-bit installation, the default path is
C:\Program Files(x86)\Sun\Driver Update Package\ |
8. Click Next to accept the default settings.
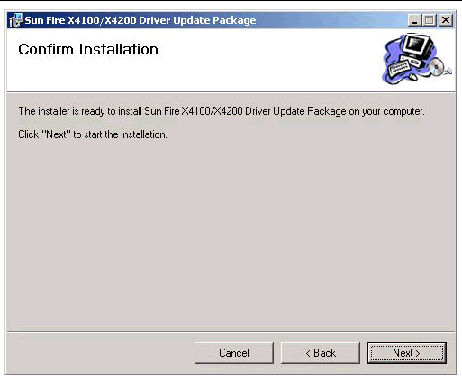
The Confirmation Installation dialog box displays.
FIGURE 8-8 Confirm Installation Dialog Box
The installation will continue until the following dialog box displays.
FIGURE 8-9 AMD-8131 PCIX HyperTransport Tunnel Driver Dialog Box

A series of four Security Alert dialog boxes could appear.
11. For each Security Alert dialog box, click Yes.
After the Sun Fire X4600 server Driver Update Package installation completes, the following dialog box displays.
FIGURE 8-10 Driver Update Package Information Dialog Box
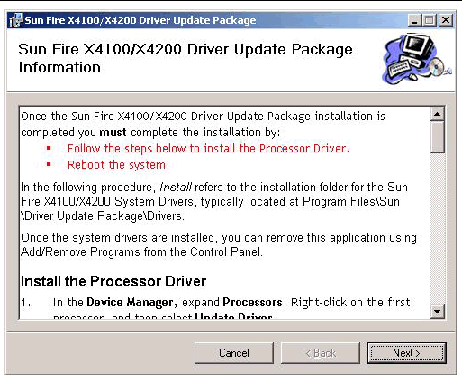
| Note - The instructions in the Driver Update Package dialog box are provided in this document. You do not need to read the instructions in this dialog box. |
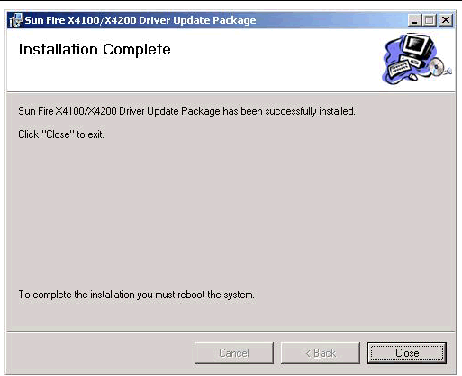
The Installation Complete dialog box displays.
FIGURE 8-11 Installation Complete Dialog Box
The Setup Succeeded dialog box displays.
FIGURE 8-12 Setup Succeeded Dialog Box

14. Click OK and proceed to Updating the AMD Processor Drivers.
To update the AMD processor drivers:
a. On the Windows desktop taskbar, click the Start button, then click Control Panel.
b. In Control Panel, double-click the System icon.
c. In the System Properties dialog box, click the Hardware tab, then click Device Manager.
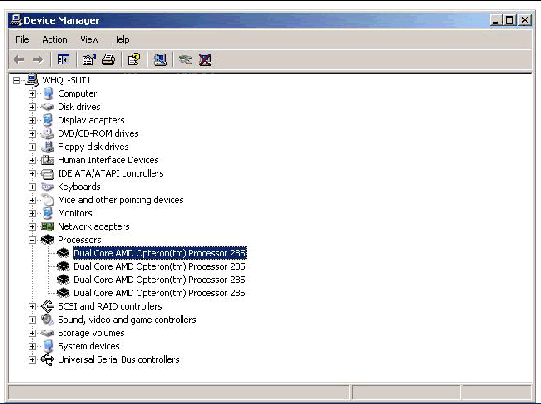
2. In Device Manager, expand the Processors list.
FIGURE 8-13 Device Manager Window With Processors Expanded
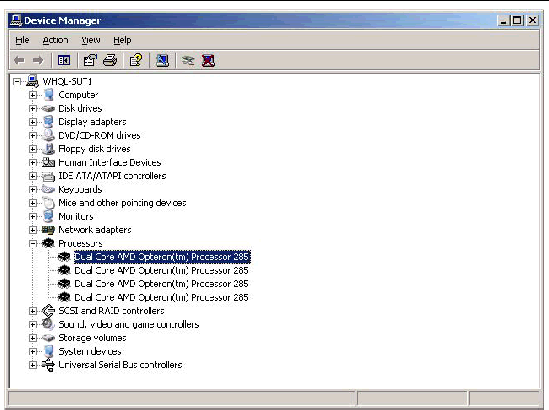
3. Right-click on the first processor in the list, then choose Update Driver from the shortcut menu.
The Welcome to the Hardware Update Wizard displays.
FIGURE 8-14 Welcome to the Hardware Update Wizard Dialog Box
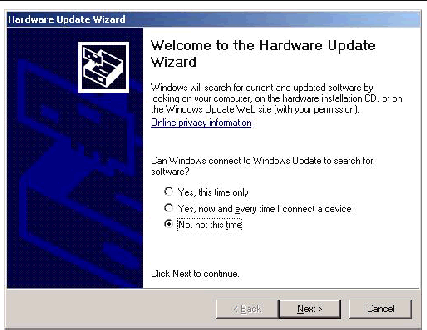
4. Select the option No, not this time, then click Next.
The Hardware Update Wizard dialog box displays.
FIGURE 8-15 Hardware Update Wizard Dialog Box
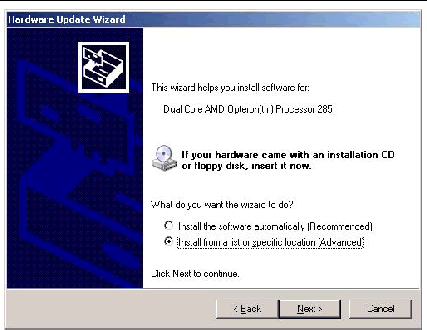
5. Click the option Install from a list or specific location, then click Next.
The Hardware Update Wizard dialog box displays, prompting you to choose a search and installation option.
FIGURE 8-16 Hardware Update Wizard, Search Option Dialog Box
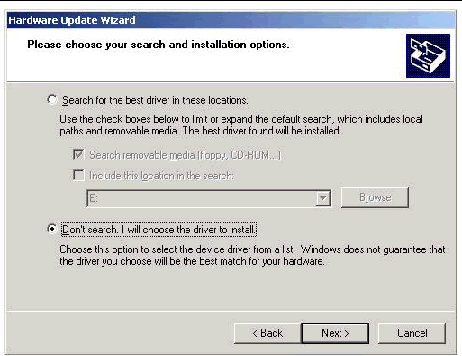
6. Click the option Don’t search, I will choose the driver to install, and then click Next.
The Hardware Update Wizard dialog box displays prompting you to select a device driver to install.
FIGURE 8-17 Hardware Update Wizard, Select Driver Dialog Box
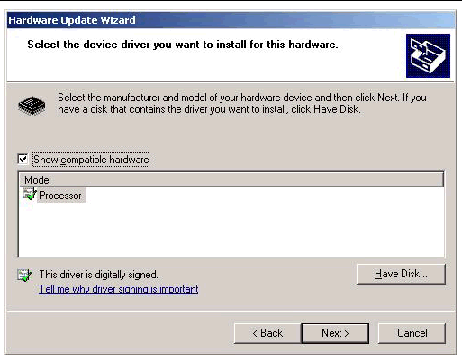
The Install From Disk dialog box displays.
FIGURE 8-18 Install From Disk Dialog Box
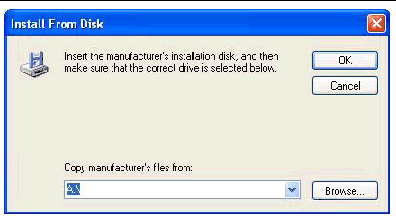
The Locate File dialog box displays.
FIGURE 8-19 Locate File Dialog Box
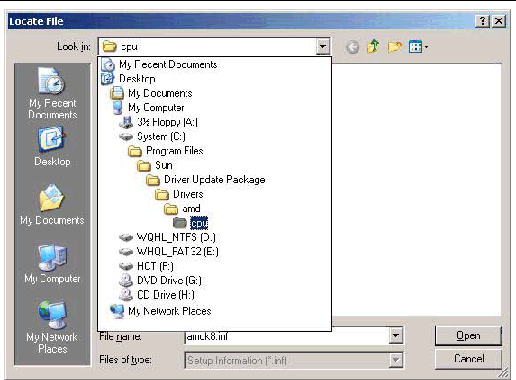
9. Navigate to the location of the AMD processor driver, then click Open.[1]
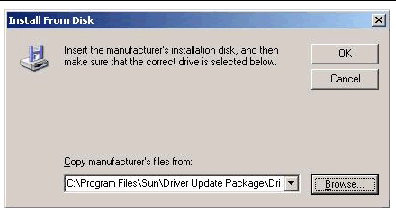
The Install From Disk dialog box displays, with the path of the drive shown.
FIGURE 8-20 Install from Disk Dialog Box
The Select Device Driver dialog box displays with the AMD K8 Processor in the Model list.
FIGURE 8-21 Select Device Driver Dialog Box
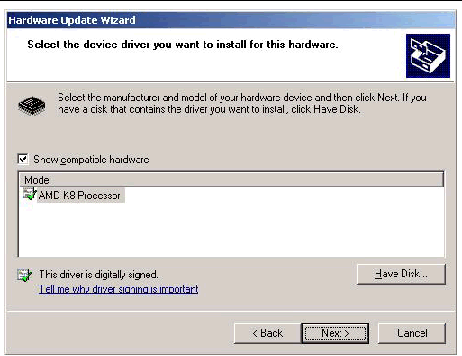
11. Select the AMD K8 Processor, then click Next.
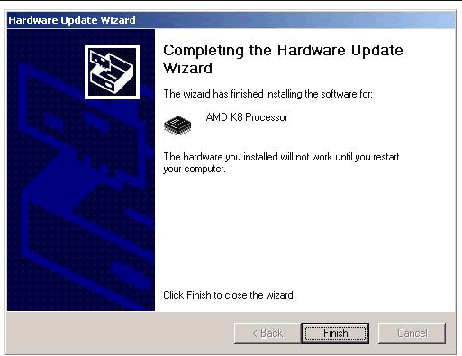
The Completing the Hardware Update Wizard dialog box displays.
FIGURE 8-22 Completing the Hardware Update Wizard Dialog Box
The System Settings Change dialog box displays.
FIGURE 8-23 System Settings Change Dialog Box

You need to update all AMD processor drivers. It is not necessary to restart your computer until the drivers for all AMD processors have been updated. Continue with the following steps until all drivers have been updated.
14. Open Device Manager and expand the Processor list.
FIGURE 8-24 Device Manager Window With Processors Expanded
| Note - The previously updated driver will be highlighted. |
15. Select the next processor on the list.
16. Right-click on the selected processor and choose Update Driver on the shortcut menu.
The Welcome to the Hardware Update Wizard dialog box displays.
FIGURE 8-25 Welcome to Hardware Update Wizard Dialog Box
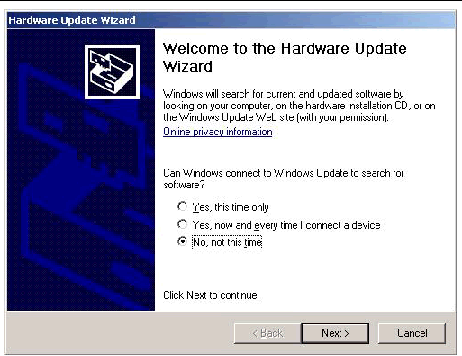
17. Click the option No, not this time then click Next.
The Hardware Update Wizard dialog box displays.
FIGURE 8-26 Hardware Update Wizard Dialog Box
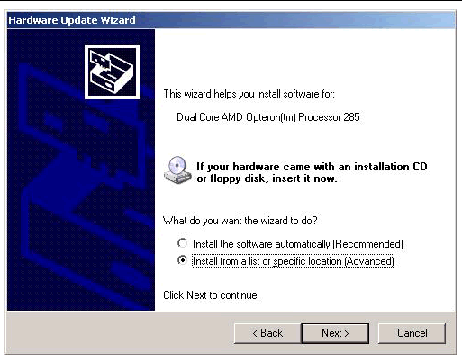
18. Click the option Install from a list or specific location and click Next.
The Hardware Update Wizard dialog box displays, prompting you to choose a search and installation option.
FIGURE 8-27 Hardware Update Wizard, Search Option Dialog Box
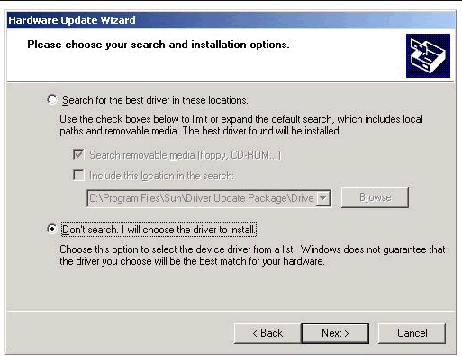
19. Click the option Don’t search, I will choose the driver to install, then click Next.
The Hardware Update Wizard dialog box displays, prompting you to select a device driver to install.
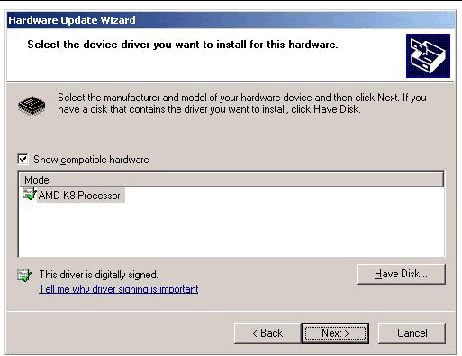
FIGURE 8-28 Hardware Update Wizard, Select Driver Dialog Box
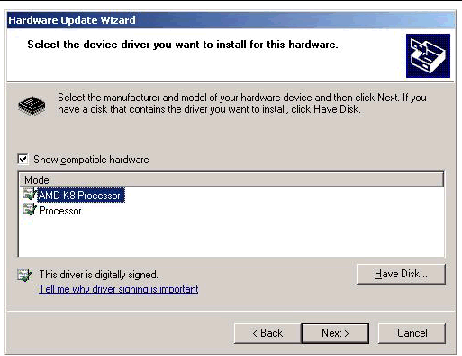
20. Select the AMD K8 Processor, then click Next.
The Completing the Hardware Update Wizard dialog box displays.
FIGURE 8-29 Completing the Hardware Update Dialog Box
The System Settings Change dialog box displays, prompting you to restart your computer.
FIGURE 8-30 System Settings Change Dialog Box

| Note - After all the system drivers are installed, you can remove the Sun Fire X4600 server Driver Update Package program from your system using the Add/Remove Program utility in the Control Panel. |
You have now completed all of the steps necessary for Windows Server 2003 operating system and driver installation for Sun Fire X4600 server.
Copyright © 2008, Sun Microsystems, Inc. All Rights Reserved.