Creating the Composite Application Project
Add the JBI module to the BPEL Module project before deploying the Composite Application. Deploying the project makes the service assembly available to the application server, thus allowing its service units to run.
 To Create the Composite Application Project
-
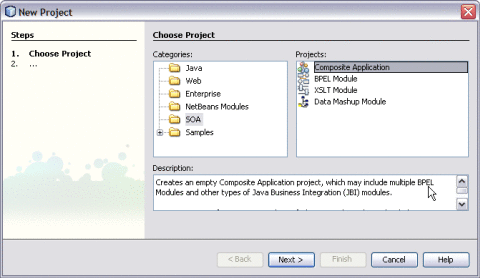
Choose File —> New Project from the main menu.
This opens the New Project wizard.
-
Select the SOA node from the Categories list.
-
Select the Composite Application node from the Projects list.
-
Click Next.
-
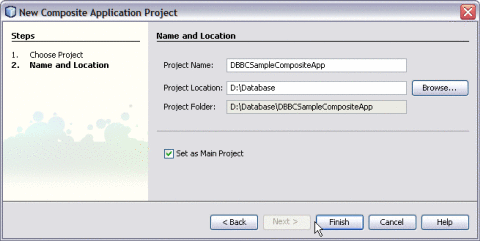
Type the Project Name in the Project Name field.
For example, DBBCSampleCompositeApp
-
Click Finish.
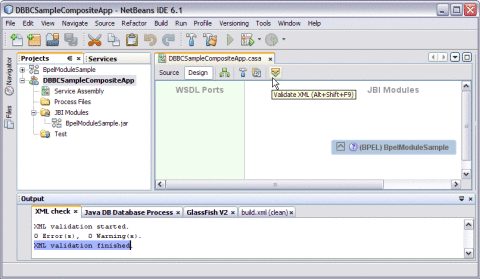
The Projects window now contains a project node for a Composite Application project called DBBCSampleCompositeApp.
-
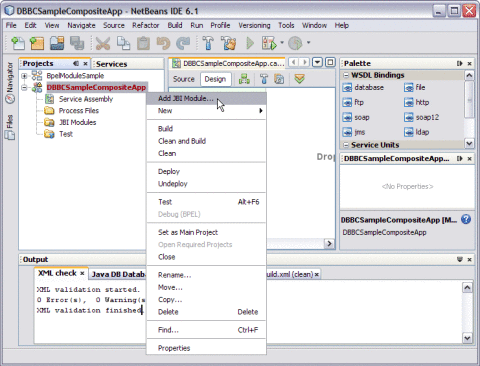
Right-click either the Composite Application Project node or expand the node and select JBI Modules.
For example, DBBCSampleCompositeApp
-
Select Add JBI Module.
-
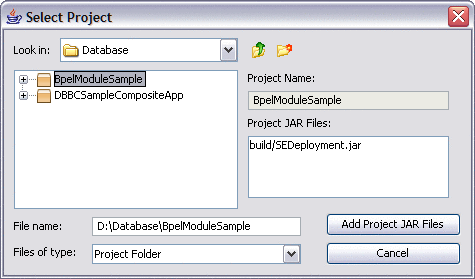
Select the Project. Click Add Project JAR Files.
For example, BpelModuleSample
The Project JAR Files is build/SEDeployment.jar.
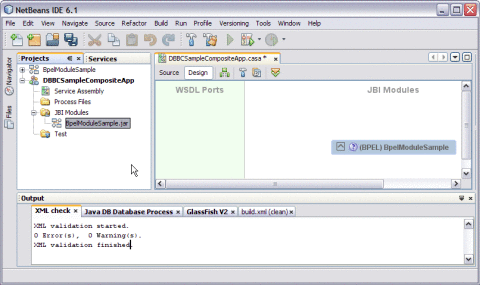
The BpelModuleSample.jar file is added into the project.
-
Click Save All.
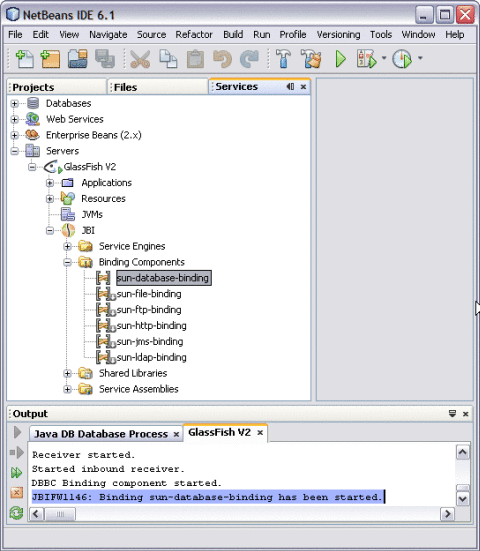
A detailed illustration is as shown on the deployed JBI Components.
-
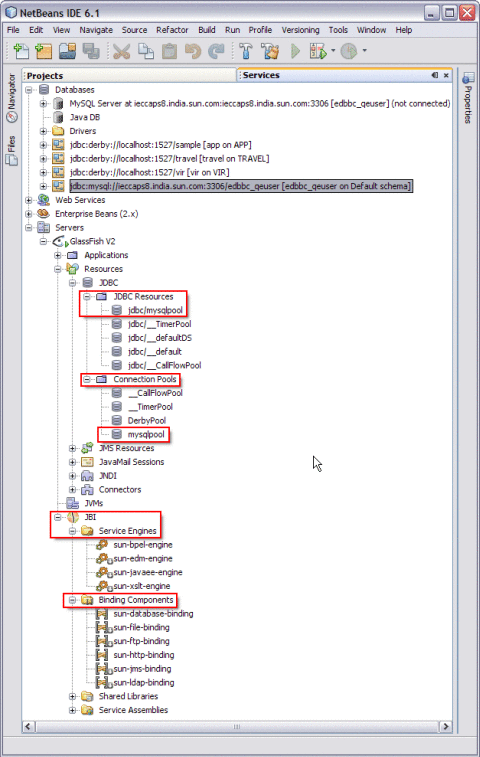
Expand IDE, open the Services window, expand the GlassFish V2 node, and expand the JBI node.
-
Right-click sun-database-binding and click Start.
Note –If you do not see the JBI node, you need to start the Application Server by choosing Start from the pop-up menu of the GlassFish V2 node.
-
-
Right-click the Composite Application project node and select Clean and Build.
For example, DBBCSampleCompositeApp
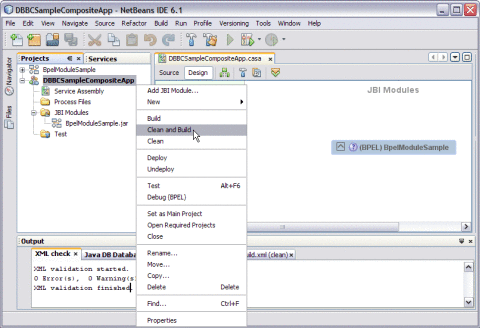
The CASA Editor displays the build of DBBCSampleCompositeApp.
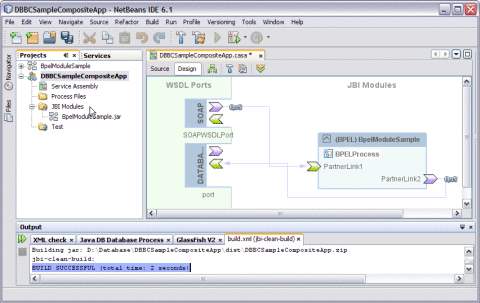
A message is displayed in the Output window:
BUILD SUCCESSFUL (total time: 2 seconds)
-
Click Save All.
- © 2010, Oracle Corporation and/or its affiliates
