 To Install Sun Master Index
Before You Begin
Before you can install Master Index, GlassFish ESB v2.2 must be installed.
-
Exit from all programs prior to beginning the installation.
You can cancel the installation at any time during the process.
-
Locate the Healthcare Pack Installer file on your installation media.
The file is named healthcarepack-v2.2-installer.jar.
-
To start the installation, either double-click the healthcarepack-v2.2-installer.jar file or run the following command from the command line:
java -jar healthcarepack-v2.2-installer.jar
The Healthcare Pack Installer wizard appears.

-
On the installer Welcome window, click Customize.
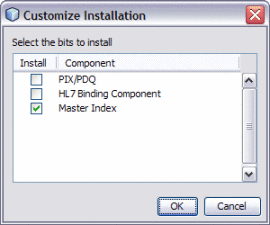
The Customize Installation dialog box appears.

-
Deselect PIX/PDQ and then select Master Index. Click OK.
-
On the installer Welcome window, click Next.
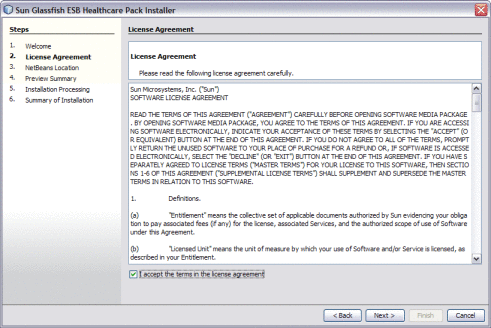
The License Agreement window appears.

-
Accept the License Agreement and then click Next.
The NetBeans Location window appears.

Note –When installing on Mac OS, the path to select is GlassFishESB_Home/netbeans.app/Contents/Resources/netbeans. There are no GlassFish components to install for Master Index, so you do not need to provide the GlassFish server home directory for this installation.
-
Accept or modify the location for the NetBeans home directory, and then click Next.
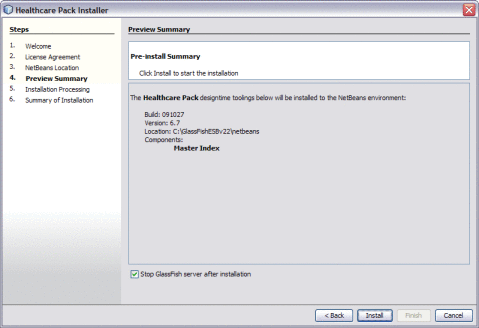
The Preview Summary window appears.
-
Review your installation selections. If you have any changes, use the Back and Next buttons to navigate back through the wizard.

-
If you do not want the installer to stop the GlassFish server after installation, deselect Stop GlassFish Server After Installation.
Note –If you deselect this option, be sure to restart the server once installation is complete.
-
When you are ready, click Install.
-
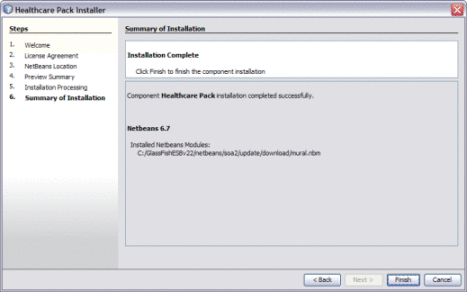
When the installation is complete, the Summary of Installation window appears, and displays a message letting you know whether or not the installation was successful.

- © 2010, Oracle Corporation and/or its affiliates
