To Create an fdisk Partition for Solaris: Installation
-
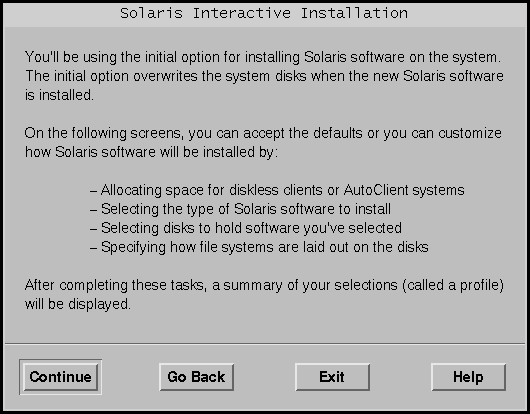
On the Solaris Interactive Installation dialog box, click Continue or Initial.
-
If you clicked Initial, additional information is displayed on the Solaris Interactive Installation dialog box:
-
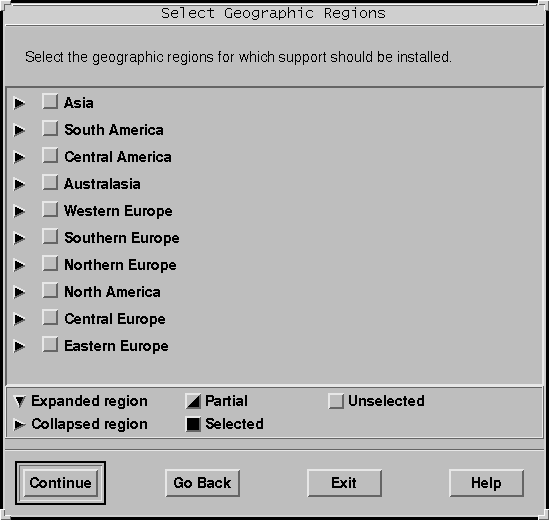
If you clicked Continue, the Select Geographic Regions dialog box is displayed:
-
-
In the previous step, did you select Continue or Initial?
-
If Continue, go to the next step.
-
If Initial, click Continue.
-
-
On the Select Geographic Regions dialog box, select the geographic region or regions for which you want to install support and click Continue.
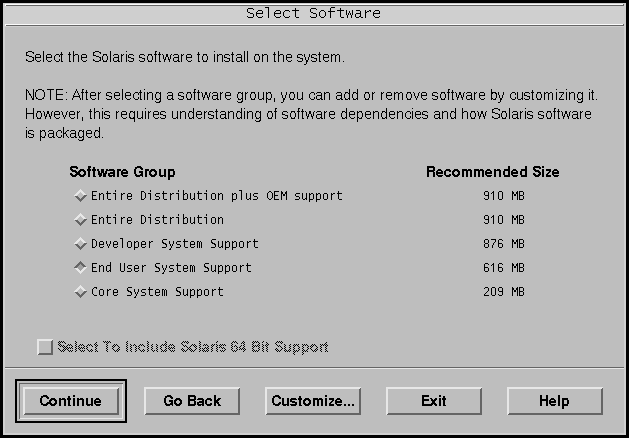
The Select Software dialog box is displayed:
-
Select the software group you want to install.
-
Do you want to add or remove software clusters or packages to or from the software group you selected in the previous step?
-
If no, go to the next step.
-
If yes, click Customize and use the Customize Software dialog box to add or remove the software clusters or packages you want.
-
-
-
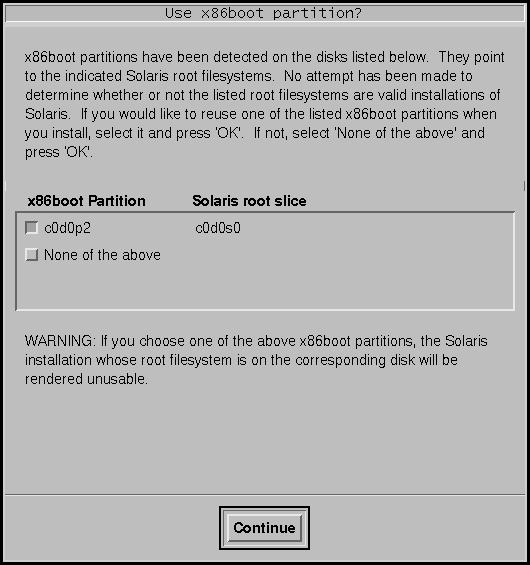
If an IA boot partition is found on the system's disk, the Use x86boot partition? dialog box is displayed:
Note -You cannot use Solaris Web Start to upgrade to Solaris 8 from Solaris 7 or earlier versions of the Solaris operating environment because it uses a different method to install Solaris software (a separate 10-Mbyte IA boot partition).
You must instead use the Solaris 8 Interactive Installation Program, which is described in more detail in "Using the Solaris 8 Interactive Installation Program" in Solaris 8 Advanced Installation Guide.
-
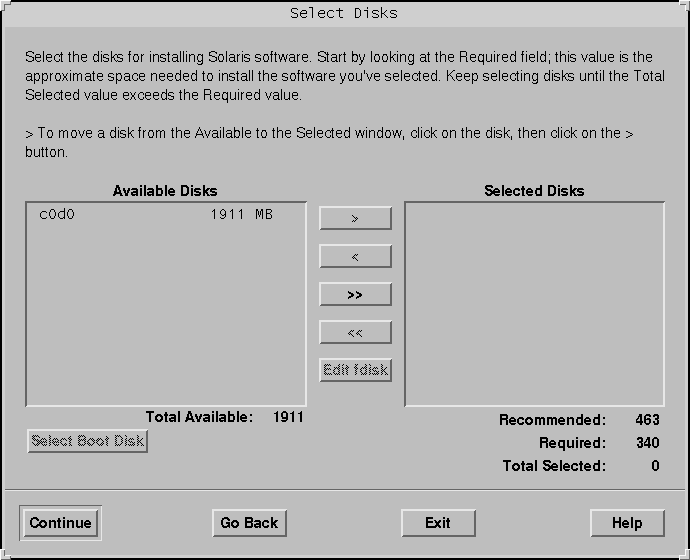
Otherwise, the Select Disks dialog box is displayed:
-
-
Was a boot partition detected on the disk in the preceding step?
-
If no, go to the next step.
-
If yes, select the boot disk you want to reuse or "None of the above" and click Continue.
The Select Disks dialog box is displayed.
-
-
If the disk you want isn't already shown in the Selected Disks window, highlight the disk you want in the Available Disks window, click the > button, and highlight the disk in the Selected Disks window.
The Edit fdisk button is activated.
-
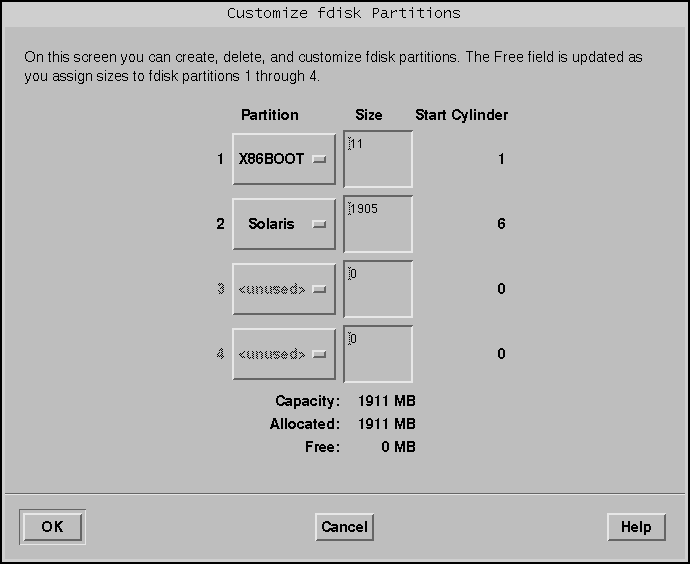
Click Edit fdisk.
The Customize fdisk Partitions dialog box is displayed:
-
Click and hold the button under Partition for the partition you want, and select Solaris from the pull down menu.
The following warning message is displayed:
Changes to this partition will destroy existing data on the partition
-
Click OK.
The Customize fdisk Partitions dialog box is dismissed, and the Select Disks dialog box is displayed.
-
-
If the partition you selected already contains data, the Preserve Data? dialog box is displayed.
-
If the partition does not contain data, the Automatically Layout File Systems? dialog box is displayed:

-
-
Is the Preserve Data? dialog box displayed?
-
Do you want the Solaris 8 Interactive Installation Program to lay out file systems for you automatically?
-
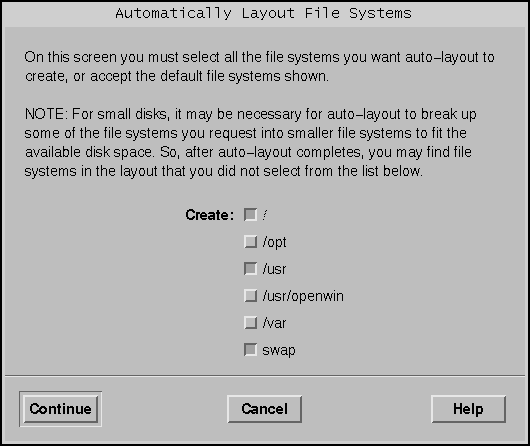
If yes, click Auto Layout.
The Automatically Layout File Systems dialog box is displayed:
-
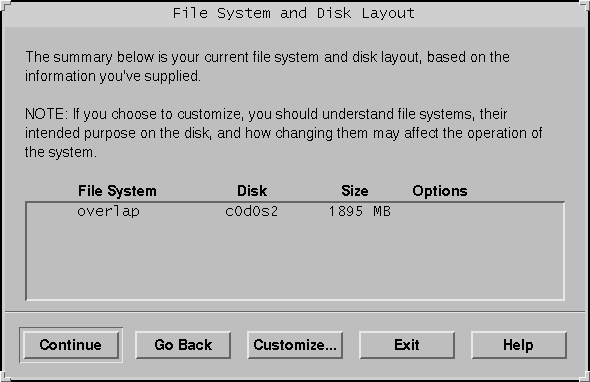
If no, click Manual Layout.
The File System and Disk Layout dialog box is displayed:
-
-
Did you select Auto Layout or Manual Layout?
-
If Manual Layout, go to the next step.
-
If Auto Layout, select the file systems you want to create, if any, and click Continue.
The File System and Disk Layout dialog box is displayed.
-
-
Do you want to customize the file system and disk layout?
-
If yes, click Customize and follow the directions on the dialog boxes that follow.
-
If no, click Continue.
The Mount Remote File Systems dialog box is displayed:

-
-
Do you want to mount software from a remote file server?
-
If yes, click Remote Mounts and follow the directions on the dialog boxes that follow.
-
If no, click Continue.
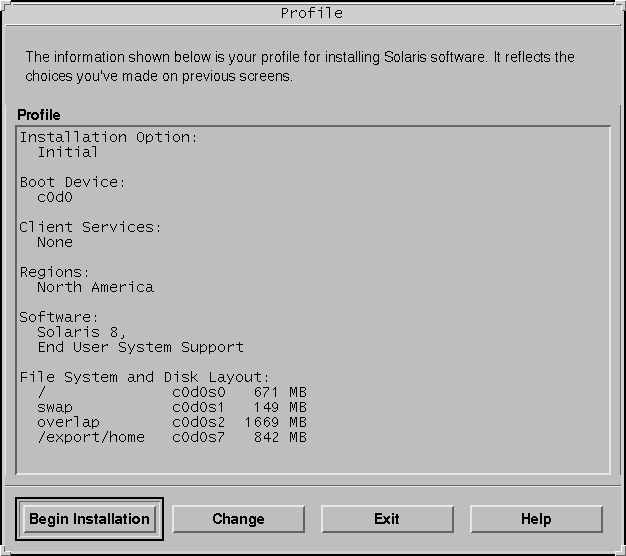
The Profile dialog box is displayed:
-
-
Click Begin Installation.
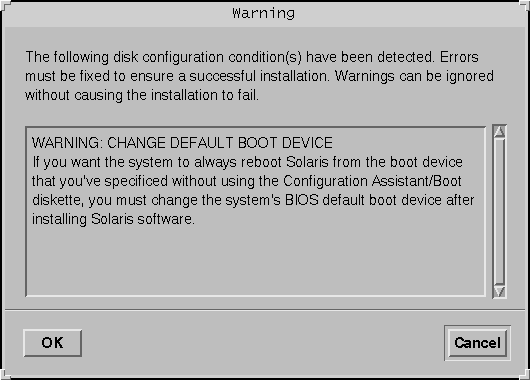
A Warning dialog box is displayed that reminds you to change the default boot device specified in the system's BIOS from the CD-ROM or diskette drive to the hard drive after you install the Solaris software:
-
Click OK.
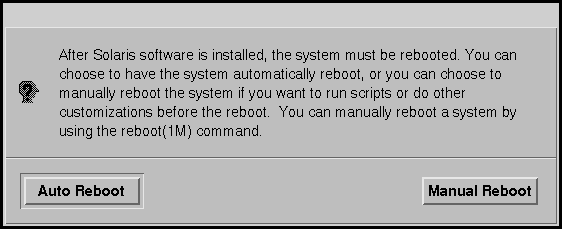
A dialog box with two buttons on it is displayed: Auto Reboot and Manual Reboot:
-
Click on Auto Reboot or Manual Reboot.
An Information dialog box is displayed that reminds you to eject the Solaris 8 Software 1 of 2 Intel Platform Edition or Solaris 8 Software 2 of 2 Intel Platform Edition CD and/or the diskette that contains the Solaris Device Configuration Assistant:

-
Did you insert the Device Configuration Assistant diskette into the diskette drive in Step 6?
-
If no, go to the next step.
-
If yes, eject it.
-
-
Eject the Solaris 8 Software 1 of 2 Intel Platform Edition or Solaris 8 Software 2 of 2 Intel Platform Edition CD from the CD-ROM drive.
-
On the Information dialog box, click OK.
The Installing Solaris Software - Progress dialog box is displayed:
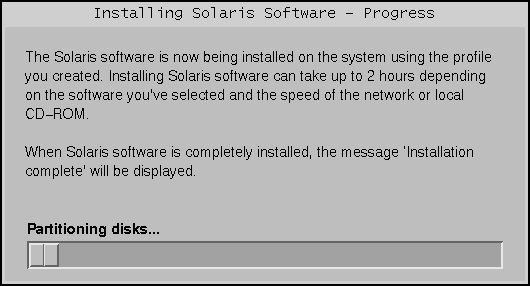
When the Solaris 8 Interactive Installation Program is finished installing the Solaris software, the system reboots automatically or prompts you to reboot manually.
-
After the system reboots or after you reboot the system, make sure that the active partition is set to the Solaris operating environment.
- © 2010, Oracle Corporation and/or its affiliates
