Using the Environment Editor
The Environment Editor provides a canvas in which you create and customize a runtime Environment. Here you can see the various components (Logical Hosts, servers, and external systems) included in the selected Environment.
Clicking an Environment icon in the Services window invokes the Environment Editor, which provides a canvas in which you can create and customize an Environment.
Here you can see the various components (domains, servers, and external systems) included in the selected Environment. New Environments are added through the use of the CAPS Environments context menu. Components are added to the Environment by selecting options in the Environment and Logical Host context menus.
 To create and populate a runtime Environment
-
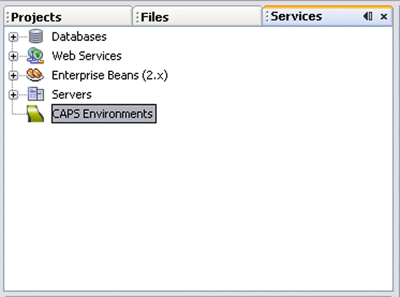
In the NetBeans Services window, right-click the CAPS Environments node to display its context menu.
Figure 1 Services Window: CAPS Environment Node

-
Select New Environment, and assign an appropriate name.
-
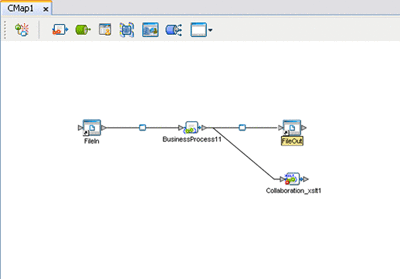
Right-click the Environment to display its context menu, and create the components you need. As a simple example, if you are creating an Environment to which to deploy the Project depicted in the following figure, you need the components listed below.
Figure 2 Example Project Connectivity Map

-
A new Logical Host (see Adding Logical Hosts and Domains).
-
A new Application Server (see Adding Application Servers).
-
A new message server (see Adding Message Servers).
-
Two new File External Systems, one Inbound and one Outbound.
-
-
Name the Environmental components appropriately.
-
Configure the components as described in the appropriate Configuration topic
- © 2010, Oracle Corporation and/or its affiliates
