Building and Deploying the Project
The Build process compiles and validates the project's Java files and creates a project enterprise application archives (EAR) file. This file runs on an application server. Deploying the projects deploys the EAR file to the application server.
Perform the following steps for each of the Deployment Profiles you want to deploy:
Starting the GlassFish Server
The deployment will fail if the application server is not started.
 To Start the GlassFish Server
Before you can deploy a project, you need to start the application server.
-
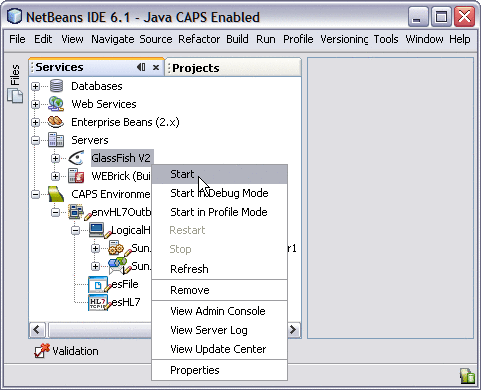
On the Services window, expand Servers.
-
Right-click GlassFish V2 and select Start.
The GlassFish server starts. This may take a few minutes

Building a Project
Once the Deployment Profile is created and the Connectivity Map and Environment components are mapped, you can build the project. This creates the EAR file that gets deployed to the application server.
 To Build a Project
-
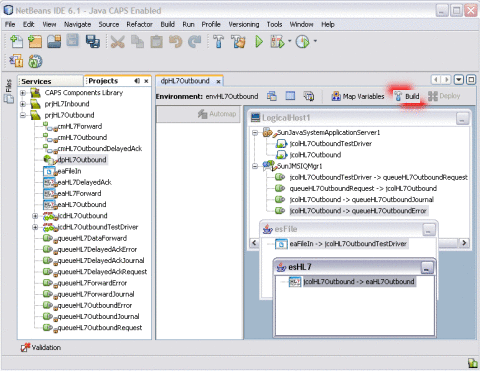
Open the Deployment Profile you want to build.
-
Click the Build icon on the Deployment Editor toolbar.

Note –If the build fails, an error dialog box appears and the errors are listed in the Validation window. Correct any errors and rebuild. Validation errors will occur if you did not open the External System Properties Editors in the Environment.
-
When the build is complete, a confirmation dialog appears. Click OK to close it.
Deploying the Project
Once you deploy the project, it will immediately begin running. If there are any input files in the specified input directory, they will be processed.
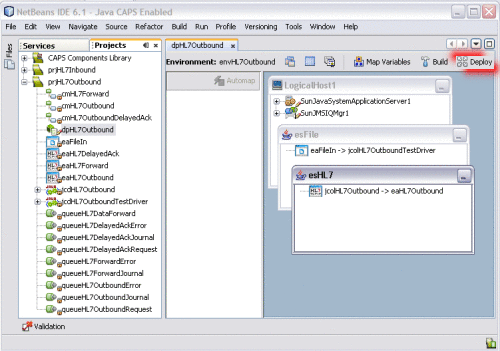
 To Deploy the Project
- © 2010, Oracle Corporation and/or its affiliates

