|
|
 |
|
| Removing the base | Attaching a base |
| Removing the base |
|
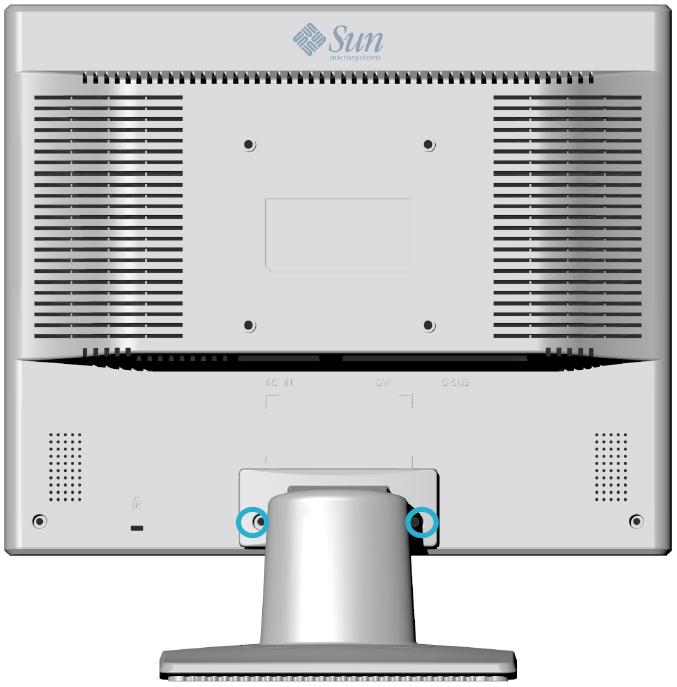
| 1. |
Turn off your monitor and unplug its power cord. |
| 2. |
Lay the LCD monitor face-down on a flat surface with a cushion beneath it to protect the
screen. |
| 3. |
Remove the two screws and then remove the cover plate. |
| 4. |
Beneath the cover plate are two additional screws.
Remove the two additional screws to detachthe stand. |
|
|
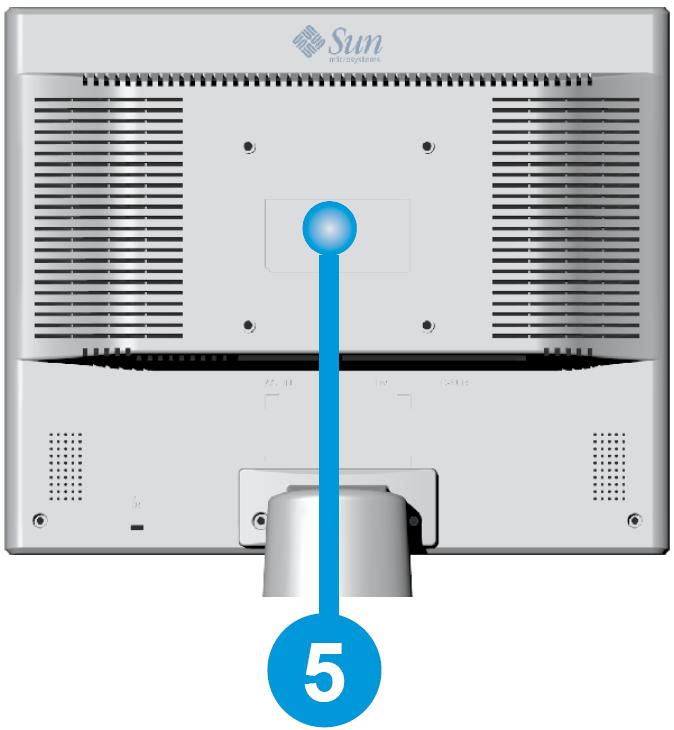
| Installing VESA compliant
mounting (not included) |
|
| 5. |
VESA compliant mounting pad. |
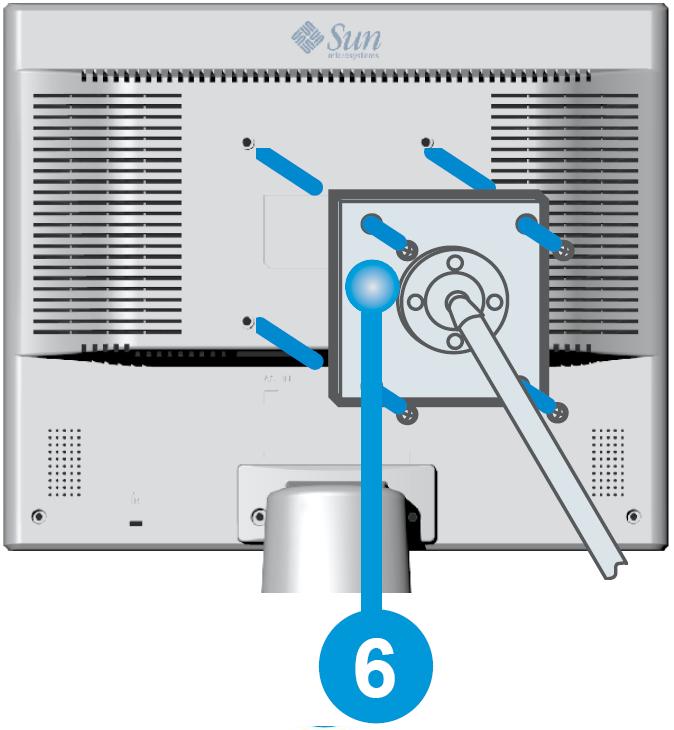
| 6. |
Align the VESA mount with the holes in the VESA
compliant mounting pad and secure it with the fourscrews
supplied with the arm-type base, wall mount hanger or other
base. |
|
|