| Sun Netra CP3240 Switch User’s Guide |
| C H A P T E R 3 |
|
Using the Web Interface |
This chapter is a brief introduction to the Web interface. This chapter explains how to access the Web-based management panels to configure and manage the system.
This chapter contains the following topics:
You can manage your switch through a Web browser and Internet connection. This is referred to as Web-based management. To use Web-based management, the system must be set up for network connectivity.
To access the switch, the Web browser must support:
There are equivalent functions in the Web interface and the terminal interface--both applications usually employ the same menus to accomplish a task. For example, when you log in, there is a Main Menu with the same functions available, etc.
There are several differences between the Web and terminal interfaces. For example, on the Web interface the entire forwarding database can be displayed, while the terminal interface only displays 10 entries starting at specified addresses.
To terminate the Web interface session, close the web browser.
|
1. Configure the switch for network connectivity. (See Chapter 1 for instructions.)
2. Connect the switch to the network.
3. Use the ip http server command to verify the web server is enabled.
By default, the web server is enabled.
1. Enter the IP address of the switch in the Web browser address field.
2. Click Login when the Login panel () displays.
FIGURE 3-1 Web Interface Panel-Example
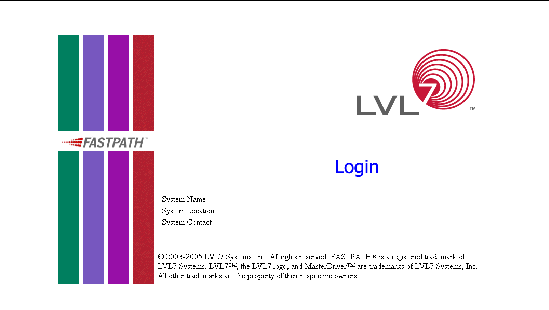
3. Enter the appropriate User Name and Password.
The User Name and associated Password are the same as those used for the terminal interface.
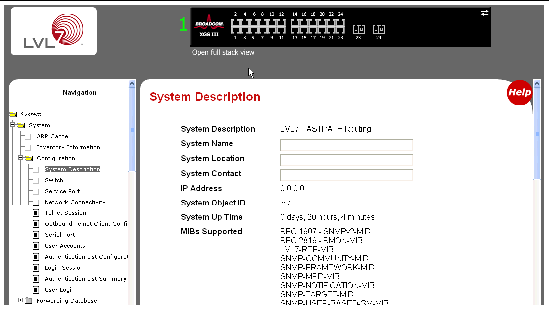
The System Description Menu displays as shown in Web Interface Panel-Example, with the navigation tree appearing to the left of the screen.
5. Make a selection by clicking on the appropriate item in the navigation tree.
A Web interface panel for the switch Web page consists of three areas (Web Interface Panel-Example).
FIGURE 3-2 Web Interface Panel-Example
FIGURE 3-3 Configuring an SNMP V3 User Profile
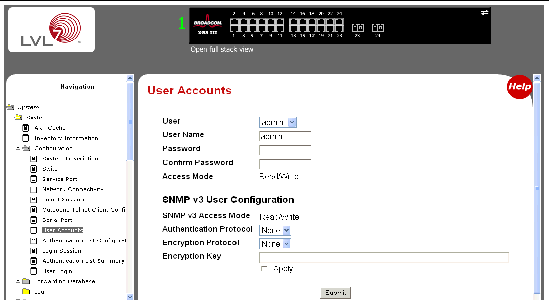
Configuring an SNMP V3 user profile is a part of user configuration. Any user can connect to the switch using the SNMPv3 protocol, but for authentication and encryption, additional steps are needed. Use the following steps to configure an SNMP V3 new user profile.
1. Select System-->Configuration-->User Accounts from the hierarchical tree on the left side of the web interface (see Configuring an SNMP V3 User Profile).
2. Using the User pull-down menu, select Create to create a new user.
3. Enter a new user name in the User Name field.
4. Enter a new user password in the Password field and then retype it in the Confirm Password field.
| Note - If SNMPv3 Authentication is to be implemented for this user, set a password of eight or more alphanumeric characters. |
5. If you do not need authentication, go to Click Submit..
6. To enable authentication, use the Authentication Protocol pull-down menu to select either MD5 or SHA for the authentication protocol.
7. If you do not need encryption, go to Click Submit..
8. To enable encryption, use the Encryption Protocol pull-down menu to select DES for the encryption scheme. Then, enter an encryption code of eight or more alphanumeric characters in the Encryption Key field.
The following command buttons are used throughout the Web interface panels for the switch:
| Sun Netra CP3240 Switch User’s Guide | 820-3252-11 |
© 2007 Diversified Technology, Inc. All Rights Reserved. © 2009 Sun Microsystems, Inc. All rights reserved.
 To Configure for Web Access