|
|
| Sun ONE Web Services Platform Developer Edition Installation Guide |
Installing on WindowsThis section describes the steps required to install the Sun™ ONE Web Services Platform Developer Edition software on the Windows 2000 platform.
This section contains the following topics:
- Previous Installations of the Sun ONE Web Services Platform Developer Edition Software
- Required Privileges and Login
- Running the Installation Program
Previous Installations of the Sun ONE Web Services Platform Developer Edition Software
- Uninstall any previously installed versions of the Sun ONE Web Services Platform Developer Edition software.
- Uninstall any previously installed versions of the components that come with the Sun ONE Web Services Platform Developer Edition software (the Sun ONE Studio, Sun ONE Application Server, Sun ONE Identity Server, and the Sun ONE Web Server).
- After uninstalling, check to make certain that all products were uninstalled.
Note IMPORTANT: See Uninstalling From Windows.
Required Privileges and Login
To run the Sun ONE Web Services Platform Developer Edition installer on Windows 2000, you must log in as Administrator, or as a user with administrator privileges.
Running the Installation Program
The following steps describe how to use the graphical user interface to install the Sun ONE Web Services Platform Developer Edition software on your Windows 2000 environment.
Before installing the Sun ONE Web Services Platform Developer Edition software, you must check for a fully qualified domain name.
To check for a fully qualified domain name:
- Right-click the My Computer icon located on your desktop.
- Click Properties.
The System Properties window appears.
- Click Network Identification.
- Click Properties.
- The Identification Changes window appears.
- Click More.
- The DNS Suffix and NetBIOS Computer Name window appears.
- This window has a text box labeled Primary DNS suffix of this computer.
- If the text box is blank, enter a valid <domain_name>.
- Click OK.
Install
Before installing, you must uninstall any previously installed versions of the Sun ONE Web Services Platform Developer Edition software.
Additionally, you must uninstall any previously installed versions of the components that come with the Sun ONE Web Services Platform Developer Edition software (Sun ONE Studio, Sun ONE Application Server, Sun ONE Identity Server, and Sun ONE Web Server).
Note
- Check your system to see if any of the following still exist from previous installations:
Note See Removing Leftover Files, Registry Entries, and Services from Previous Windows 2000 Installations.
- Reboot your machine.
- Check the Windows 2000 System Requirements section of this installation guide to see if your machine meets the requirements.
- Insert the CD or the DVD.
The DOS Window appears.
A message appears on the DOS prompt as follows:
Sun[tm] ONE Web Services Platform Developer Edition.
Please review the Installation Guide on the product CD/DVD before installing.
Do you want to begin installing now? [Y/N]:
- To continue, enter Y.
- Press Enter.
The installation automatically begins.
The Welcome page appears.
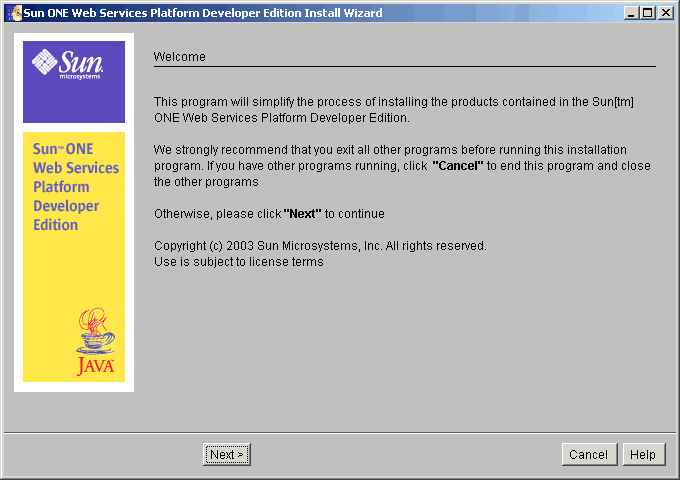
- Read the Welcome message.
- Click Next to continue.
Note If you click Cancel, the installation program aborts without installing the Sun ONE Web Services Platform Developer Edition software.
The System Requirements page appears.
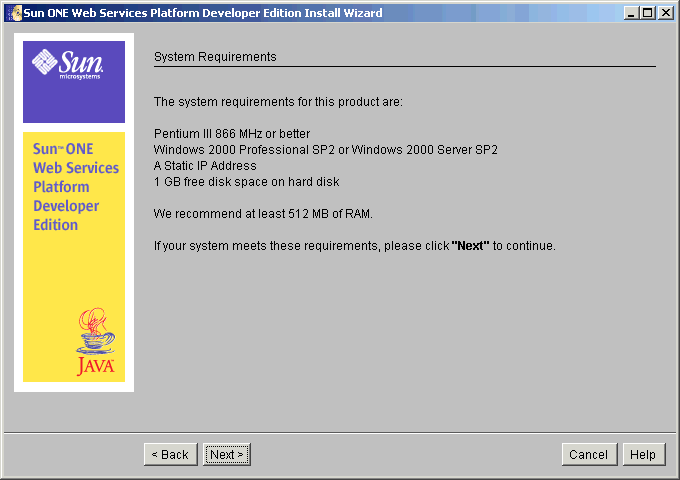
- If your system has the minimum system requirements, click Next to continue.
The Software License Agreement page appears.
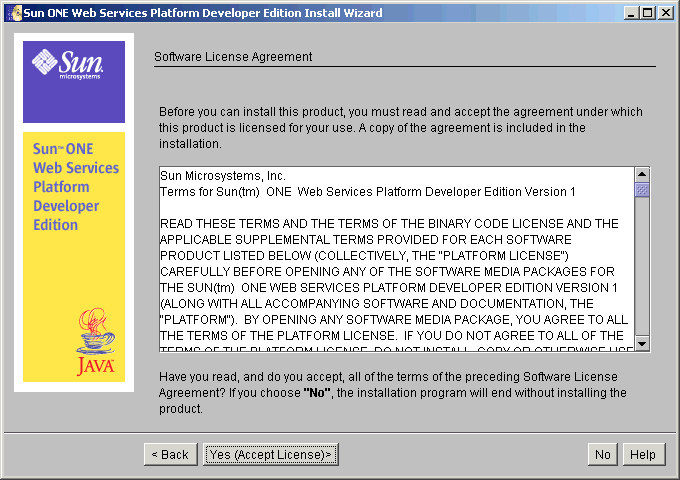
- Read the license agreement.
- Click Yes (Accept License) to accept and continue.
If you click No, the installation program aborts without installing the Sun ONE Web Services Platform Developer Edition software.
The Java Platform page appears.
Note If the installer finds a suitable JDK in your system, this page does not appear.
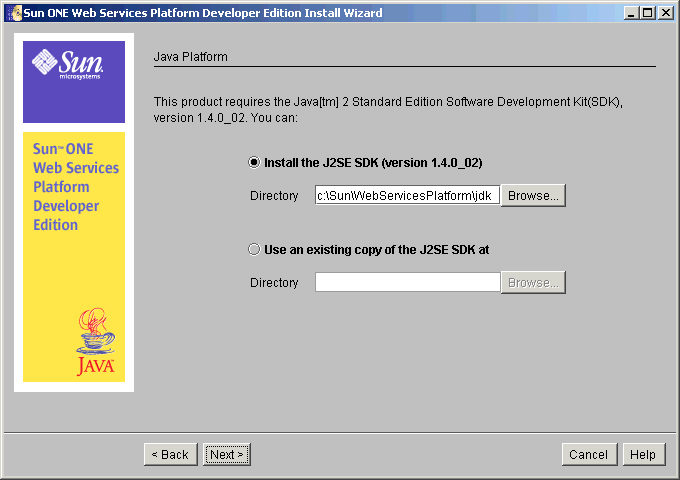
- To locate an existing copy of the J2SE SDK (version 1.4.0_02), click Browse.
- Click Next to continue.
The Select Installation Directory page appears.
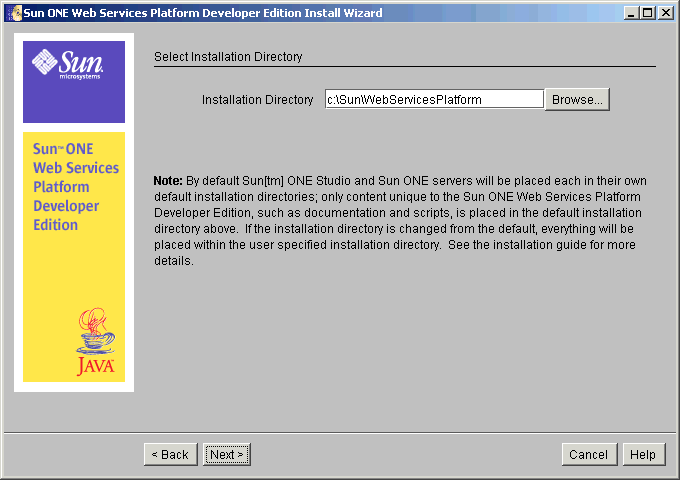
- Accept the default location to install the Sun ONE Web Services Platform Developer Edition software, or click Browse to select a directory.
Depending upon the speed of your computer system, this process can take a few moments.
By default, the Sun ONE Studio and the Sun ONE servers are placed each in its own default installation directory.
Only content that is unique to the Sun ONE Web Services Platform Developer Edition is placed in the default installation directory (for example, documentation and scripts).
If the default is accepted (C:\Sun\WebServicesPlatform), the products are installed in their default locations as follows:
C:\Sun\WebServicesPlatform\
C:\Sun\AppServer7
C:\Program Files\Sun\Connector Builder
C:\Sun\IdentityServer
C:\Program Files\studio\ee
C:\Sun\ASPolicyAgentIf the installation directory is changed from the default, everything is placed within the user specified installation directory.
If the default is not accepted:
If the user input is d:\<install_dir>,
s1dp-root : d:\install_dir\WebServicesPlatform :d:\<install_dir>\WebServicesPlatform\AppServer7
d:\<install_dir>\WebServicesPlatform\Connector Builder
d:\<install_dir>\WebServicesPlatform\IdentityServer
d:\<install_dir>\WebServicesPlatform\studio\ee
d:\<install_dir>\WebServicesPlatform\ASPolicyAgentIf this is a reinstallation of the Sun ONE Web Services Platform Developer Edition, the installer defaults to the directory from the previous installation.
- Click Next.
The Choose Products to Install page appears.
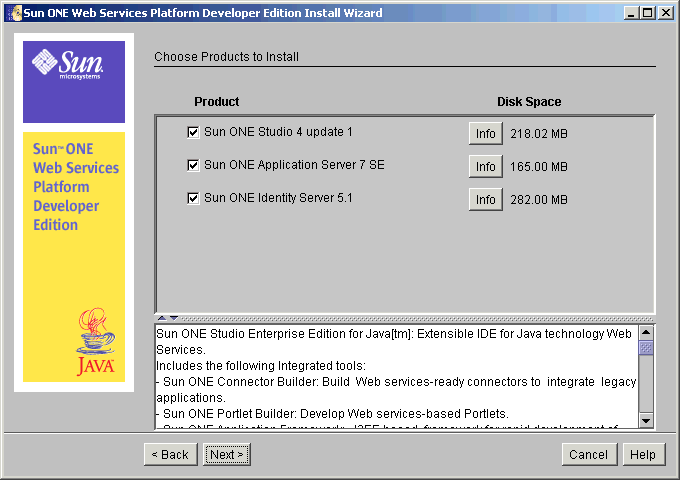
- Select the software products you want to install.
- Click Info next to any product to read a brief product description in the text box at the bottom of the page.
- After you have made your selections, click Next.
The Server Settings page appears.
Note The Server Settings page does not appear if you selected only the Sun ONE Studio 4 update 1, Enterprise Edition for Java from the Select Components page in Step 16 above.
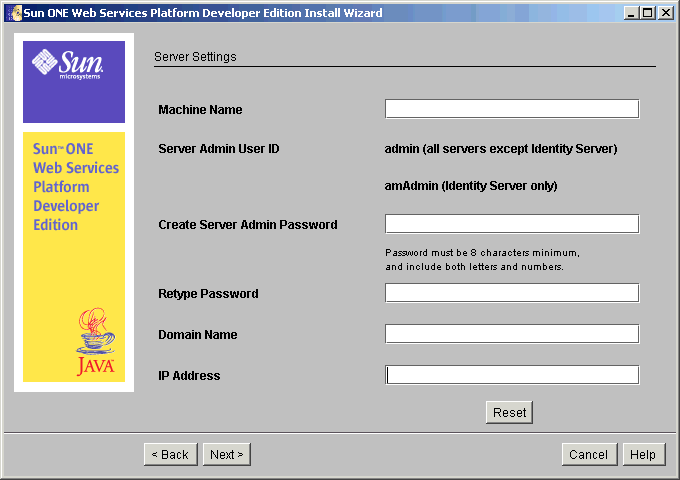
- Enter the following details in the text boxes that are provided:
Machine Name
Accept the default, or enter a valid machine name.
Create Admin Server Password
Enter the password to be used by the administrator to log in to the Sun ONE Web Services Platform Developer Edition software.
Note The administrator password must be a minimum of eight alpha-numeric characters.
Retype Password
Enter the admin server password again to confirm.
Domain Name
Accept the default, or enter a valid DNS domain name.
This should match your primary DNS suffix as mentioned in the first step of Running the Installation Program.
IP Address
Accept the default.
- Click Next.
The Checking System Status page appears.
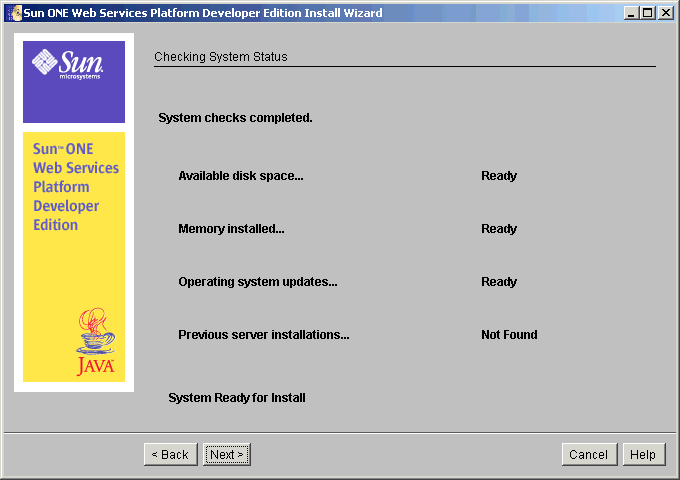
The installation program verifies available disk space, installed memory (RAM), and operating system updates.
To prevent installation failure, the installation program also checks for any previous installation of the selected products that were not installed by the Sun ONE Web Services Platform Developer Edition installer.
In the event the RAM check detects that available RAM is less than the minimum value suggested, the message Less Than Recommended is shown in the system check panel
The installation can continue, but there can be performance issues, depending on the number of products selected for installation.
If the system check fails in terms of Disk Space or Operating System Updates, the system is not ready for installation, and the Next button is disabled.
In this case, click View Report to see the details of any problems.
Note When using an unsupported operating system, a warning appears.
You are allowed to continue the installation, but a successful installation of the product is not guaranteed.
If the required system updates are not available on your system:
a. Click Cancel to abort the installation.
b. Correct the problems.
c. Initiate the installation of the Sun ONE Web Services Platform Developer Edition software.
If a previous installation of the products is found:
a. Exit the installer.
b. Uninstall/Remove the existing installation.
c. Restart the installation of the Sun ONE Web Services Platform Developer Edition software.
- After the system check is complete, click Next to continue.
The Ready to Install page appears.
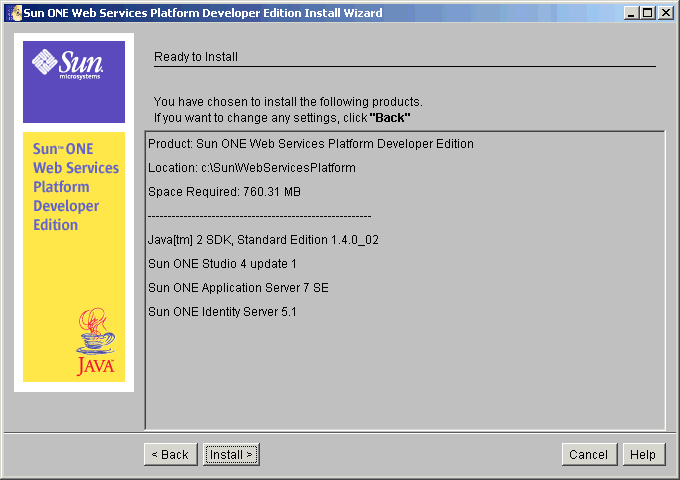
This page lists the directory location, required disk space, and the components and software that are to be installed.
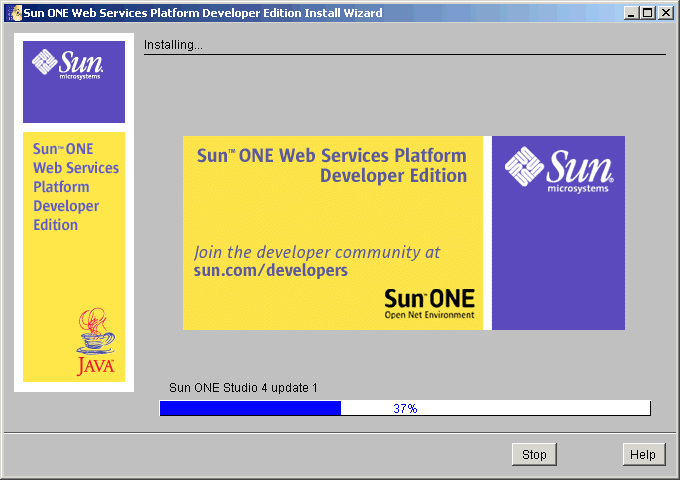
- Click Install to complete the installation.
The Installing page appears.
The Installation Summary page appears.
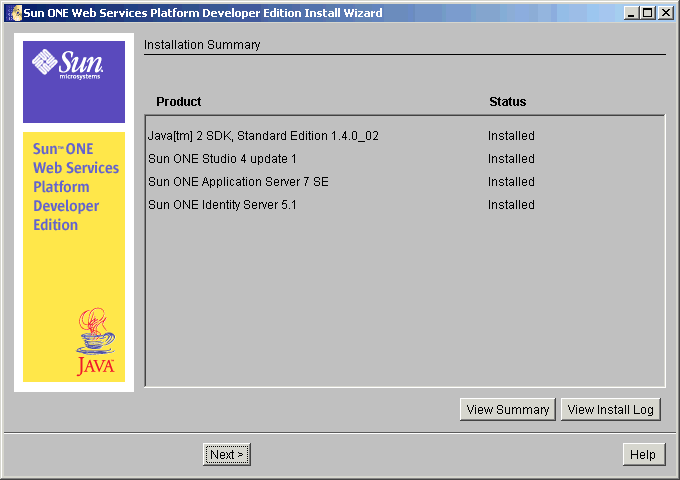
Click View Summary to view information such as the install location and port numbers for the servers.
Click View Install Log to view the installation details.
- Click Next.
The Ready to Use page appears.
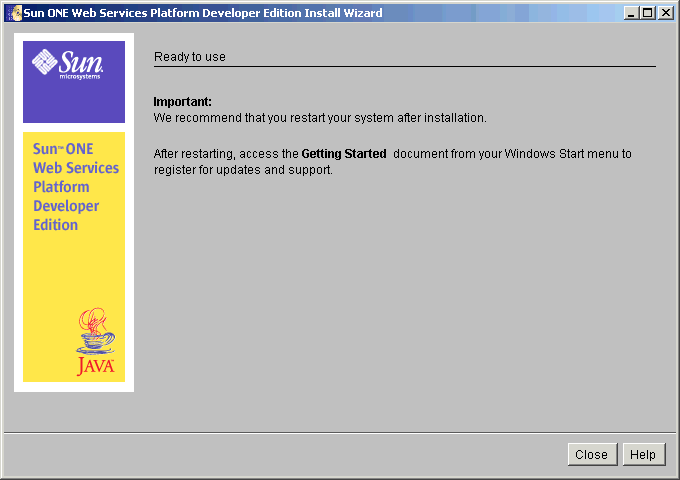
- Click Finish.
The Sun ONE Web Services Platform Developer Edition Install window appears with the following warning message:
Do you want to restart your machine now?
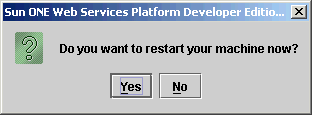
Note Restarting your machine at this point is recommended.
- Click Yes.
- After your machine completely reboots, the Getting Started page automatically launches.
At any future time, you can access the Getting Started page, or any other documents from your Windows Start menu:
Start > Programs > Sun Microsystems > Sun ONE Web Services Platform Developer Edition >Documentation
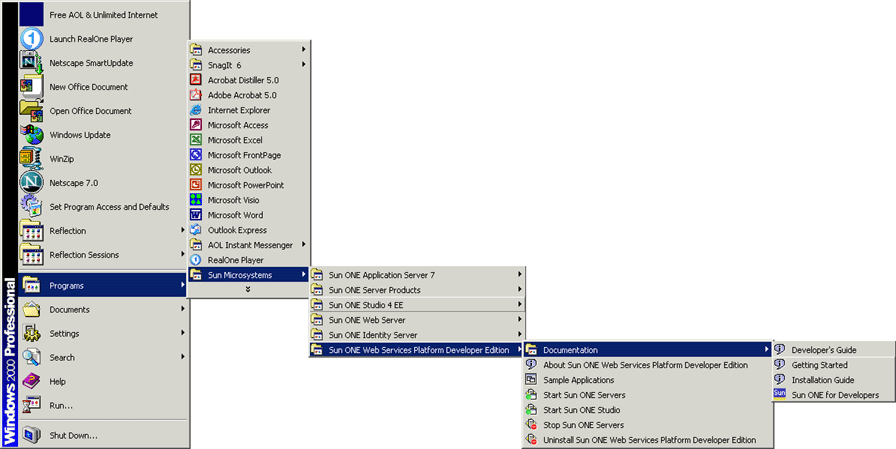
- Start all of the servers:
Start > Programs > Sun Microsystems > Sun ONE Web Services Platform Developer Edition > Start Sun ONE Servers