8 I/O Bracket Assembly


This chapter explains how to remove and replace a defective I/O bracket.

Removing an I/O Bracket Assembly

To remove the I/O bracket assembly, follow these steps:

    1. Remove the disk or tape drive.

    Refer to Chapter 5, "Removing a Disk Drive Assembly" or Chapter 6, "Removing a Tape Drive Assembly."

    2. Remove the power supply.

    Refer to Chapter 7.

    3. Locate the I/O bracket assembly.

    See the following figure.

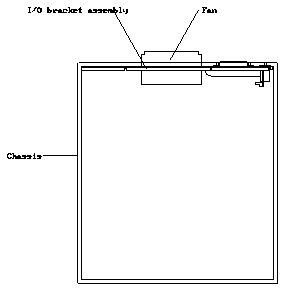
    Figure 8-1 I/O Bracket Assembly

    4. Grasp the left side of the I/O fan bracket assembly and swing the bracket out until the SCSI connectors and SCSI address buttons are clear.

    See the following figure.

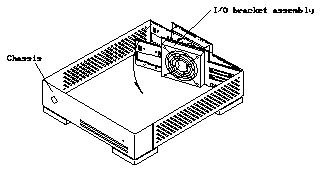
    Figure 8-2 Removing the I/O Bracket Assembly

    5. Lift the I/O bracket assembly straight up and away from the Desktop Storage Module .

    Put the I/O bracket assembly aside.

Replacing an I/O Bracket Assembly

Follow these steps to replace an I/O bracket assembly:

    1. Lower the I/O bracket assembly into the rear of Desktop Storage Module and slide it at an angle until it is pressed against the corner as shown in Figure 8-3.
    2. Swing the left side of the bracket towards the rear of the Desktop Storage Module until the bracket is pressed firmly against the rear of the Desktop Storage Module .

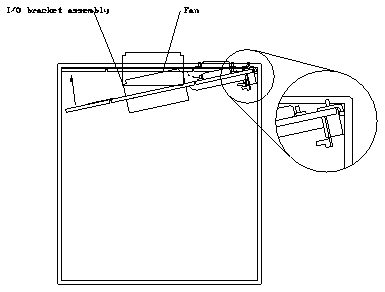
    Figure 8-3 Replacing the I/O Bracket Assembly

    3. Replace the power supply.

    See "Replacing a Power Supply" in Chapter 7.

    4. Replace the drive.

    See "Replacing a Disk Drive" in Chapter 5, if the DSM contains a disk drive. See "Replacing a Tape Drive" in Chapter 6, if the DSM contains a tape drive.