Basic Array Member Configuration
You must have completed basic proxy cache and basic array configuration before starting the procedure described here. Pointing your browser at the administrative host, you must perform this procedure for each host in your Netra Proxy Cache Array, including the administrative host.
To Perform Basic Array Member Configuration
To fill in values for basic array member configuration, you need the data you gathered in Table 1-7.
-
In the Proxy Cache Administration page, click the Basic array member configuration link.
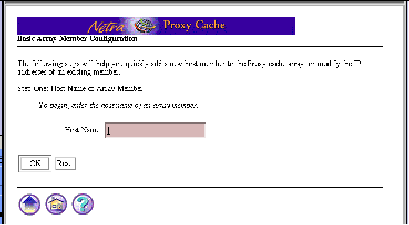
The Basic Array Member Configuration page is displayed, as shown in Figure 3-13.
Figure 3-13 Basic Array Member Configuration Page

-
In the Step One segment, enter the host name of the Netra Proxy Cache Array member and click OK.
The Basic Array Member Configuration page redisplays, with the remaining configuration step displayed.
-
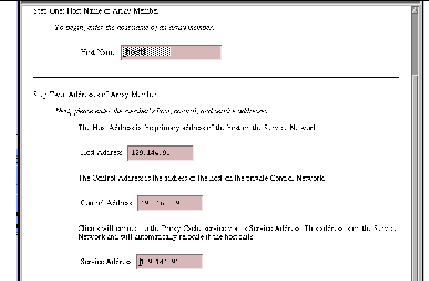
Scroll down to the Step Two segment, as shown in Figure 3-14.
Figure 3-14 Basic Array Member Configuration: Step Two

-
In the Step Two segment of the page shown in Figure 3-14, enter the following items:
-
Host Address
-
Control Address
-
Service Address (for the proxy cache service)
-
-
Click OK.
If you make an error, either the same page or a special error page is displayed. In both cases, the error is cited on the page. If the same page is displayed, correct the error and click OK to proceed. If an error page is displayed, correct the error, the use the browser's back button to return to the Basic Array Member Configuration page. In this page, click OK to proceed.
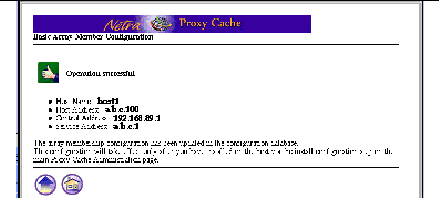
After you have submitted a correct set of array member properties, a page is displayed indicating success and displaying your selections. An example of such a page is shown below.
Figure 3-15 Successful Array Member Configuration

-
In the page shown in Figure 3-15, click the up-arrow icon.
You return to the Proxy Cache Administration page, as shown in Figure 3-12.
You must perform array member configuration for each host in your array. For each additional machine, click the Basic Array Member Configuration link in the Proxy Cache Administration page and repeat the steps described here.
After you enter array member configuration information for all hosts in the array, you will install the updated configuration on those hosts, as described in the following section.
- © 2010, Oracle Corporation and/or its affiliates
