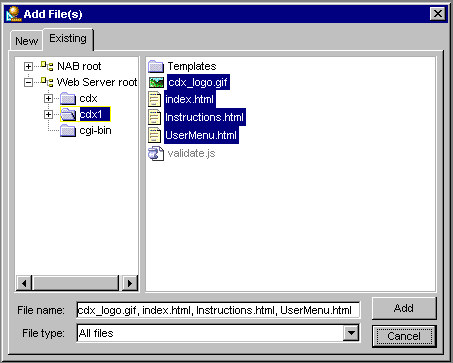
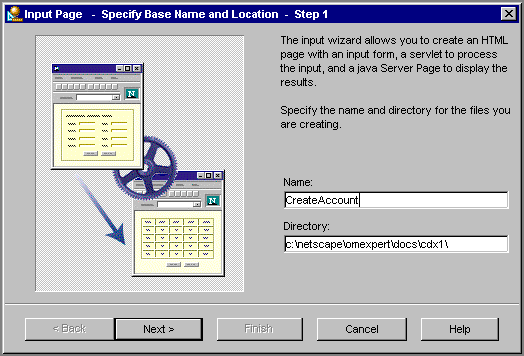
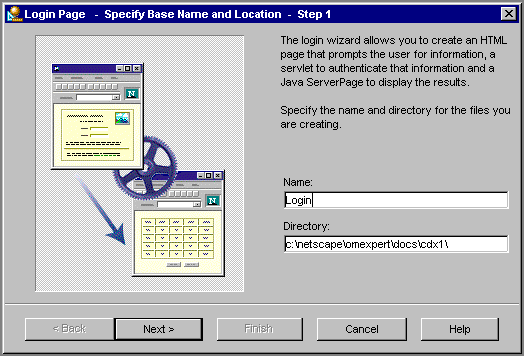
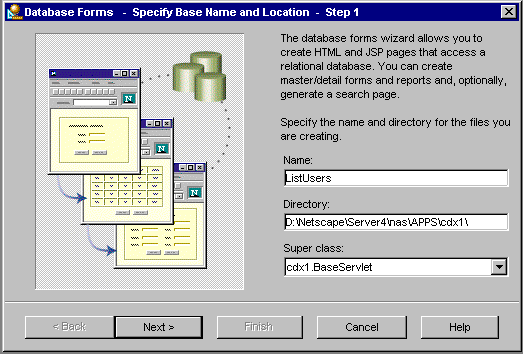
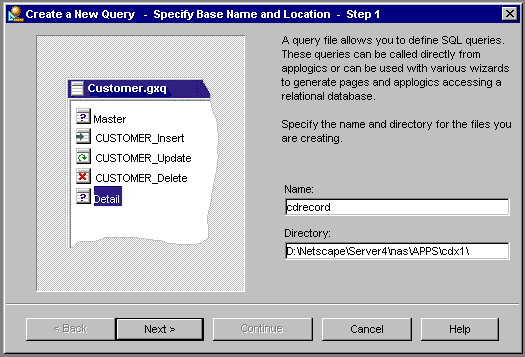
Name the new project "cdx1" in directory "<nasRoot>\cdx1".

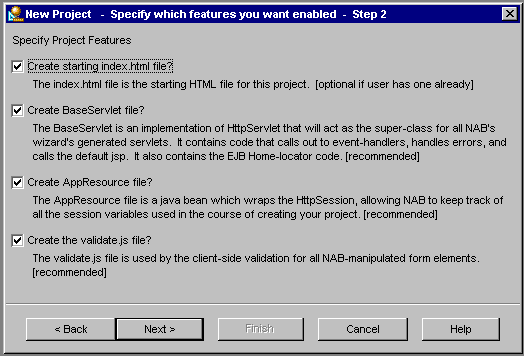
Click Next to create each of the project starter files.
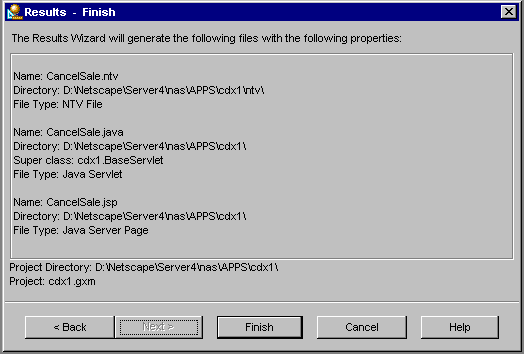
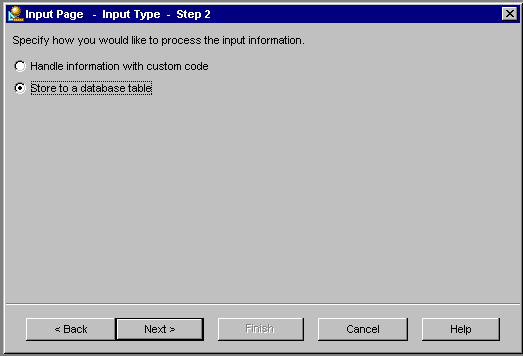
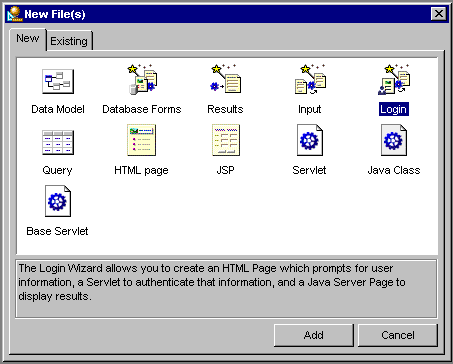
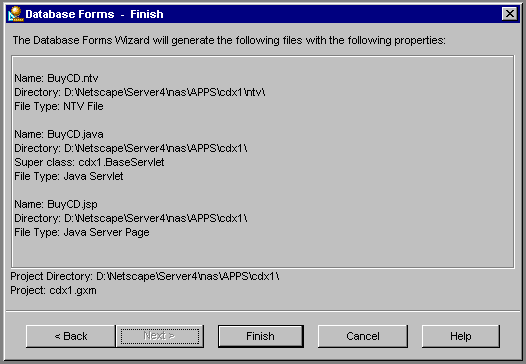
Click Next. The New Project wizard shows you the files it will create.
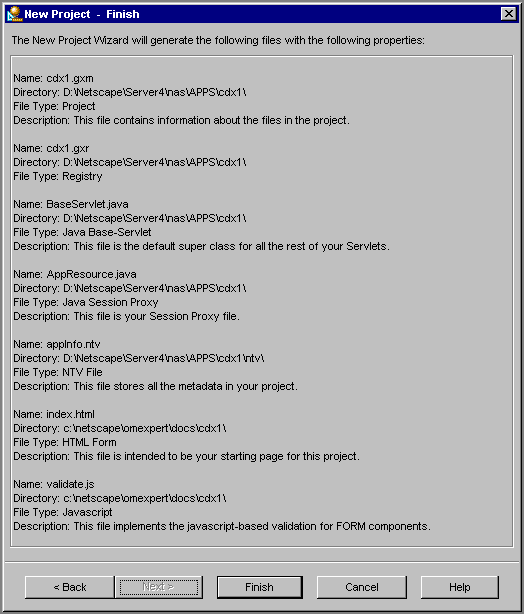
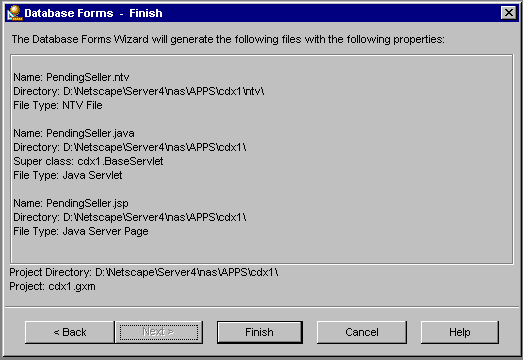
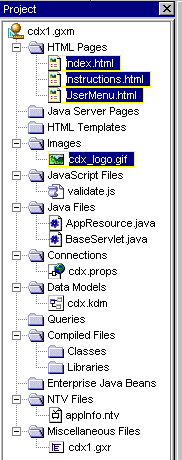
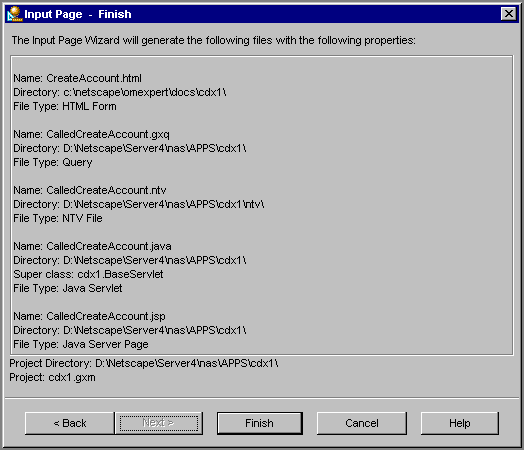
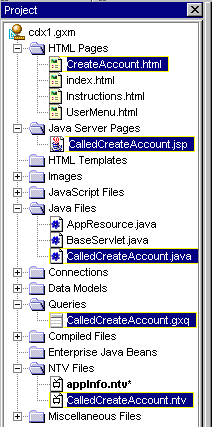
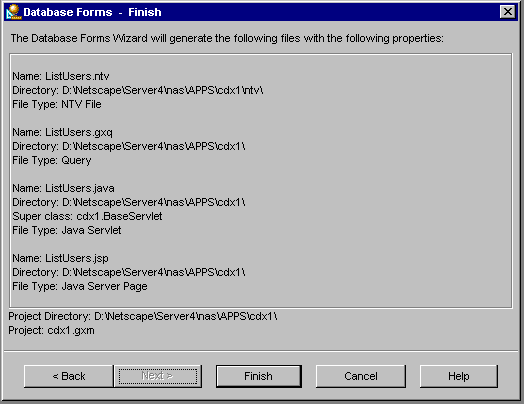
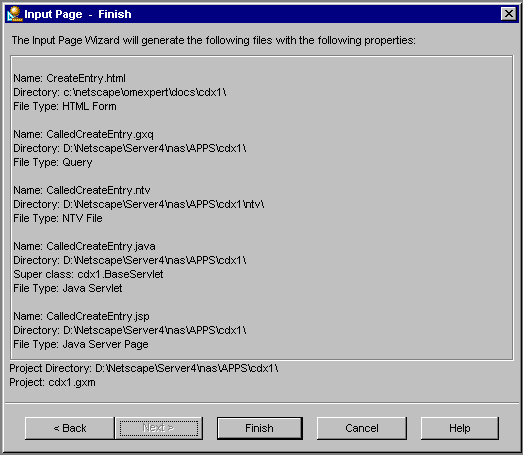
Click Finish. Netscape Application Builder creates the following files:

 .
.
 .
.
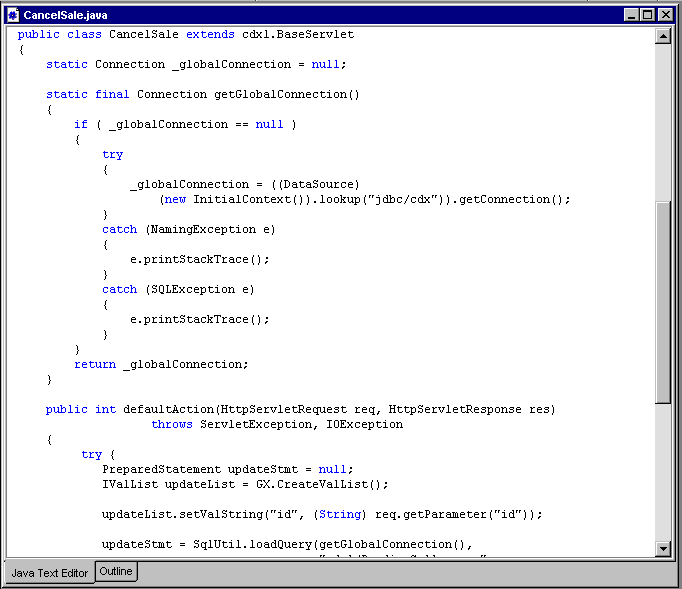
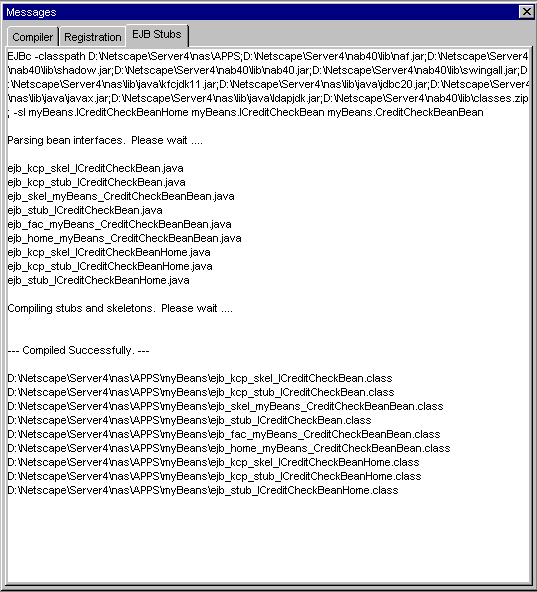
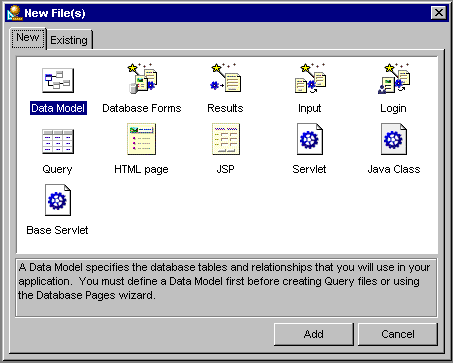
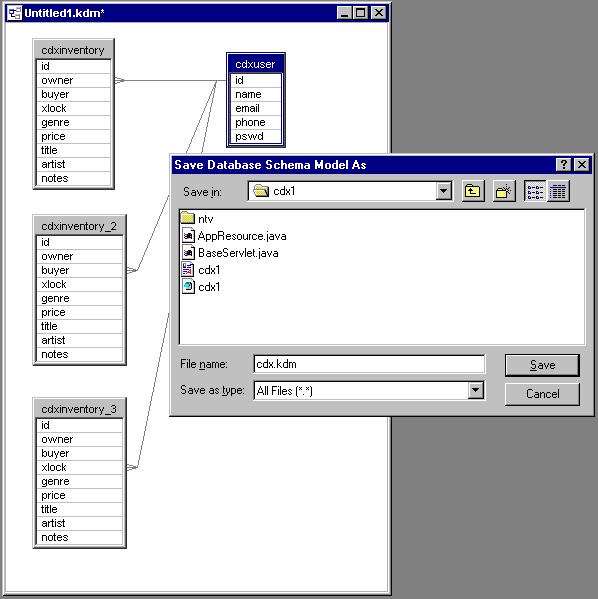
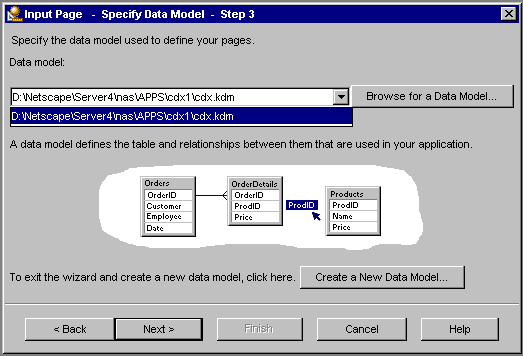
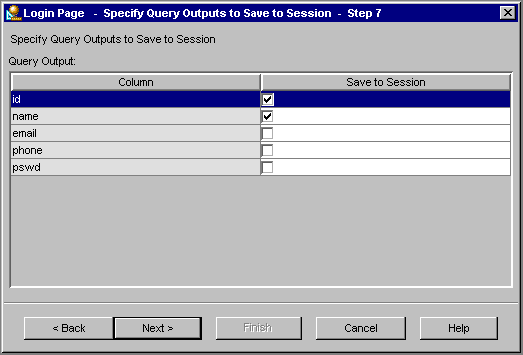
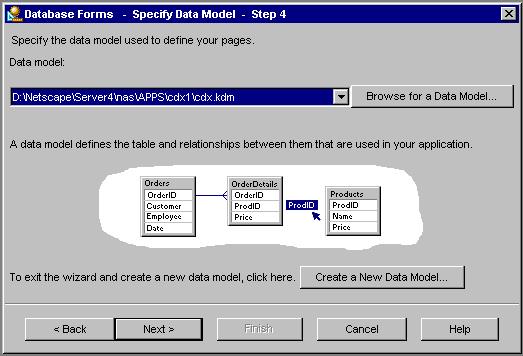
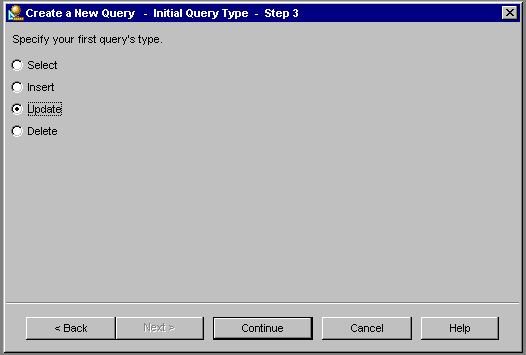
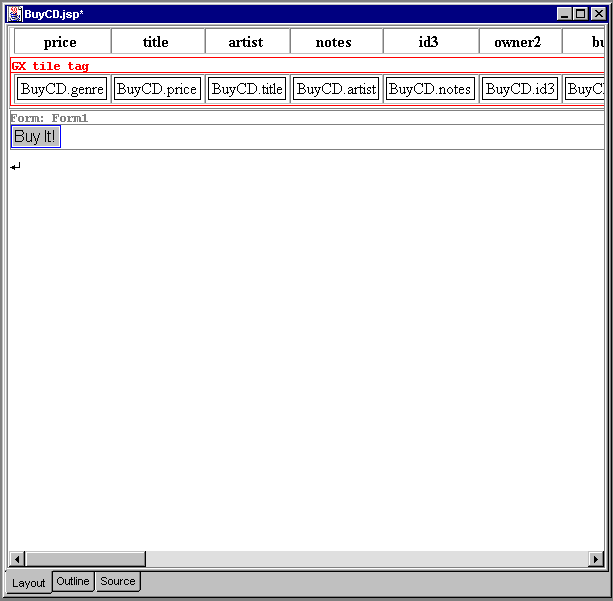
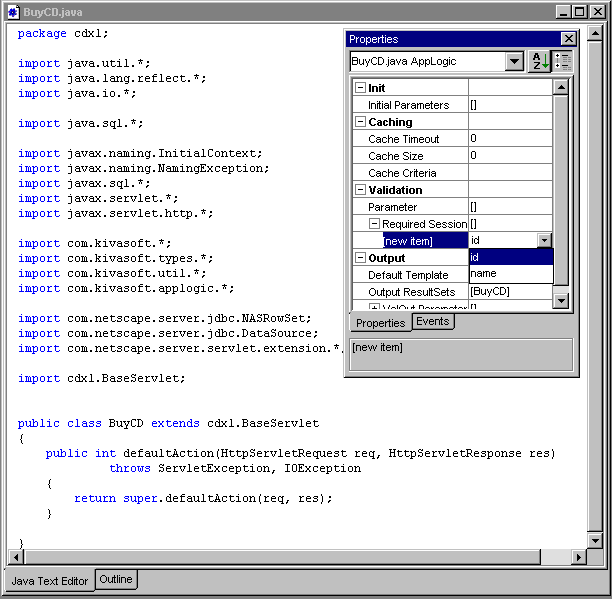
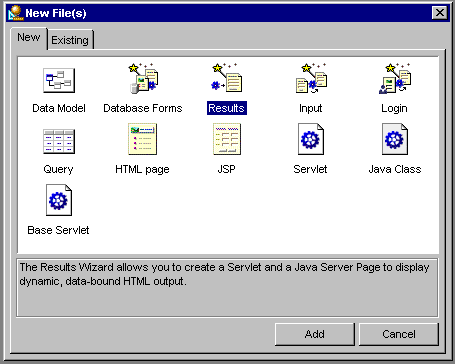
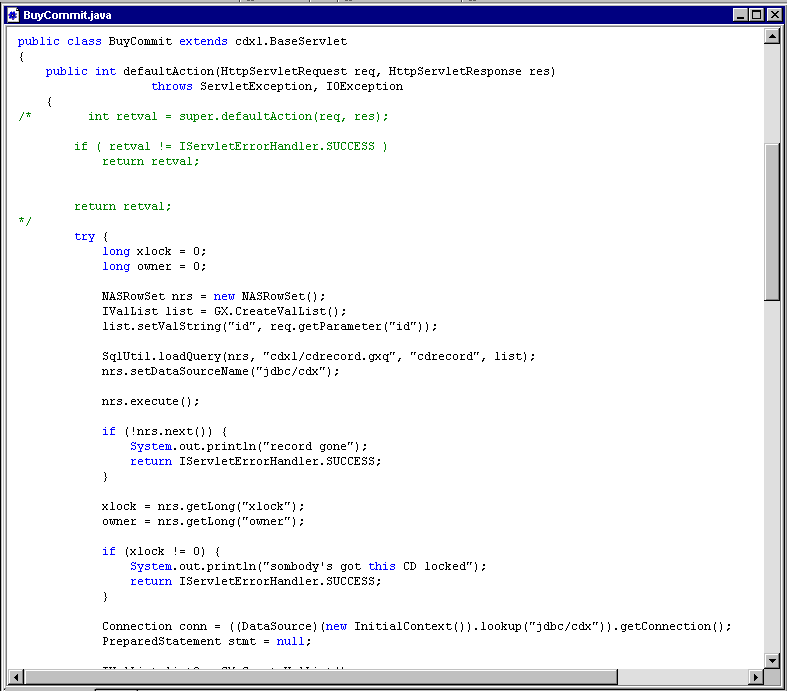
 Screen shot is out-of-date for Beta II.
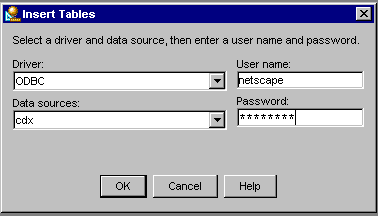
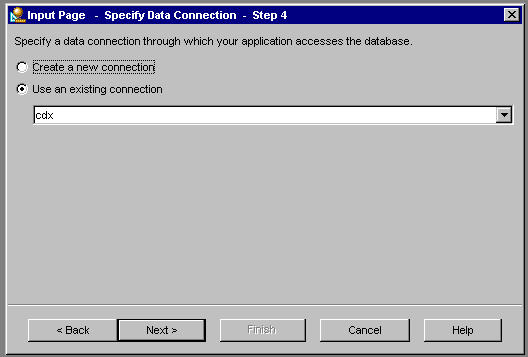
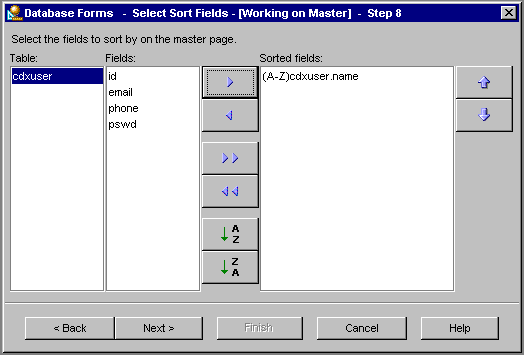
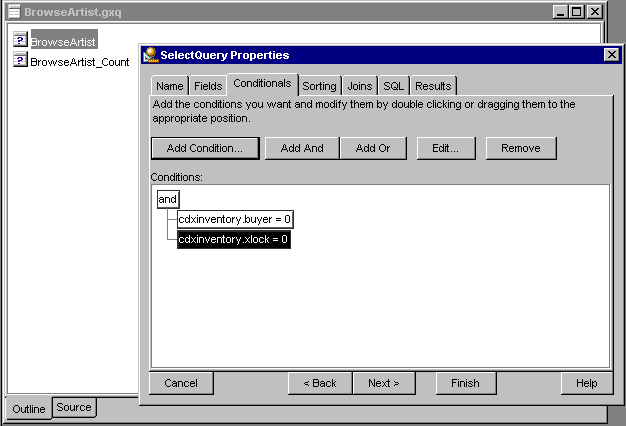
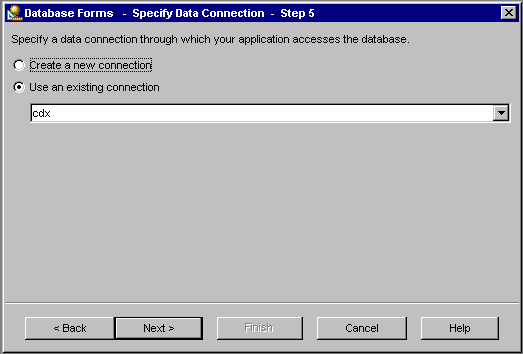
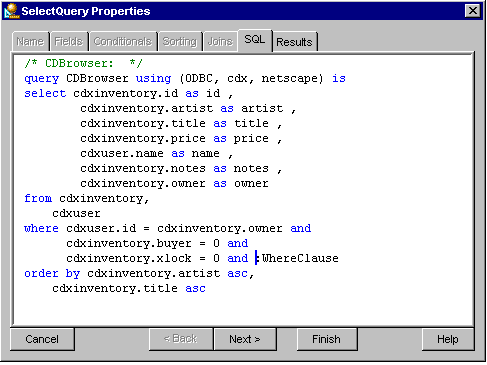
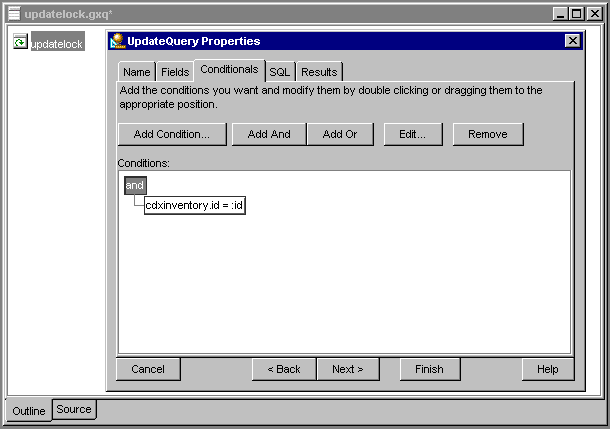
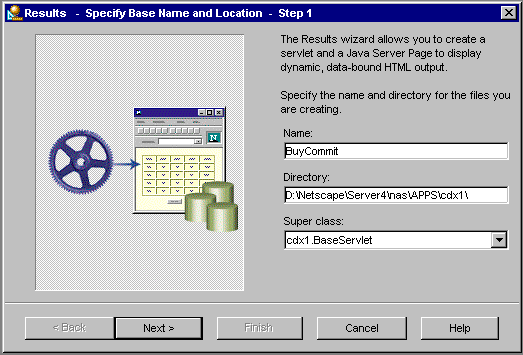
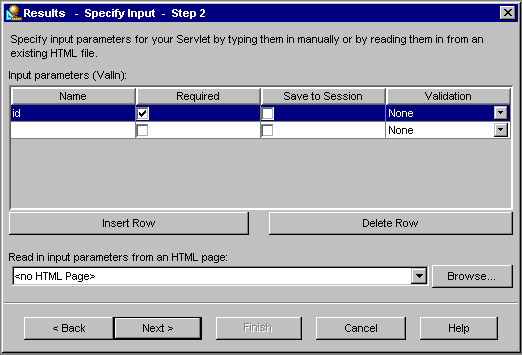
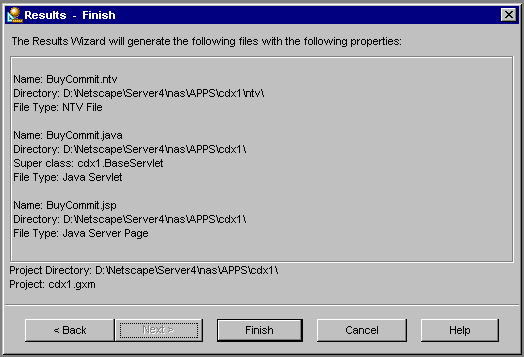
 Screen is out-of-date for Beta II
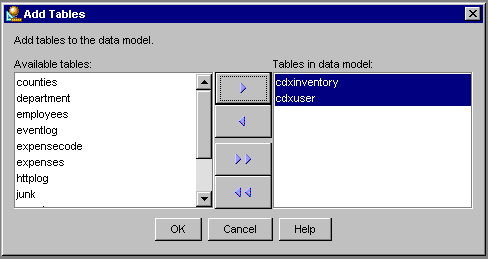
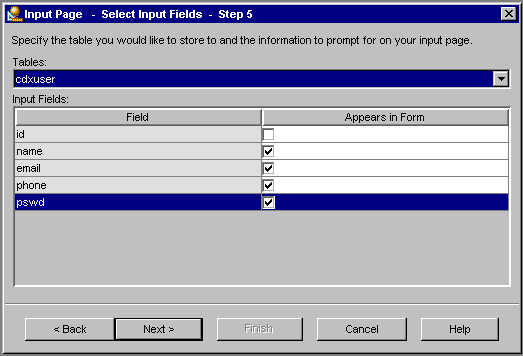
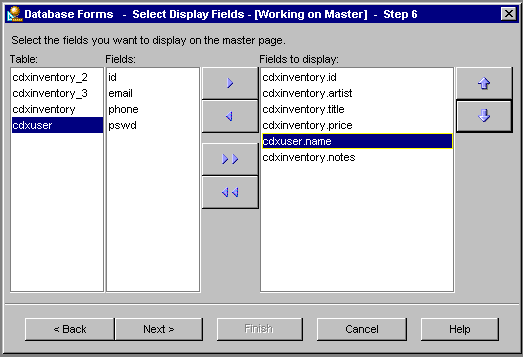
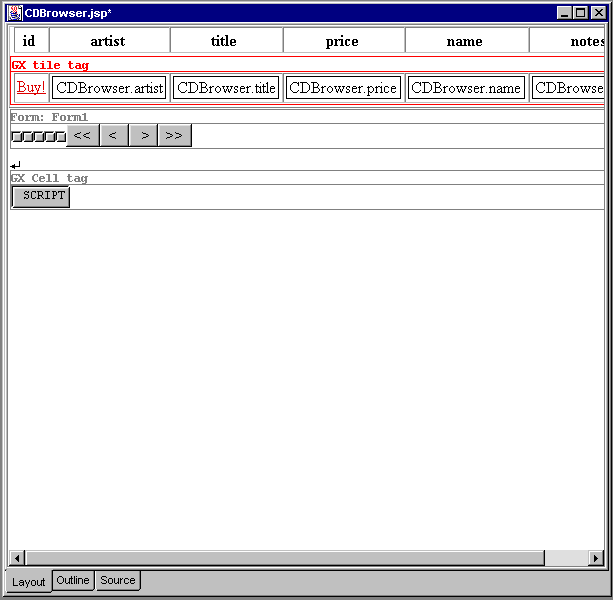
 .
.

 .
.
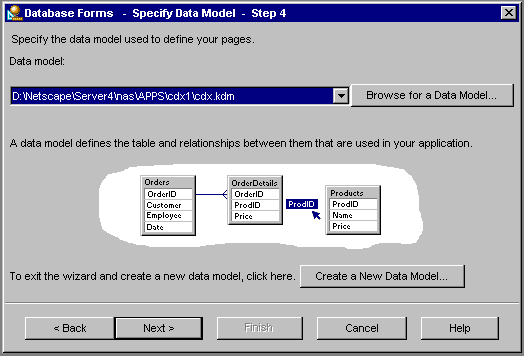
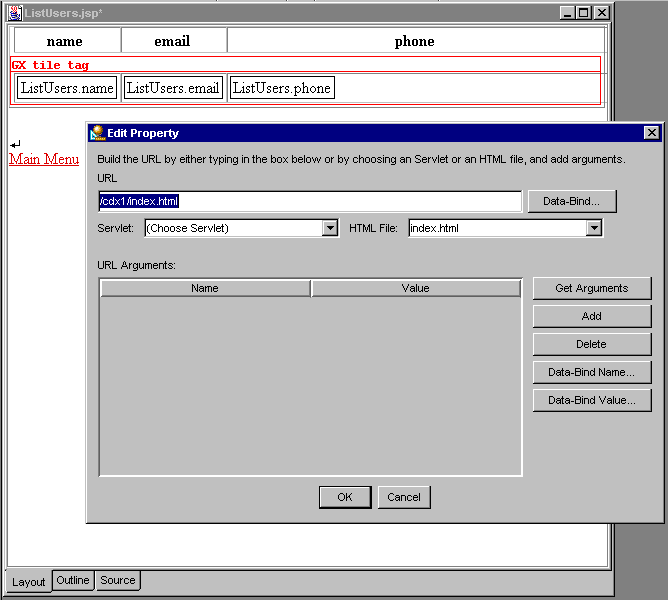
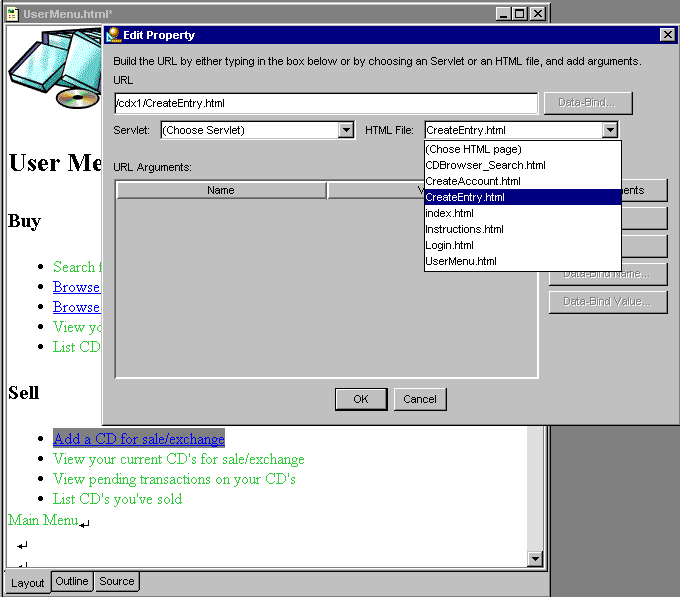
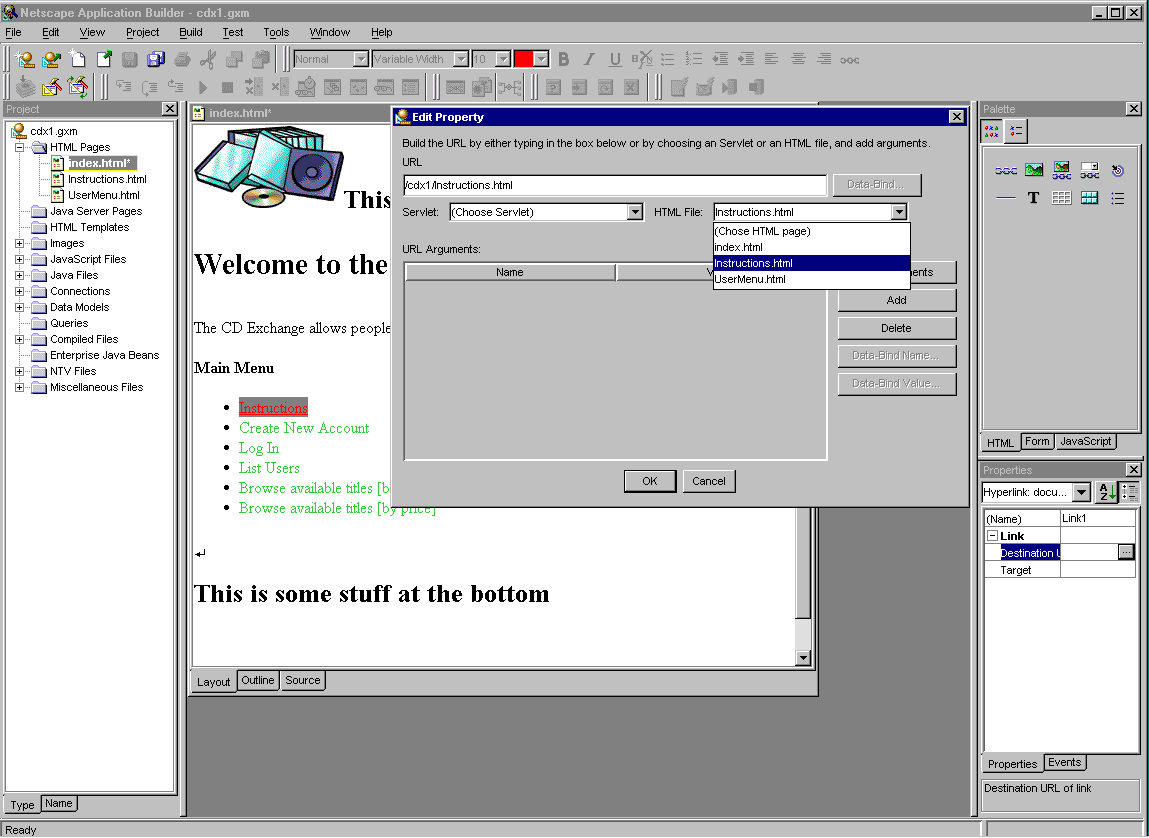
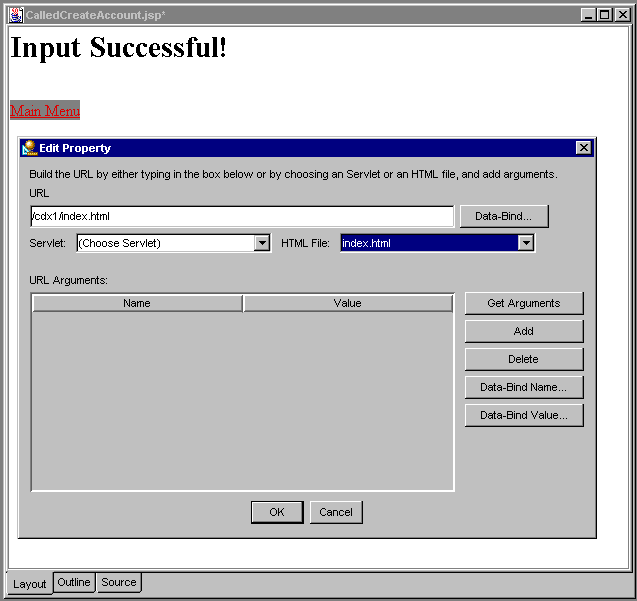
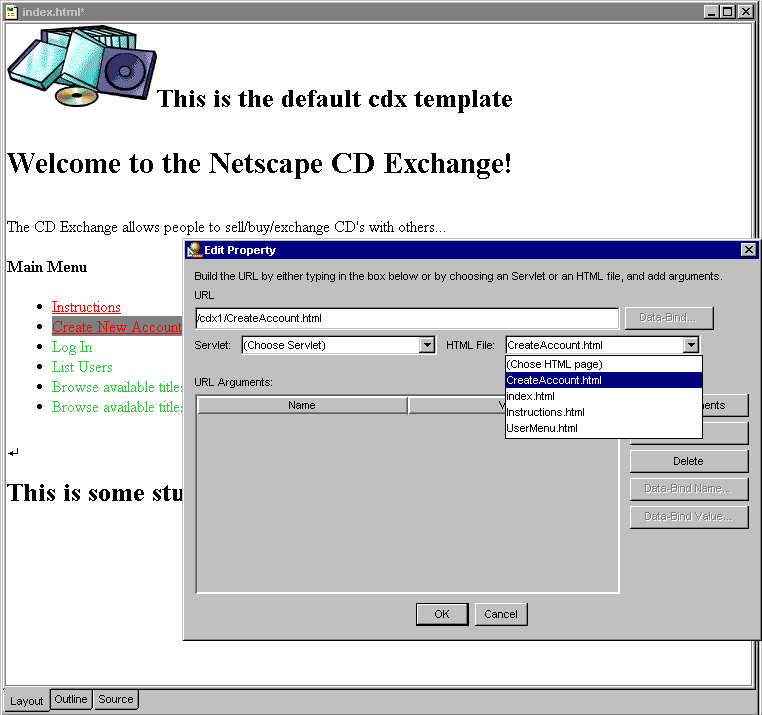
 . Select the ListUsers
servlet from the Servlet drop-down and click OK.
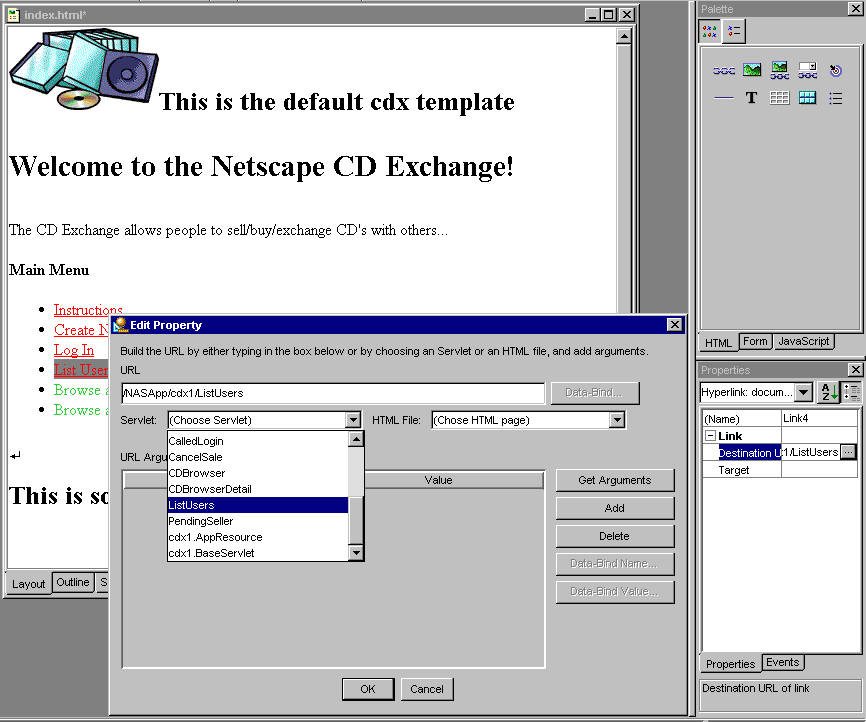
. Select the ListUsers
servlet from the Servlet drop-down and click OK.
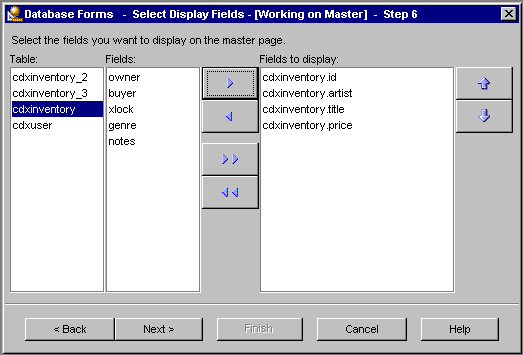
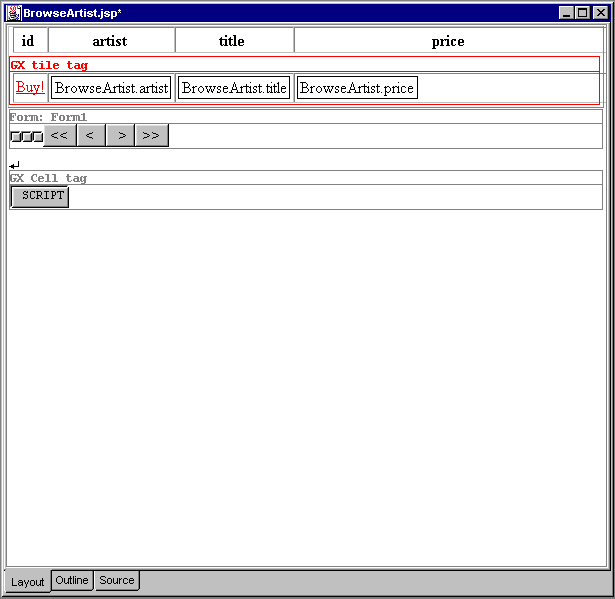

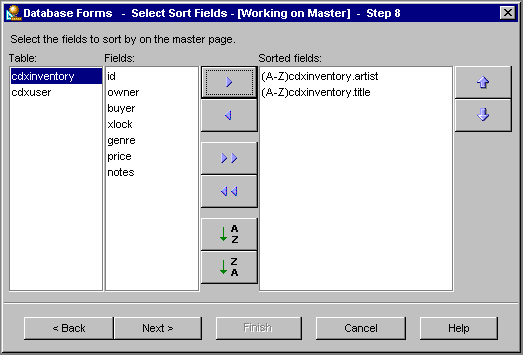

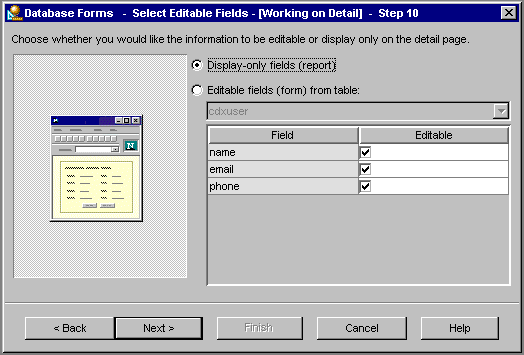
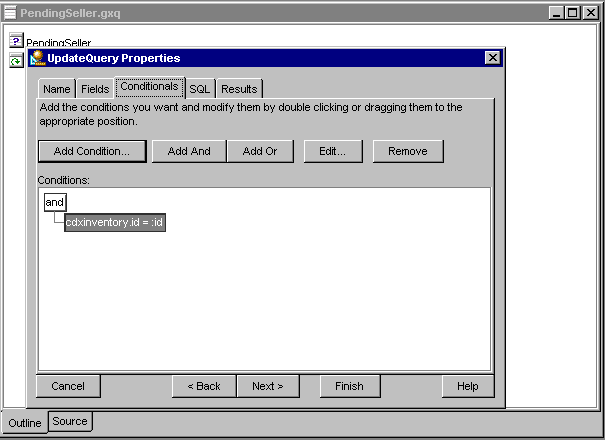
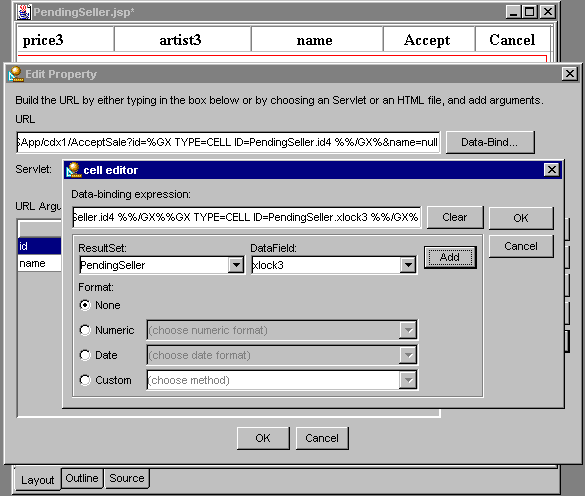
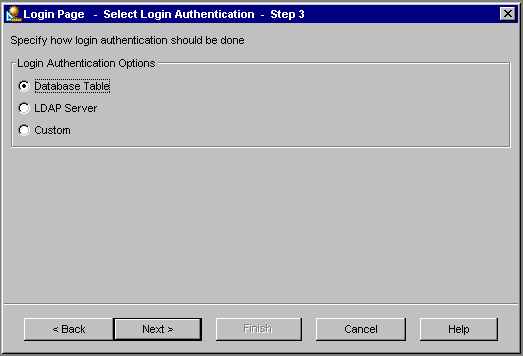
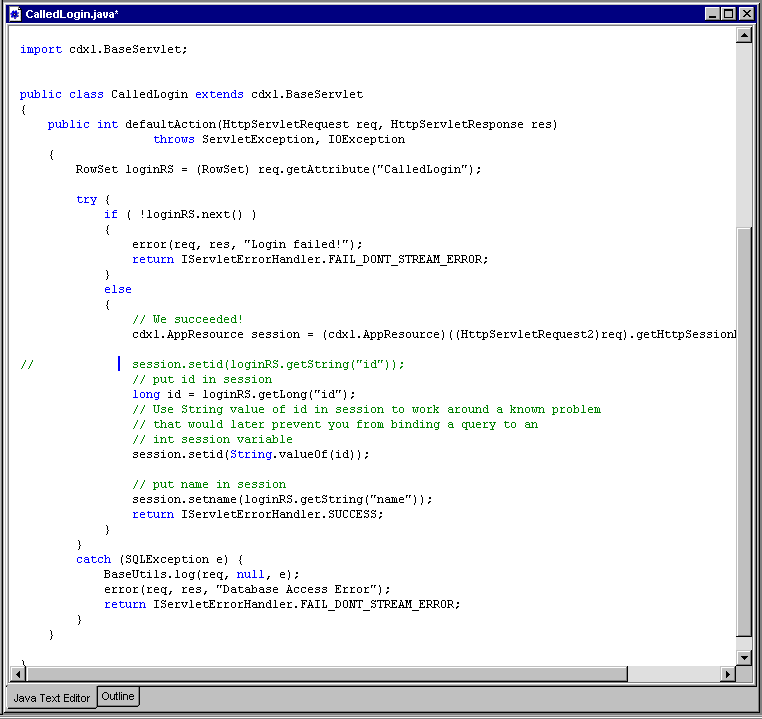
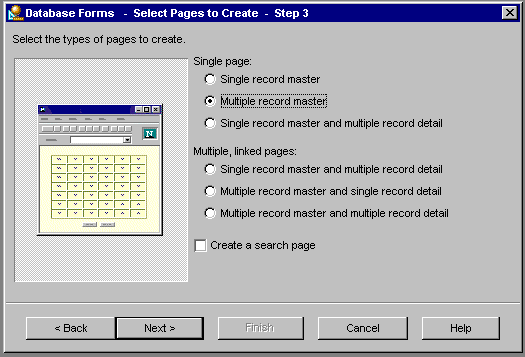
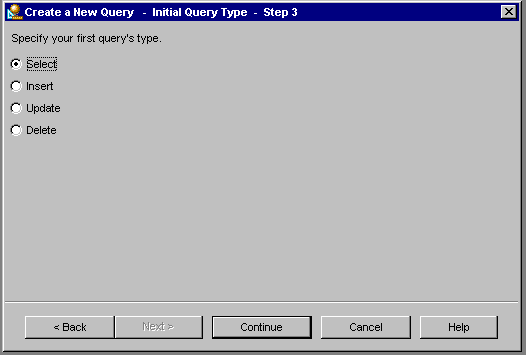
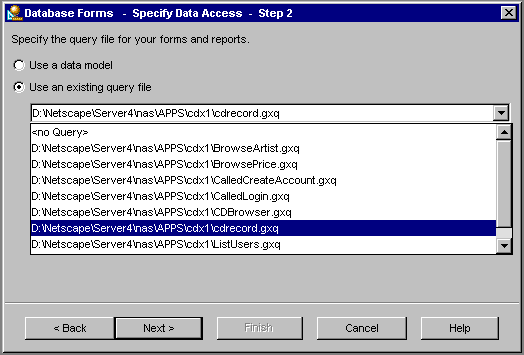
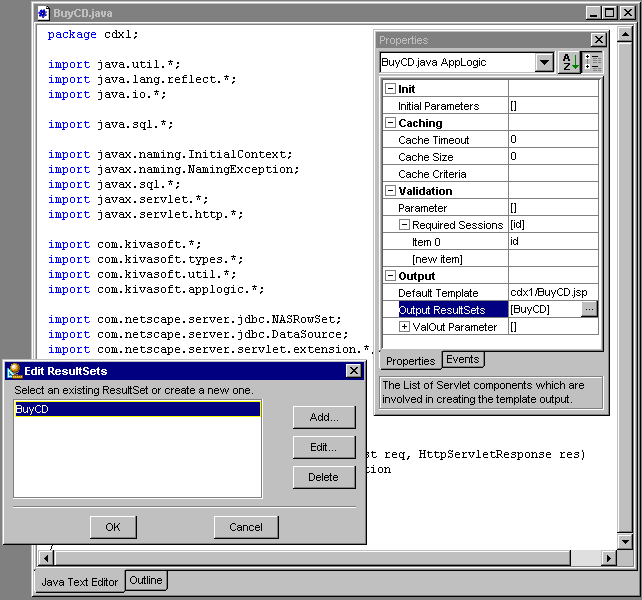
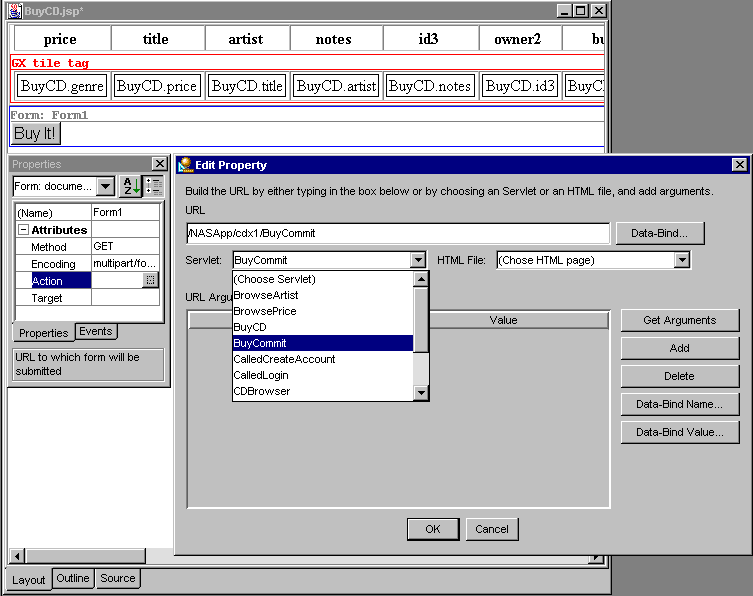
 Screen is out-of-date for Beta II
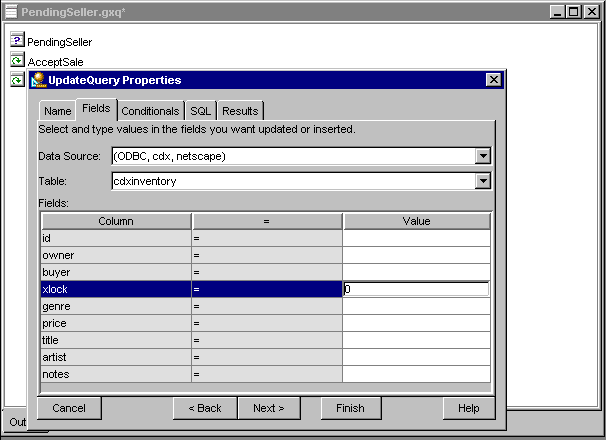
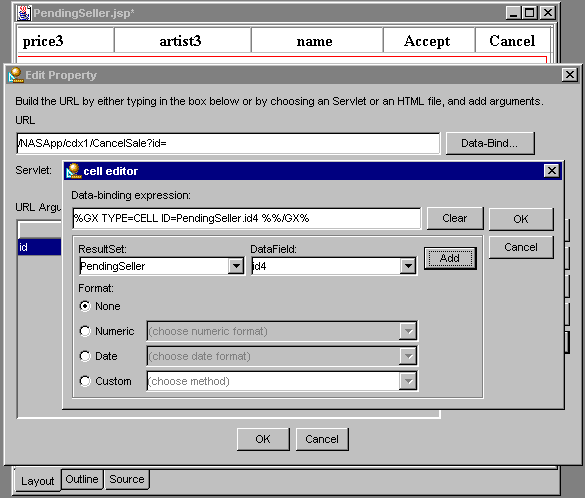
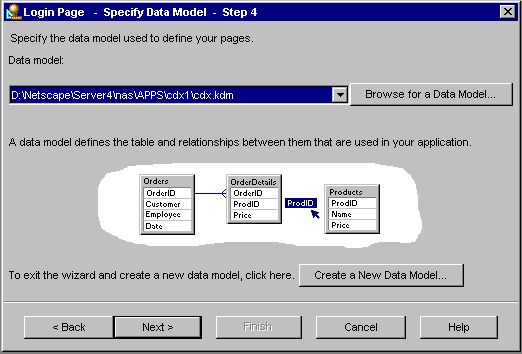
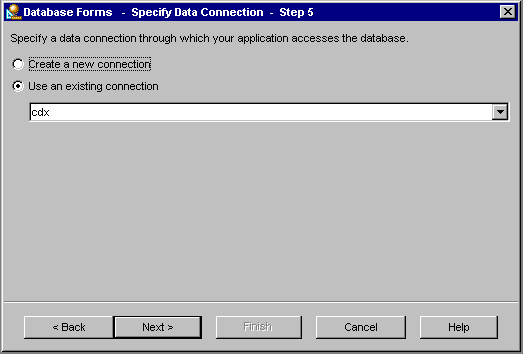
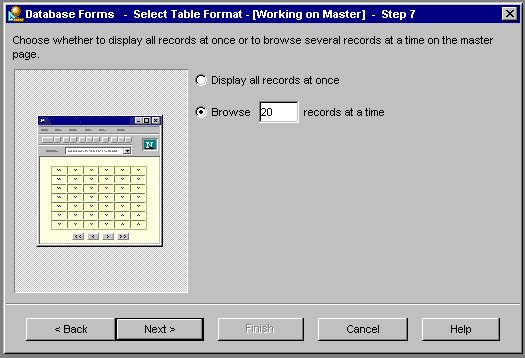
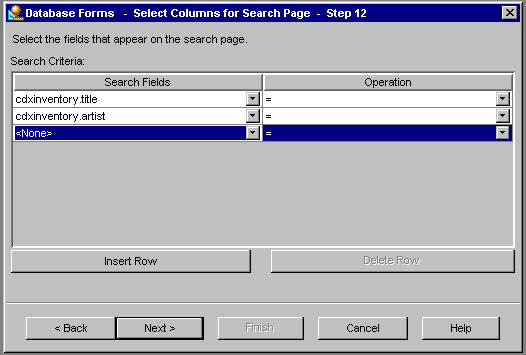
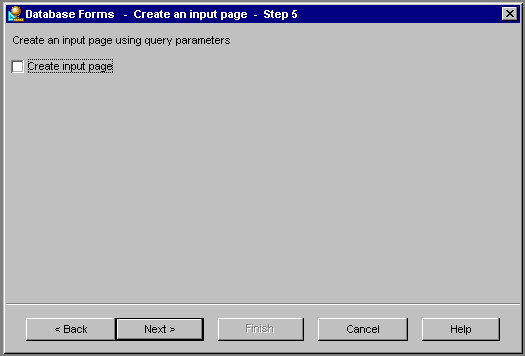
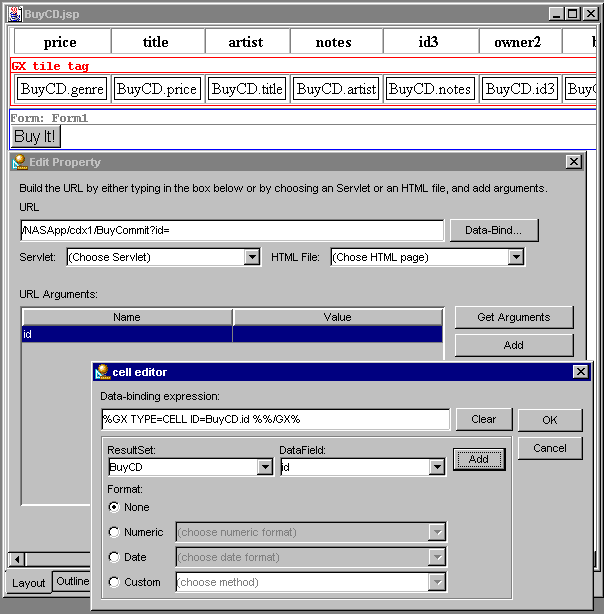
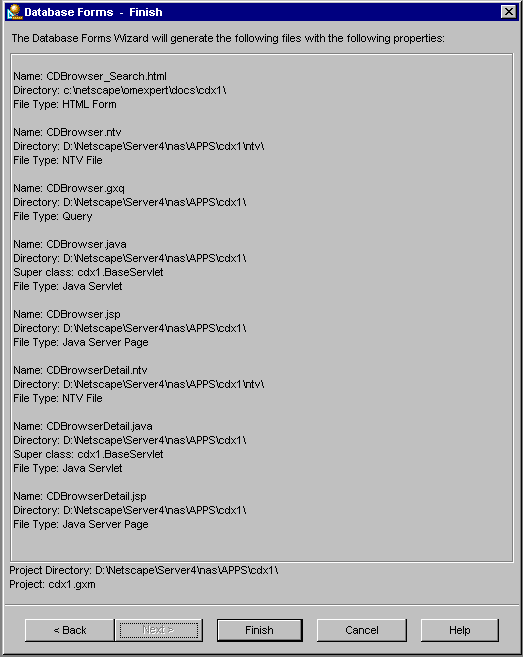
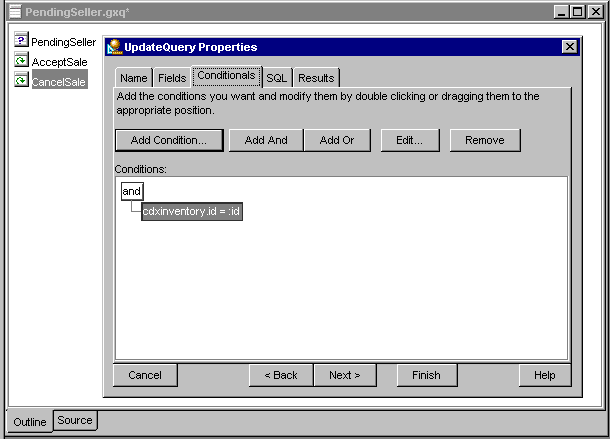
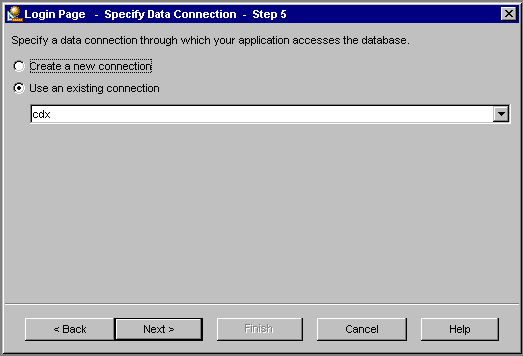
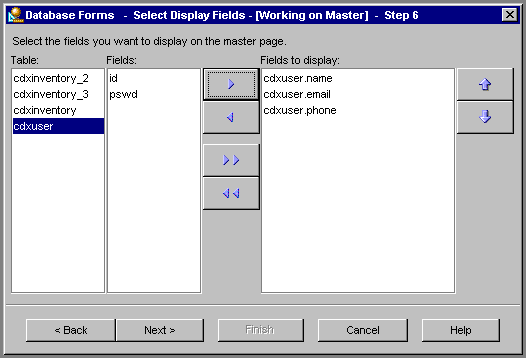
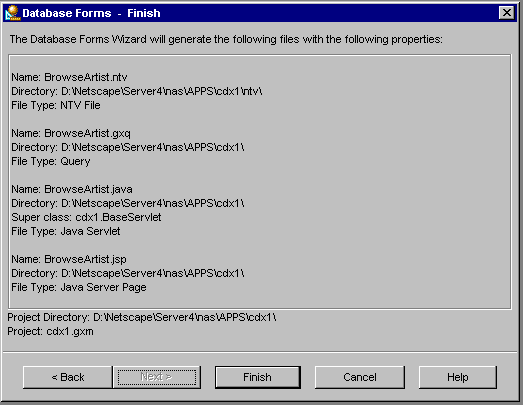
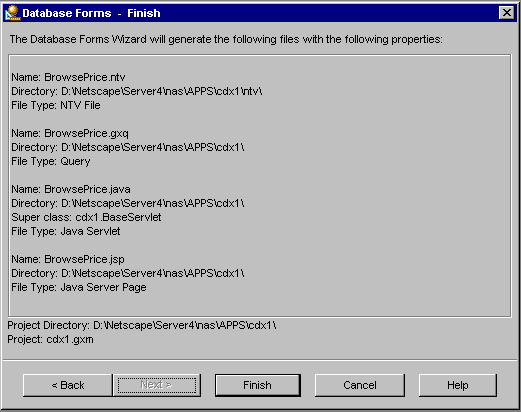
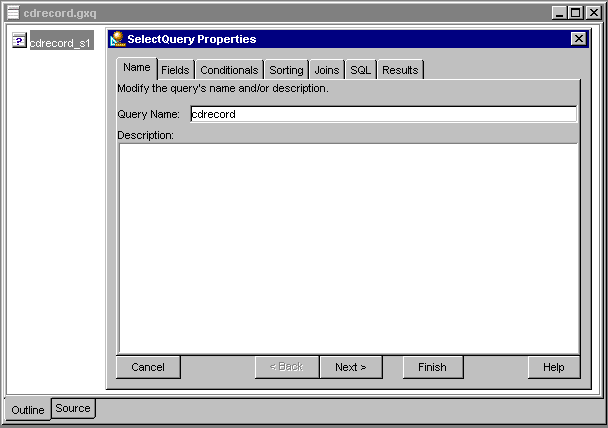
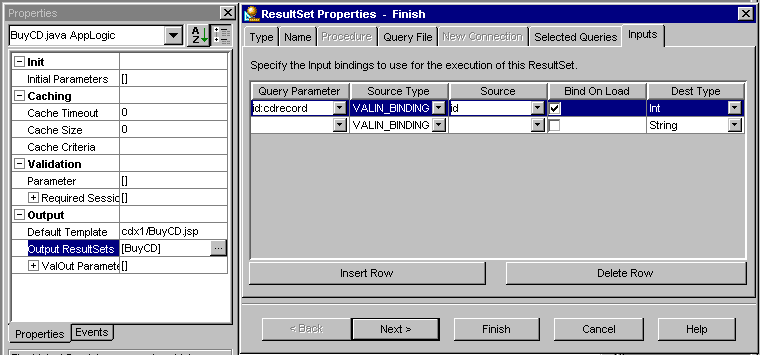
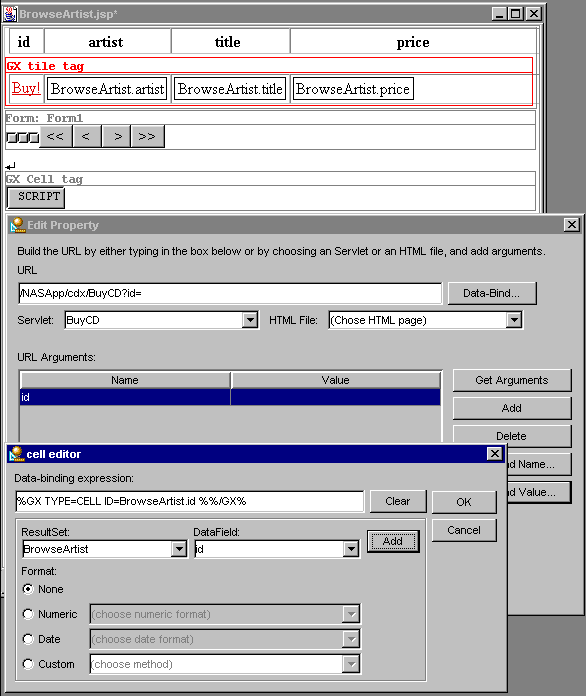
 Screen is out-of-date for Beta II
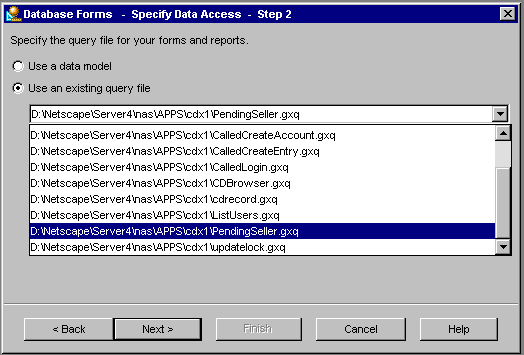
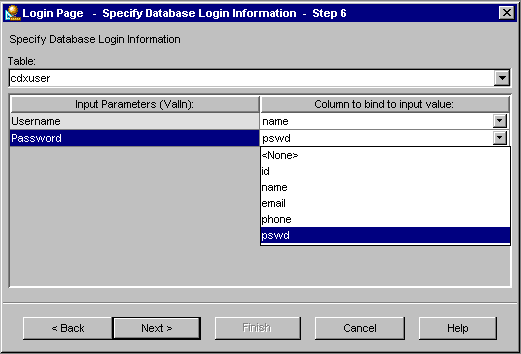
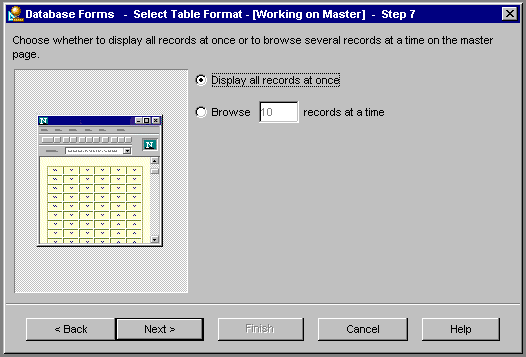
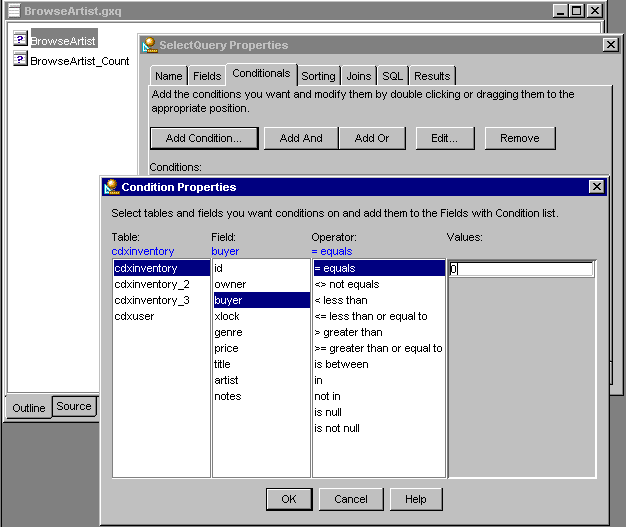
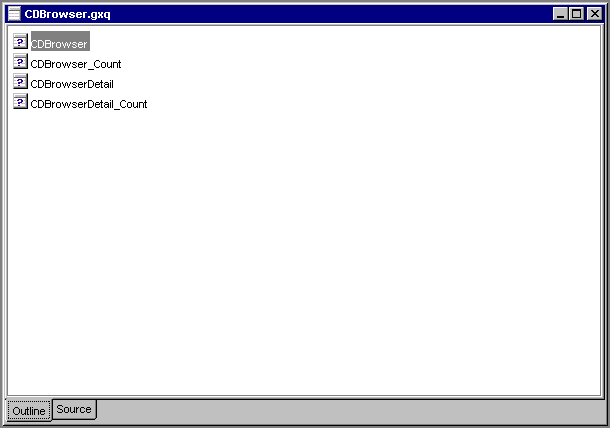
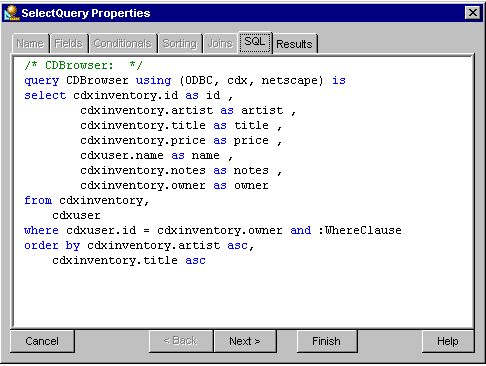
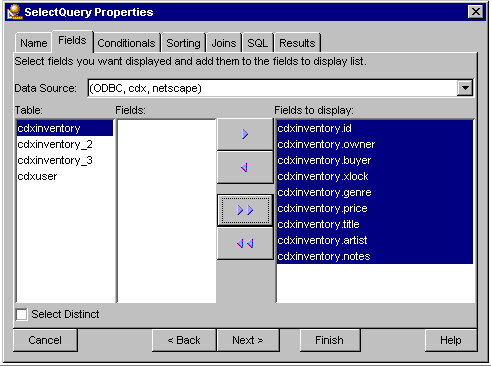


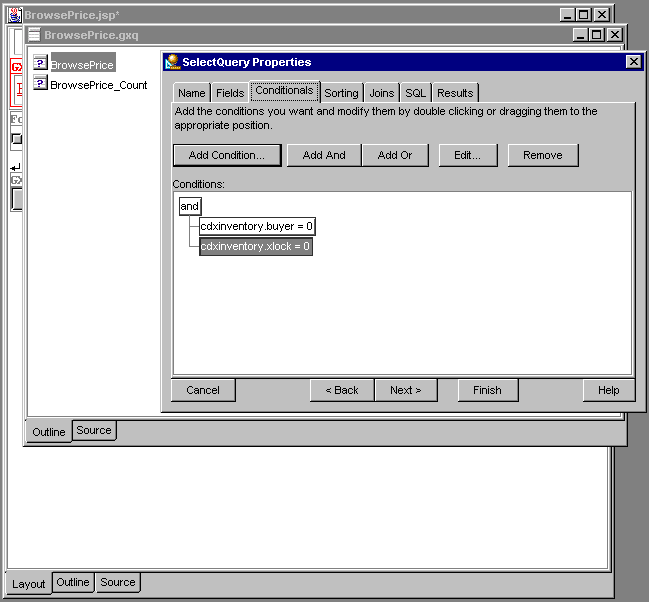
 Screen is out-of-date for Beta II
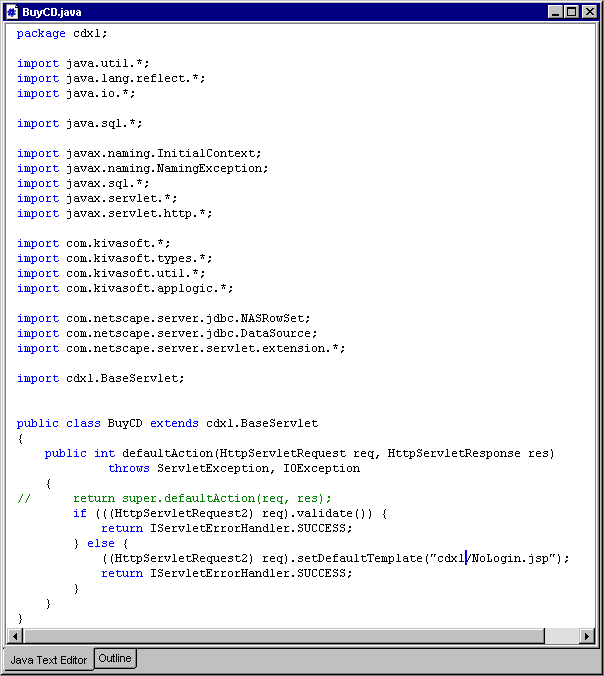
 .
.
 .
.

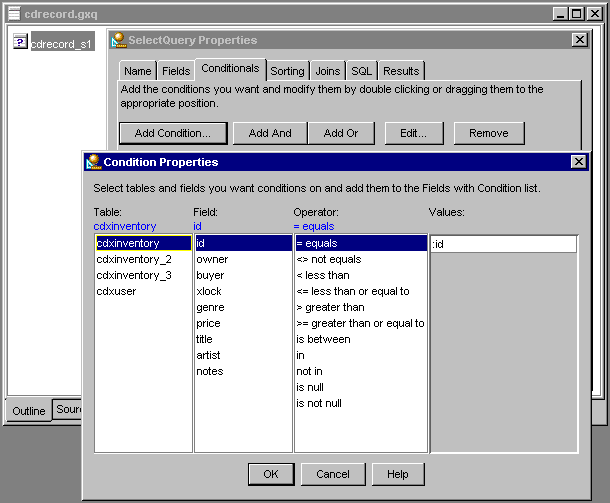
 Screen is out-of-date for Beta II