|
|
| iPlanet BuyerXpert 4.5 Installation Guide |
Chapter 3 Installing iPlanet Servers Software
This chapter provides installation procedures for the iPlanet Web Server (iWS) and the iPlanet Application Server (iAS) software that you must follow before installing iPlanet BuyerXpert.
Note For detailed information on these software programs, see:
The following sections are contained in this chapter:
What You Should Know About the iPlanet Application Server
Installing iPlanet Web Server (iWS) When you follow these procedures to install the servers software, you are able to install iPlanet BuyerXpert with sample data.
What You Should Know About the iPlanet Application Server
The iPlanet Application Server (iAS) is the primary engine of the iPlanet BuyerXpert software. The Application Server goes a step further than the web-enablement functionality of the Web Server by providing powerful transaction processing features, and integrating with existing information systems and applications.
Application Server Components
The components that install with the iPlanet Application Server are described as follows:
The Application Server includes the Administration Server, the Web Connector plug-in used to communicate between the iPlanet Application Server and the Web Server.
The Console provides the common user interfaces for all iPlanet server products. It allows you to perform common server administration functions such as stopping and starting servers, installing new server instances, and managing user and group information. The Console can be installed by itself (standalone) on any machine on your network and can be used to manage remote servers.
The Administration Server is a common front-end to all iPlanet servers. It receives communications from the Console and sends them on to the appropriate iPlanet server. Your site has at least one Administration Server for each server root in which you have installed an iPlanet server.
The Directory Server is iPlanet's LDAP implementation. The Directory Server runs as the SLAPD service on an NT machine, and NS-SLAPD on Solaris. This server manages the directory databases and responds to client requests.
Note Before installing iWS, make sure you are in the right user and group. If not, create the user and group.
">Installing iPlanet Web Server (iWS)
Note Before installing iWS, make sure you are in the right user and group. If not, create the user and group.
To install iWS:
Unpack the iWS distribution and run the setup executable to launch the installer:
#tar xvf iws60sp2-solaris.tar
# ./setup
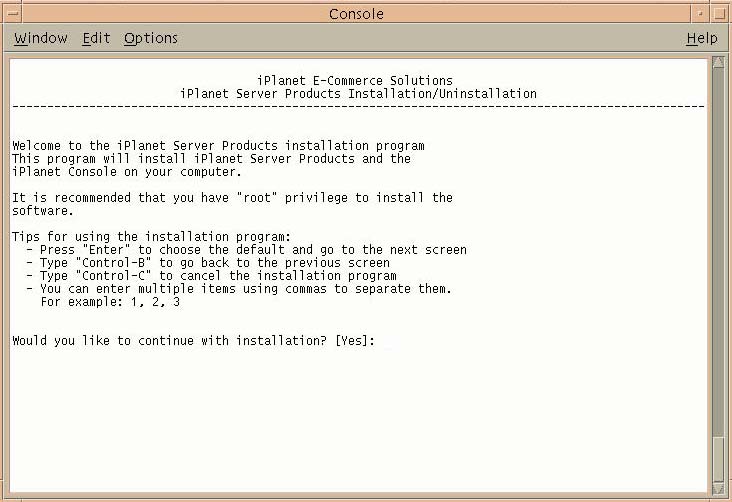
The Welcome screen displays.
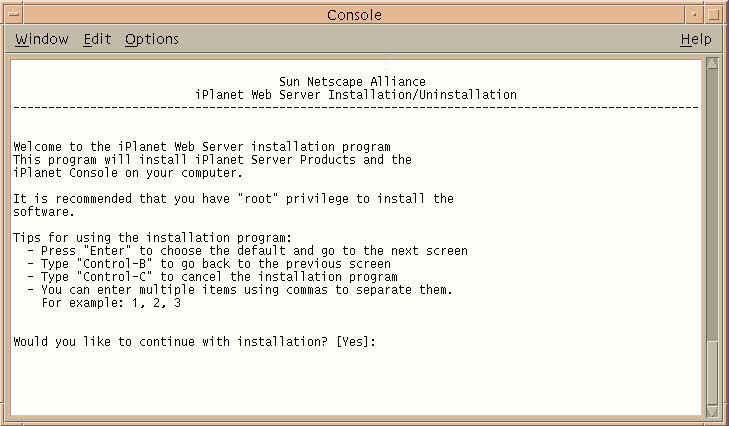
Press Enter to continue.
The Licensing Agreement screen displays.
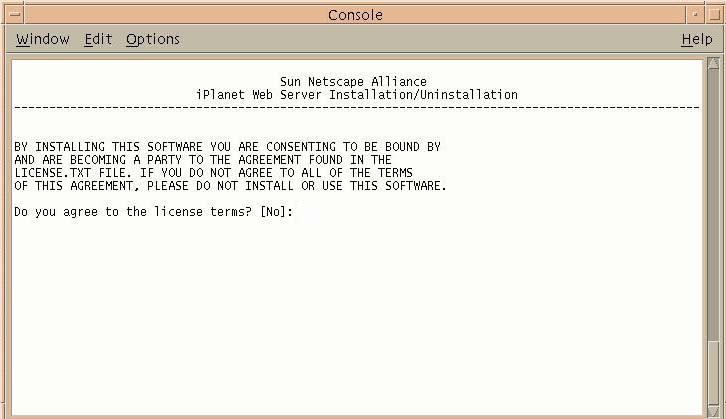
Enter Yes to continue
The Installation Type screen displays.
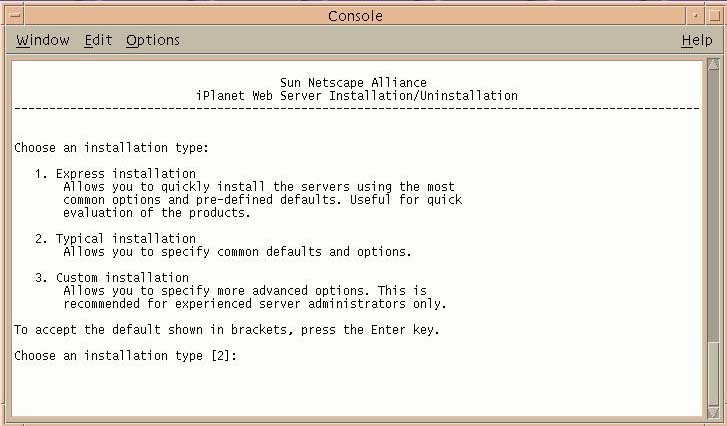
Press Enter to accept a typical installation.
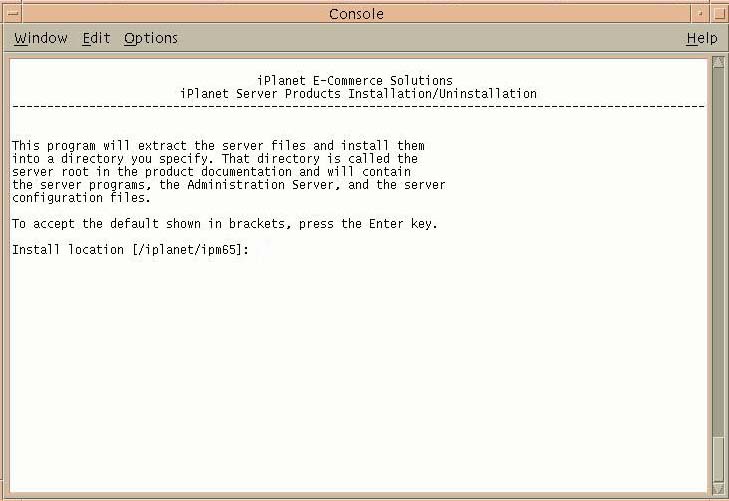
The Extracting Server Files screen displays.
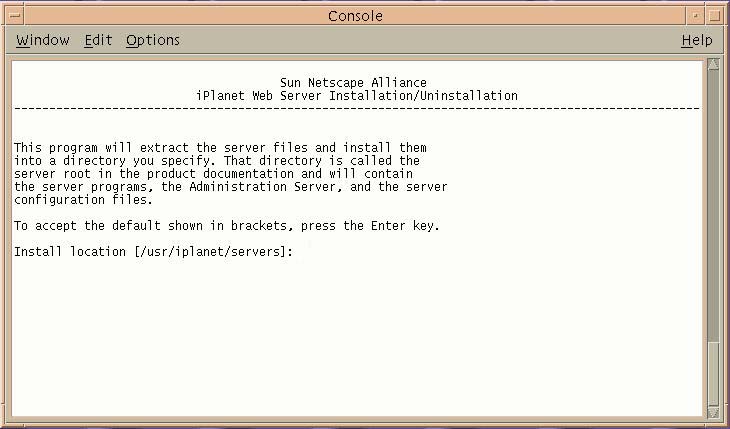
Enter the location where you want to install iWS.
The installer creates this directory.
The Web Server Component screen displays.
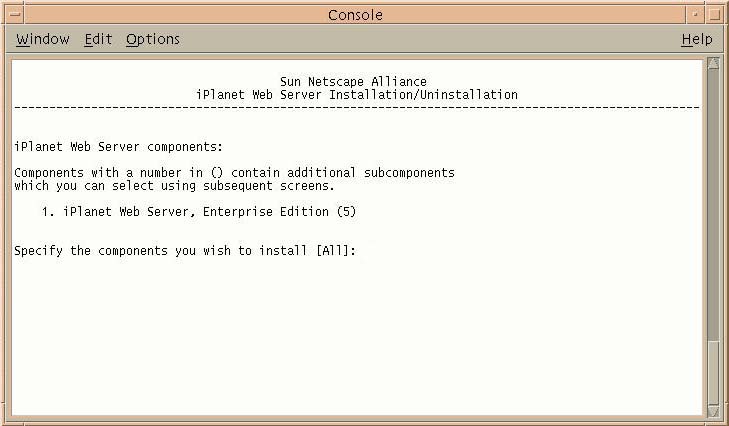
Press Enter to specify all the components.
The Additional Web Server Components screen displays.
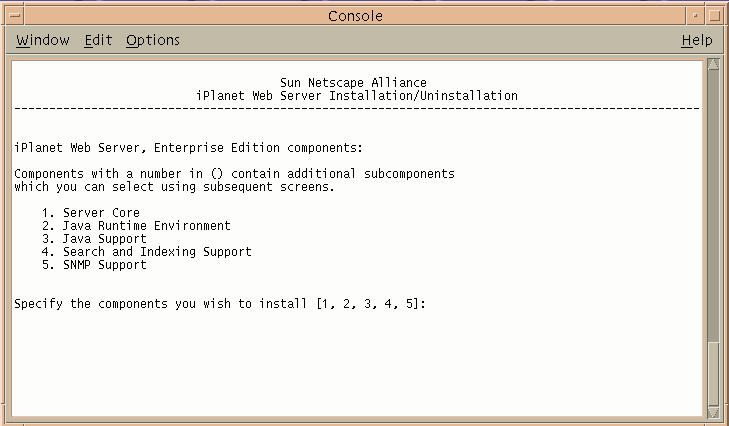
Press Enter to specify all the components listed.
The Domain Name screen displays:
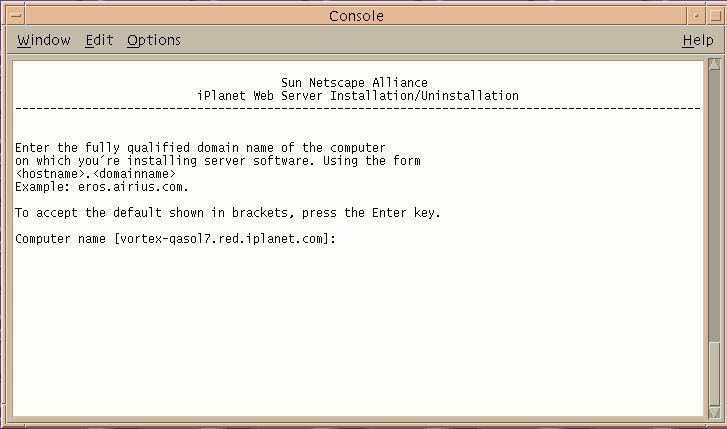
Read the instructions
Verify that this is the correct computer name.
If the computer name is not correct, enter the correct domain name.
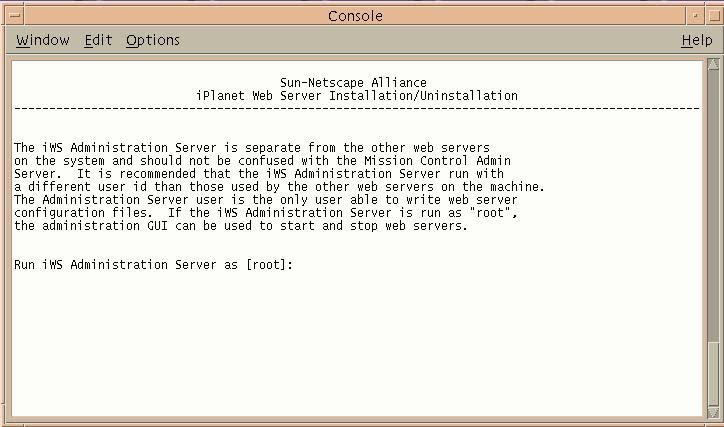
The Choosing a UNIX User and Group screen displays.
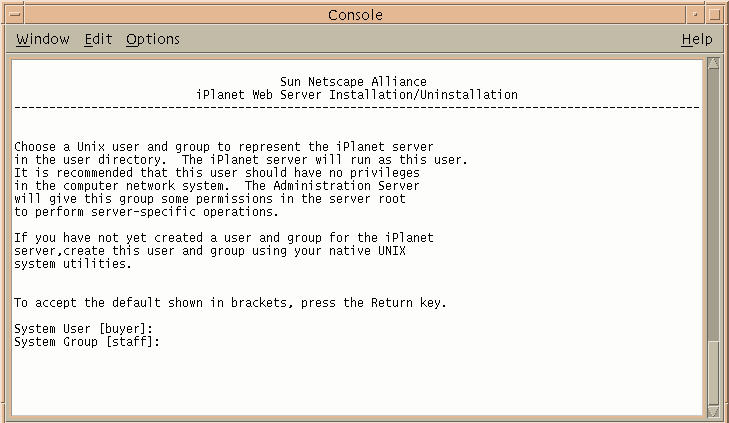
Choose the default only if you want iWS to use the displayed UNIX user and group to run iWS.
Press Enter to accept the default, or enter a UNIX user and group.
The iWS Administration Server User Name screen displays.
Press Enter to accept the default, or enter a new iWS username.
The Administrative User Name and Password screen displays.
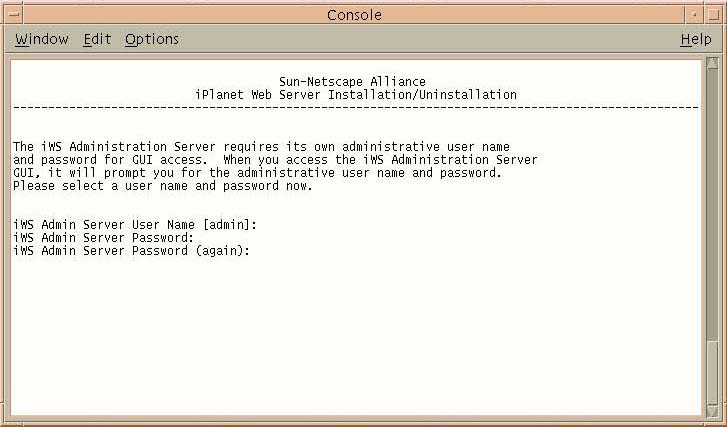
Enter a password.
This password is used to access the administration of iWS.
The Administration Server Port Number screen displays.
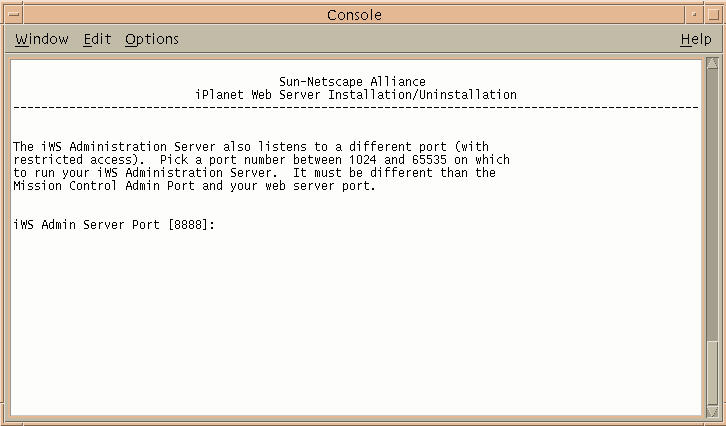
Enter your iWS administration server port number, or use the default port number 8888.
The Web Server Port Number screen displays.
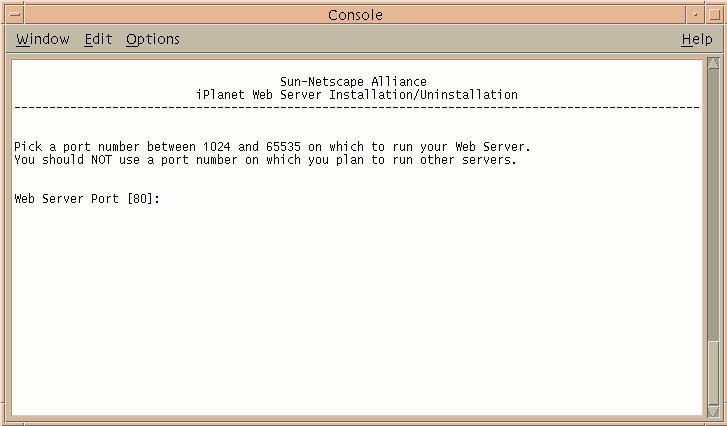
Enter your iWS port number, or accept the default.
The Content Root for the Web Server screen displays.
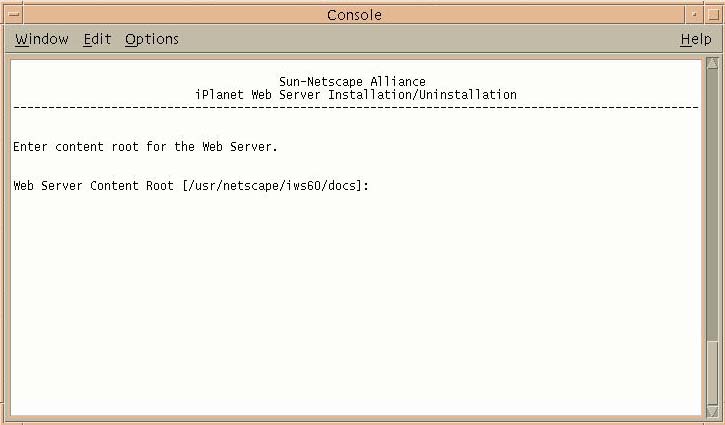
Press Enter to accept the default, which is the location of the documents for iWS.
The Java Support screen displays.
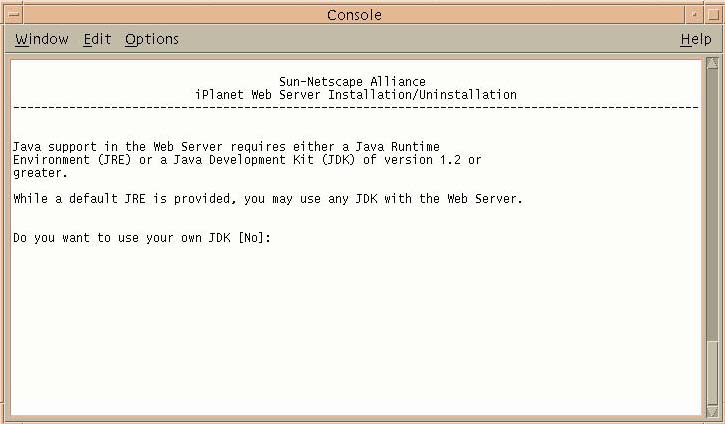
If you want to use the JDK that is provided, press Enter.
Enter Y if you want to use your own JDK.
Note iPlanet BuyerXpert does not run from the Java Development Kit (JDK) that is installed with this step and is not affected by what you select from this screen.
At the end of the installation, the following messages display:
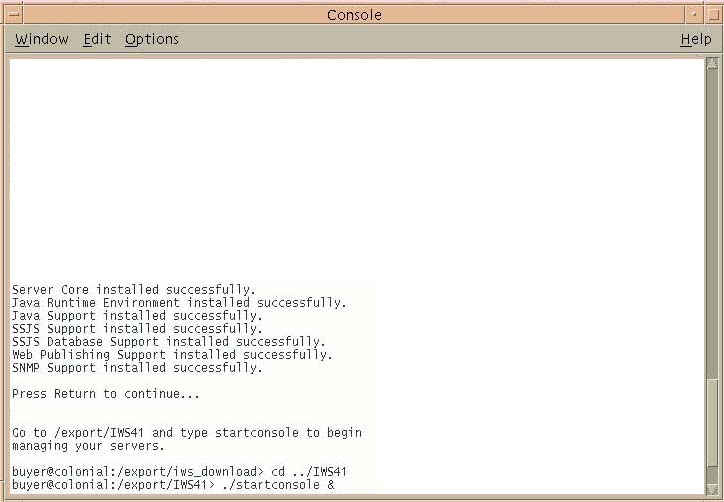
Press Enter to continue.
Installing Actuate
See the Actuate installation instructions that are located on the iPlanet CommerceXpert Actuate Desktop Products ReportCast CD. There are two PDF files in the directory actuate_4/manuals/directory named reportcast-unix-install.pdf and server-unix-install.pdf.
Note Make sure you are the right user and in the right group before installing iAS. You must install iAS as the same user that you use to install BuyerXpert.
Note For detailed information on installing iAS, see:
">Installing iPlanet Application Server (iAS)
Note Make sure you are the right user and in the right group before installing iAS. You must install iAS as the same user that you use to install BuyerXpert.
Note For detailed information on installing iAS, see:
To install iAS:
Unzip and set up the iAS file:
# unzip pae65_complete_ux.zip
# cd installer
# ./setup
The Welcome screen displays.
Press Enter to continue.
The Licensing Agreement screen displays.

Enter Yes to continue.
The Install Items screen displays.
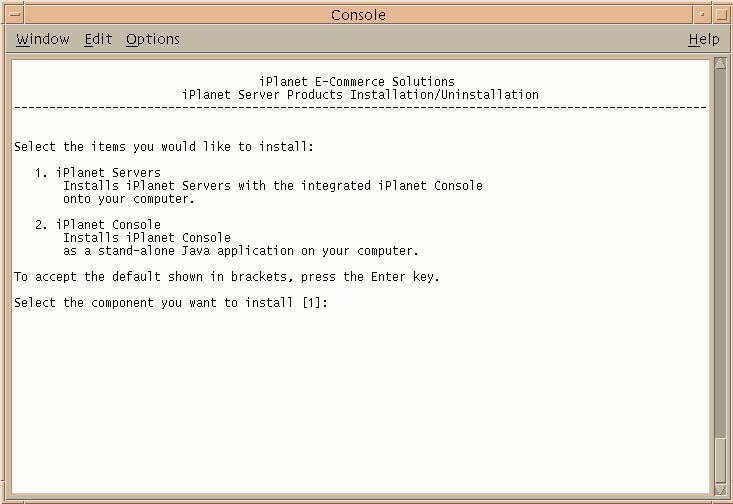
Press Enter to accept the iPlanet servers.
The Installation Type screen displays.
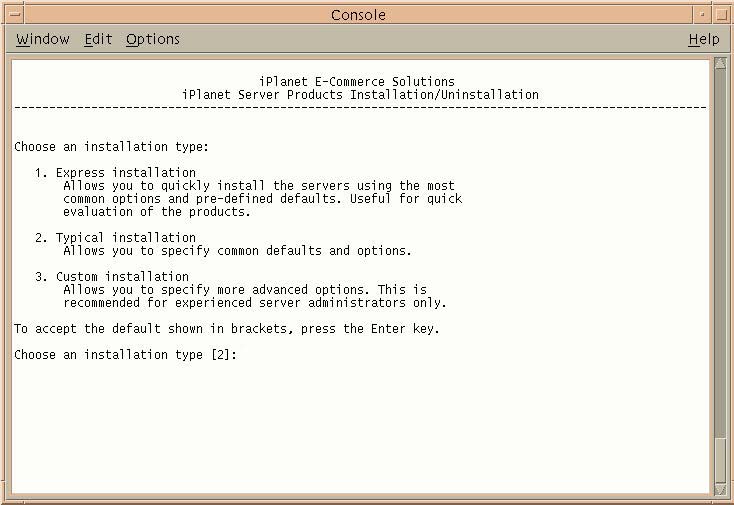
Press Enter to accept a typical installation.
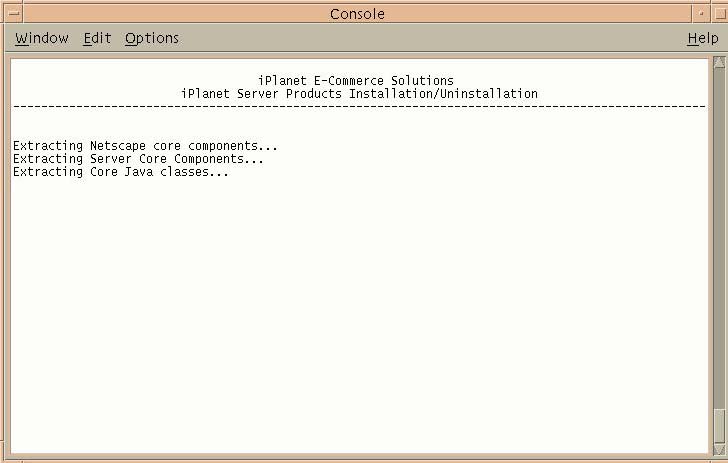
The Extract Server Files screen displays.
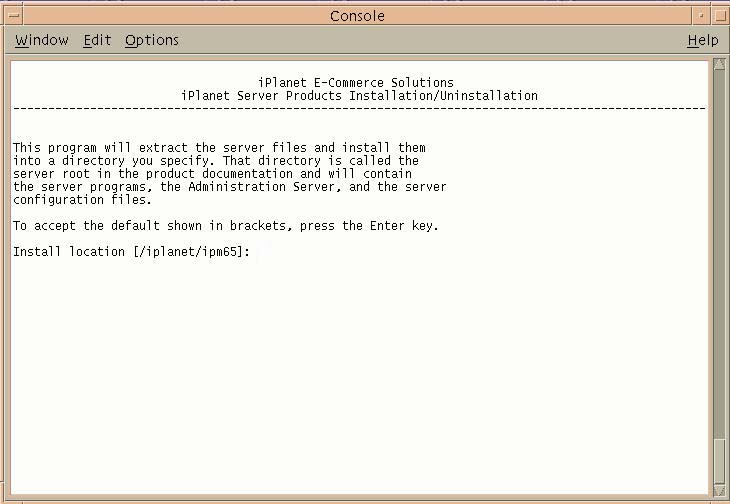
Enter /export/IAS65, or enter the location where you want to install iAS.
The Server Products screen displays.
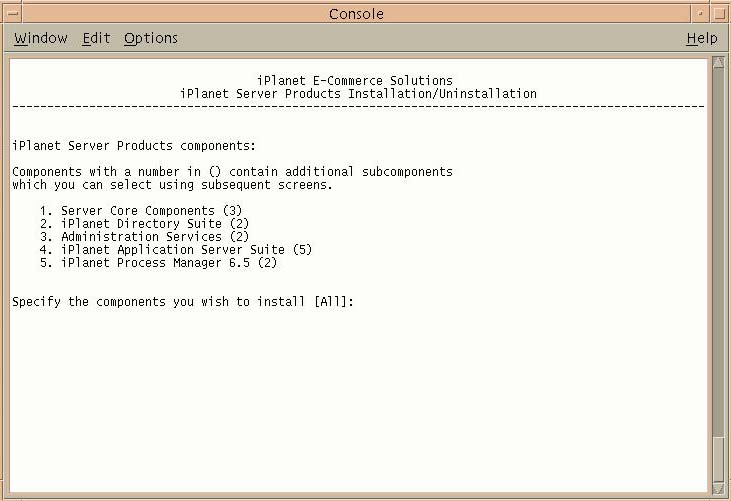
Press Enter, because BuyerXpert needs all the components listed.
The Server Family Core Components screen displays.
Press Enter to specify all the components listed.
The Directory Suite Components screen displays.
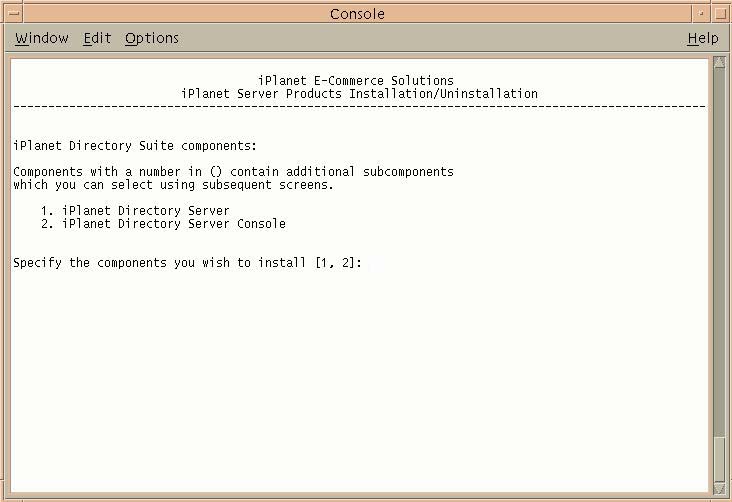
Press Enter to specify all the components listed.
The Administrative Services screen displays.
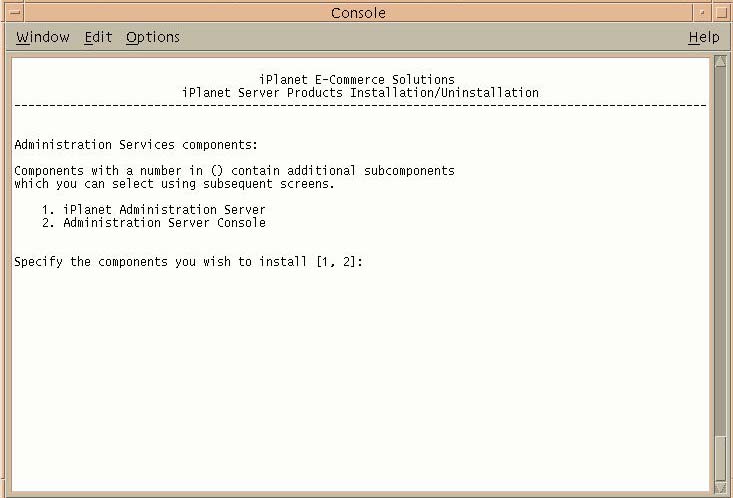
Press Enter to specify all the components listed.
The Application Server Suite Components screen displays.
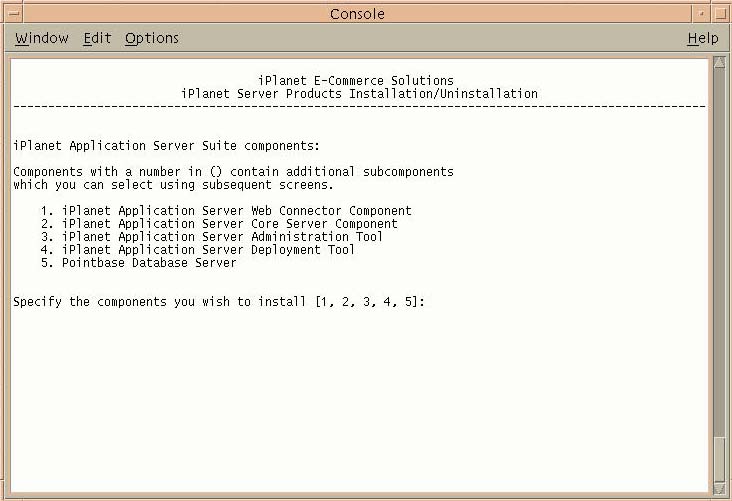
Press Enter to specify all the components listed.
The Process Manager 6.5 Components screen displays.
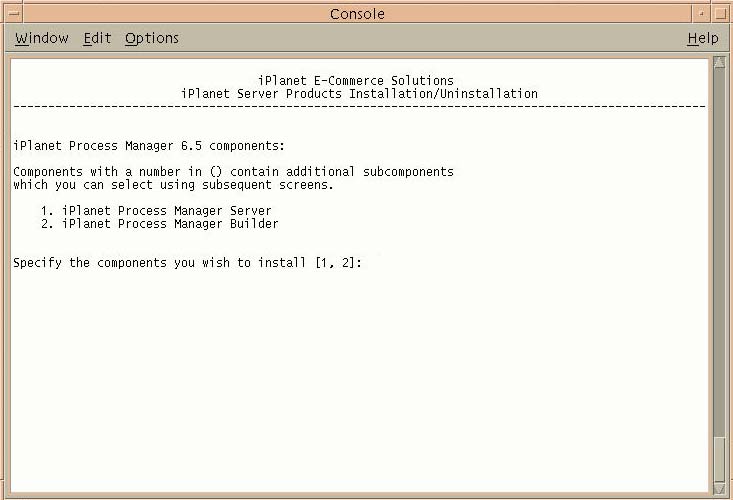
Press Enter to specify all the components listed.
The Domain Name screen displays.
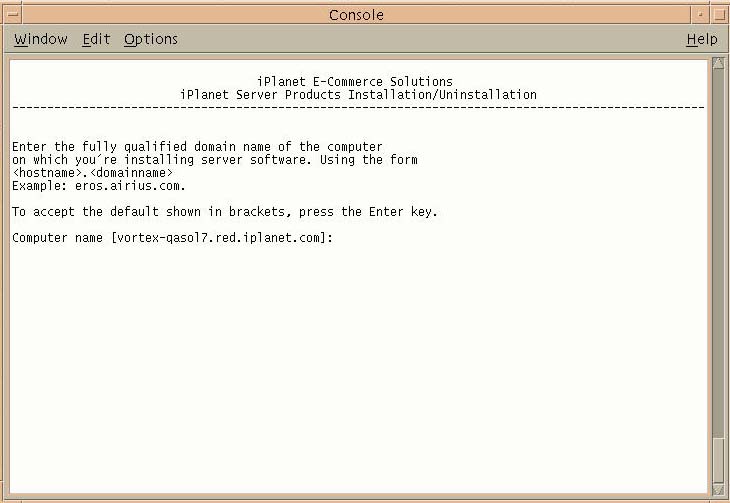
Enter the domain name where you are installing the server software.
See section Installing iPlanet Web Server (iWS).
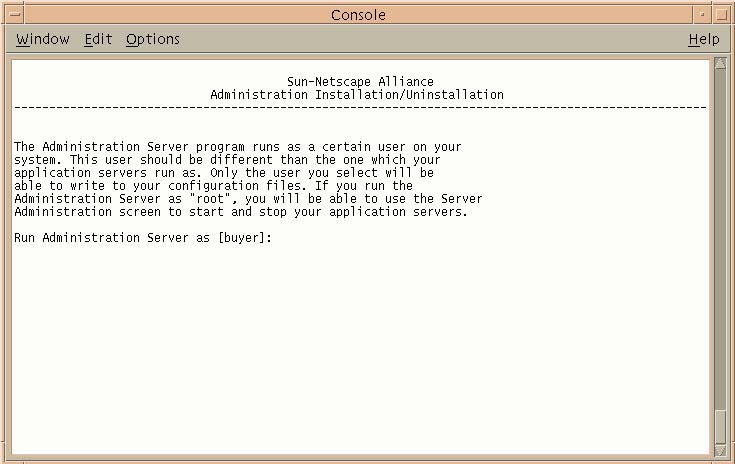
The UNIX User and Group screen displays.
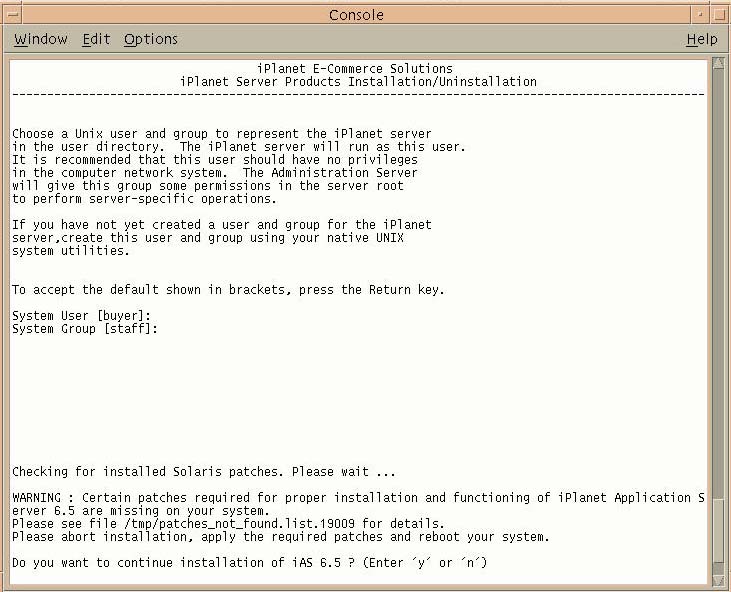
Enter the system user and group name that was created in the section, Installing iPlanet Web Server (iWS).
If you already applied the latest patches, answer y to continue installing IAS6.5.
The Configuring Server screen displays.
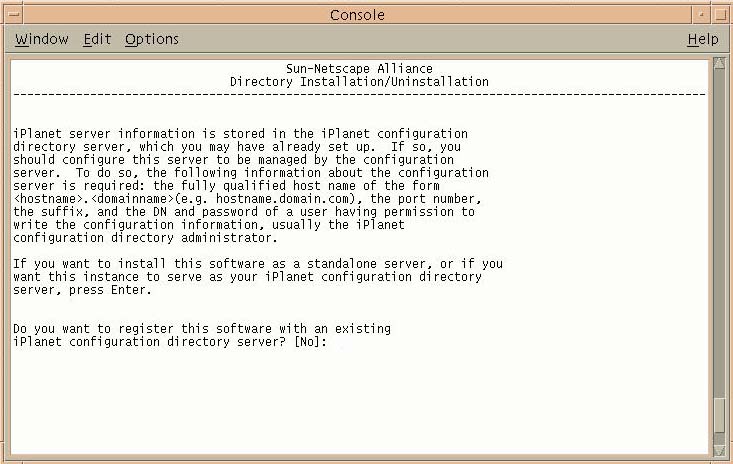
Enter Yes to register this software, or press Enter if you do not want to register the software.
The Store Directory Server screen displays.
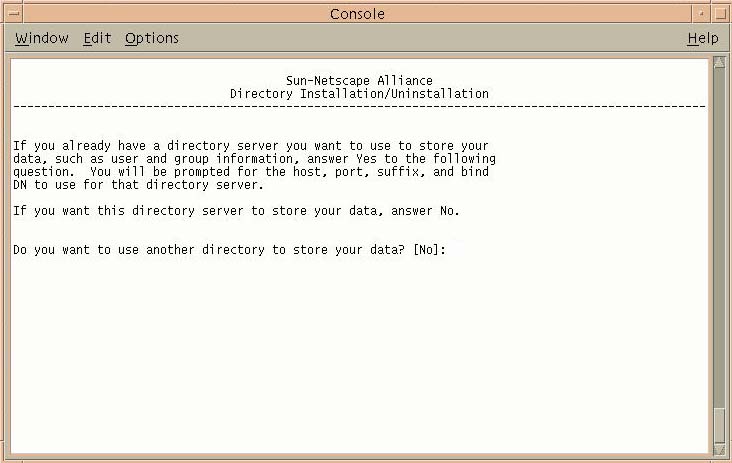
Press Enter to continue.
The Directory Server Network Port screen displays.
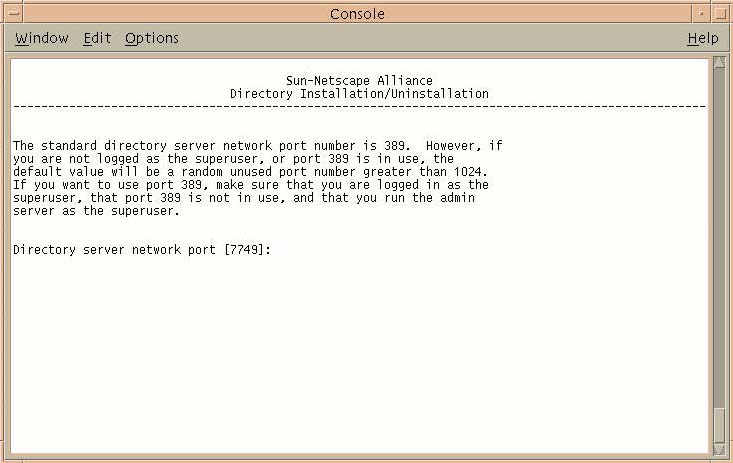
Enter 10000, or enter a different port number.
The Directory Server Identifier screen displays.
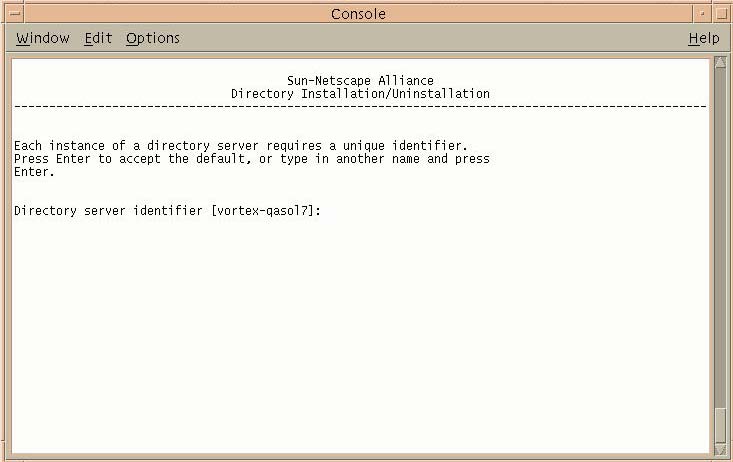
Press Enter to accept the default.
The Administrator ID screen displays.
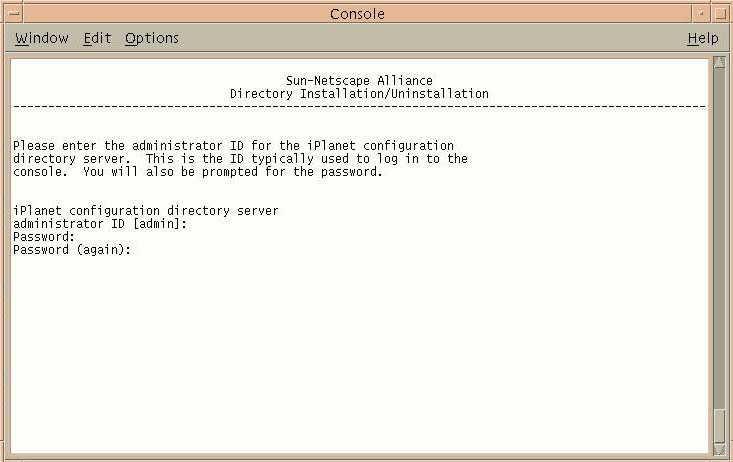
Enter your administrator ID.
The Directory Tree Suffix screen displays.
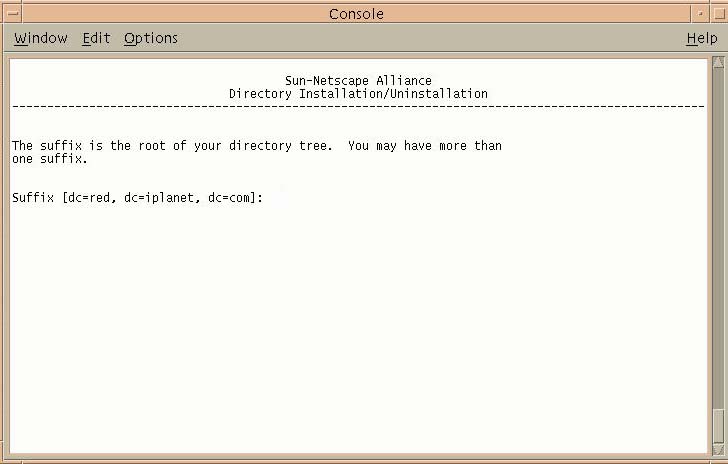
Enter a suffix for this installation (for example, o=bxinstall.com), or, use the default value.
The Directory Manager Distinguished Name (DN) screen displays.
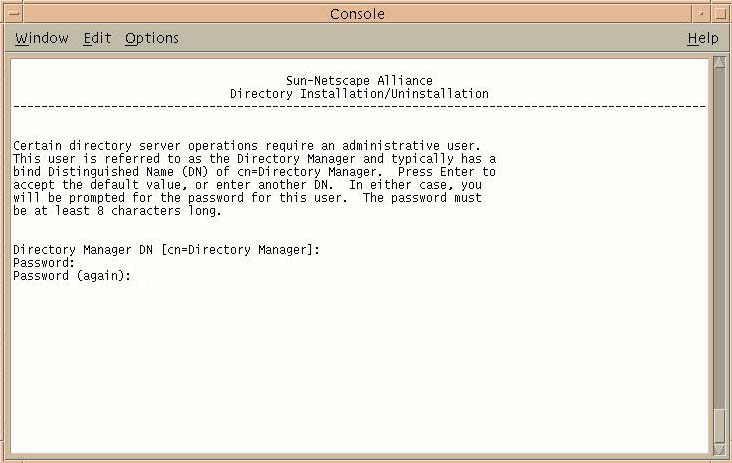
Press Enter to accept the default Directory Manager DN.
The Administration Domain screen displays.
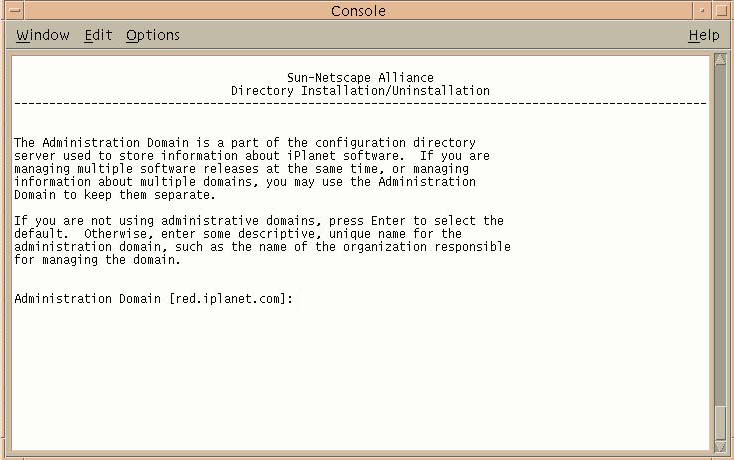
Enter your domain, or accept the default.
The Administration Server Port screen displays.
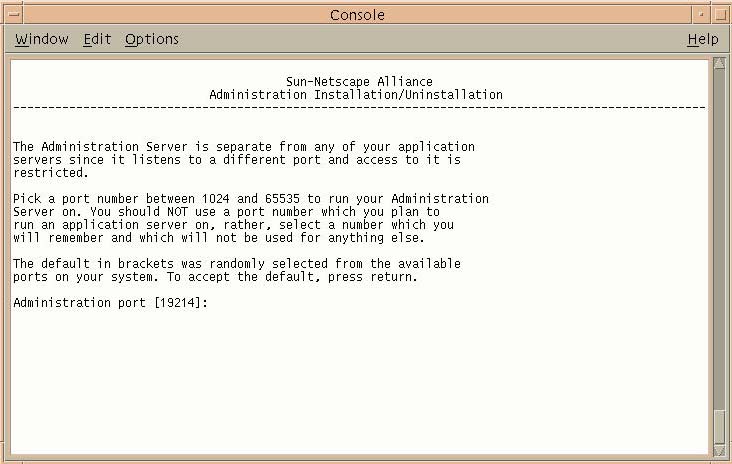
Enter 10001, or enter your port number.
The Administration Server screen displays.
Press Enter to accept the default.
The Product Key screen displays.
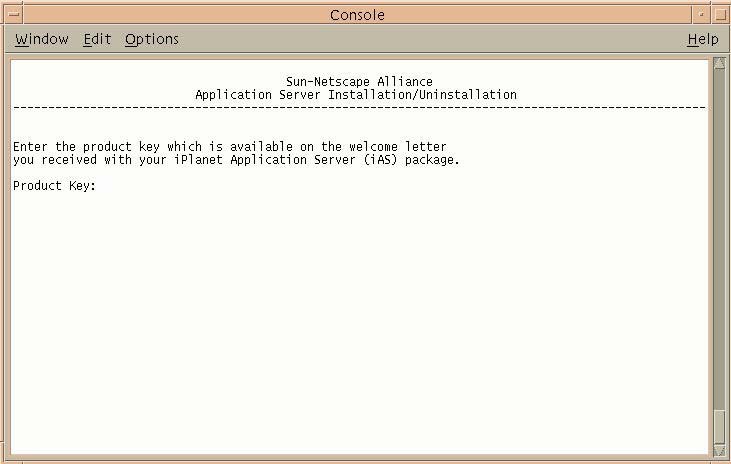
Enter your product key (iAS serial number).
The Web Server Instance screen displays.
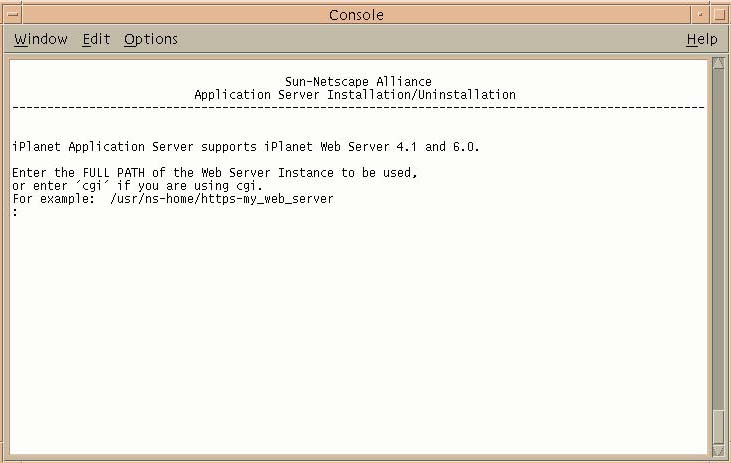
Enter the web server instance location where iWS is installed.
The next screen displays with this message: Configuring the iPlanet Web Server.

Press Enter to continue.
The Administration Server Username and Password screen displays.
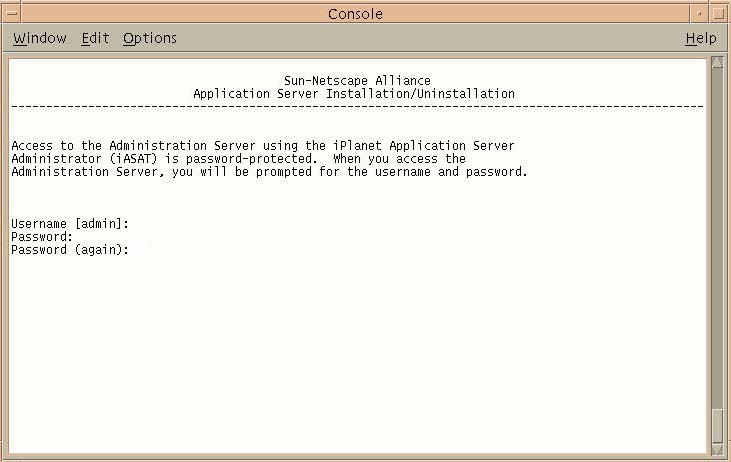
Enter your administration server username.
The Enable Internationalization screen displays.

Enter Yes to enable international support for iAS.
The Finished with Gathering of Information screen displays.
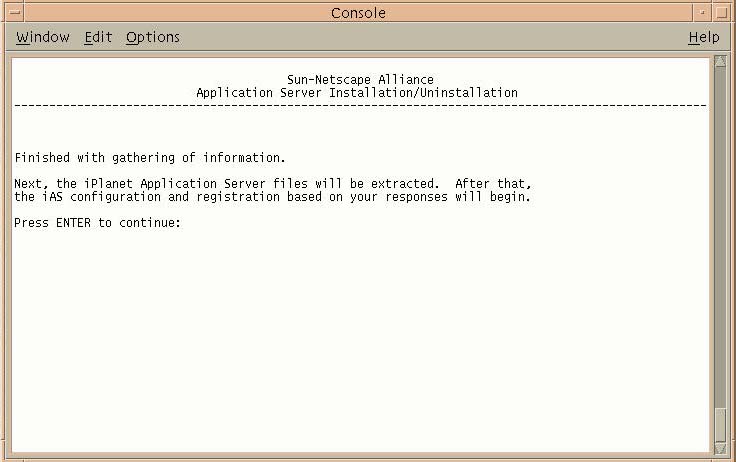
Press Enter to continue.
The Process Manager Administrator User ID screen displays.
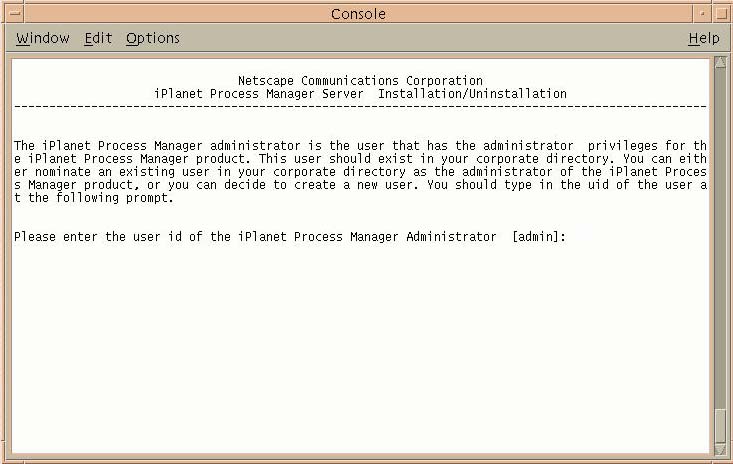
Enter the user ID of the Process Manager administrator, or press Enter to accept the default.
The Finished with Gathering of Information screen displays.
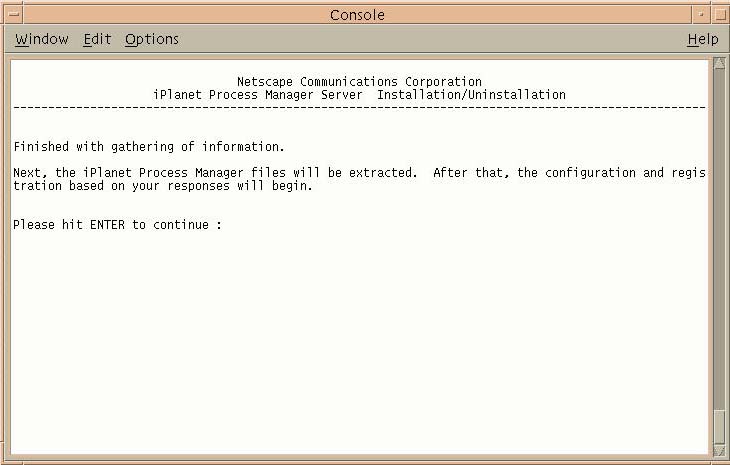
The installer has finished gathering information.
Press Enter to continue.
Reloading Configuration Files
iWS needs to be stopped and started again to reload configuration files that were loaded during iAS installation.
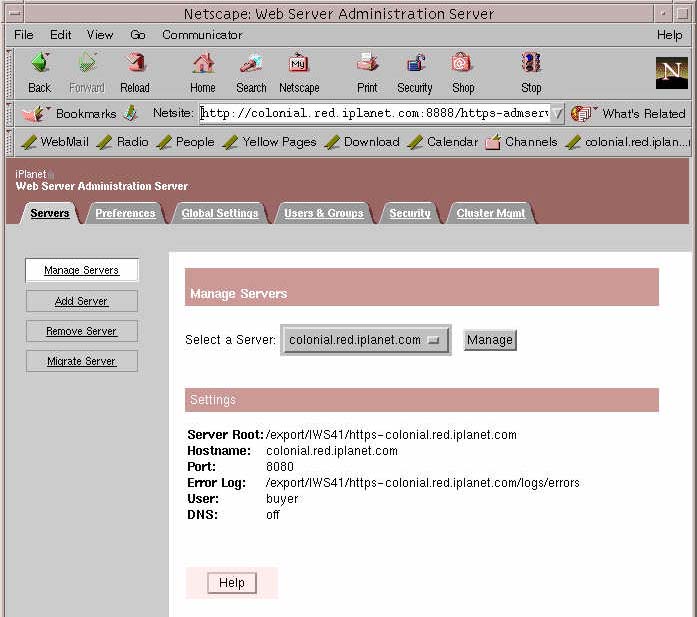
Run startconsole from IWS_ROOT.
Enter the username you created.
Enter the password you created.
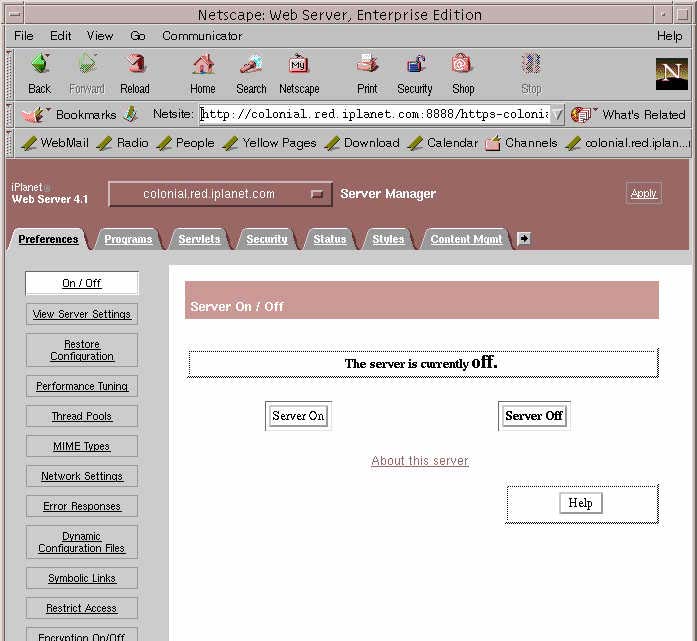
Click the server name (located next to Select a Server).
Click Server Off.
A Warning message displays: Manual edits not loaded.
Apply the changes by clicking Load Configuring Files.
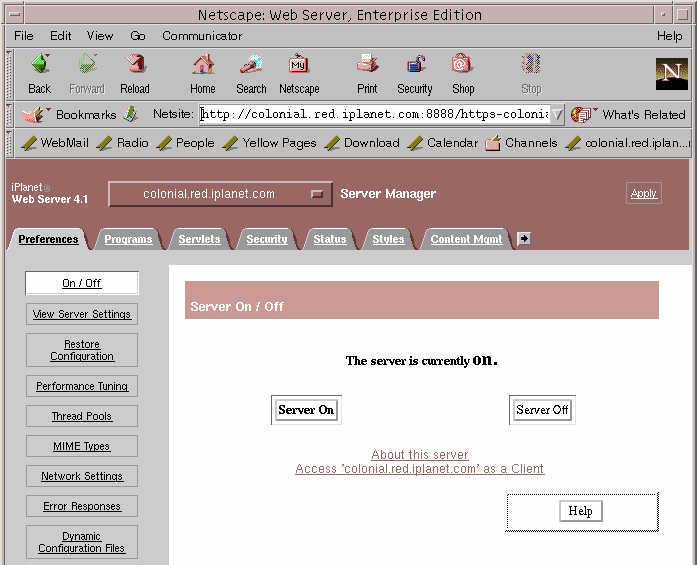
After completing the iAS installation, you can check to see if iAS is installed properly by executing a sample fortune program:
http://hostname:port/GXApp
For example,
http://colonial:8080/GXApp
Click Access New iAS Sample Application.
Under Sample Application, click Fortune.
From the Fortune page, you can check your fortune and verify that iAS is installed properly.
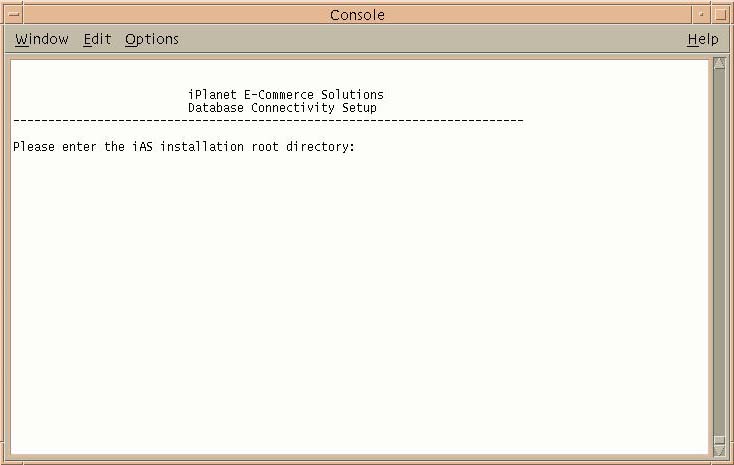
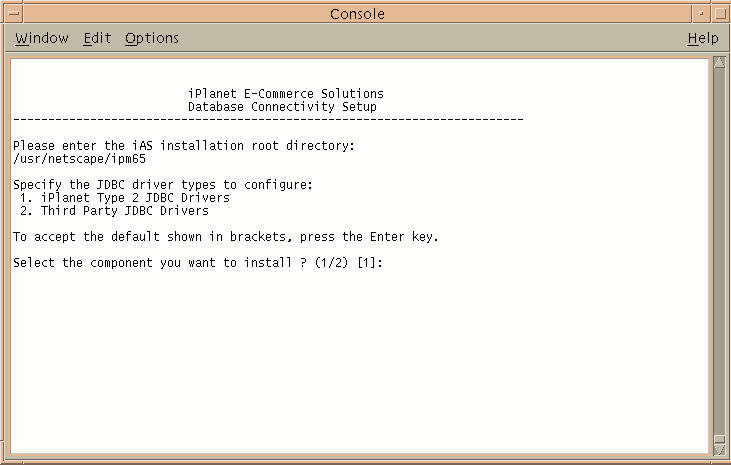
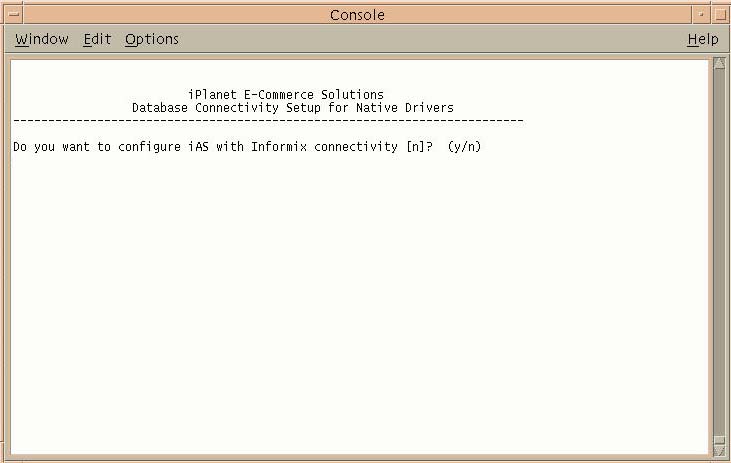
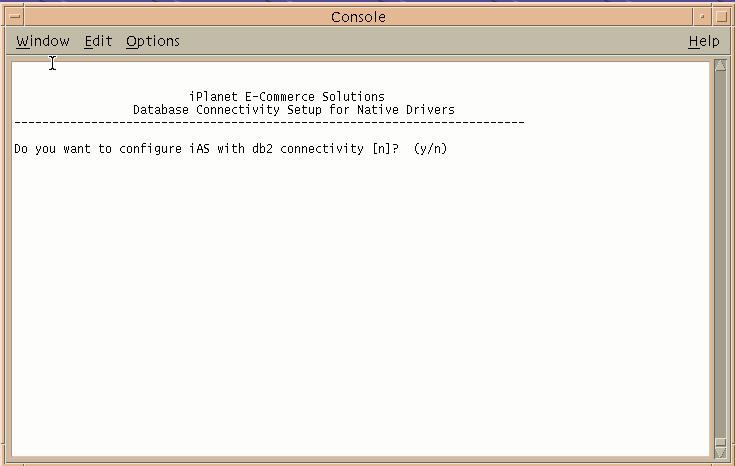
Enabling the Database with iAS
Set up the database session script:
Enter the location where iAS is installed.
Press Enter to continue.
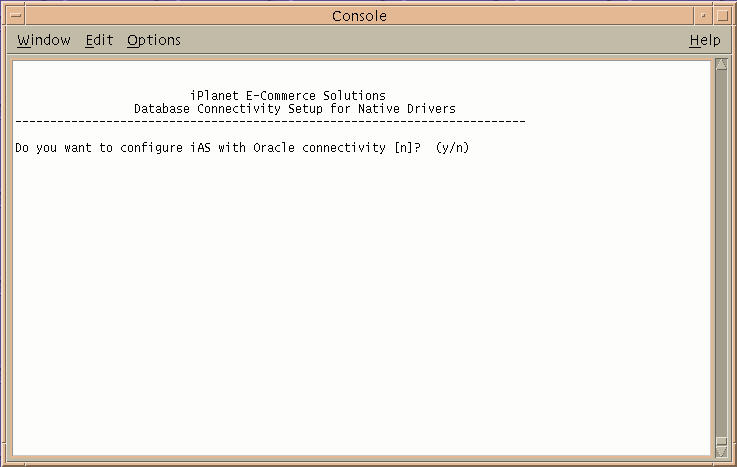
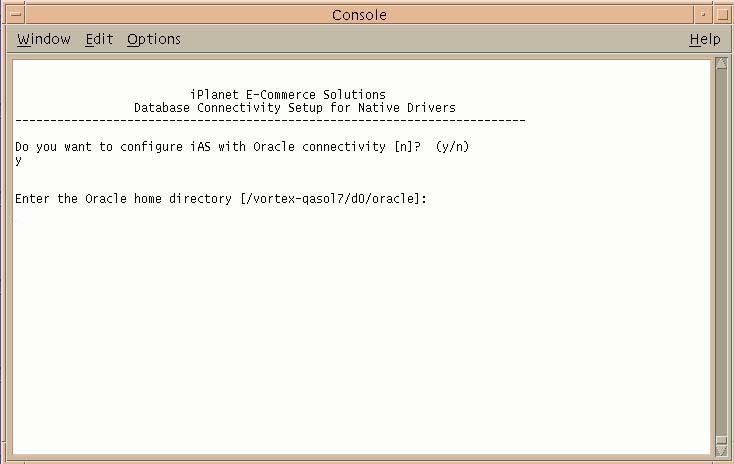
Enter Y to configure iAS with Oracle.
Enter your Oracle home directory.
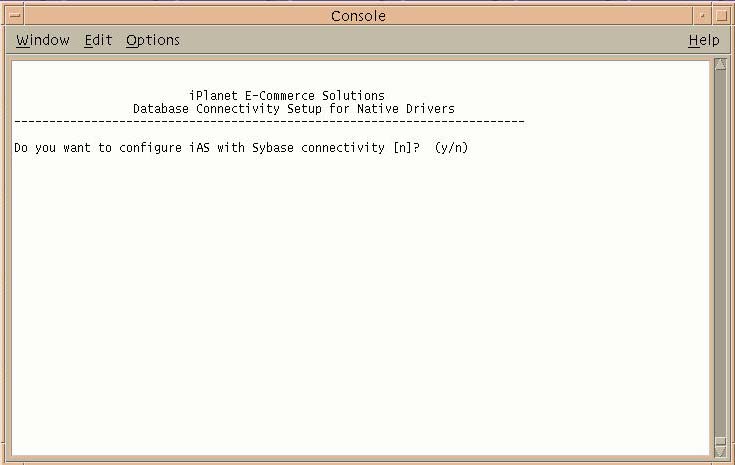
Press Enter to continue.
Press Enter to continue.
Press Enter.
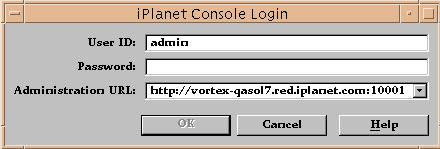
Creating an iPlanet Directory Server (LDAP) Instance
Start console using the following command:
Enter your password.
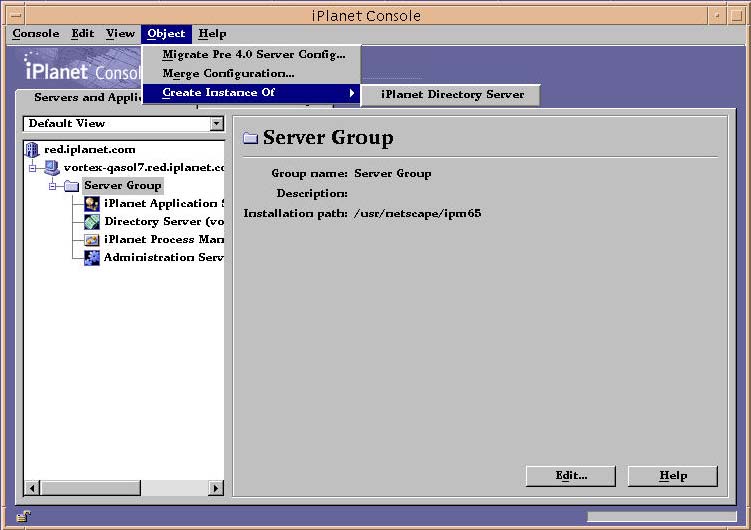
Choose the Server Group.
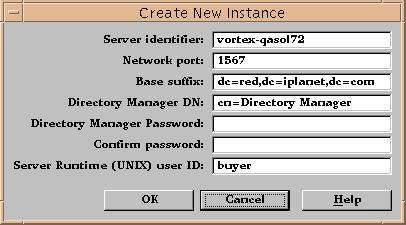
Choose Create Instance of Netscape Directory Server from the drop-down menu.
Enter 20000, or your specific port number, In the network port number field.
Enter a Base suffix. For example, o=iplanet.com.
Enter the password again to confirm.
Note The network port number and root DN password are required entries when installing iPlanet BuyerXpert.
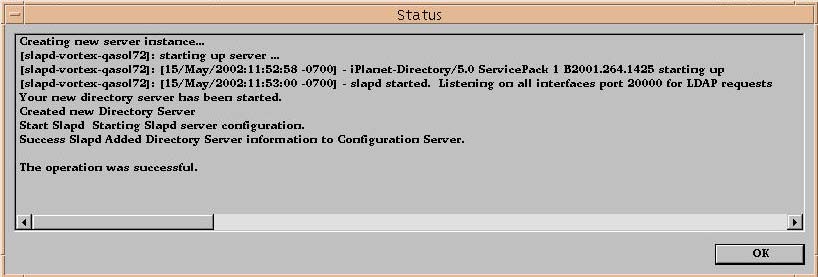
The Status screen displays.
Click OK.
Configuring the Process Manager
You should have already run the db_setup.sh script for iAS. Create a another user in ORACLE_SID, in addition to the one that you created to store BuyerXpert data.
Creating Another Oracle User
To create another Oracle user:
% sqlplus system/manager@oracle_SID
SQL>create user pm identified by pm
SQL>default tablespace TSO1 temporary tablespace temp
SQL>quota unlimited on TSO1
SQL>quota 0 on system;
SQL>grant connect, resource to pm
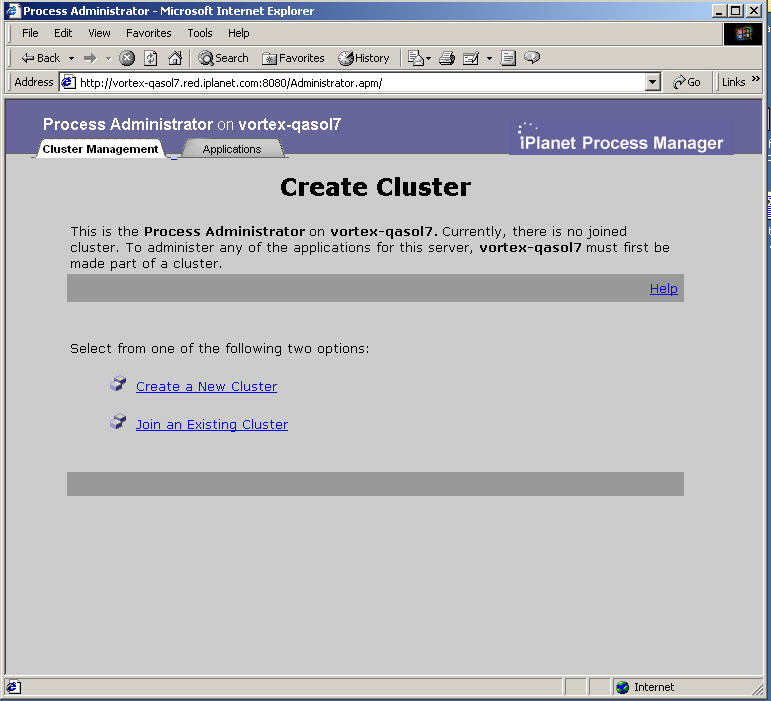
To configure the Process Manager:
Enter the URL:
http://<machine-name.domain-name:iWS-port-number>/Administrator.apm
Enter your iAS user ID.
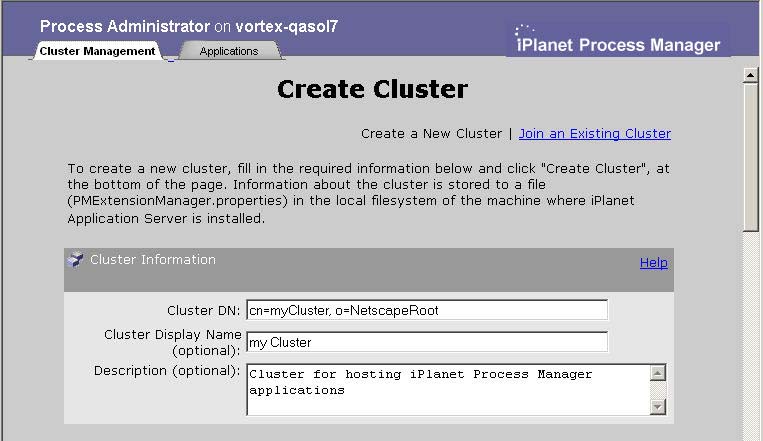
Enter a Cluster Display Name.
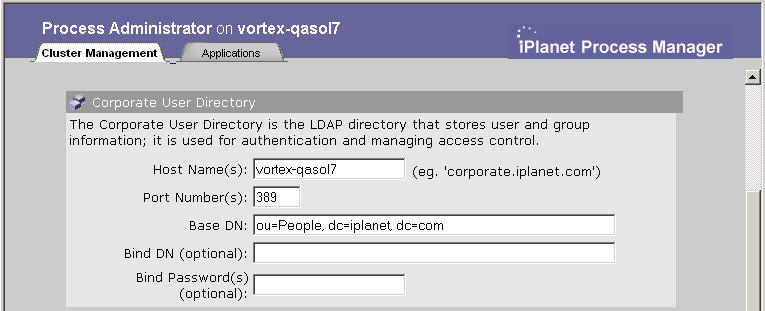
Scroll down to the Corporate User Directory section.
Enter 20000 in the Port Number field.
This is the network port number that you created in Chapter 3, Section Creating an iPlanet Directory Server (LDAP) Instance.
Specify the Base DN for the root directory.
For example, enter o=iplanet.com if your BuyerXpert configuration setting directory root DN is set to o=iplanet.com.
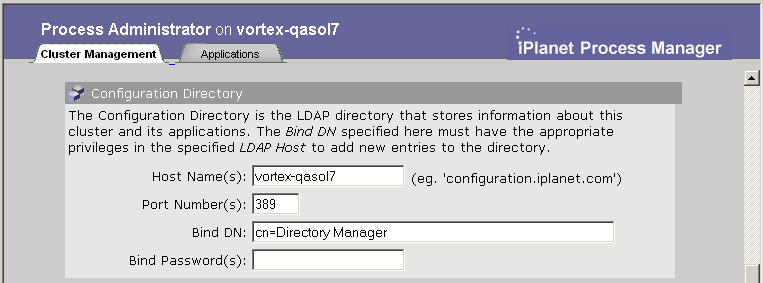
Scroll down to the Configuration Directory section.
Enter the iAS directory server network Port Number.
Enter the bind password (your iAS password).
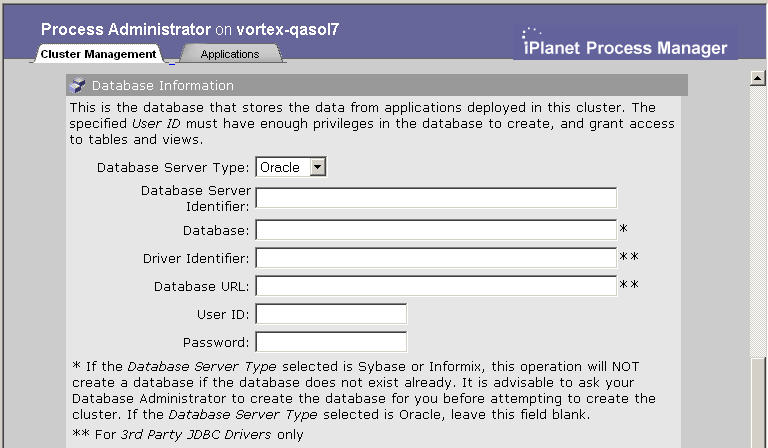
Scroll down to the Database Information section.
Select Oracle from the DB Server Type drop-down menu.
Enter your Oracle SID in the Database Server Identifier field.
Note Leave the Database field blank. That field is marked with a *.
Enter the Oracle database User ID that was created earlier.
Enter the Oracle Password that was created earlier.
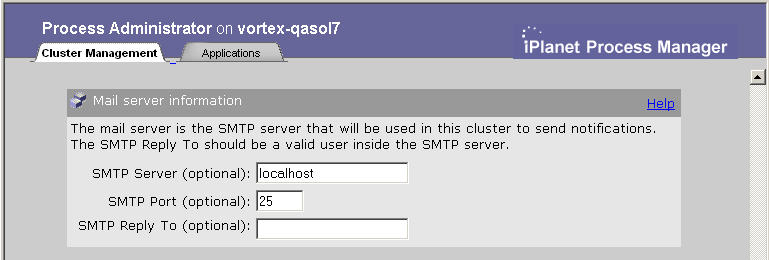
Scroll down to get the email screen.
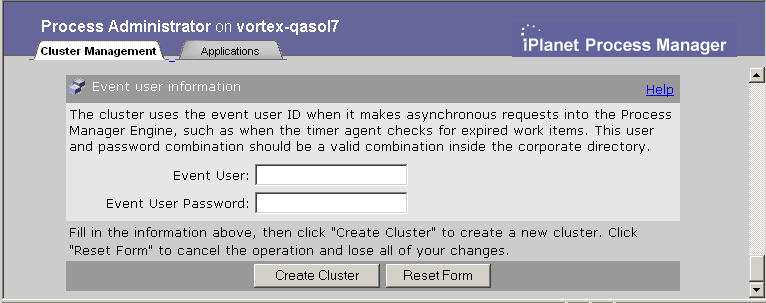
The Mail Server Information screen displays.
Enter your SMTP email Server name, or use the default.
Enter your SMTP Port number, or use the default.
Enter your SMTP reply to email address, or use the default.
Create a new Event User name.
Create a new Event User Password.
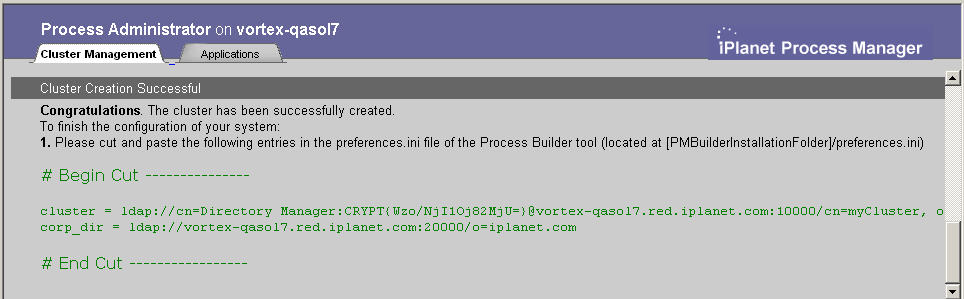
After the cluster has been created, from any text editor, copy the lines that start with # Begin Cut -------------- to the end (End Cut ------).
Open the iAS installation dir/builder/preferences.ini file.
Find the following line in that file:
# add your lines below here:
Add the lines copied in Step 24 to just below the # add your lines below here: line.

Previous Contents Index Next
Copyright © 2002 Sun Microsystems, Inc. All rights reserved.
Last Updated June 10, 2002