Image Gallery Portlet
Like the Document Library, the Image Gallery provides a centralized repository for images used throughout the Project WebSynergyPortal and assigns a unique URL to each image.
 To add an Image
-
Login to WebSynergy.
-
Click Add Applications and expand the CMS folder.
-
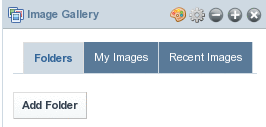
Click Add against the Image Gallery Portlet.
The portlet is added to your page.
Figure 4–12 Image Gallery Portlet
-
Click on the Add Folder button.
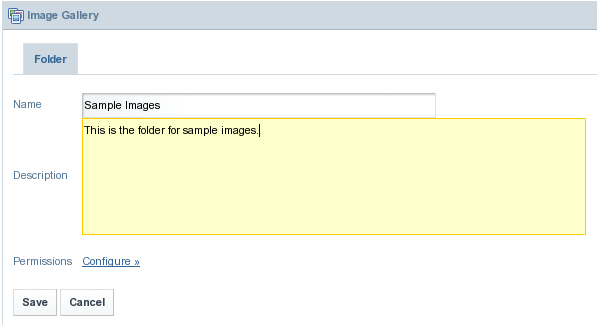
Specify a name and description and click Save.
Figure 4–13 Adding a folder to the Image Gallery Portlet
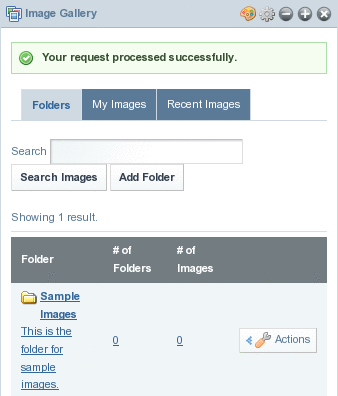
The folder is added to the portlet.
Figure 4–14 Image Gallery Portlet with a newly created folder
-
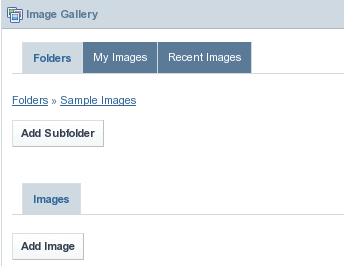
Click on the name of the folder.
You can add a subfolder or an Image within the folder. In our example we are adding an image for the folder we have already created.
Figure 4–15 Image folder
-
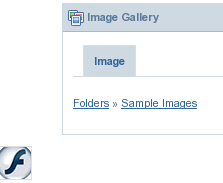
Click on the Add Image button.
Figure 4–16 Preparing to upload an image
-
Click on the upload button:
Figure 4–17 Upload button

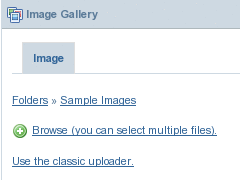
Now you can browse the document. You have classical upload and select multiple files options.
Figure 4–18 Upload options
-
Select either of the two options to upload images.
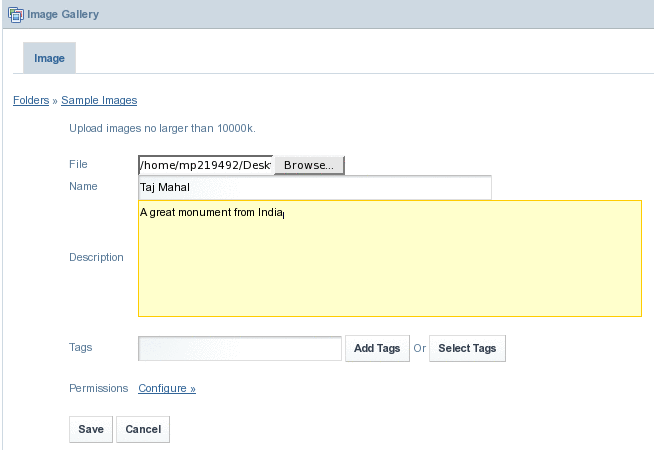
There is a cap of 3000k on uploaded documents. After uploading the document, enter a title and description for the document.
Figure 4–19 Uploading an image
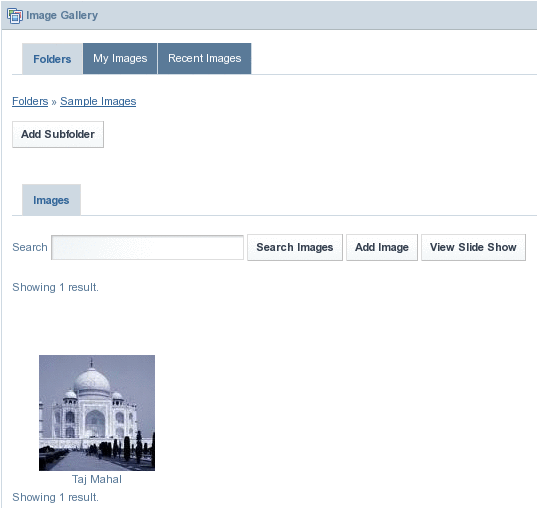
The image is added to the image gallery.
Figure 4–20 Image uploaded to the folder
 To create Reference to an Image
-
Locate a document in the Document Library.
Using the example from the above section, locate the image Taj Mahal in the folder Sample Images.
-
Right click on the image, then select Properties to view its Address (URL).
You can then either highlight the entire URL or click anywhere over the URL area and press Ctrl+A to select the entire link. Keep in mind that the URL is long. If you use the highlight method, you must highlight the entire URL. You can then copy this link and reference it anywhere within the portal. You can even reference this document outside of the portal as long as your portal is running and the document is still in the repository.
Figure 4–21 To create Reference to an Image

 To View Image Slide Show
-
Login to WebSynergy.
-
Click Add Applications and expand the CMS folder.
-
Click Add against the image gallery portlet.
The portlet is added to your page.
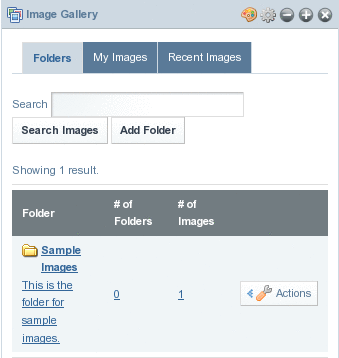
Figure 4–22 To view Image Slide Show
-
Click on a folder containing images.
In our example, click on the Sample Images folder.
Figure 4–23 To view Image Slide Show

-
Click on View Slide Show button to have a slide show of the images contained in the folder.
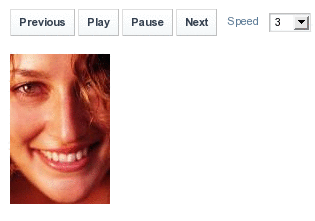
A new window appears. In the new window, images are displayed in sequence one after the other. The slide show window has buttons for Pause, Play, Next, and Previous, which allow you to play and pause the slide show, and to view next and previous image for an image. You can set a time interval for displaying images, by using the Speed list. You can set a time interval between 1 to 10 seconds, with 3 seconds being the default time interval for the slide show.
Figure 4–24 To view Image Slide Show
- © 2010, Oracle Corporation and/or its affiliates
