Workflow Portlet
Admin users can define a workflow and upload the workflow definition file through the Workflow Portlet UI, and can initiate a workflow instance. To create a workflow, you need a Workflow Definition File which has a workflow defined in it.
To create a workflow, you need to create a Workflow Definition File in XML format. The Workflow Definition File need to confirm to jBPM Process Definition Language (JPDL) standards.
For example, consider that we are creating a workflow for leave application and approval process.
The following is the scenario involved:
-
The admin user creates a workflow definition called LeaveApproval.
-
The admin user creates a workflow instance. (Workflow State 1)
-
The test user uses the workflow instance to apply for leave. (Workflow State 2)
-
The manager receives the holiday request. The manager the approve or reject the request, or can send the request for reconsideration. (Workflow State 2)
-
The test user can verify to see that the process have ended.
Refer to the below sections for detailed process steps:
 To add a Workflow Definition
-
Login to WebSynergy as Admin User.
-
Click on Add Page.
-
Specify a name for the page and click Save.
-
Click on the tab for the page.
The page opens.
-
Click on Add Applications from the Welcome menu, and add the Workflow portlet to the page.
-
Click On Add Definition.
-
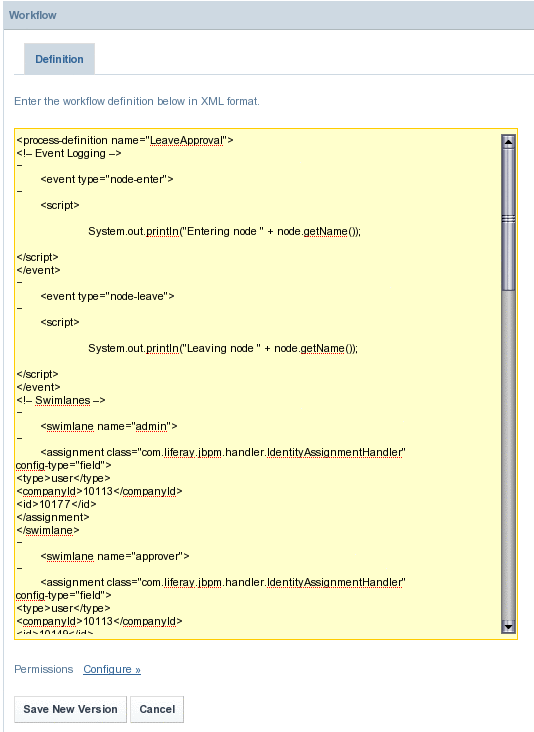
Copy paste the workflow definition in XML format and click on the Save New Version button.
Figure 4–77 To add a Workflow Definition

A workflow is created with a version number associated with it.
-
Logout and login back into WebSynergy for the changes to take effect.
 To Create a Workflow Instance
-
Click on Search Definitions from the Workflow portlet to view all workflow definitions.
Figure 4–78 To Create a Workflow Instance

-
Click on the Add Instances button against a workflow definition.
In our example, we are creating an instance for version 1.0 of the LeaveApproval workflow definition.
Figure 4–79 To Create a Workflow Instance

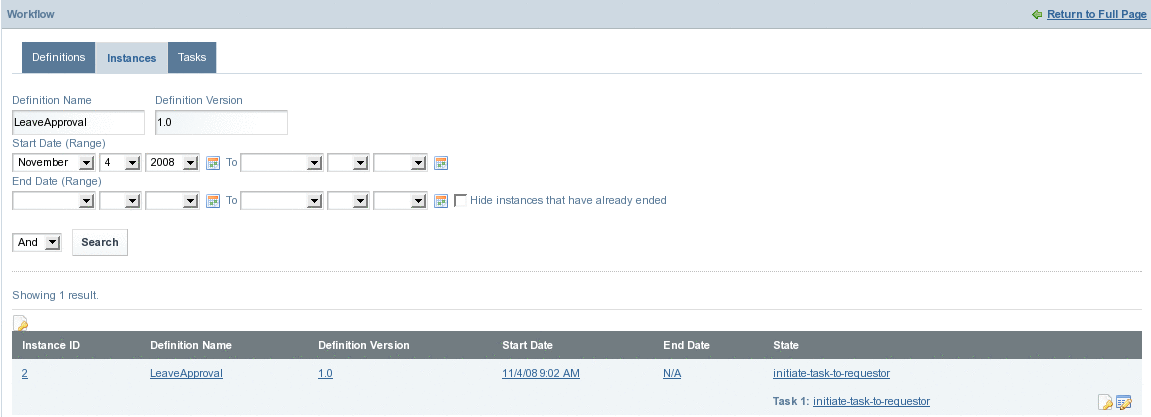
An instance is created for the Workflow Definition. Provide values for the fields such as the Definition Name, Definition Version, Start Date (Range), and End Date (Range), and Click Search to search for the instance. To hide the instances that have already ended, select the Hide the instances that have already ended checkbox.
You can create any number of instances for a version of Workflow Definition.
Figure 4–80 To Create a Workflow Instance

-
Click on the Manage button for the instance.
Figure 4–81 Manage button

-
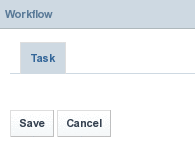
Click Save to save the task.
Figure 4–82 To Create a Workflow Instance

The task is assigned to the requester.
Note –If the admin user clicks the Signal button against an Instance, the instance is promoted to the next state of workflow. The requester is not allowed to use an instance which is promoted to the next state of the workflow.
Accessing a Workflow Instance
To be done.
 Workflow Process Steps: To Request an Holiday
-
Login to WebSynergy as Paul, the test user.
-
Add the Workflow portlet to your page.
-
Click on Tasks tab.
You can use the Task Name, Definition Name, Current Date, Start Date, and End Date fields to search for a task. To hide the instances that have already ended, select the Hide the instances that have already ended checkbox.
-
Click on a Task for an Instance which have not ended.
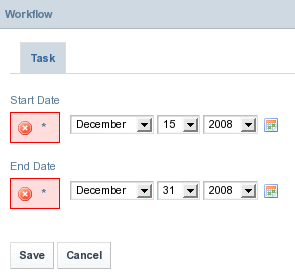
In our example, click on the Holiday Request task for an Instance. Specify a start date and an end date.
Figure 4–83 Workflow Process Steps: To Request an Holiday

-
Click Save.
 Workflow Process Steps: To Evaluate Holiday Request
-
Login to Project WebSynergy as Mary Manager.
-
Add the Workflow portlet to your page.
-
Click on Tasks tab.
-
Click on a Task for an Instance which have not ended.
In our example, click on the Evaluate Holiday Request task for an Instance.
The manager can place Comments against the request. The manager can exercise Approve, Reject, and Send Back for Review options.
The Instance ends on clicking the Approve or Reject button.
 Workflow Process Steps: To Ascertain the Request Status
- © 2010, Oracle Corporation and/or its affiliates
