 To Stage a Community
-
Login to Project WebSynergy as Admin User.
-
Click on the Communities I Own tab in the My Communities portlet.
-
To stage a Community, click on the Actions button against a Community and choose Manage Pages from the menu.
In this example, choose the 'Knowledge Management Sample' Community.
Figure 7–24 Staging Communities

-
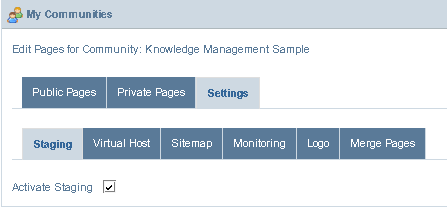
Click on the Settings tab, and enable the Activate Staging option.
The community is staged to the production environment.
Figure 7–25 Staging Communities

-
Choose My Places from the welcome menu and navigate to the page.
The live page for 'Knowledge Management Sample' is displayed.
Figure 7–26 Staging Communities

-
To view the staged page, choose Staging –> View Staged Page from the welcome menu.
Figure 7–27 Staging Communities

-
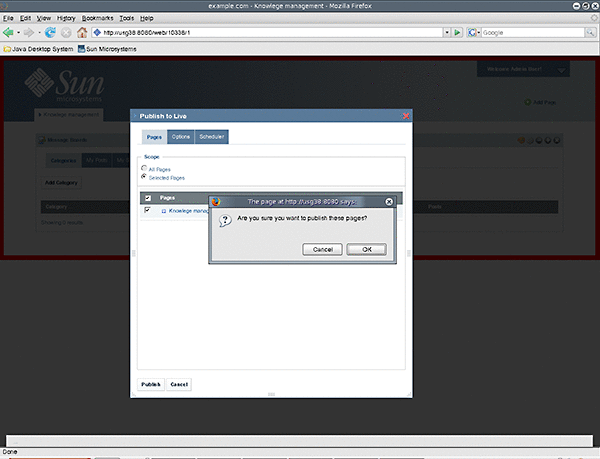
To publish the page to live, choose Staging —> Publish to live from the welcome menu and follow the UI instructions.
Figure 7–28 Staging Communities

-
To view the live page, choose Staging —> View Live Page from the welcome menu.
- © 2010, Oracle Corporation and/or its affiliates
