3 Using the Connector
After you deploy the connector, you must configure it to meet your requirements. This chapter discusses the following connector configuration procedures:
3.1 Summary of Steps to Use the Connector
The following is a summary of the steps to use the connector for full reconciliation:
Note:
It is assumed that you have performed all the procedures described in the preceding chapter.
Change from full reconciliation to incremental reconciliation. See Performing Incremental Reconciliation for instructions.
3.2 Performing Full Reconciliation
Full reconciliation involves reconciling all existing person records from the target system into Oracle Identity Manager. After you deploy the connector, you must first perform full reconciliation.
The following sections discuss the procedures involved in full reconciliation:
3.2.1 Generating XML Files
You must generate XML files for all existing persons in the target system.
Note:
Before performing the procedure to generate XML files, you must ensure that you have configured the PERSON_BASIC_FULLSYNC and WORKFORCE_FULLSYNC messages. See Importing XML Files into Oracle Identity Manager for more information.
To generate XML files for full reconciliation perform the procedures described in the following topics:
Note:
If you are using PeopleTools 8.50 and HCM 9.0, then before running Full Data Publish, you must apply the patch that addresses Bug 824529. This patch can be downloaded from Oracle Metalink.
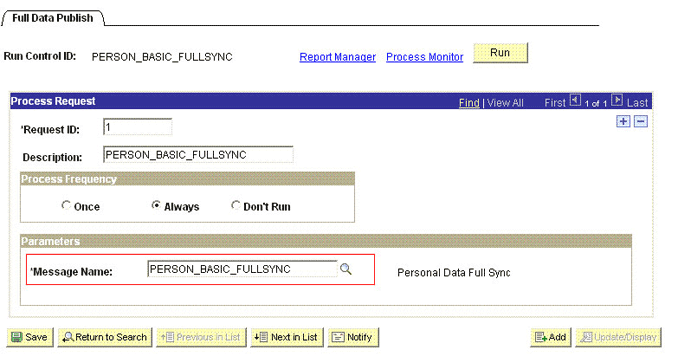
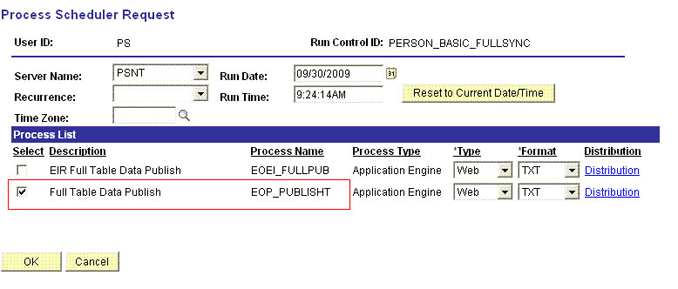
3.2.1.1 Running the PERSON_BASIC_FULLSYNC Message
To run the PERSON_BASIC_FULLSYNC message:
Note:
After you have performed this procedure, remove the permission list created in Setting Up the Security for the PERSON_BASIC_FULLSYNC Service Operation on page 2-23 section. This is for security purposes.
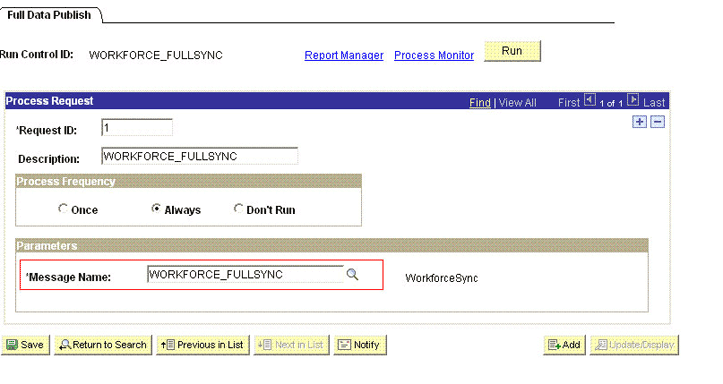
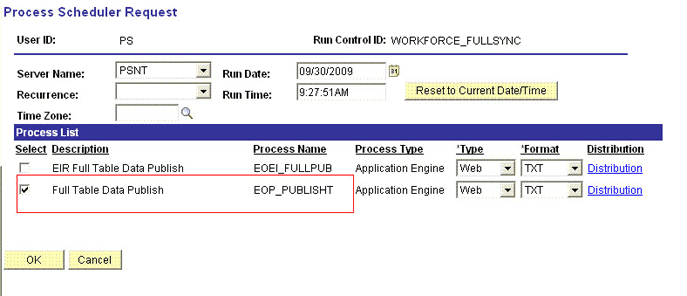
3.2.1.2 Running the WORKFORCE_FULLSYNC Message
To run the WORKFORCE_FULLSYNC message:
Note:
After you have performed this procedure, remove the permission list created in "Setting Up the Security for the WORKFORCE_FULLSYNC Service Operation" section. This is for security purposes.
3.2.2 Importing XML Files into Oracle Identity Manager
Configuring the Scheduled Task for Person Data Reconciliation section describes the procedure to configure the scheduled task.
Running the PeopleSoft HRMS Manager Reconciliation Scheduled Task describes the procedure to configure the scheduled task for reconciliation of Manager ID values.
3.2.2.1 Configuring the Scheduled Task for Person Data Reconciliation
When you run the Connector Installer, the PeopleSoft HRMS Trusted Reconciliation scheduled task is automatically created in Oracle Identity Manager.
To perform a full reconciliation run, you must configure the scheduled task to reconcile all person data into Oracle Identity Manager depending on the values that you specified in the scheduled task attributes. Table 3-1 describes the attributes of this scheduled task. See Configuring Scheduled Tasks for instructions on running the scheduled task.
Note:
Before you configure the scheduled task, you must ensure that the mapping for all Actions to be performed on the target system is defined in the Lookup.PSFT.HRMS.WorkForceSync.EmpStatus lookup definition. See Lookup.PSFT.HRMS.WorkForceSync.EmpStatus for more information.
The Peoplesoft HRMS Trusted Reconciliation scheduled task is used to transfer XML file data from the file to the parser. The parser then converts this data into reconciliation events.
Table 3-1 Attributes of the Peoplesoft HRMS Trusted Reconciliation Scheduled Task
| Attribute | Description |
|---|---|
|
Archive Mode |
Enter If |
|
Archive Path |
Enter the full path and name of the directory in which you want XML files used during full reconciliation to be archived. You must enter a value for the Archive Path attribute only if you specify Sample value: |
|
File Path |
Enter the path of the directory on the Oracle Identity Manager host computer into which you copy the file containing XML data. Sample value: |
|
IT Resource Name |
Enter the name of the IT resource that you create by performing the procedure described in Configuring the IT Resource. Default value: |
|
Message Name |
Use this attribute to specify the name of the delivered message used for full reconciliation. Sample value: |
|
Task Name |
This attribute holds the name of the scheduled task. Value: |
In Oracle Identity Manager release 11.1.2.x or later, some user attributes (UDFs) such as Department are not displayed after running the reconciliation for the WORKFORCE_FULLSYNC message. To display these attributes as form fields in the Oracle Identity Manager user interface, see Displaying UDFs in Oracle Identity Manager 11.1.2.x or Later.
3.2.2.2 Running the PeopleSoft HRMS Manager Reconciliation Scheduled Task
Manager ID values are not reconciled during full reconciliation run.
You must configure and run the PeopleSoft HRMS Manager Reconciliation scheduled task. Table 3-2 describes the attributes of this scheduled task.
Table 3-2 Attributes of the PeopleSoft HRMS Manager Reconciliation Scheduled Task
| Attribute | Description |
|---|---|
|
IT Resource Name |
Enter the name of the IT resource. Default value: |
|
Resource Object |
Enter the name of the resource object. Default value: |
|
Task Name |
This attribute holds the name of the scheduled task. Default value: |
|
Update Empty Manager Only |
Set this value to Default value: |
Before you run this scheduled task, you must specify a value for the Update Empty Manager Only attribute.
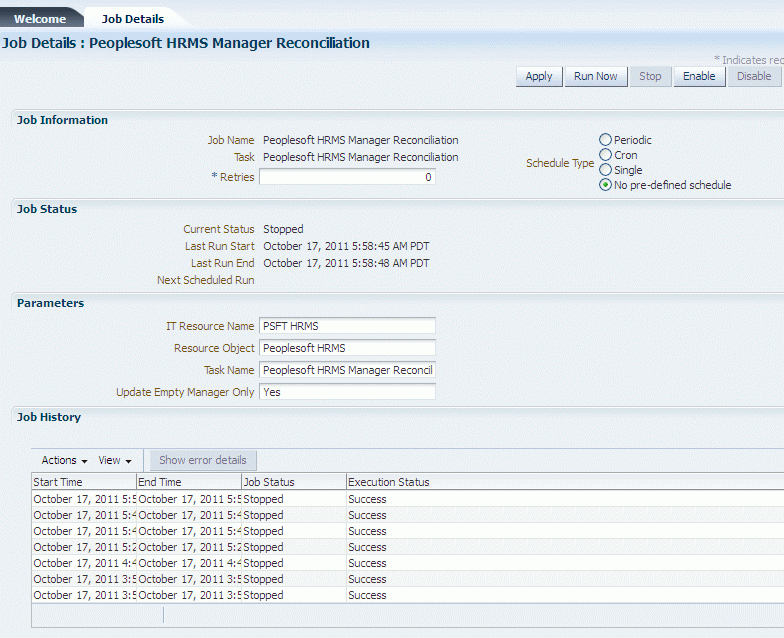
The attributes of the PeopleSoft HRMS Manager Reconciliation scheduled task are shown in the following screenshot:
-
Enter
yesif you want the scheduled task to populate Manager ID values in OIM User records that do not have this value. Existing Manager ID values in other OIM User records are not modified. -
Enter
noif you want the scheduled task to fetch and populate Manager ID values for all OIM User records, regardless of whether the Manager ID attribute in these records currently contains a value.
This scheduled task uses the Lookup.PSFT.HRMS.ManagerRecon.Configuration lookup definition to read the values required to run the task. If you want to modify this scheduled task, for example, when the Employee ID field is mapped to a UDF, then you must modify the values in this lookup as per the changes made to the task. See Lookup.PSFT.HRMS.ManagerRecon.Configuration for information about this lookup.
When it is run, this scheduled task performs the process described inSteps in the Manager ID Reconciliation Process
3.3 Performing Incremental Reconciliation
You do not require additional configuration for incremental reconciliation.
It is assumed that you have deployed the PeopleSoft listener as described in Deploying the PeopleSoft Listener.
Note:
You must ensure that you have defined the mapping for all Actions to be performed on the target system in the Lookup.PSFT.HRMS.WorkForceSync.EmpStatus lookup definition. See Lookup.PSFT.HRMS.WorkForceSync.EmpStatus for more information.
3.4 Limited Reconciliation
This section contains the following topics:
3.4.1 About Limited Reconciliation
By default, all target system records that are added or modified after the last reconciliation run are reconciled during the current incremental reconciliation run. For full reconciliation, all target system records are fetched into Oracle Identity Manager.
You configure segment filtering to specify the attributes whose values you want to fetch into Oracle Identity Manager. Similarly, you can configure limited reconciliation to specify the subset of target system records that must be fetched into Oracle Identity Manager.
You configure limited reconciliation by specifying a query condition as the value of the Custom Query attribute in the message-specific configuration lookup.
You must use the following format to specify a value for the Custom Query attribute:
RESOURCE_OBJECT_ATTRIBUTE_NAME=VALUE
For example, suppose you specify the following as the value of the Custom Query attribute:
Last Name=Doe
With this query condition, only records for persons whose last name is Doe are considered for reconciliation.
You can add multiple query conditions by using the ampersand (&) as the AND operator and the vertical bar (|) as the OR operator. For example, the following query condition is used to limit reconciliation to records of those persons whose first name is John and last name is Doe:
First Name=John & Last Name=Doe
You can limit reconciliation to the records of those persons whose first name is either John or their User ID is 219786 using the following query:
First Name=John | User ID=219786
3.5 Resending Messages That Are Not Received by the PeopleSoft Listener
The messages are generated and sent to Oracle Identity Manager regardless of whether the WAR file is running or not. Reconciliation events are not created for the messages that are sent to Oracle Identity Manager while the WAR file is unavailable. To ensure that all the messages generated on the target system reach Oracle Identity Manager, perform the following procedure:
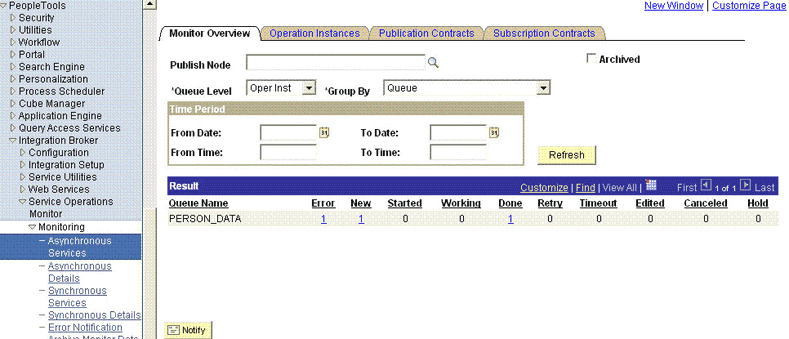
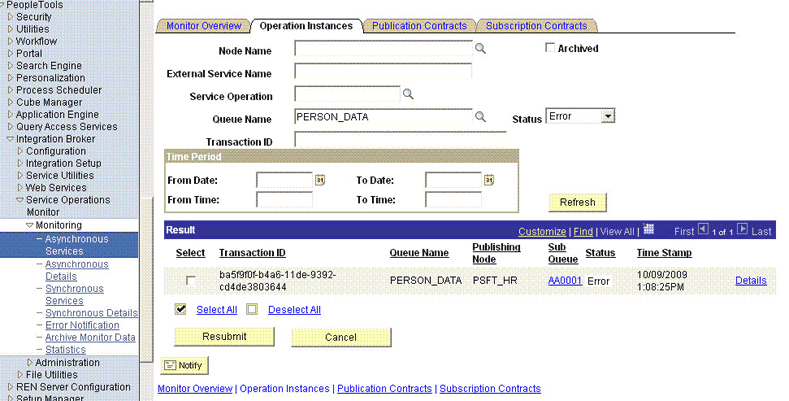
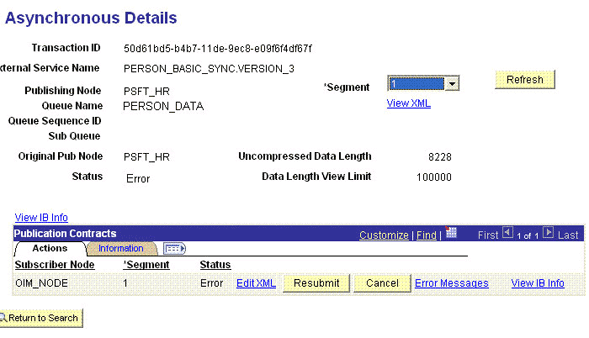
If Oracle Identity Manager is not running when a message is published, then the message is added to a queue. You can check the status of the message in the queue in the Message Instance tab. This tab lists all the published messages in queue. When you check the details of a specific message, the status is listed as Timeout or Error.
To publish a message in the queue to Oracle Identity Manager, resubmit the message when Oracle Identity Manager is running.
If the status of the message is New or Started and it does not change to Timeout or Done, then you must restart the PeopleSoft application server after you restart Oracle Identity Manager.
Note:
PeopleSoft supports this functionality for a limited rights user created in Creating a Role for a Limited Rights User. But, you can specify persons who have rights to perform this task based on the security policy of your organization.
To manually resend messages in Error or TimeOut status:
3.6 Configuring Scheduled Tasks
This section describes the procedure to configure scheduled tasks. You can apply this procedure to configure the scheduled tasks for reconciliation.
This section contains the following topics:
3.6.1 Scheduled Tasks for Reconciliation
Table 3-3 lists the scheduled tasks that you must configure.
Table 3-3 Scheduled Tasks for Reconciliation
| Scheduled Task | Description |
|---|---|
|
PeopleSoft HRMS Trusted Reconciliation |
This scheduled task is used during full reconciliation. It parses the contents of the XML files and then creates reconciliation events for each record. See Configuring the Scheduled Task for Person Data Reconciliation for information about this scheduled task. |
|
PeopleSoft HRMS Manager Reconciliation |
This scheduled task is used for reconciling Manager ID values during full reconciliation. See Running the PeopleSoft HRMS Manager Reconciliation Scheduled Task for information about this scheduled task. |
3.6.2 Configuring a Scheduled Task
To configure a scheduled task:
-
Depending on the Oracle Identity Manager release you are using, perform one of the following steps:
-
For Oracle Identity Manager release 11.1.1.x:
-
Log in to the Administrative and User Console.
-
On the Welcome to Oracle Identity Manager Self Service page, click Advanced in the upper-right corner of the page.
-
-
For Oracle Identity Manager release 11.1.2.x:
-
Log in to Identity System Administration.
-
In the left pane, under System Management, click Scheduler.
-
-
-
Search for and open the scheduled job as follows:
-
If you are using Oracle Identity Manager release 11.1.1.x, then on the Welcome to Oracle Identity Manager Advanced Administration page, in the System Management region, click Search Scheduled Jobs.
-
In the Search field, enter the name of the scheduled job as the search criterion. Alternatively, you can click Advanced Search and specify the search criterion.
-
In the search results table on the left pane, click the scheduled job in the Job Name column.
-
-
On the Job Details tab, you can modify the following parameters:
-
Retries: Enter an integer value in this field. This number represents the number of times the scheduler tries to start the job before assigning the Stopped status to the job.
-
Schedule Type: Depending on the frequency at which you want the job to run, select the appropriate schedule type.
Note:
See Creating Jobs in Oracle Fusion Middleware Administering Oracle Identity Manager for detailed information about schedule types.
-
-
Specify values for the attributes of the scheduled task. To do so:
-
On the Job Details tab, under the Parameters section, specify values for the attributes of the scheduled task. See Table 3-1 for more information about the attributes of the scheduled task.
Note:
-
Attribute values are predefined in the connector XML that is imported during the installation of the connector. Specify values only for the attributes to change.
-
If you want to stop a scheduled task while it is running, the process is terminated only after the complete processing of the file that is being run. For instance, you want to reconcile data from five XML files. But, if you stop the scheduled task when it is reconciling data from the third file, then the reconciliation will stop only after processing the third file completely.
-
-
After specifying the attributes, click Apply to save the changes.
Note:
The Stop Execution option is not available in the Administrative and User Console. If you want to stop a task, then click Stop Execution on the Task Scheduler form of the Design Console.
