B Using SSL with Standalone OC4J
Follow the steps below to use SSL with Standalone OC4J.
These steps have been taken from the Using SSL with Standalone OC4J section of http://docs.oracle.com/cd/E16439_01/doc.1013/e13977/configssl.htm.
B.1 Configuring HTTPS/SSL on the Server Manager Console on OC4J
Standalone OC4J supports SSL communication directly between a client and OC4J using HTTPS. This section describes how to accomplish this.
Use the following steps to use SSL with Standalone OC4J:
-
Create a Keystore.
-
Export a Certificate File.
-
Update the OC4J Configuration.
-
Import the New Certificate.
B.1.1 Create a Keystore
In the following example, we generate a keystore to reside in a file named mynewkeystore.jks, which has a password of changeit, using the RSA key pair generation algorithm:
C:\jde_home_console\SCFMC\jdk\bin\keytool -genkey -keyalg RSA –keystore
C:\jde_home_console\SCFMC\jdk\bin\mynewkeystore.jks -storepass changeit
In this tool:
-
The keystore option sets the filename where the keys are stored.
-
The storepass option sets the password for protecting the keystore. You can optionally omit this from the command line and be prompted for a password instead.
The keytool prompts you for additional information, as follows:
What is your first and last name?
  [Unknown]:  <Machine_Name_where_Server_Manager_Console_is_installed>
What is the name of your organizational unit?
  [Unknown]:  <UnitName>
What is the name of your organization?
  [Unknown]:  <OrgName>
What is the name of your City or Locality?
  [Unknown]:  <CityName>
What is the name of your State or Province?
  [Unknown]:  <StateName>
What is the two-letter country code for this unit?
  [Unknown]:  <CountryName>
Is <CN=<Machine_Name_where_Server_Manager_Console_is_installed>, OU=<UnitName>, O=<OrgName>, L=<CityName>, ST=<StateName>, C=<CountryName>> correct?
Note:
When the keytool prompts for first and last name, you must use the exact host name that the Server Manager Console uses for itself. This is the name that shows up for the console managed home location.Enter key password for
(RETURN if same as keystore password):
Always press RETURN for the key password. In OC4J 10.1.3.x implementations, the keystore password must be the same as the key entry password.
The mynewkeystore.jks file is created in the C:\jde_home_console\SCFMC\jdk\bin directory.
Note:
The keytool utility supports PKCS12 format wallets as well as JKS format keystores.B.1.2 Export a Certificate File
To create/export/import/use a certificate:
-
Extract the custom certificate into a .cer file (Not required if customer already has the required certificate).
-
Run:
C:\jde_home_console\SCFMC\jdk\bin\keytool -export -storepass changeit -file
C:\jde_home_console\SCFMC\jdk\bin\mynewcertificate.cer -keystore
C:\jde_home_console\SCFMC\jdk\bin\mynewkeystore.jks
The certificate stored in file <C:\jde_home_console\SCFMC\jdk\bin\mycertificate.cer> message will be seen.
B.1.3 Update the OC4J Configuration
To update the OC4J configuration:
-
Create a copy of
C:\jde_home_console\SCFMC\targets\oc4j\j2ee\home\config\default-web-site.xml
and name it as
C:\jde_home_console\SCFMC\targets\oc4j\j2ee\home\config\secure-web-site.xml
-
In the secure-web-site.xml look for the line:
<web-site xmlns:xsi="http://www.w3.org/2001/XMLSchema-instance" xsi:noNamespaceSchemaLocation="http://xmlns.oracle.com/oracleas/schema/web-site-10_0.xsd" port="8999" display-name="OC4J 10g (10.1.3) Default Web Site" schema-major-version="10" schema-minor-version="0" >
-
Add the secure="true" attribute, so now the entry should look like below, this indicates to OC4J that this file contents are for HTTPS/SSL:
<web-site xmlns:xsi="http://www.w3.org/2001/XMLSchema-instance" xsi:noNamespaceSchemaLocation="http://xmlns.oracle.com/oracleas/schema/web-site-10_0.xsd" port="8999" secure="true" display-name="OC4J 10g (10.1.3) Default Web Site" schema-major-version="10" schema-minor-version="0" >
-
You will also need an <ssl-config> element for your SSL configuration; that is discussed later in this procedure.
<ssl-config factory="com.evermind.ssl.JSSESSLServerSocketFactory" keystore="C:\jde_home_console\SCFMC\jdk\bin\mykeystore.jks" keystore-password="changeit" truststore-password=""/>
-
Save the changes to secure-web-site.xml.
Please note that if the same port is used in both the default-web-site.xml and secure-web-site.xml then HTTPS/SSL will work at this port and access over HTTP will be prevented. If you would like to use both HTTPS/SSL and HTTP access, then use different ports in both the files (in the above example port number 8999 is being used).
-
First backup the server.xml file.
-
Ensure that server.xml points to the secure-web-site.xml file in addition to default-web-site.xml.
All three of the xml files from a working setup are attached for reference.
-
In the server.xml look for below line and delete it:
<web-site default=”true” path="./default-web-site.xml" />
-
Add the below two lines in its place:
<web-site default="true" path="./secure-web-site.xml" />
<web-site path="./default-web-site.xml" />
-
Save the changes to server.xml.
It is necessary to first import the certificate created before into the cacerts file of the Server Manager Console JDK.
B.1.4 Import the New Certificate
These steps are for the Server Manager Console on Windows + OC4J combination.
-
Slight modifications are necessary to the command below for running it with:
Server Manager Console on Windows + Weblogic, Windows + WebSphereServer Manager Console on Linux/Solaris + Weblogic
C:\jde_home_console\SCFMC\jdk\jre\bin\keytool -import -trustcacerts -keystore C:\jde_home_console\SCFMC\jdk\jre\lib\security\cacerts -storepass changeit -noprompt -alias mynewcert -file C:\jde_home_console\SCFMC\jdk\ bin\mynewcertificate.cer
-
Stop and start the Server Manager Console Windows Service to initialize the secure-web-site.xml file additions. Follow appropriate steps to restart the Server Manager Console on Weblogic and Websphere Application Servers.
-
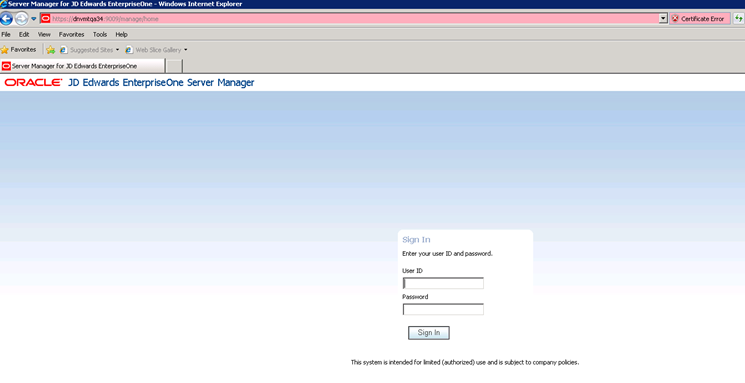
Test the SSL port by accessing the site in a browser on the SSL port.
-
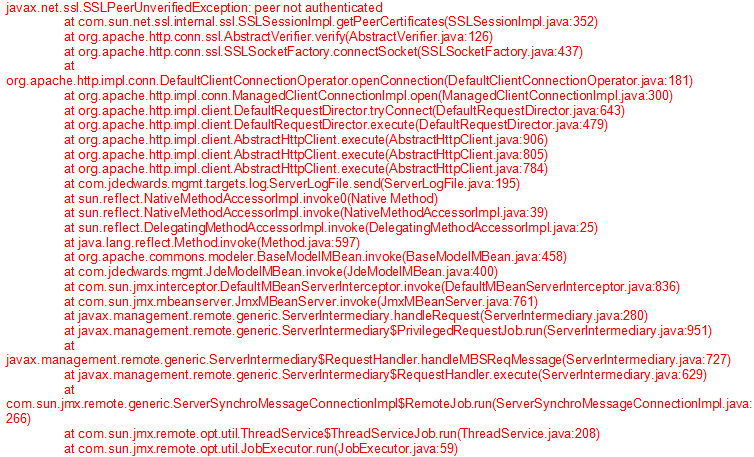
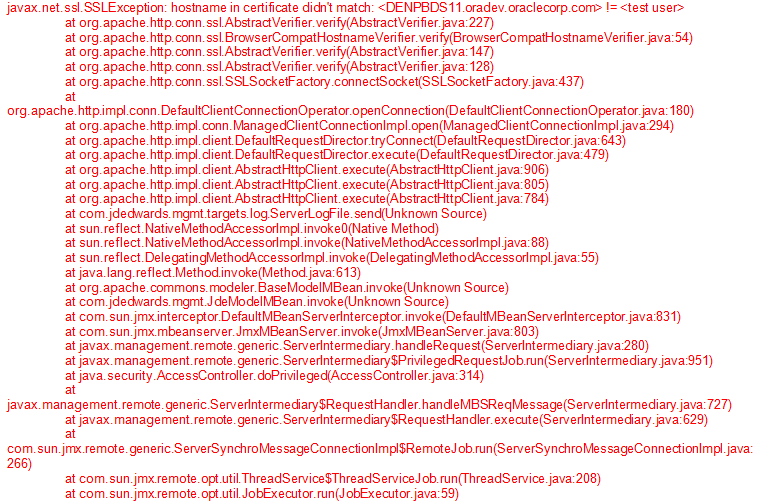
If successful, you will be asked to accept the certificate, because it is not signed by a certified authority. If a certificate issued by a trusted CA is used then no warning will be displayed. Refer to sample screenshot below:
-
After implementing Server Manager over HTTPS/SSL and in case a self update is performed, once the self update completes, it is necessary to add this line
<web-app application="ManagementConsole" name="ManagementConsole_WAR" load-on-startup="true" root="/manage" />
into the default-web-site.xml and secure-web-site.xml, if this entry is removed during the update. Also check to make sure the entry below exists in the server.xml:
<application name="ManagementConsole" path="../applications\ManagementConsole.ear" parent="default" start="true" />
-
Please restart the Server Manager Console after making this change and access the Server Manager Console URL over SSL and verify that it is working fine.
B.2 Configure Server Manager Agents to work successfully with HTTPS/SSL Server Manager Console
If HTTPS/SSL is enabled for Server Manager Console installed on Weblogic and Websphere the SM Console URL can be accessed in the browser and the certificate saved to a .cer file and then follow the steps below.
B.2.1 Importing the custom Certificate into the cacerts file of the SM Agent Machine(s) JRE
Copy the generated mynewcertificate.cer to the SM Agent machine from the SM Console machine (use Binary mode for FTP). The command below assumes the file is copied to C:\jde_home_agent\SCFHA\jdk\jre\bin\ location for Windows platform and /u01/jde_home_agent/SCFHA/jdk/jre/bin for UNIX Platforms.
B.2.1.1 For Windows Platform:
-
Create a backup of the Z:\jde_home_agent\SCFHA\jdk\jre\lib\security\cacerts file.
-
Run this command:
C:\jde_home_agent\SCFHA\jdk\jre\bin\keytool -import -trustcacerts -keystore C:\jde_home_agent\SCFHA\jdk\jre\lib\security\cacerts -storepass changeit -noprompt -alias mynewcert -file C:\jde_home_agent\SCFHA\jdk\jre\bin\mynewcertificate.cer
The certificate added to the keystore message will be seen.
B.2.1.2 For UNIX Platforms (including Linux):
-
Create a backup of /u01/jde_home_agent/SCFHA/jdk/jre/lib/security/cacerts file.
-
Run this command:
/u01/jde_home_agent/SCFHA/jdk/jre/bin/keytool -import -trustcacerts -keystore /u01/jde_home_agent/SCFHA/jdk/jre/lib/security/cacerts -storepass changeit -noprompt -alias mynewcert -file /u01/jde_home_agent/SCFHA/jdk/jre/bin/mynewcertificate.cer
The certificate added to the keystore message will be seen.
B.2.1.3 For AS/400 Platforms as QSECOFR (or equivalent user profile):
-
Create a backup of the /QOpenSys/QIBM/ProdData/JavaVM/jdk60/32bit/jre/lib/security/cacerts file.
-
Run this command:
/QOpenSys/QIBM/ProdData/JavaVM/jdk60/32bit/jre/bin/keytool -import -trustcacerts -keystore /QOpenSys/QIBM/ProdData/JavaVM/jdk60/32bit/jre/lib/security/cacerts -storepass changeit -noprompt -alias mynewcert -file /JDEdwards/JDE_HOME/SCFHA/bin/mynewcertificate.cer
-
The certificate added to the keystore message will be seen.
-
It is necessary to restart the SM Agent after importing the certificate into the cacerts file.