A Create Database Schemas with Repository Creation Utility
This appendix discusses creating database schemas with Repository Creation Utility (RCU) 11.1.1.5. Prior running this utility, you must have a functioning database such as Oracle database 11g. RCU is a 32-bit application and is available on only Windows x86 and Linux x86 platforms, but you can create schemas on other supported platforms.
The previous version of RCU, such as 11.1.1.2, is not compatible with OFMW 11.1.1.5. You must use 11.1.1.5.
-
You must have a database installed and configured.
If your existing database is not UTF-8 format, you will get a warning message that you can ignore.
-
You must alter these Oracle database parameters:
-
Alter system set processes=500 scope=spfile
-
Alter system set open_cursors=800 scope=spfile
-
Restart database before running RCU
-
Use these steps to launch the Repository Creation Utility.
-
Download and unzip the ofm_rcu_win_11.1.1.5.0_disk1_1of1.zip file.
-
Run rcu.bat on Windows and rcu on UNIX.
-
Click Next on the Welcome page.
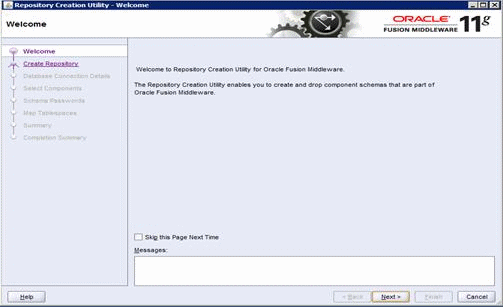
Description of the illustration image156.gif
-
Select the Create option.
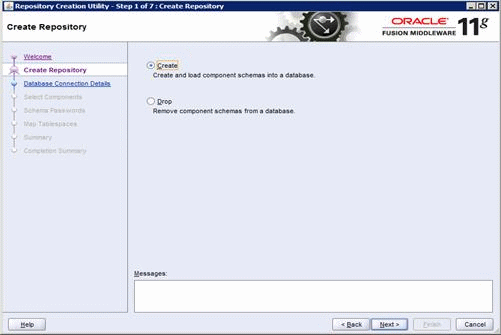
Description of the illustration image157.gif
-
Enter the database connection information.
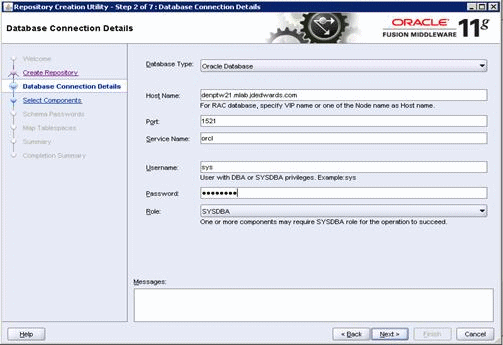
Description of the illustration image158.gif
-
The utility performs a prerequisites check.

Description of the illustration image159.gif
-
On Select Components, enter the prefix that identifies your environment in the Create a new Prefix field.
-
In the Component area, select the schemas you need to create.
-
For WebCenter - select the WebCenter Suite
-
For OAM/OID - select Identity management
-
For SOA - select SOA and BPM Infrastructure
Note:
You can rerun this utility anytime to add more database schemas.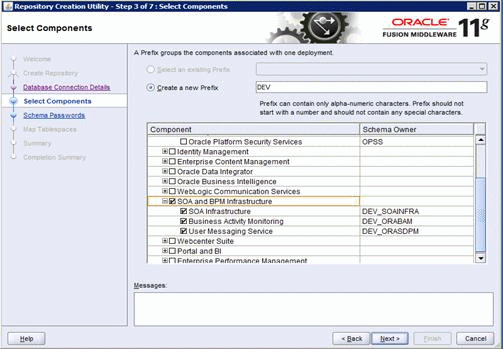
Description of the illustration image160.gif
-
-
The utility performs the prerequisites again.
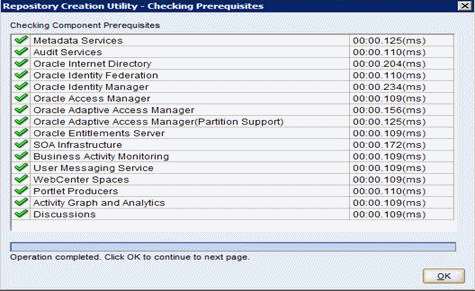
Description of the illustration image161.gif
-
Enter the schema passwords.
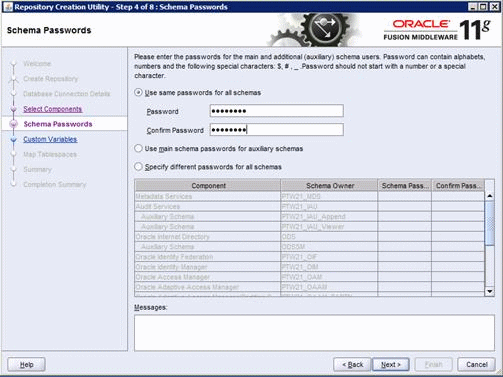
Description of the illustration image162.gif
-
Enable the Activity Graph and Analytics option.
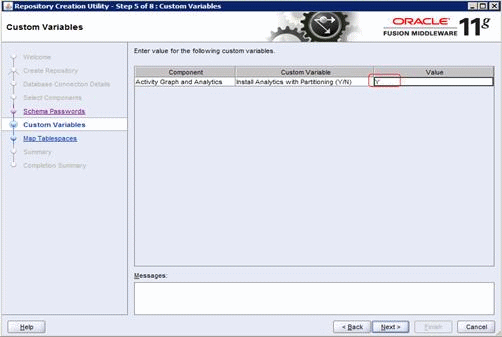
Description of the illustration image163.gif
-
Review the tablespace mapping.
Note:
This example shows a different schema prefix than the default, which is DEV.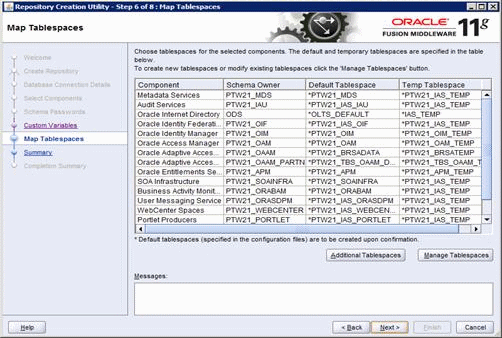
Description of the illustration image164.gif
-
The utility creates any tablespaces that do not already exist.
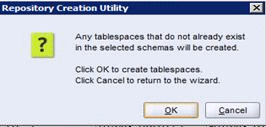
Description of the illustration image165.gif
-
The utility validates and creates the tablespaces.

Description of the illustration image166.gif
-
Review the summary.
-
Click Create to start the tablespaces creation.

Description of the illustration image167.gif
-
Click Close to exit Repository Creation Utility.
-
Verify the schemas creation from Oracle Database console.

Description of the illustration image168.gif