5 JD Edwards World Transaction Server Installation
This chapter covers the installation steps required in World Transaction Server.
This chapter contains these topics:
-
Section 5.2, "Installing World Transaction Server Applications,"
-
Section 5.3, "Deploying World Transaction Server Applications,"
-
Section 5.4, "Uninstalling the World Transaction Server Applications."
5.1 Downloading World Transaction Server
Download the World Transaction Server OUI install module from the Oracle website.
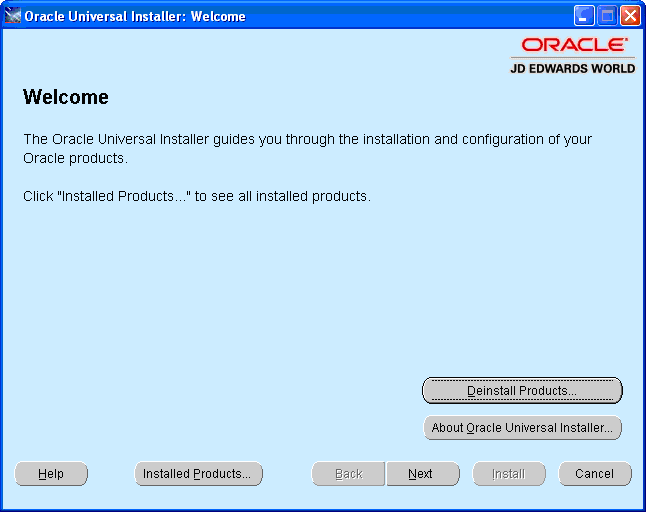
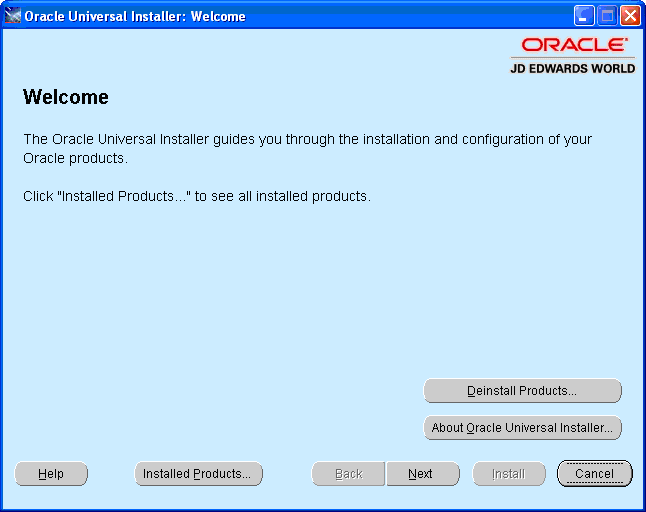
5.2 Installing World Transaction Server Applications
This section describes running the Oracle Universal Installer (OUI) to install the World Transaction Server components.
To install the World Transaction Server components
-
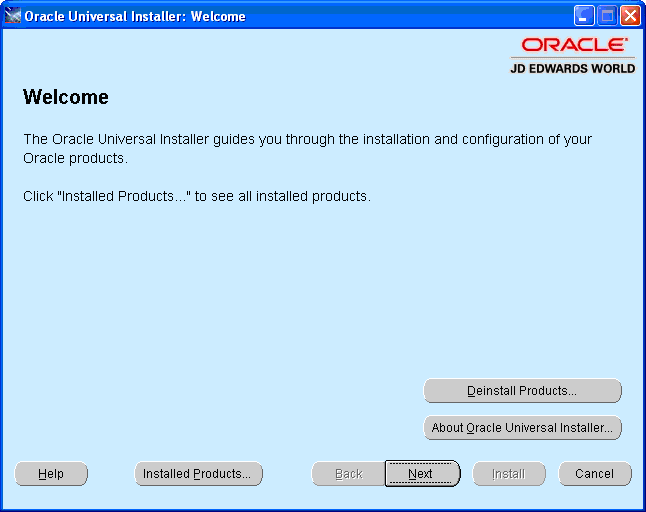
Start the OUI installer by running \oui\bin\setup.exe and then click Next.
-
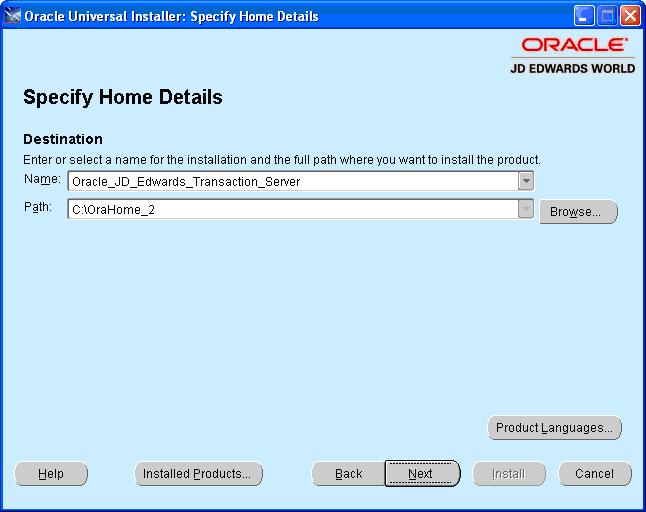
Enter a folder Name and Path for your installation.
-
Enter a proxy user name to be used to establish a JDBC connection with the iSeries.
Figure 5-3 Enter an iSeries User Name screen
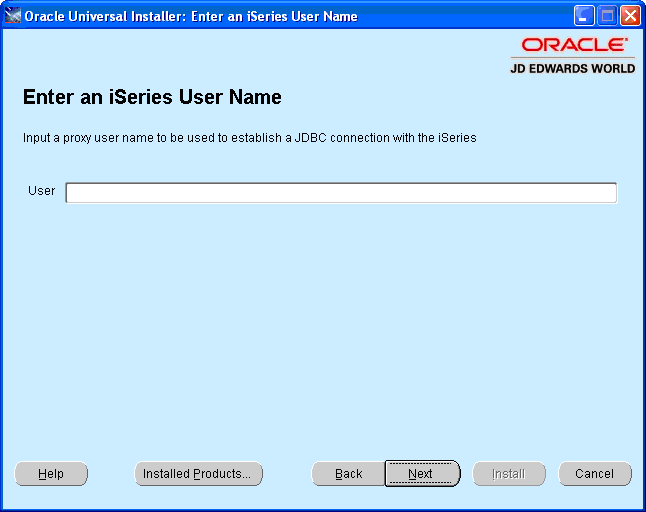
Description of "Figure 5-3 Enter an iSeries User Name screen"
-
Enter a proxy user password to use to establish a JDBC connection with the iSeries.
Figure 5-4 Enter an iSeries Password screen
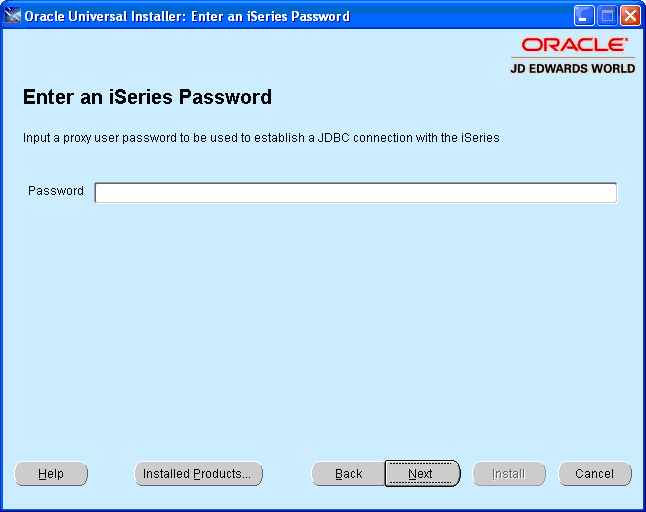
Description of "Figure 5-4 Enter an iSeries Password screen"
-
Enter the environment name on the iSeries to establish the connection.
Figure 5-5 Enter an iSeries Environment screen

Description of "Figure 5-5 Enter an iSeries Environment screen"
-
Enter the iSeries Machine Name or IP address to establish the connection.
Figure 5-6 Enter an iSeries Machine Name screen
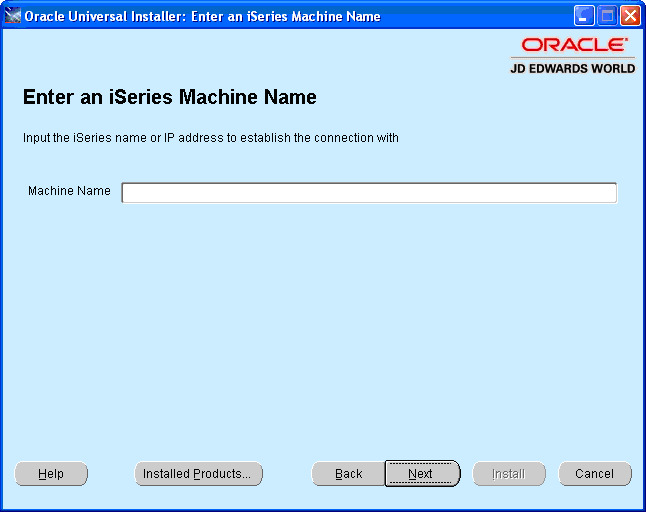
Description of "Figure 5-6 Enter an iSeries Machine Name screen"
-
Enter the URL for the JNDI provider that the outbound message delivers.
Figure 5-7 Enter the JDNI Provider URL screen
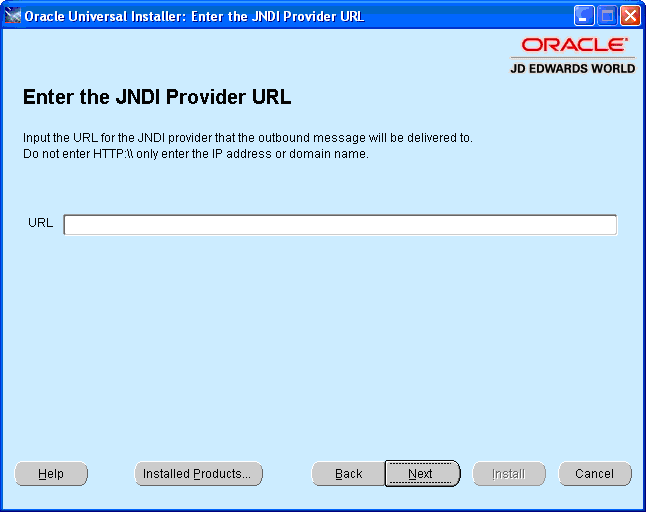
Description of "Figure 5-7 Enter the JDNI Provider URL screen"
-
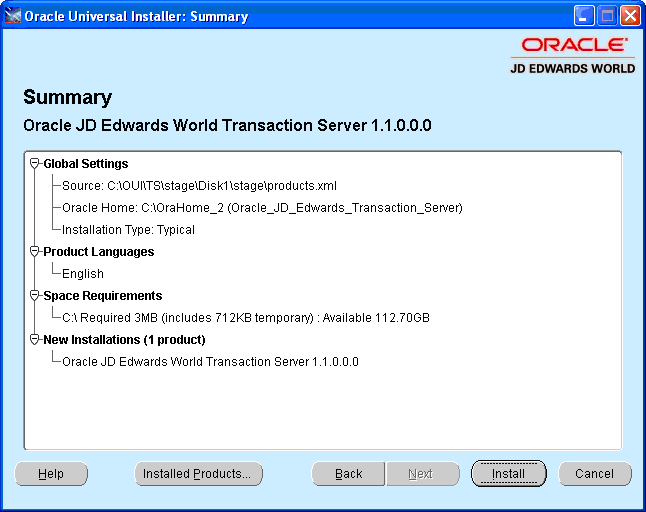
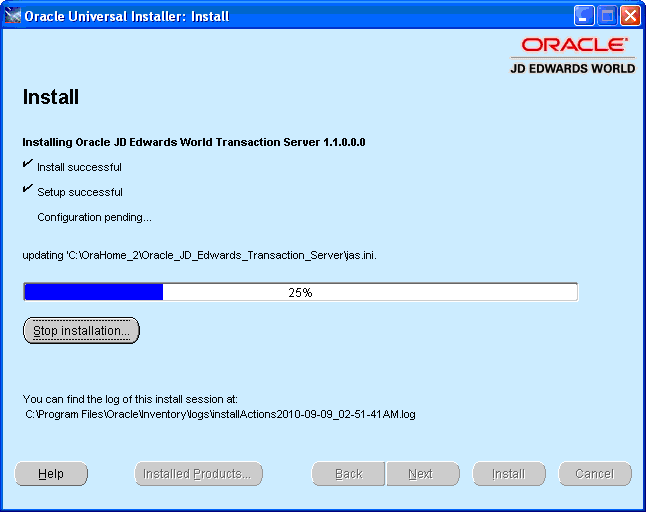
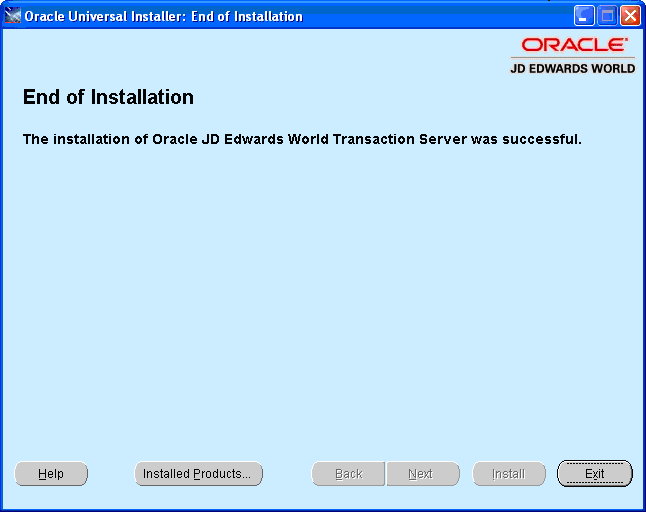
Click Install on the Summary screen.
-
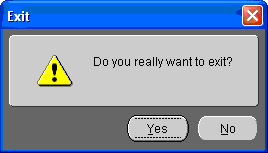
Click Exit at the End of Installation screen.
-
Click Yes on the Exit screen.
5.3 Deploying World Transaction Server Applications
This section describes deploying the World Transaction Server components to the WebLogic Application Server.
To deploy the World Transaction Server components to the WebLogic Application Server
-
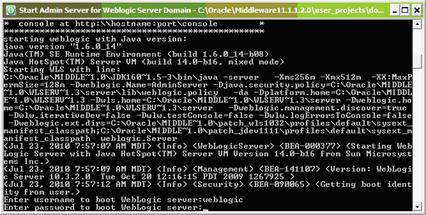
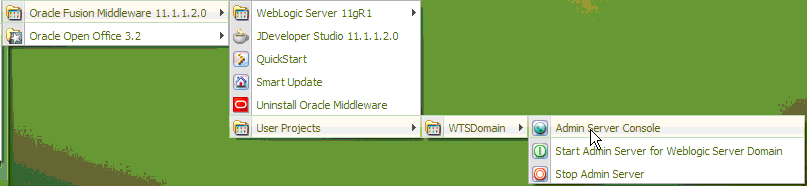
Start the WebLogic Application Server for the domain if it is not already started.
Figure 5-12 WebLogic Application Server screen
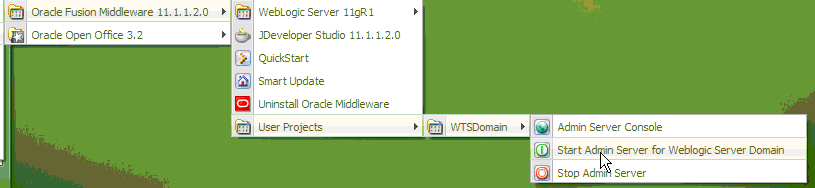
Description of "Figure 5-12 WebLogic Application Server screen"
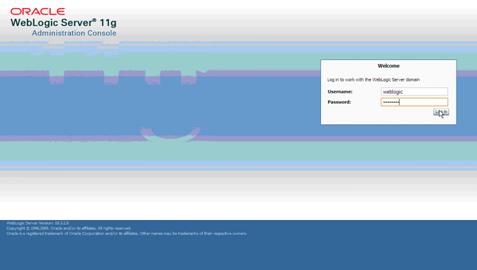
Depending on your domain configuration, you might need to enter your domain User and Password to get the Admin Server started.
-
On the Admin Server Console Login screen, enter the User and Password and then click Log In.
Figure 5-16 Admin Server Console Login screen
Description of "Figure 5-16 Admin Server Console Login screen"
-
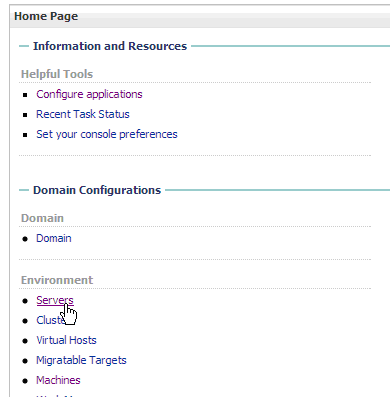
On the Admin Server main console screen, select Servers under the Environment heading.
-
On the Summary of Servers screen, click Lock & Edit in the Change Center screen. Select the server previously setup for the World Transaction Server.
Figure 5-18 Summary of Servers (World Transaction Server) screen

Description of "Figure 5-18 Summary of Servers (World Transaction Server) screen"
-
On the server Setting page, select the Server Start tab. In the Arguments box, enter the following text substituting the local install directory used in the OUI install for the value of the default path then click Save:
-
Ddefault_path=C:\Oracle\Middleware\TransactionServerBase
Figure 5-19 Settings for WTSServer (Server Start) screen
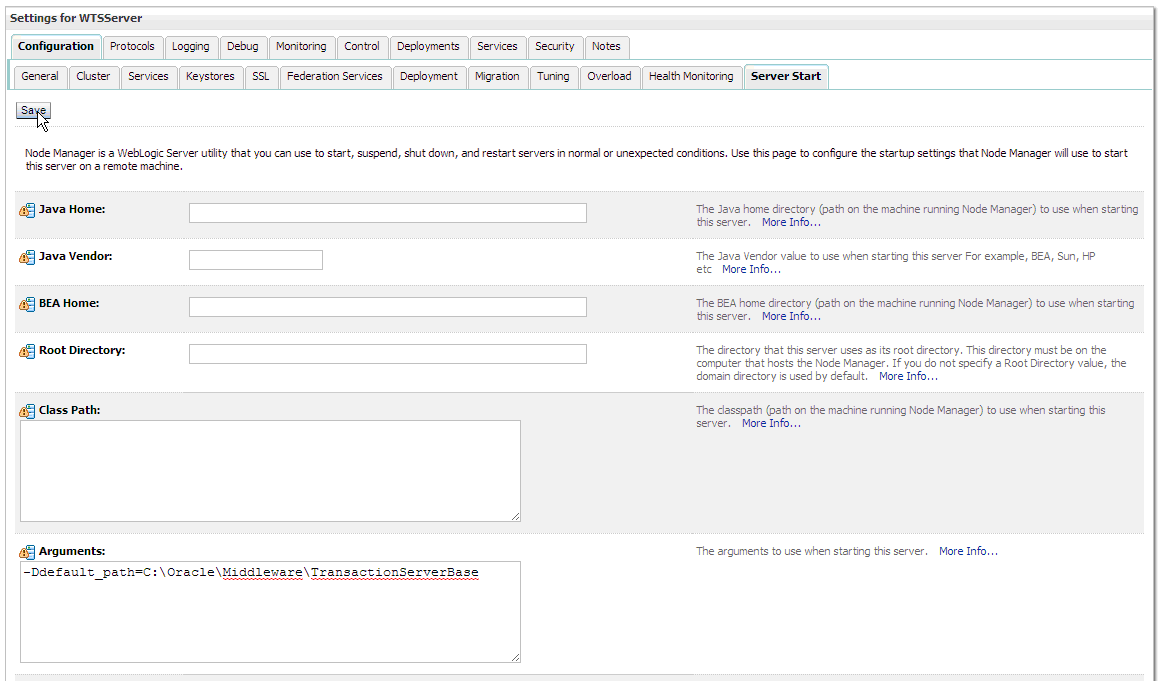
Description of "Figure 5-19 Settings for WTSServer (Server Start) screen"
-
-
On the Server setting page, click Activate Changes in the Change Center screen.
Figure 5-20 Change Center (WTSServer, Activate Changes) screen
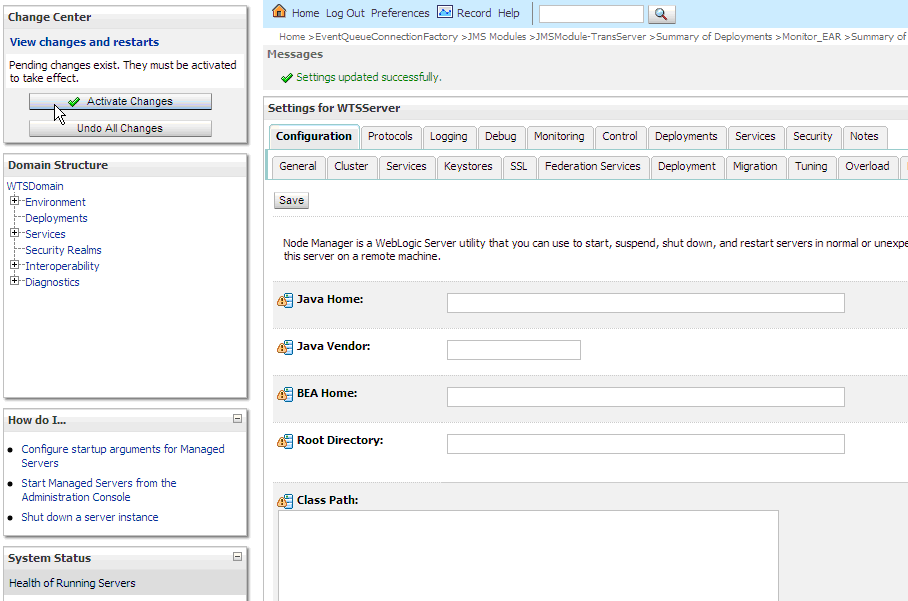
Description of "Figure 5-20 Change Center (WTSServer, Activate Changes) screen"
-
Return to the Summary of Servers page and select the Control tab. Select the checkbox next to the server setup for the Transaction Server. Click Start.
Figure 5-21 Summary of Servers (Control, Transaction Server) screen
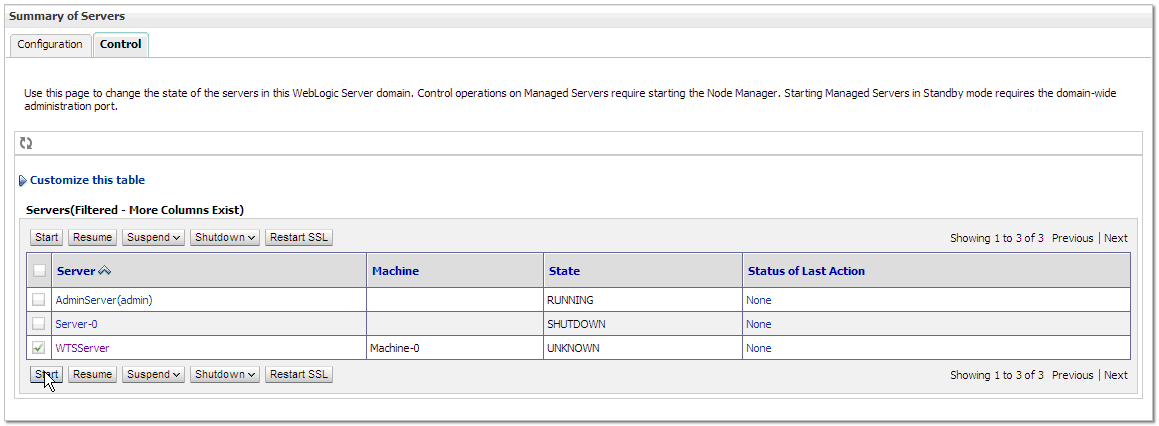
Description of "Figure 5-21 Summary of Servers (Control, Transaction Server) screen"
-
On the Server Life Cycle Assistant screen, click Yes.
Figure 5-22 Server Life Cycle Assistant (Start Servers) screen

Description of "Figure 5-22 Server Life Cycle Assistant (Start Servers) screen"
-
On the Admin Server main console screen, select Deployments under the Your Deployed Resources heading.
Figure 5-23 Admin Server (Deployments) screen
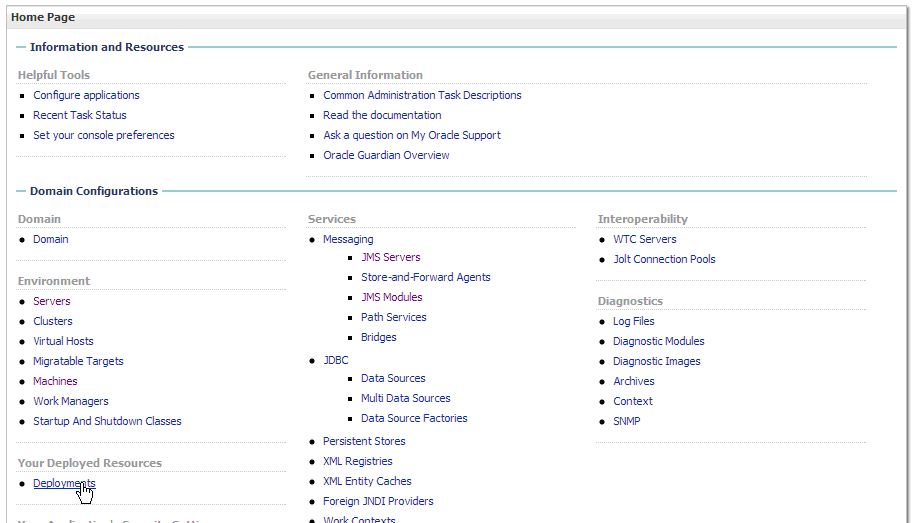
Description of "Figure 5-23 Admin Server (Deployments) screen"
-
On the Summary of Deployed Resources page, click Lock & Edit in the Change Center screen. Click Install.
Figure 5-24 Summary of Deployments screen
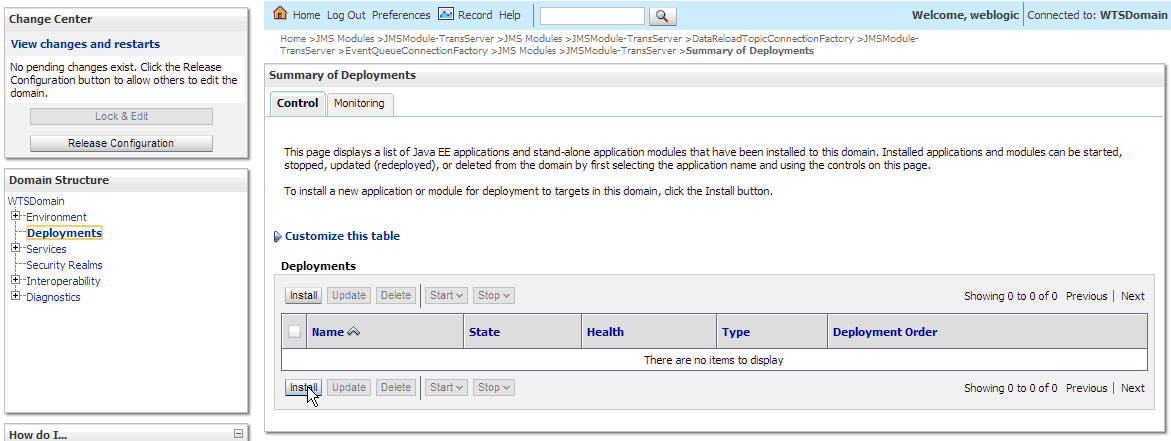
Description of "Figure 5-24 Summary of Deployments screen"
-
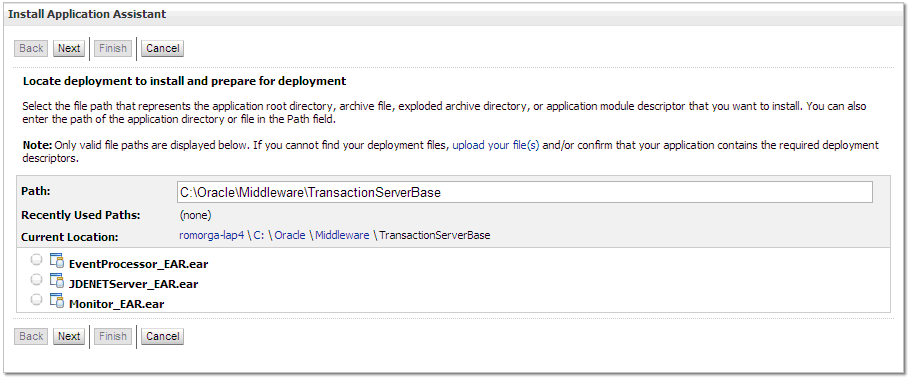
On the Install Application Assistant screen, set the location to where the Transaction Server components were installed. Select the radio button for the EventProcessor_EAR.ear. Click Next.
Figure 5-25 Install Application Assistant screen
Description of "Figure 5-25 Install Application Assistant screen"
-
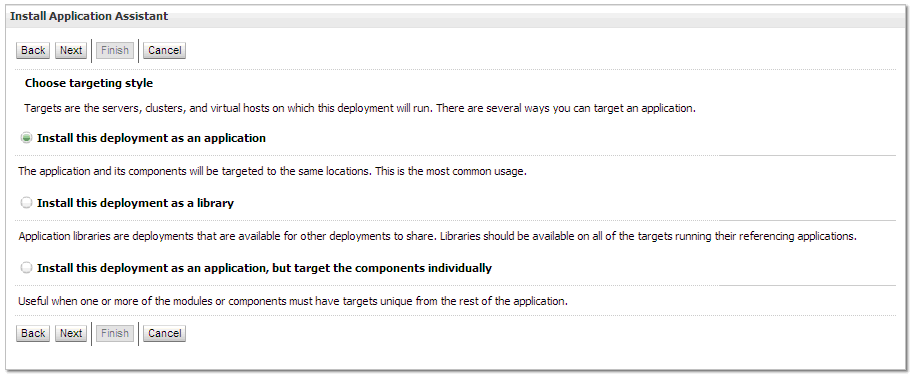
On the Install Application Assistant screen, ensure to select the Install this deployment as an application radio button under the Choose targeting style heading.
Figure 5-26 Install Application Assistant (Install this deployment) screen
Description of "Figure 5-26 Install Application Assistant (Install this deployment) screen"
-
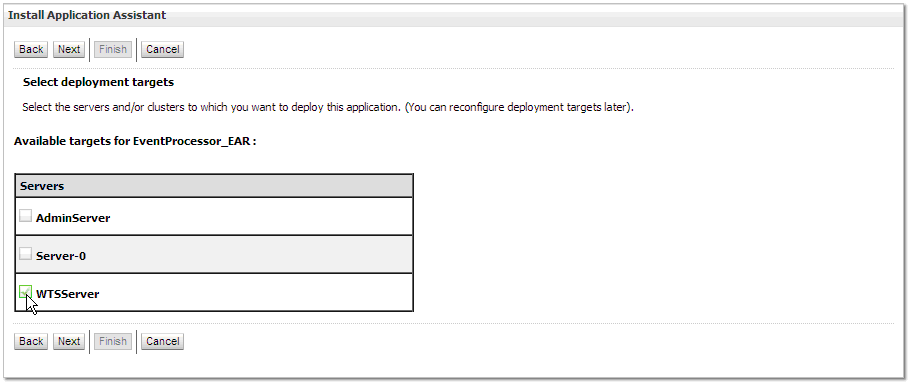
On the Install Application Assistant targeting screen, select the server that was setup for the World Transaction Server in previous steps. Click Next.
Figure 5-27 Install Application Assistant (World Transaction Server) screen
Description of "Figure 5-27 Install Application Assistant (World Transaction Server) screen"
-
On Optional Settings screen, accept the defaults. Click Finish.
Figure 5-28 Install Application Assistant (Optional Settings) screen
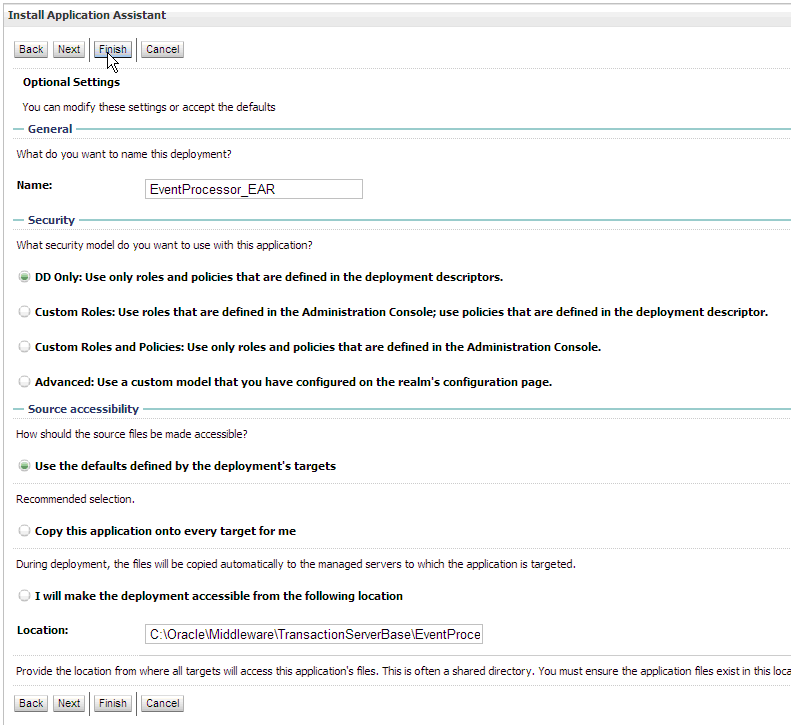
Description of "Figure 5-28 Install Application Assistant (Optional Settings) screen"
-
On the Summary of Deployments page, select Activate Changes button in the Change Center screen.
Figure 5-29 Summary of Deployments (Activate Changes) screen
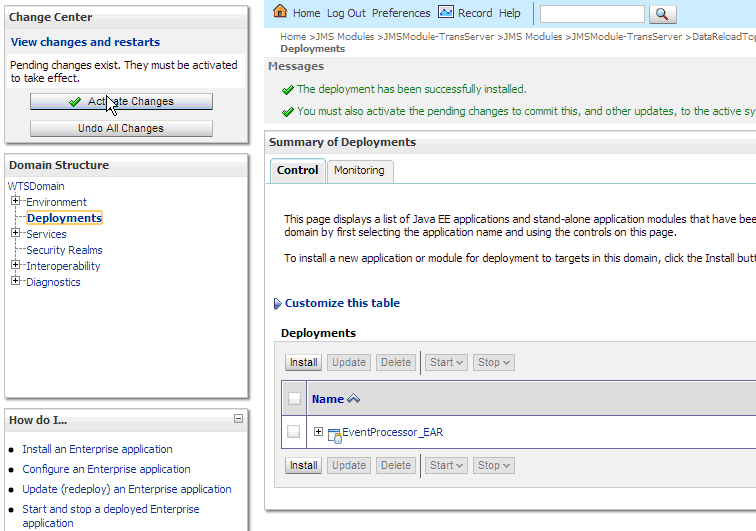
Description of "Figure 5-29 Summary of Deployments (Activate Changes) screen"
-
Repeat the previous steps for the following applications:
JDENETServer_EAR.ear
Monitor_EAR.ear
-
On the Summary of Deployments page, select the checkboxes by all three deployments. Click Start. Select Servicing all requests.
Figure 5-30 Summary of Deployments (Start) screen
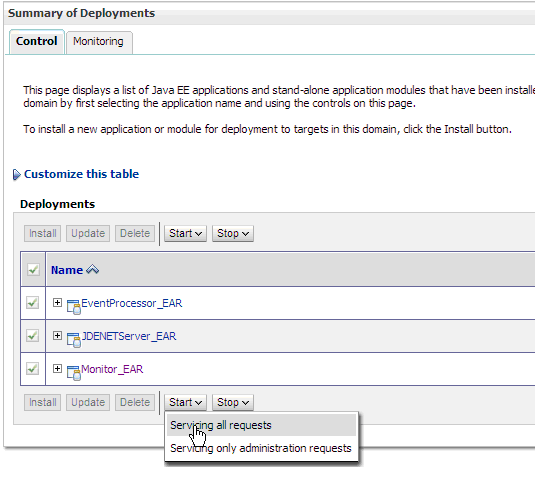
Description of "Figure 5-30 Summary of Deployments (Start) screen"
-
On the Start Application Assistant, click Yes.
Figure 5-31 Start Application Assistant screen
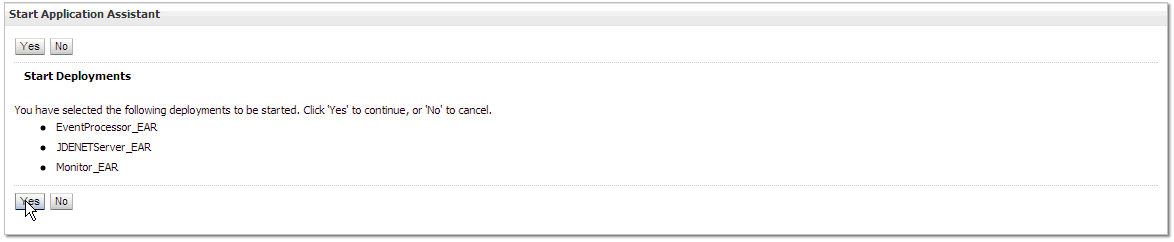
Description of "Figure 5-31 Start Application Assistant screen"

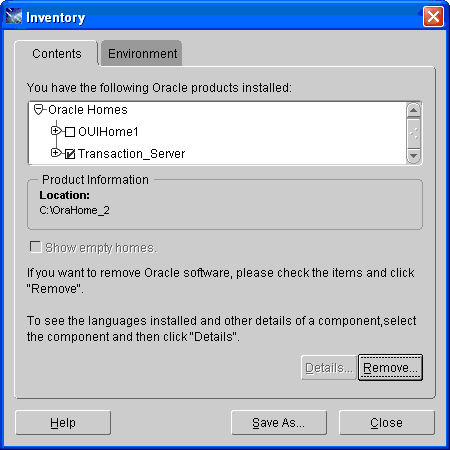
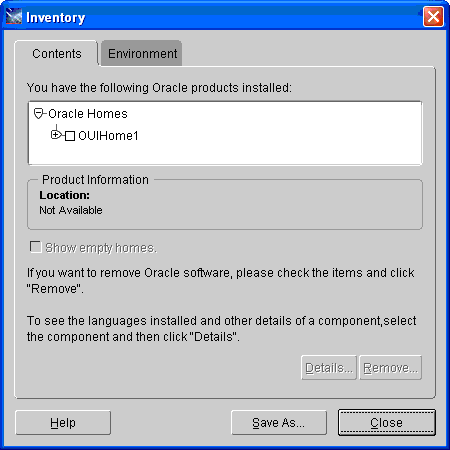
5.4 Uninstalling the World Transaction Server Applications
This section describes how to uninstall the World Transaction Server components.