This example uses an iSCSI SAN server. Replace the information here for that of your own SAN server.
To discover a SAN server:
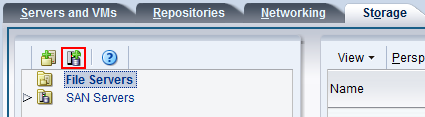
Click the Storage tab.
Click Discover SAN Server
 in the toolbar.
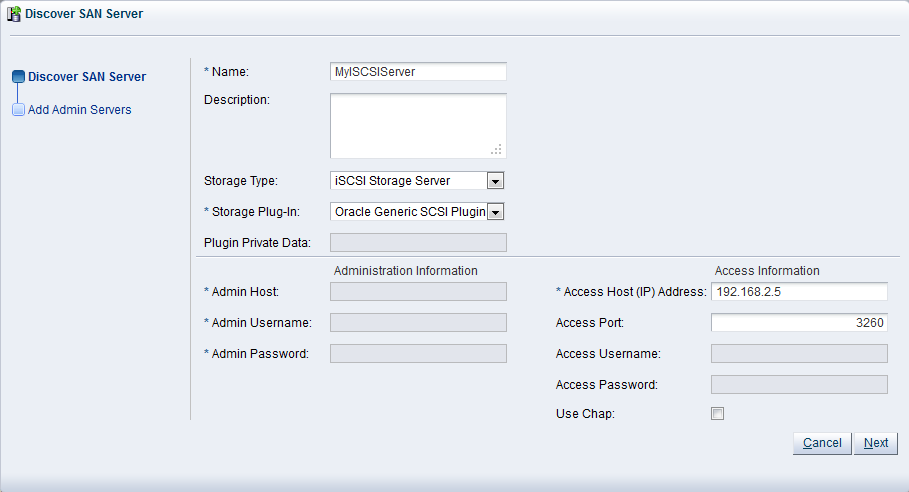
The Discover SAN Server wizard is displayed. Enter a name for the iSCSI server. Select iSCSI Storage Server from the Storage Type drop-down list. Enter the IP address, and the access port. If you are using a SAN server, select SAN Storage Server from the Storage Type drop-down list, and enter the host name, and login credentials. Click Next.
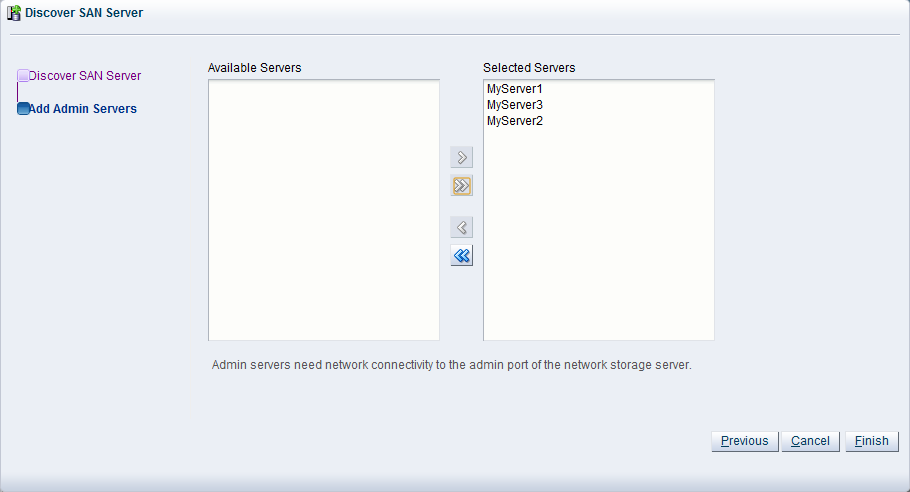
Assign one or more Oracle VM Servers to perform any required administration on the server. Click Finish.
The storage elements or physical disks only appear in the management pane when at least one Oracle VM Server has been granted access once to the SAN server. Access is configured through access groups. The generic iSCSI storage arrays have a single access group available by default, where you can simply add or remove storage initiators from your Oracle VM Servers. In the navigation pane, select the SAN server. Select Access Groups from the Perspective drop down in the management pane. The default access group for this storage array is already present.
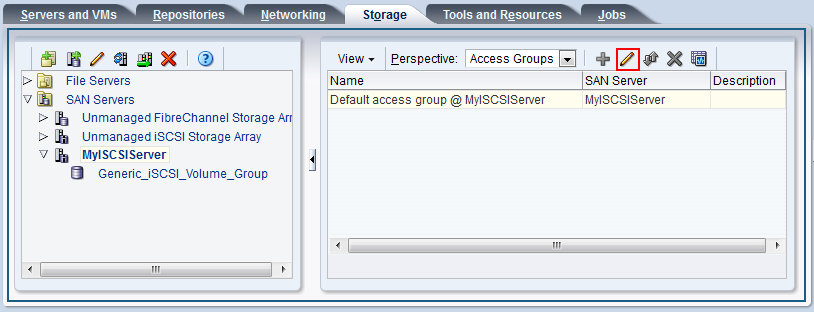
Select the Default access group in the table and click Edit Access Group
 in the management pane toolbar.
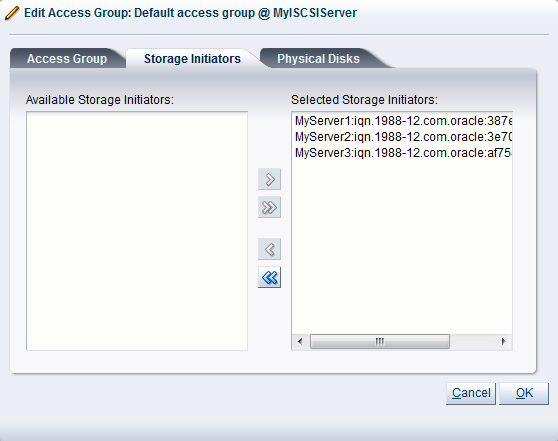
The Edit Access Group dialog box is displayed. Select the Storage Initiators tab. Move the required initiators to the Selected Storage Initiators box. Click OK.
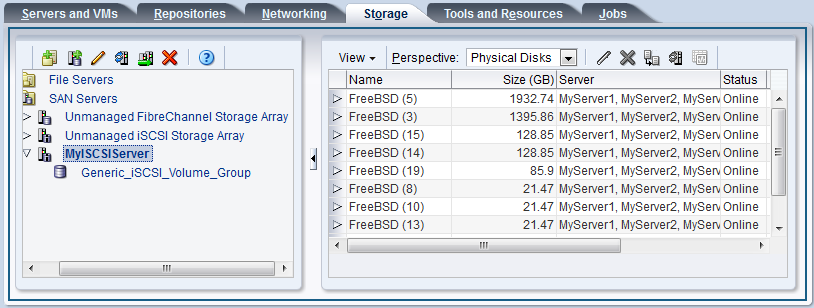
Select Physical Disks from the Perspective drop-down list in the management pane. The list of presented physical disks is listed in the table. All these disks are all automatically presented to the selected Oracle VM Servers.