20 Procedures for Installing the Community Blogs Module
This chapter provides an overview of the WebCenter Sites: Community Blogs module and instructions for installing the Community Blogs module on a content management site. It also provides information about the components that are added to the site once the Community Blogs module is installed.
This chapter contains the following sections:
-
Section 20.2, "Changes to WebCenter Sites During Community Blogs Module Installation"
-
Section 20.3, "Prerequisites for Installing the Community Blogs Module"
-
Section 20.4, "Installing the Community Blogs Module on WebCenter Sites"
20.1 Overview of the Community Blogs Module
Installing the Community Blogs module on a content management site supplies content providers with the necessary components to create pages dedicated to displaying blogs on a website.
The Community Blogs module components are:
-
The Blog flex family
-
A default SiteEntry asset
-
Default blog templates
-
Default CSElements
-
Sample blog page assets
These components are pre-configured with default values and code which, out-of-the-box, render the sample blog Web pages shown in Figure 20-1.
Figure 20-1 Community Blogs Module's Sample Pages
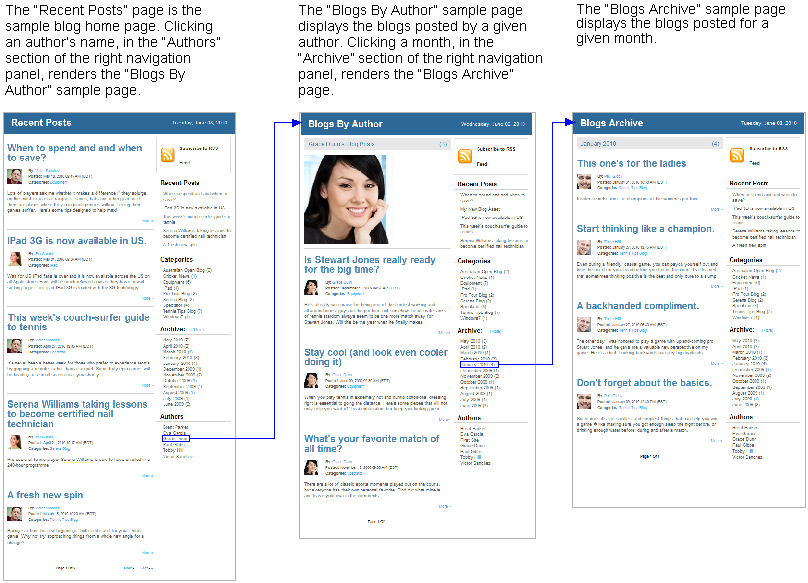
Description of ''Figure 20-1 Community Blogs Module's Sample Pages''
To add blog pages to your website, you can reuse and reconfigure the blog components to fit your requirements.
If you integrate the Community Blogs module with the WebCenter Sites: Community application, the Community application's comment fields are automatically inserted into the blog pages and displayed to site visitors. Commenting capability enables visitors to contribute feedback on the blogs, which in turn enables the content providers of your website to improve the content of the blogs they post.
20.2 Changes to WebCenter Sites During Community Blogs Module Installation
During the installation process, the blog installer adds the following components to your WebCenter Sites system:
-
The Blog flex family was added to the CM site that you selected:
-
FW_BlogAsset(Blog Asset) -
FW_BlogParent(Blog Category) -
FW_BlogAssetDef(Blog Asset Definition) -
FW_BlogParentDef(Blog Category Definition) -
FW_BlogAttribute(Blog Attribute) -
FW_BlogFilter(Blog Filter) -
FW_BlogAuthor(Blog Author) -
FW_BlogAuthorParent(Blog Author Category) -
FW_BlogAuthorDef(Blog Author Definition) -
FW_BlogAuthorParentDef(Blog Author Category Definition)
-
-
Start menu items for the Blog flex family are automatically enabled on the site.
Note:
A tree tab for the Community Blogs module must be manually created and enabled for the site. This tree tab will supply content providers with a way of reviewing the hierarchy of the blog assets and categories. For instructions about creating a tree tab, see the Oracle Fusion Middleware WebCenter Sites Administrator's Guide. -
The following blog related components and sample assets are added to your content management site:
-
Sample blog page assets
-
Default blog CSElements
-
Default blog templates
-
A default SiteEntry asset
Out-of-the-box, you can publish the sample blog pages to a test website to view their default appearance (shown in Figure 20-1). You can also reuse and reconfigure the default blog components to fit your requirements. For more information about the components that compose the sample blog pages, see the chapter "Community Blogs: Sample Blog Pages" in the Oracle Fusion Middleware WebCenter Sites Developer's Guide.
-
-
If you integrate the Community Blogs module with the Community application, the following properties are added to the
futuretense_xcel.inifile:Property Description fwblogs.cos.enabledThis property is set to TRUEif the Community Blogs module is integrated with the existing Community-Gadgets installation.cos.hostnameThis property points to the host name of your Community-Gadgets production system. cos.portnumberThis property points to the port number of your Community-Gadgets production system. cos.protocolThis property points to the protocol ( httporhttps) of your Community-Gadgets production system.cos.contextrootThis property points to the context root of your Community-Gadgets production system.
20.3 Prerequisites for Installing the Community Blogs Module
Before installing the Community Blogs module, ensure the following requirements are met:
-
The Community Blogs module must be installed on a fully functional WebCenter Sites system running on either a content management or development system, and on the delivery system.
Note:
If you installed the Community Blogs module on the management WebCenter Sites system and then on the delivery WebCenter Sites system, ensure that thefuturetense_xcel.inifile on the WebCenter Sites delivery system has the following parameters with the same values as on the management WebCenter Sites system:-
fwblogs.cos.enabled -
cos.protocol -
cos.hostname -
cos.portnumber -
cos.contextroot
-
-
If you wish to integrate the Community Blogs module with the Community-Gadgets application, then you must know the full URL (protocol, context root, host name, and port number) of the Community-Gadgets production system. For more information about the Community application's functionality, see the Oracle Fusion Middleware WebCenter Sites User's Guide.
Note:
When integrated with the Community application, the Community Blogs Module uses the Oracle WebCenter Sites: Web Experience Management (WEM) Framework. -
Select or create a content management site on which to install the Community Blogs module. This site will be dedicated to containing the Community Blogs module components and sample assets. The purpose of this site is to help you review the sample assets, and to learn and experiment with the blog data model. The same site must exist on the delivery system.
20.4 Installing the Community Blogs Module on WebCenter Sites
This section provides instructions for using the GUI installer to install the Community Blogs module on the content management site of your choice. You will run the installer on the content management or development system, and on the delivery system.
Note:
Ensure your WebCenter Sites installation is not running when you begin installing the Community Blogs module. If WebCenter Sites is running, the installation will fail.To install the Community Blogs module on your WebCenter Sites system
-
Extract
WCS_Community_Blogs.zipto a machine running WebCenter Sites. -
Run the blog installer script:
-
Windows:
blogInstall.bat -
UNIX:
blogInstall.sh
-
-
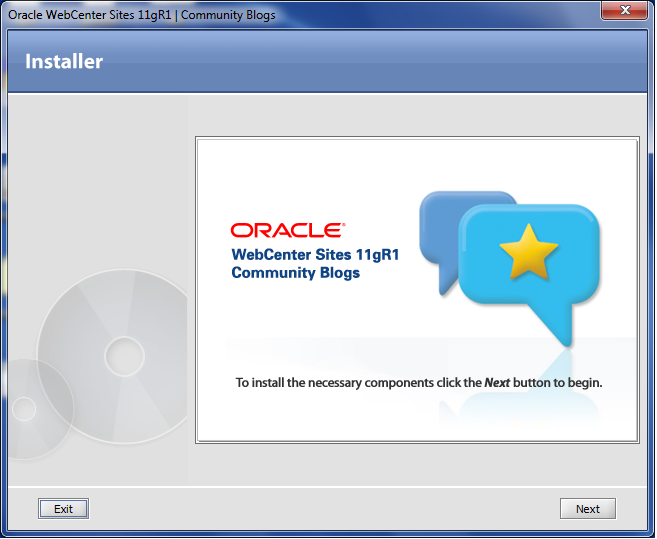
In the "Welcome" screen (Figure 20-2), click Next.
-
In the "Sites Installation Directory" screen, enter the path to your WebCenter Sites installation directory (Figure 20-3).
Figure 20-3 Sites Installation Directory
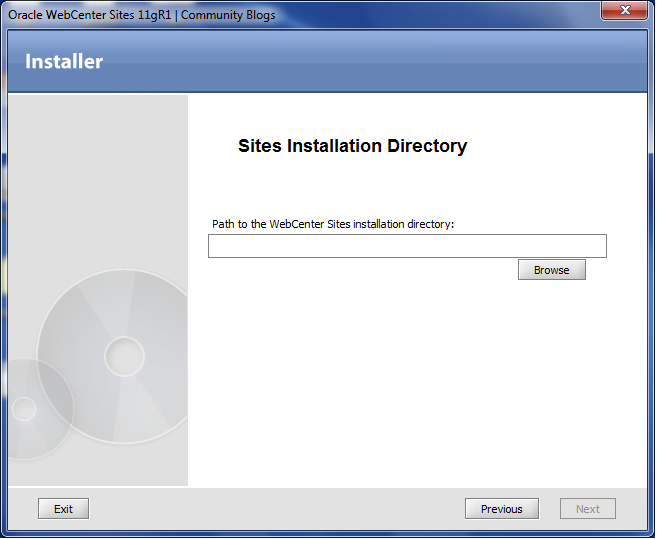
Description of ''Figure 20-3 Sites Installation Directory''
-
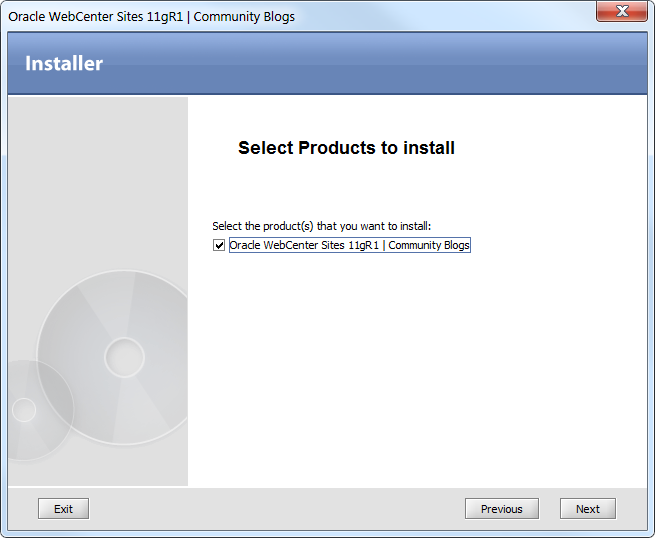
In the "Select Products to Install" screen, select the product(s) you wish to install (Figure 20-4).
-
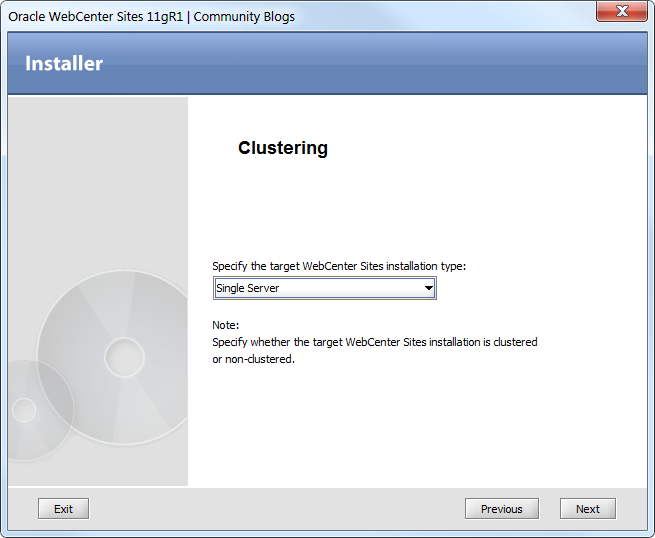
In the "Clustering" screen, specify whether you are installing the Community Blogs module on a single server or a cluster member (Figure 20-5).
-
Select Yes if you wish to integrate the Community Blogs module with the Community application (Figure 20-6).
Figure 20-6 Integration of Community Blogs with Community Application
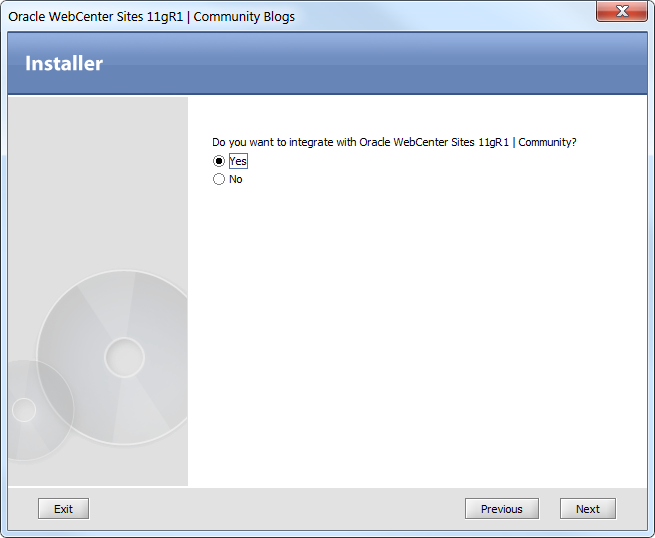
Description of ''Figure 20-6 Integration of Community Blogs with Community Application''
Note:
Integrating the Community Blogs module with the Community application automatically adds the tags for the comments widget and comments link to the blog templates of your website. -
If you chose to integrate the Community Blogs module with the Community application, then you must enter the following information about the Community application's production system (Figure 20-7):
-
Host name or IP address of the machine running the Community application.
-
Port number on which the Community application is running.
-
-
In the "Settings Summary" screen, review the environment on which you are installing the Community Blogs module (Figure 20-8). Click Next.
-
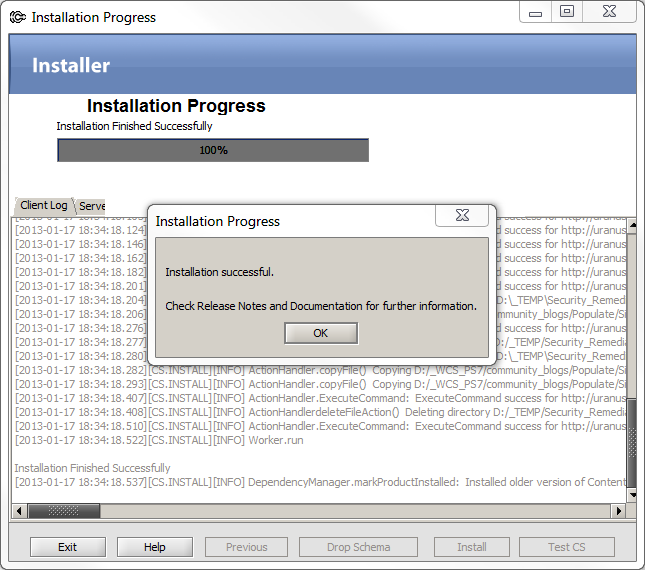
In the "Installation Progress" screen, click Install (Figure 20-9).
-
Ensure that your application server is not running (Figure 20-10). Click OK.
-
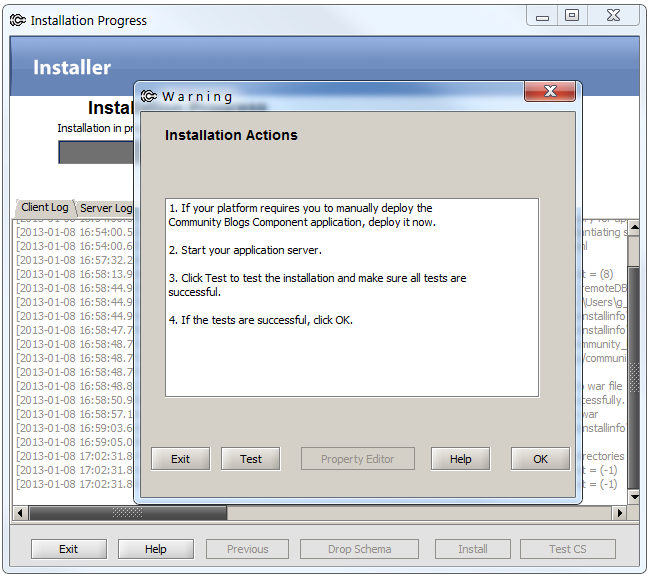
During the installation the "Installation Actions" dialog box opens (Figure 20-11).
-
Start your WebCenter Sites system.
-
Click Test to test the database connections between the Community Blogs module and WebCenter Sites.
-
Click OK to continue with the installation.
-
-
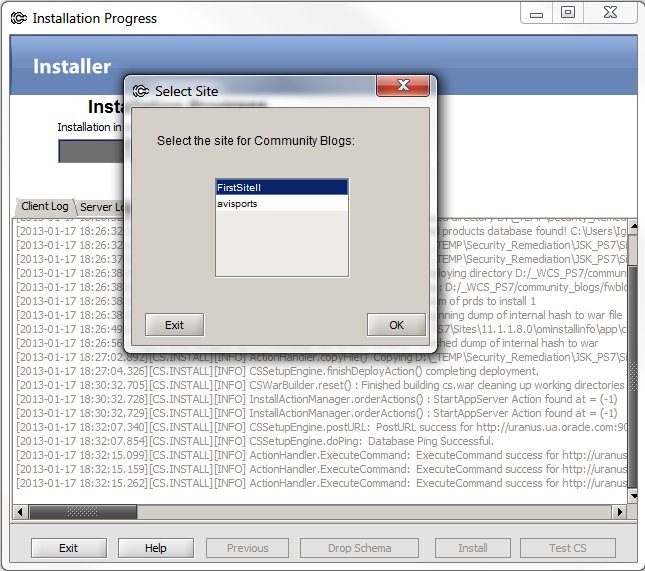
The "Select Site" screen opens (Figure 20-12), listing the content management sites on your WebCenter Sites system. Select the site on which you wish to install the Community Blogs module. Click OK.
Note:
If you run the Community Blogs installer more than once, the Community Blogs module will be automatically installed on the site that you selected the first time you ran the installer. -
The installation is complete (Figure 20-13). Click OK to exit the installer. Stop, and then restart your WebCenter Sites system.
-
Verify that the installation was successful. See Section 20.5, "Verifying the Installation." If you need information about the blog components and sample assets that are added to your WebCenter Sites system, see Section 20.2, "Changes to WebCenter Sites During Community Blogs Module Installation."


20.5 Verifying the Installation
The installer added the Blog flex family to your content management site. This flex family provides the framework for creating blog web pages.
Note:
For WebSphere application server, redeploy theContentServer.ear file after the Blogs application is installed.To verify that the Blog flex family was added to the CM site
-
Log in to WebCenter Sites with the credentials of a general administrator (
fwadmin/xceladmin, by default). Select the site on which you installed the Community Blogs module and then select the WebCenter Sites Admin icon. -
Navigate to the WebCenter Sites tree, and select the Admin tab.
-
Expand the Flex Family Maker node.
You should see the Blog Attribute asset type listed.
-
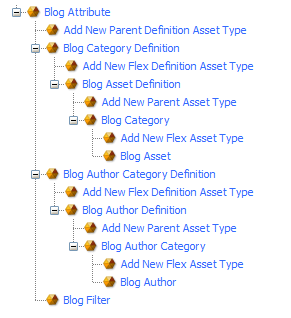
Expand all of the nodes for the Blog flex family. The blog hierarchy looks as shown in Figure 20-14.
-
If the Blog flex family hierarchy is rendered as shown above, then you have successfully installed the Community Blogs module. For more information about the blog components that are added to your WebCenter Sites installation, see Section 20.2, "Changes to WebCenter Sites During Community Blogs Module Installation."