19 Adding Sample Gadgets
This chapter contains the following sections:
19.1 Prerequisites for Installing Sample Gadgets
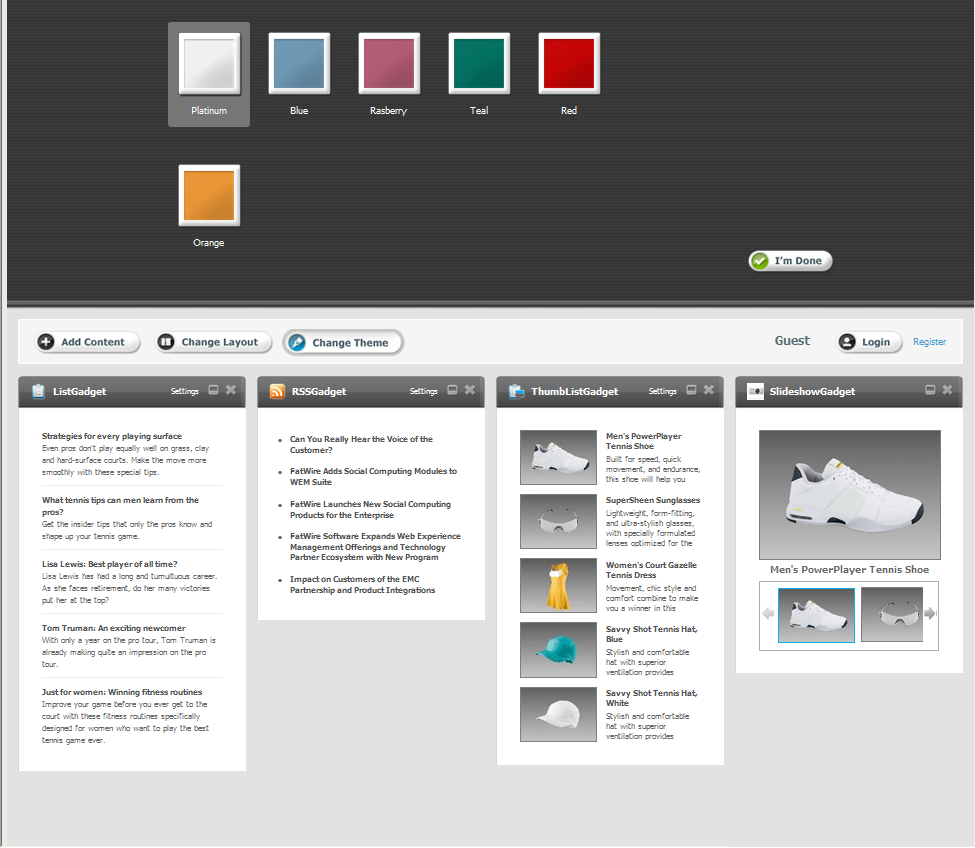
WebCenter Sites ships with the following sample gadgets (Figure 19-1):
ListGadget, RSSGadget, ThumbListGadget, and SlideshowGadget.
The sample gadgets must be installed on the FirstSite II sample site. The site must be enabled to store demo data. If your management WebCenter Sites system does not have FirstSite II, do the following:
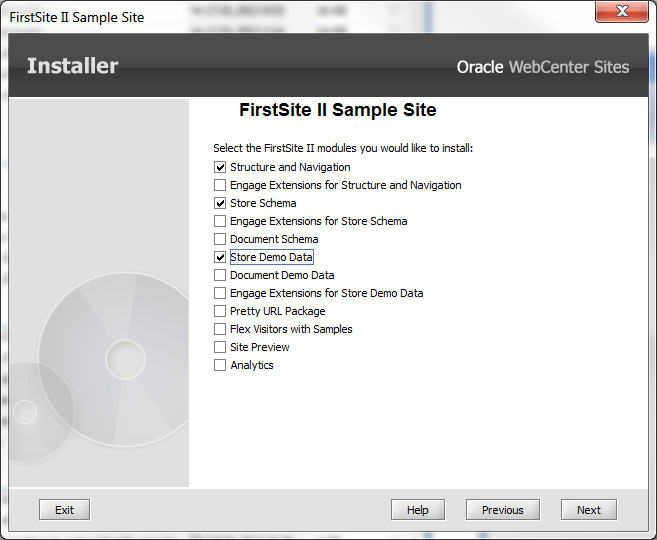
Prepare a WebCenter Sites system running FirstSite II with Store Demo Data enabled as shown in Figure 19-2.
After installing the sample gadgets on your newly prepared WebCenter Sites system (see Section 19.2, "Installing the Sample Gadgets"), you will publish FirstSite II to the WebCenter Sites management system.
19.2 Installing the Sample Gadgets
Installing sample gadgets installs the following components:
-
FW_CSGadgetasset type (used to create gadgets) -
Sample gadgets (assets of type
FW_CSGadget) -
Templates for rendering the gadgets
-
Assets that provide content for the sample gadgets. The assets are instances of FirstSite II asset types.
To install sample gadgets, complete the following steps:
-
Ensure that prerequisites in Section 19.1, "Prerequisites for Installing Sample Gadgets" are satisfied.
-
Extract the installation file named
WCS_GadgetServer_Samples.zipto the host machine. Extracting this zip file creates a subdirectory namedgadgets_samples.Note:
Do not change the name of this subdirectory or any of its subdirectories, and be sure to retain the archived directory structure. Otherwise, the installer will fail. -
Run the Gadgets application integration installer script:
-
Windows:
gsInstall.bat -
UNIX:
gsInstall.sh
-
-
In the "Welcome" screen (Figure 19-3), click Next.
Figure 19-3 Gadget Server Sample Gadgets
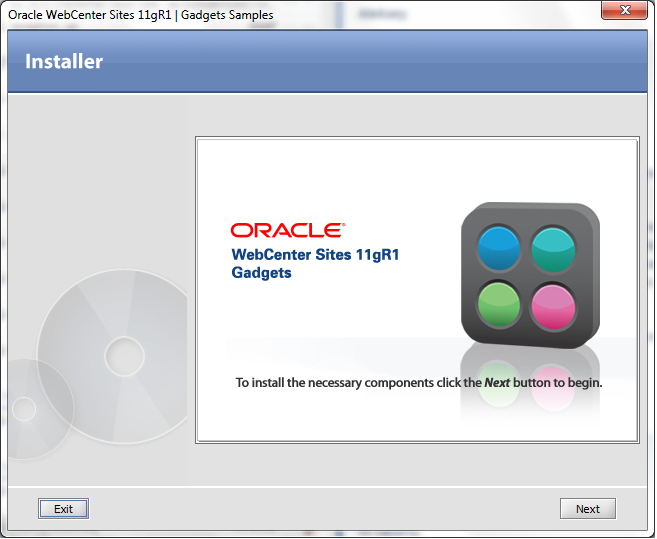
Description of ''Figure 19-3 Gadget Server Sample Gadgets''
-
In the "Sites Installation Directory" screen (Figure 19-4), enter the path to your production WebCenter Sites installation directory.
Note:
You can also enter the path to the management WebCenter Sites installation directory. However, ensure that the production Community-Gadgets instance has the ability to access the sample gadgets installed on the management WebCenter Sites instance.Figure 19-4 Sites Installation Directory
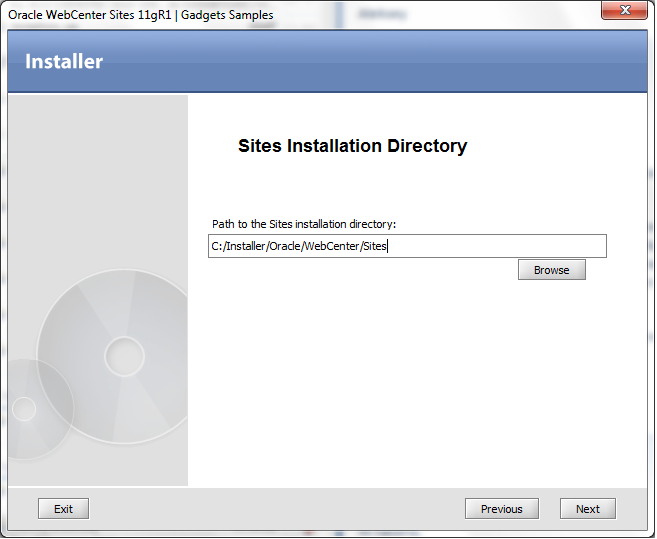
Description of ''Figure 19-4 Sites Installation Directory''
-
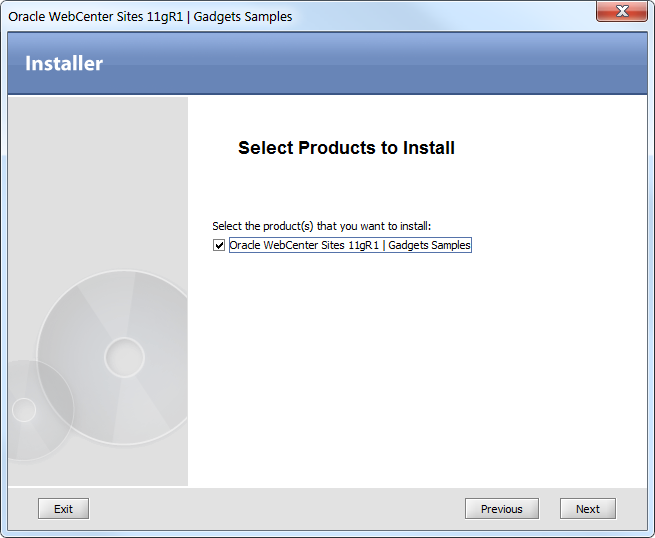
In the "Select Products to Install" screen, select Sample Gadgets (Figure 19-5).
The following components will be installed:
-
FW_CSGadgetasset type (used to create gadgets) -
Sample gadgets (assets of type
FW_CSGadget) -
Templates for rendering the gadgets
-
Assets that provide content for the sample gadgets. The assets are instances of FirstSite II asset types.
-
-
In the "Clustering" screen (Figure 19-6), indicate whether you are installing the sample gadgets on a single server or a secondary cluster member. Click Next.
-
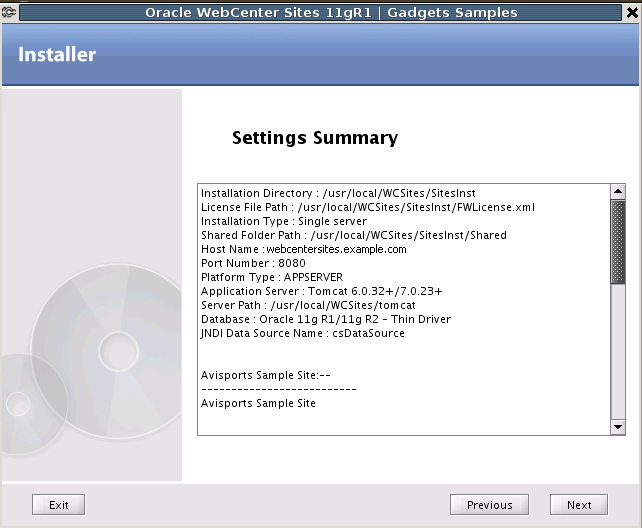
In the "Settings Summary" screen, click Next (Figure 19-7).
-
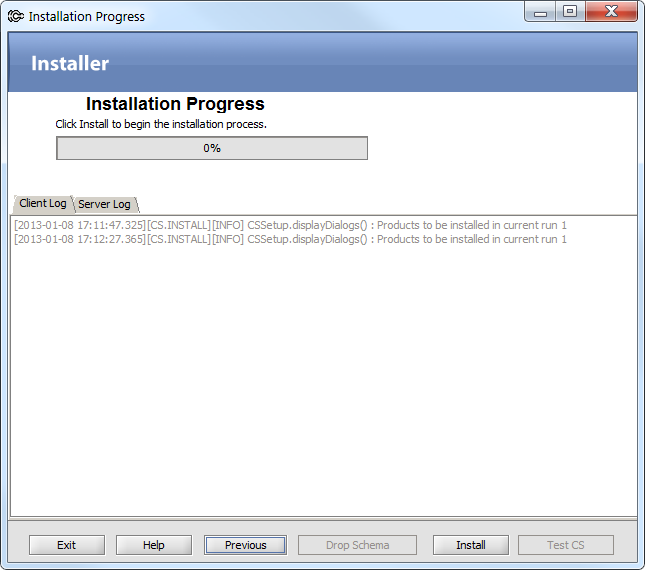
In the "Installation Progress" screen, click Install to begin the installation (Figure 19-8).
-
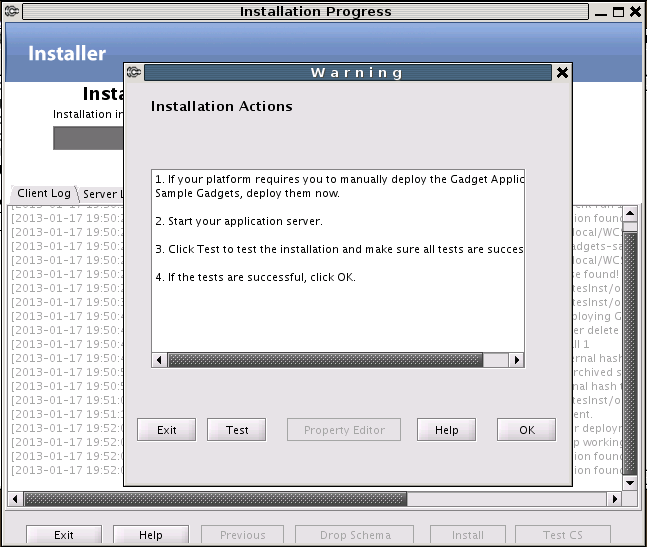
When the "Installation Actions" dialog box opens, start your WebCenter Sites installation, and click Test to test your WebCenter Sites installation (Figure 19-9). Click OK.
-
When the installation is complete (Figure 19-10), click OK.
-
Register the sample gadgets in either the Gadgets application's global gadget catalog or site gadget catalog. For instructions, see "Registering Gadgets" in the Oracle Fusion Middleware WebCenter Sites Administrator's Guide.
Note:
Gadget registration requires you to enter the gadgets' descriptor URLs. To obtain the URLs, follow the instructions below.To obtain the sample gadgets' descriptor URLs:
-
Log in to WebCenter Sites with the credentials of a general administrator (for example,
fwadmin/xceladmin). Select the FirstSite II sample site and then select the icon for the Contributor interface -
In the "Search" field, click the down-arrow to open the "Search Type" menu.
-
In the "Search Type" menu, select Find CS-Based Gadget.
-
In the "Search" field, click the magnifying glass button.
-
In the search results list, right-click any of the sample gadgets and select Preview.
-
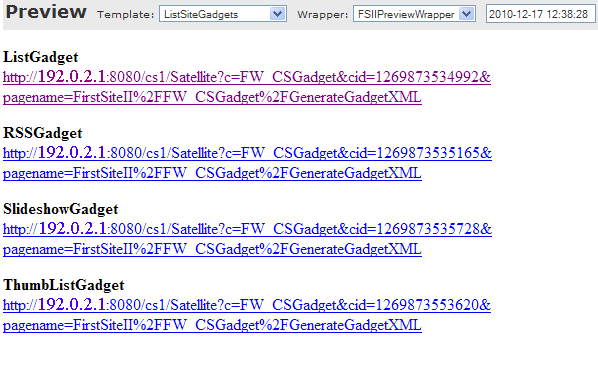
In the "Select preview template" dialog box, select ListSiteGadgets to display the list of gadget descriptor URLs (Figure 19-11).
Figure 19-11 List of Gadget Descriptor URLs
Description of ''Figure 19-11 List of Gadget Descriptor URLs''
-
Once you successfully register the sample gadgets, they are displayed as thumbnails on either the global gadget catalog or a site gadget catalog, depending on how you registered the gadgets. For example, see Figure 19-12.
Figure 19-12 Gadgets interface with a sample gadget thumbnail
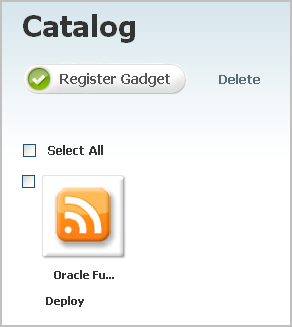
Description of ''Figure 19-12 Gadgets interface with a sample gadget thumbnail''
-


For more information about sample gadgets and creating custom gadgets, see the part "Developing Gadgets" in the Oracle Fusion Middleware WebCenter Sites Developer's Guide.