9 Procedures for Installing Remote Satellite Servers
When you install remote instances of Satellite Server, you can install them on any supported application server (see the application matrix). Note that installing and configuring remote instances of Satellite Server is an iterative process. You must initially install, configure, and test one remote Satellite Server, then install, configure, and test your other remote Satellite Server installations. After you have completed the installation and initial configuration of your Satellite Server software, you can adjust the configurations to make maximum use of the hardware and software stack.
To install and configure remote instances of Satellite Server, complete the following steps:
-
Section 9.1, "Step 1: Installing Required Hardware and Software"
-
Section 9.4, "Step 4: Registering Satellite Server with WebCenter Sites"
-
Section 9.8, "Step 8: Installing Satellite Server on Additional Remote Servers"
9.1 Step 1: Installing Required Hardware and Software
Before you install Satellite Server, ensure you have the required hardware and software. For the latest information, refer to the Oracle WebCenter Sites Certification Matrix.
This section contains the following topics:
9.1.1 Network Considerations
The connection between the Satellite Server hosts and the WebCenter Sites host is a limiting factor for performance of serving uncached data. Remote connections will suffer a performance penalty related to the bandwidth and latency when accessing data not present in the Satellite Server cache
9.1.2 Load Balancer Requirements
You must have a load balancer (hardware or software based) if using more than one remote Satellite Server. Oracle does not require a particular brand of load balancer, but we do strongly recommend using a load balancer that supports session affinity and the session affinity features are enabled.
9.1.3 Configuration Requirements
Your Satellite Server hosts must meet the minimum requirements per Table 9-1.
Table 9-1 Satellite Server Minimum Requirements
| Requirements | Description |
|---|---|
|
Operating System |
See the Oracle WebCenter Sites Certification Matrix. |
|
Application Server |
See the Oracle WebCenter Sites Certification Matrix. |
|
CPU |
Dual Core System (recommended: Quad Core system or greater) |
|
Physical Memory |
4GB (12GB or more recommended) |
|
Disk Space |
2GB (4GB or more recommended) |
|
JVM |
32 bit (64 bit recommended) |
9.1.4 Application Server Requirements
inCache, the default caching framework used in WebCenter Sites requires the following JVM parameters to be set in order to work efficiently:
-Dnet.sf.ehcache.enableShutdownHook=true
-DnumOfDiskStores=<will vary based on drive speed>
9.1.5 Satellite Server Contents
Satellite Server needs a full-featured servlet container and a servlet engine. See the Oracle WebCenter Sites Certification Matrix for supported environments.
9.2 Step 2: Expanding the Installation File
The installation file is named SatelliteServer.zip. Extract this file to a host machine.
-
UNIX: Unzip
SatelliteServer.zip -
Windows: Double click SatelliteServer.zip in Windows Explorer
Extracting the zip file creates a subdirectory named SatelliteServer. Do not change the name of any of its subdirectories, and retain the archived directory structure; otherwise the installer will fail.
9.3 Step 3: Installing Satellite Server
You can install Satellite Server in the following ways:
9.3.1 Installing Satellite Server Using GUI Installer
-
Run the installer script:
-
On Windows:
ssInstall.bat -
On UNIX based systems:
ssInstall.sh
-
-
On the Welcome screen (Figure 9-1), click Next.
-
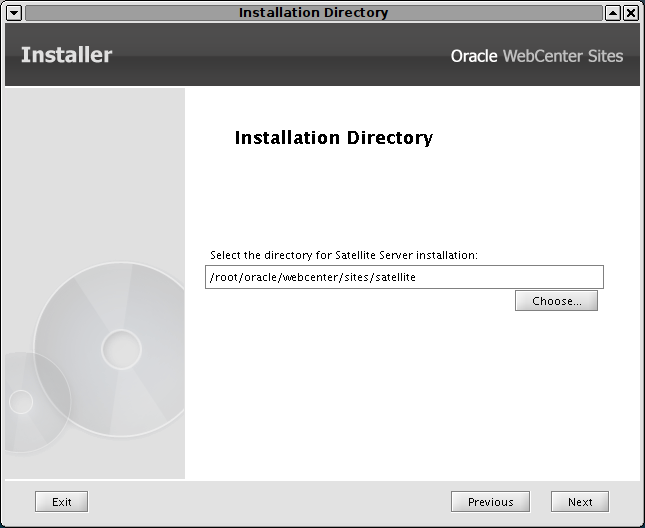
In the Installation Directory screen (Figure 9-2), enter the target installation path for Satellite Server. Ensure that you have the required permissions. If the directory you specify does not exist, the installer will prompt you for permission to create it.
Click Next.
-
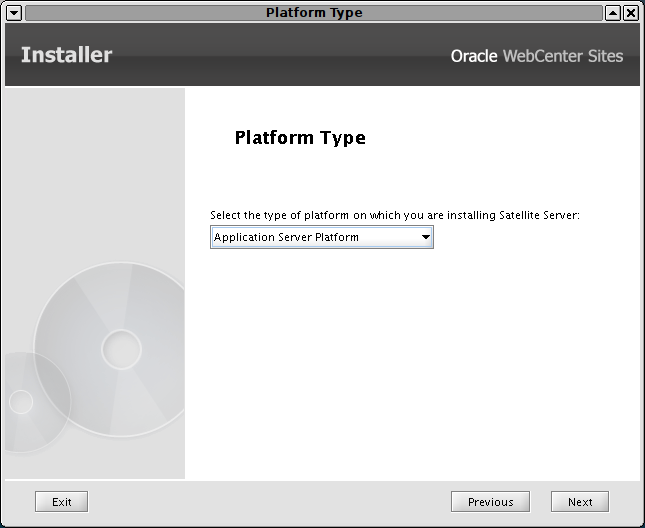
Select the desired platform type (Figure 9-3).
Click Next.
-
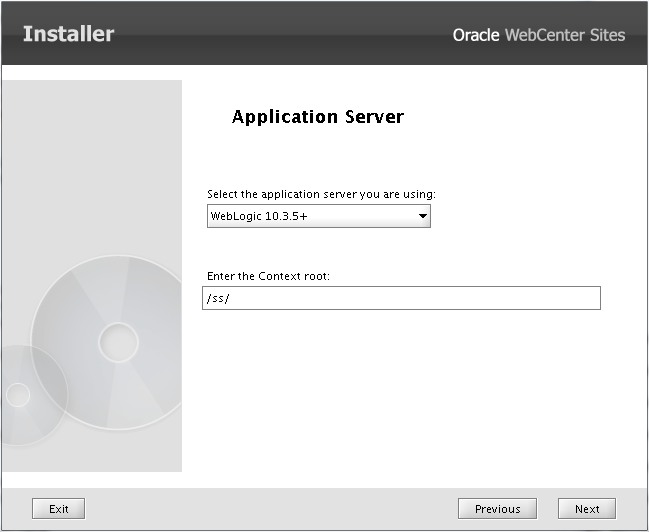
Select the desired application server and enter the Satellite Server context root (Figure 9-4).
Click Next.
-
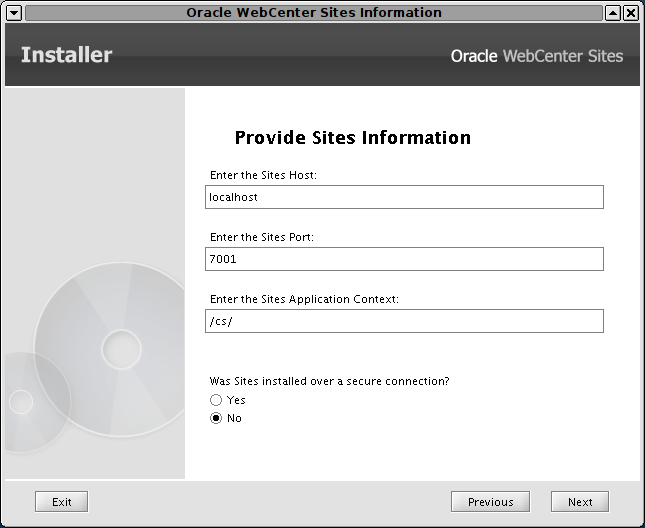
Provide WebCenter Sites information (Figure 9-5).
-
Host name or IP address of the machine running WebCenter Sites
-
Port number that WebCenter Sites is listening for connections
-
Application context root that Satellite Server will connect to
-
Whether WebCenter Sites was installed over a secure connection
Click Next.
-
-
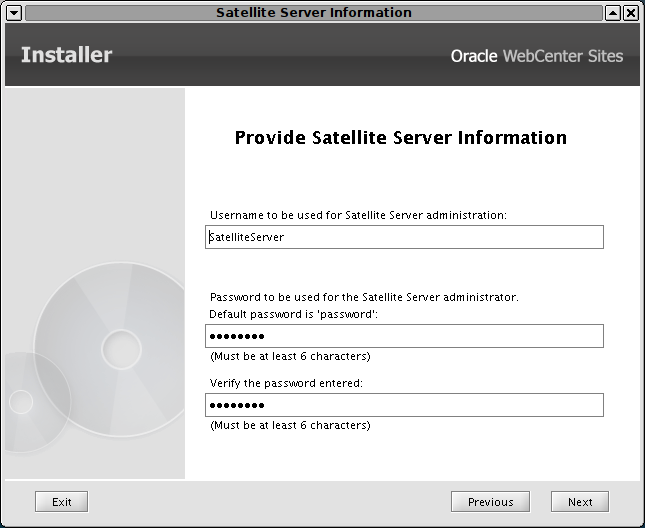
Provide Satellite Server administrative account information (Figure 9-6).
-
Enter the user's administrative account username. By default, the field is populated with
SatelliteServer. -
Enter the user's password.
Click Next.
-
-
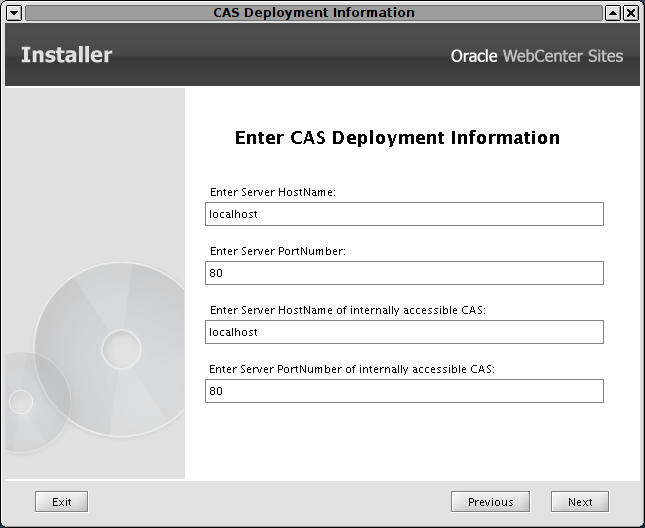
Enter CAS Deployment information (Figure 9-7).
-
In the first two fields (Server HostName and PortNumber), enter the host name and port number of the server where CAS is deployed.
-
The fields for server HostName and PortNumber of internally accessible CAS are mapped to
CASHostNameLocalandCASPortNumberLocalproperties respectively. These properties should point to the server on which CAS is actually deployed and not to the load balancer. However, in a cluster, the host should point to the load balancer. Do the following: If the CAS server is not accessible from behind the firewall, enter the host name and port number of the server that is accessible from behind the firewall. Otherwise, enter the same information as in the first two fields.
Click Next.
-
-
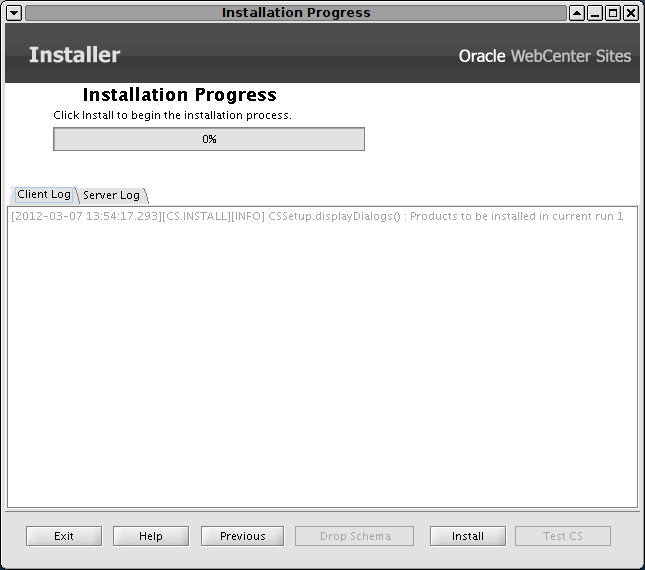
Click Install to start the installation process (Figure 9-8).
-
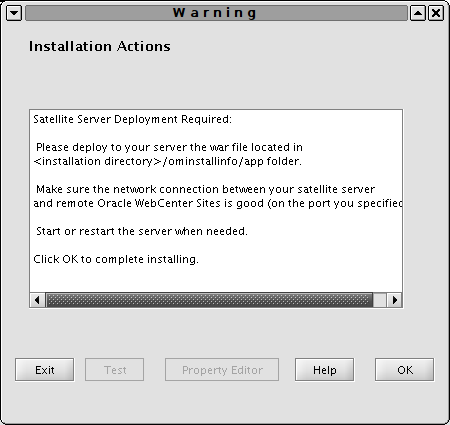
Deploy Satellite Server (Figure 9-9).
Satellite Server's
warfile (by default namedcs.war) can be found inominstallinfo/app/under the Satellite Server installation directory. If necessary, rename thecs.warfile and deploy the exploded WAR file to the server, then start (or restart) the server, and click OK to complete the installation. -
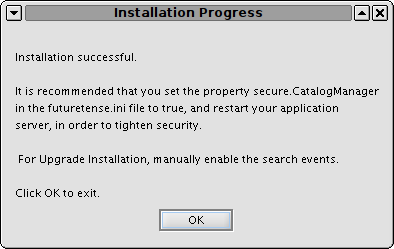
If deployment was successful, you will be presented with a confirmation dialog box. Click OK to review the installation log (Figure 9-10).
-
Click Exit to quit the installer.
9.3.2 Installing Satellite Server Silently
To install Satellite Server silently:
-
Generate the
omii.inifile:-
Run the GUI installer for Satellite Server, as described in steps 1 to 8 in Section 9.3.1, "Installing Satellite Server Using GUI Installer."
-
Stop the GUI installer when the Installation Progress screen (Figure 9-8) is displayed.
-
-
From
<RSS_Home>\omii, copy theomii.inifile that contains the parameters entered into the GUI installer. -
Edit the
omii.inifile as required and paste it in the Satellite Server installation directory. -
Edit the
install.inifile located in the Satellite Server installation directory, as follows:nodisplay=true loadfile=<path to the omii.ini file you just edited>
-
Run
ssInstall.sh -silent.
9.4 Step 4: Registering Satellite Server with WebCenter Sites
In this step, you will register remote Satellite Server with WebCenter Sites so that WebCenter Sites can properly manage the remote Satellite Server cache. All Satellite Server installations must be registered with their respective WebCenter Sites installations.
Note:
Each remote Satellite Server can be associated with only a single WebCenter Sites installation. This means that the same remote Satellite Server cannot be used for two independent WebCenter Sites installations (such as management and production)-
From a Windows system, open Sites Explorer and log in to WebCenter Sites as a user that has
SiteGodprivileges (for example, the general administrator or theContentServeruser). -
Click the System Satellite tab.
-
The table that opens must be populated with specific values, and each row represents a unique Satellite Server system. Consult the table below for suggested values.
Column Value id A numerical (positive integer) value that identifies this Satellite Server. It must not be the same as any other value in the same column in any other row of the table. description A text description identifying this Satellite Server to users. It is used for reference purposes only. protocol The protocol on which Satellite Server is accepting requests. This is usually: httphost The host name or IP address of the Satellite Server. This must be a host of the actual Satellite Server engine, not the load balancer. port The port on which Satellite Server is listening for requests satelliteservletpath The part of the URL from the port number up to, and including, the name of the Satellite servlet. This is usually: /servlet/Satelliteflushservletpath The part of the URL from the port number up to, and including, the name of the FlushServerservlet. This is usually:/servlet/FlushServerinventoryservletpath The part of the URL from the port number up to, and including, the name of the inventory servlet. This is usually: /servlet/Inventorypastramiservletpath The part of the URL from the port number up to, and including, the name of the inventory servlet. This is typically: /servlet/Pastramiusername The user name assigned to this Satellite Server. password The password assigned to this Satellite Server. The password will be automatically encrypted by Sites Explorer after you enter it. -
From the File menu, select Save to save the changes.
-
Exit Sites Explorer.
Note:
For configuring co-RSS follow the steps as mention in Step 4: Registering Satellite Server with WebCenter Sites.9.5 Step 5: Specifying Trusted URLs for CAS
On successful login, CAS redirects the user to the requested service. For security, a requested service can be validated prior to CAS redirecting the user to the service. For instructions on specifying the URLs of requested services, see Section 7.2, "Specifying Trusted URLs for CAS."
9.6 Step 6: Starting Satellite Server
Restart the application server, if necessary. See Part II, "Installing Oracle WebCenter Sites" for information on how to restart (or deploy) your application server.
9.7 Step 7: Testing the Configuration
Before you install Satellite Server on other machines, test the newly installed Satellite Server to ensure it is communicating properly with WebCenter Sites. To test Satellite Server, you will need to publish content from a WebCenter Sites system running in content management mode.
-
Configure your load balancer to send all WebCenter Sites requests to a single Satellite Server instance.
-
Using a browser, go to a Satellite Server URL. For example:
http://<server>:<port>/<URI>/Satellite?pagename=<MyPage>
where
<MyPage>is any page on your WebCenter Sites system.Note:
It is easiest to discover the Satellite Server URL you will need to enter by previewing a page on the content management system, copying its URL, and then changing it to point to the remote Satellite Server -
If you configured everything properly, your browser displays the selected page.
If your browser did not display the selected page, review the following:
-
Did you set up the load balancer properly? Remember, for this test, every request for WebCenter Sites has to go to the Satellite Server machine. (The other machines are not yet configured and therefore not enabled to handle these requests.)
-
Did you set the Satellite Server properties properly? In particular, ensure that you set the host name and port number to the proper values.
-
Did you request an invalid page from WebCenter Sites?
-
9.8 Step 8: Installing Satellite Server on Additional Remote Servers
After you have installed and tested your first remote Satellite Server instance, install and configure the remaining Satellite Server instances by repeating the steps in this chapter.
9.9 Next Step
Continue to Chapter 10, "Satellite Server Post-Installation Steps" to adjust caching conditions and optimize the performance of your WebCenter Sites system.