51 Enabling the WebCenter Content Integration Feature
Before you can start configuring your system for content synchronization, you need to enable two WCC Integration parts: the Sites Integration component and the Connector Admin tab. Each of your steps is described in its own section.
This chapter contains the following sections:
51.1 Enabling the SitesIntegration Component
The SitesIntegration component is installed during the full Oracle WebCenter Content installation or upgrade process. Once the SitesIntegration component is enabled, the following features are added to WebCenter Content:
-
The
SiSyncToSitesmetadata field is added to WebCenter Content schema and displayed as the Sync To Sites option in content checkin, update, and search forms. -
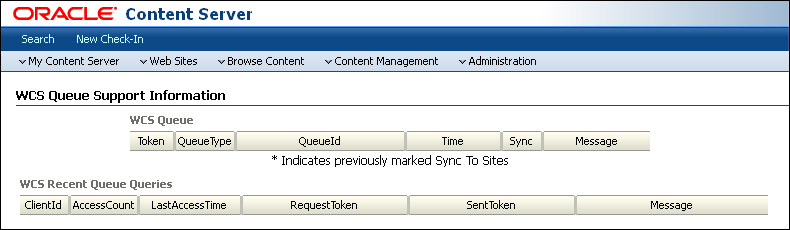
The WCS Queue Support Information page is added to provide a listing of WebCenter Sites clients and their token histories. Once synchronization begins, the same page logs the synchronized content items and their update histories.
To enable the SitesIntegration component
-
On WebCenter Content, open the Component Manager:
-
Click Administration on the portal navigation bar for your Content instance.
-
Click Admin Server.
-
-
On the Component Manager page:
-
Scroll down to the Integration section and select the SitesIntegration check box.
-
Click Update.
Note:
If you need more information about enabling components, refer to Oracle Fusion Middleware Installing and Configuring Oracle WebCenter Content or the online Help. -
-
Restart WebCenter Content.
-
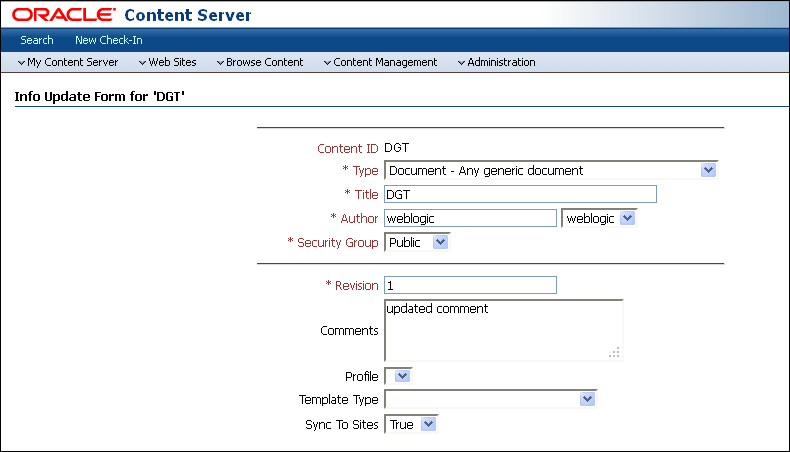
Open any content checkin, update, or search form to verify that the Sync To Sites check box is displayed in the form, as shown in Figure 51-1.
Figure 51-1 Sync To Sites Option on a Content Item Update Form
Description of ''Figure 51-1 Sync To Sites Option on a Content Item Update Form''
-
Verify the display of the WCS Queue Support Information page:
-
Log in to WebCenter Content as an administrator.
-
Select Administration and then WCS Administration to open the WCS Queue Support Information page (Figure 51-2).
Figure 51-2 WCS Queue Support Information Page on WebCenter Content Server
Description of ''Figure 51-2 WCS Queue Support Information Page on WebCenter Content Server ''
-
-
Continue to Section 51.2, "Enabling Access to the Connector Admin Tab."
51.2 Enabling Access to the Connector Admin Tab
Anyone who needs to use WCC Integration must be assigned the ConnectorAdmin role. The only exception is noted below.
Note:
The ConnectorAdmin role is automatically assigned to only one user, that is the general administrator whose credentials were used during the WebCenter Sites installation process. All other users, including general administrators, must have the role assigned to them manually.The ConnectorAdmin role grants access to the Connector Admin tab, enabling its user (typically an administrator) to control the connector by performing such operations as creating and managing its rules, establishing communication with WebCenter Content, running the connector, monitoring its activity, and viewing its history.
To enable access to the Connector Admin tab
-
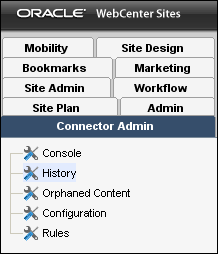
Open the WebCenter Sites Admin interface on the content management site you intend to work with, and look for the Connector Admin tab (shown in Figure 51-3).
-
If the Connector Admin tab is not displayed, assign yourself (and other intended users) the ConnectorAdmin role. For procedures on assigning roles, see Chapter 4, "Working with ACLs and Roles."
-
Log out of the Admin interface, and log back in to the same content management site as in step 1 of this procedure.
-
If the Connector Admin tab is still not displayed, WCC Integration was not installed during the WebCenter Sites installation process. To install WCC Integration, do the following:
-
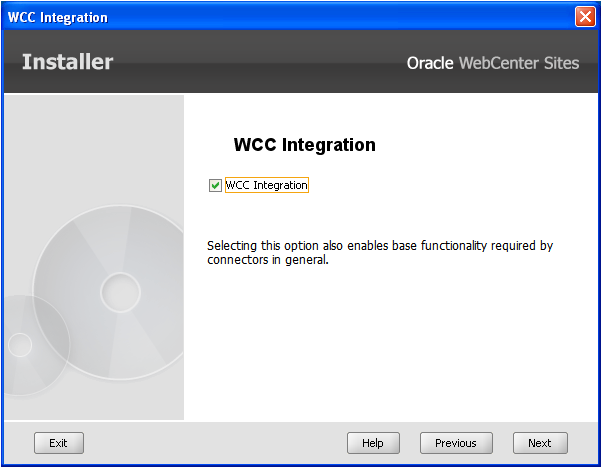
Back up all customizations for your current installation and re-run the WebCenter Sites installer with the WCC Integration option enabled on the WCC Integration dialog (shown in Figure 51-4). Instructions for running the installer are available in the Oracle Fusion Middleware WebCenter Sites Installation Guide.
Figure 51-4 WebCenter Sites Installer: WCC Integration Step
Description of ''Figure 51-4 WebCenter Sites Installer: WCC Integration Step''
-
When the installer completes its process, restore your customizations, and repeat the steps in this section to enable your access to the Connector Admin tab.
-
51.3 Next Steps
Having successfully completed the steps in this chapter, you are now ready to set up your system for content synchronization. Continue to Chapter 52, "Setting Up Content Synchronization."