38 Working with Sites
This chapter provides instructions for managing sites that are created in WEM Admin but used in the WebCenter Sites applications, and vice versa.
This chapter contains the following sections:
38.1 Managing WebCenter Sites CM Sites in the WEM Framework
When using the WEM Admin interface to delete or modify sites, ensure they are not active content management sites in the WebCenter Sites platform. Deleting sites from the WEM Admin interface deletes the sites from the system and from any applications where the sites are in use. The same applies to other objects, such as roles, with one difference.
When you attempt to delete a role that is assigned to users and applications, you will be presented with a list of dependencies which you must clear in order to delete the role. When you attempt to delete a site you will be prompted to confirm your decision. It is assumed that you have determined the status of the site.
In WEM Admin you can expose active WebCenter Sites CM sites for quick access by configuring the WebCenter Sites applications to run on those sites and assigning yourself to those sites. For example:
-
If you configure a site named "News_and_Views" in the WebCenter Sites Admin interface, the site is listed on the Sites form in WEM Admin:
-
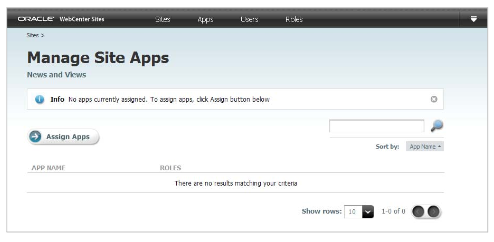
Navigate to News_and_Views and click Manage Site Apps.
With no assigned applications, the site may be regarded as inactive.
-
When you assign the WebCenter Sites Admin application and yourself to "News_and_Views," the site is listed as an option in the drop-down menu (refresh the display, if necessary).
Figure 38-3 Sites Form, Showing Pull-Down Menu
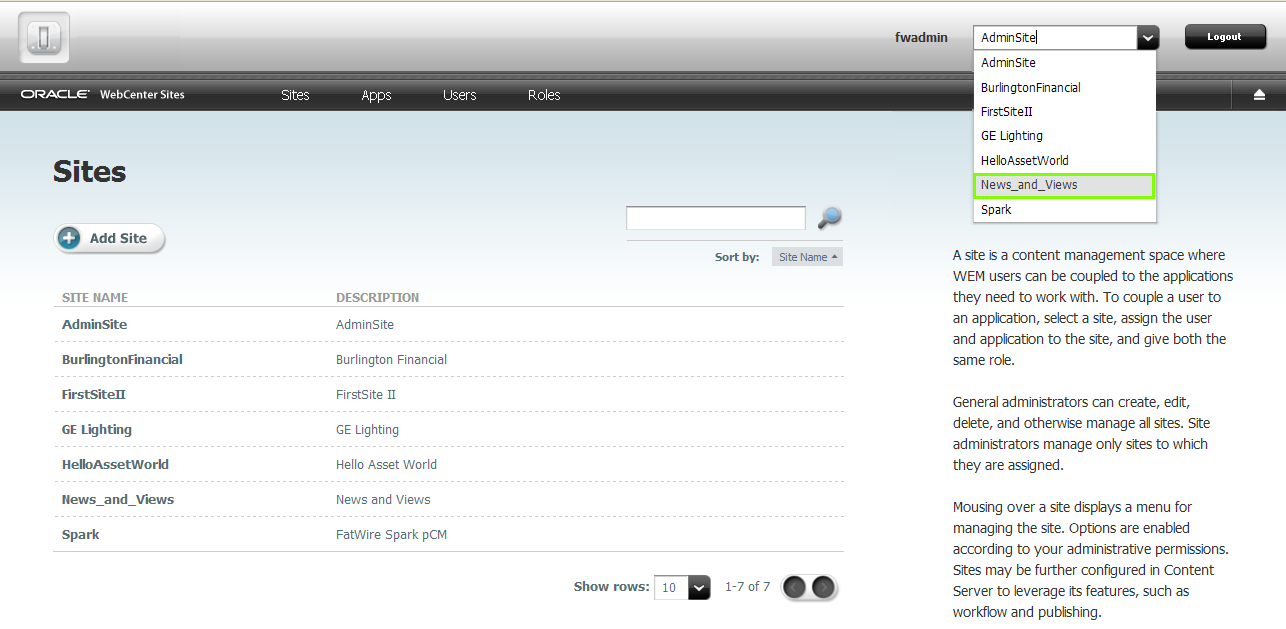
Description of ''Figure 38-3 Sites Form, Showing Pull-Down Menu''
-
Selecting News_and_Views from the menu displays the login dialog. The site is listed in the drop-down menu; below is the application icon for WebCenter Sites Admin.
Figure 38-4 WebCenter Sites Login Dialog
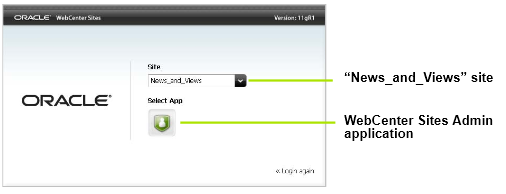
Description of ''Figure 38-4 WebCenter Sites Login Dialog''
Once logged in, you will see the WebCenter Sites Admin application icon at the left and the name of the site at the right, in the drop-down menu. Subsequent access does not require login.


38.2 Enabling Tree Tabs
Sites created in the WEM Admin interface are exposed in the WebCenter Sites Admin interface, but not configured for use in the WebCenter Sites Admin interface. A general administrator must enable operations on each site by enabling the WebCenter Sites tree, tab by tab.
Enabling the WebCenter Sites Admin interface tree and tabs for a WEM site
-
Log in to the WebCenter Sites Admin interface as a general administrator:
-
Navigate to the following URL:
http://<server>:<port>/<cs_context>/Xcelerate/LoginPage.html -
Enter your user name and password.
-
Click Login.
-
-
Enable the relevant WebCenter Sites tree tabs for the site that you created in the WEM Admin interface.
-
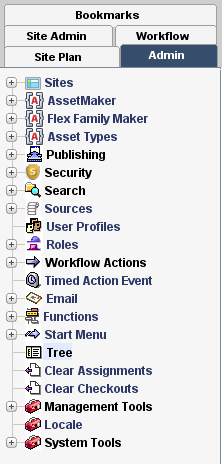
Navigate to the WebCenter Sites tree and select the Admin tab.
-
Double-click the Tree node.
-
Individually select each tab you wish to enable. For example, suppose you want to enable the Site Design tab:
-
In the Tree Tab form, click Edit.
The Edit form is rendered (for the Site Design tab).
Figure 38-7 Edit Tree Tab Site Design Form
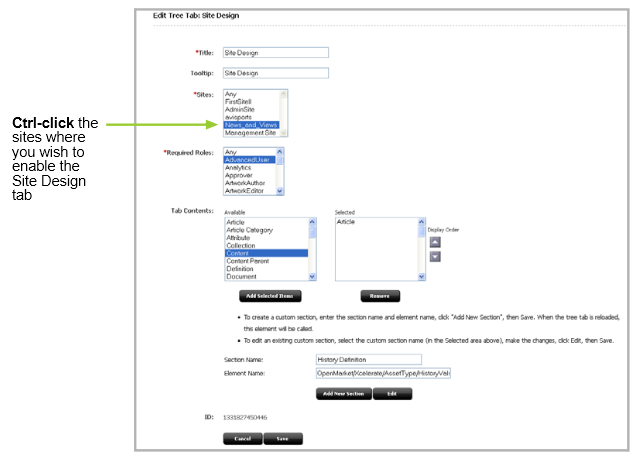
Description of ''Figure 38-7 Edit Tree Tab Site Design Form''
-
In the Sites selection box, select sites on which the tab must be enabled.
-
Select roles that are allowed to access the tab.
-
Select content for the tab.
-
If you wish to enable additional tabs, click List all Tree Tabs (at the bottom of the Edit form) and continue as in the steps above.
-
-
Now that you have enabled the WebCenter Sites tree and tabs on the sites, continue to the next section to make sure the tree and the tabs are rendered properly.
Verify the Tree Tabs are Enabled
The tabs you have enabled in the previous section are accessible only to users who share a role with each tab. Verify site by site that the tree and tabs are enabled.
-
Log in to the WebCenter Sites Admin interface as a user who shares one of the roles assigned to a given tab (or tabs).
-
Select the site. You should see the WebCenter Sites tree, along with the tabs you enabled for the site.
-
If the WebCenter Sites tree is not enabled, you will see the following error message.
Verify the site and role assignments for the user and the tab.