The multi-panel frame prototype requires unique treatment as objects must be correctly associated for the panel heading feature to function properly. See Step 4: Associate Frames with Charts, Pivots, or Tables.
 To drag, associate, and configure charts with a multi-panel frame prototype:
Start Interactive Reporting Studio, and, on the Welcome dialog, click Cancel.
Open Dashboard Studio.
Select a Framework Template is displayed.
Click
 to import a template that contains multi-panel frames into your document.
For example, use the Round Tab Panel Template.bqy. See Using the Import Tab.
In Dashboard Studio, navigate to Step 2: Add and Rename Frames.
Rename the charts if it is possible that a conflict may occur in a future step.
Select a Frame prototype to use, and click Add.
For example, select 4 Panels Round Tab.
Set the name of the frame prototype.
Move to Step 3: Drag Pivots, Charts, and Tables onto Frames.
In Interactive Reporting Studio, drag the charts onto the panels in the frame.
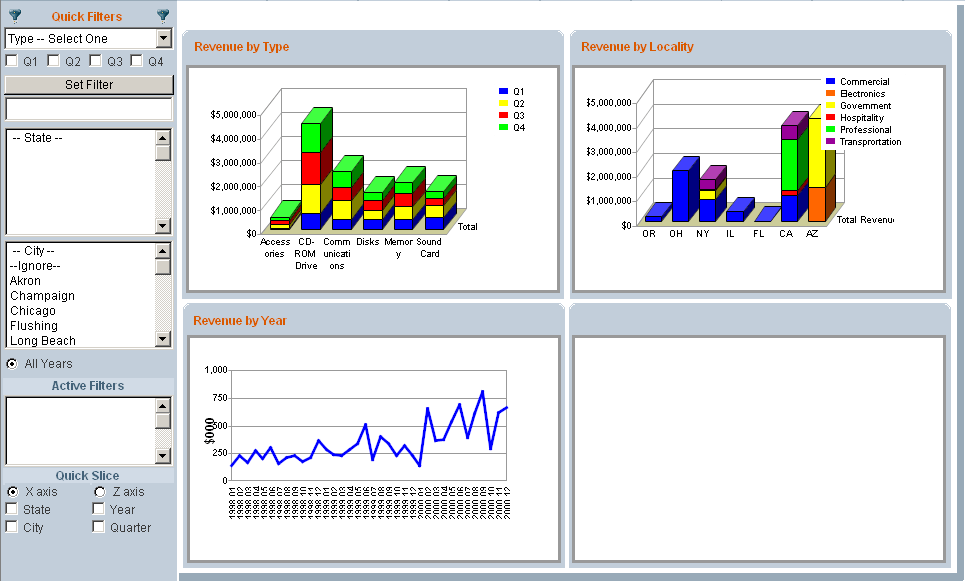
For example, using the 4 Panels Round Tab frame layout, drag Chart1 onto panel Heading 1, Chart2 onto Heading 2, and Chart3 onto Heading 3.
In Dashboard Studio, navigate to Step 4: Associate Frames with Charts, Pivots, or Tables, and click
 to associate the charts with the corresponding frames.
Click
 to apply the selections.
Navigate to Step 7: Configure Properties of Dashboard Studio, and configure the Chart Titles.
For example, select Show all from the drop-down list.
Applying the Chart Titles option results in the chart name being displayed in the panel heading. Charts must be correctly associated in Step 4 of Dashboard Studio for the panel heading feature to work. For example, in Figure 9, Charts and Panel Headings Configured to Match, three charts display corresponding headings. However, Heading 4 is cleared, because no chart is associated with it.
In Dashboard Studio, click
to apply the configuration.Complete the remaining Dashboard Studio steps to configure and save the multi-panel frame dashboard.