| StorageTek Tape Analytics Installation and Configuration Guide Release 2.0.1 E41585-03 |
|


 Previous |
 Next |
| StorageTek Tape Analytics Installation and Configuration Guide Release 2.0.1 E41585-03 |
|
Previous |
Next |
This chapter describes configuring STA user roles and email recipients used for alerts and executive reports.
During STA installation, you created an STA GUI Login account. This account is the primary STA administrator account. However, you can create additional user accounts with differing roles/permissions.
|
Note: If you need to configure Open LDAP or IBM RACF user authentication, see Appendix A, "Configuring a SSP for STA" |
The following roles can be assigned to users:
Administrator: Full access.
Operator: Reduced access. An Operator has the same level of privileges as an Administrator, but cannot:
Create or edit Alerts policies or Executive Reports (but can run previously-defined reports)
Enable or disable media validation, nor create or edit media validation policies
Create or edit SNMP client attributes or library connections
Create, edit, or delete user accounts
Edit SMTP settings, nor test, create, edit, or delete email addresses
Viewer: Limited/read-only access. Viewers cannot:
See the Setup & Administration tab in the STA navigation menu.
Save templates (but can apply templates created by other users)
Run Executive Reports (but can download reports already created)
Save customizations (but can use existing customizations and filters)
From the STA navigation menu, click Setup & Administration > Configuration > Users.
In the Configuration - Users section, click the Create New User button.
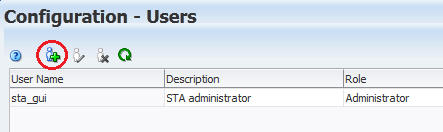
In the User Configuration window, complete the information as follows:
User Name: Enter the name of the user.
Description: Provide a description of the new user, if desired.
Role: Select Administrator, Operator, or Viewer.
Enter Password: Enter the login password for the new user. It must be at least eight characters long and contain a mix of letters and numbers.
Verify Password: Re-type the password.
Click Save.
From the STA navigation menu, click Setup & Administration > Configuration > Users.
In the Configuration - Users section, select a user name from the list, and then click the Modify User button.
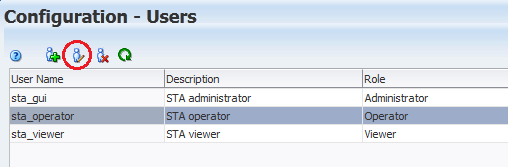
In the User Configuration window, modify the user Description, Role, or PasswordFoot 1 , and then click Save.
From the STA navigation menu, click Setup & Administration > Configuration > Users.
In the Configuration - Users section, select a user name from the list, and then click the Delete User button.
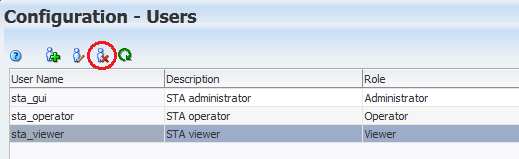
In the Delete User window, select to either make public or delete associated private templates or groups. Then, click Delete.
STA's alert policies and Executive Reports both use configured email recipients for their respective communications. To set up alert policies and Executive Report policies, see the STA User's Guide.
From the STA navigation menu, click Setup & Administration > Configuration > Email.
In the SMTP Server Settings table, select StorageTek Tape Analytics Alert (or a previously-specified name), and then click the Edit Selected SMTP Server icon located in the toolbar.
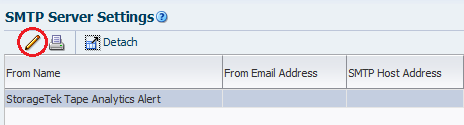
In the Define SMTP Server Details window, complete the information as follows:
SMTP Host Address: Enter the fully-qualified name of your SMTP server.
|
Note: If the email server does not require authentication, you may need to specify localhost for the SMTP Host Address. |
SMTP Port: Enter the port number for outgoing mail transport.
Typically, this is port 25, but check with your IT administrator to verify this is the port used at your site.
From Name: Enter the name you want in the From line in your email. Text that identifies the STA server is recommended.
From Email Address: Enter the email address from which the email is being sent.
Since you cannot reply to this address, you may want to enter an address that indicates this, such as DoNotReply@YourCompany.com.
Enabled?: Select the check box to enable the email server configuration.
Use Secure Connection Protocol: Select the check box to use a secure connection protocol, and then select TLS or SSL.
Requires Authentication: Select the check box if the SMTP server requires authentication, and then enter the authentication username, password, and password verification.
Click Save.
Email notifications are sent to all configured email destinations. To add an email address:.
Click the Add Email icon located in the toolbar.
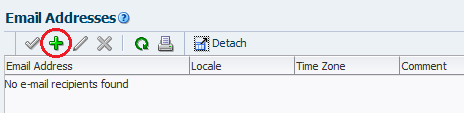
In the Define Email Details dialog box, complete the information as follows:
Address: Enter a destination for email notifications (for example, yourname@your.company.com).
Language-Locale: Select the desired language-locale.
Time Zone: Select the recipient's time zone.
Click Save.
Select the email address, and then click the Test SMTP and Email Address Setup icon.
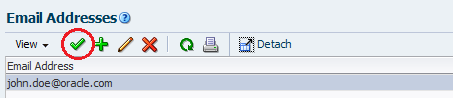
Go to the email client where you expect to receive the email.
The test email should arrive momentarily. If it does not, check your STA configuration. If your configuration is correct, check with your system administrator.
|
Note: You can also check for email configuration problems in:/Oracle/Middleware/user_projects/domains/TBI/servers/staEngine/logs/staEngine.log |
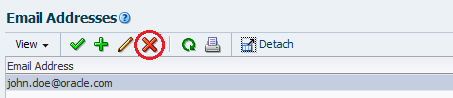
Select an email address from the table, and then click the Edit Selected Email icon.
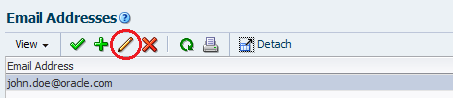
In the Define Email Details dialog box, make any necessary changes, and then click Save.
Footnote Legend
Footnote 1: You can also modify the current user's password in Preferences > General.
|
 Copyright © 2012, 2014, Oracle and/or its affiliates. All rights reserved. Legal Notices |
|