Install the Oracle Solaris OS (Oracle System Assistant)
The Oracle System Assistant Install OS task provides assisted OS installation of a supported versions of the Oracle Solaris OS.
Before You Begin
-
Prepare the server storage drives. For more information, refer to the Sun Server X4-8 Installation Guide.
-
Perform the steps in Preparing to Install the OS.
-
During the OS installation and configuration process, you might need to provide logical and physical network names. For more information, see Install the Oracle Solaris OS (Manually).
-
For local installation, have a DVD with an ISO image available to insert into the attached physical DVD-ROM drive when prompted.
-
For remote installation, insert the DVD with an ISO image into the Remote Console system’s DVD-ROM drive. Make sure you have selected CD-ROM from the Remote Console Device menu.
If you are using an ISO image on a network, ensure that the it is accessible from the Remote Console system. Select CD-ROM Image from the Remote Console Device menu.
-
Server web access is required to update Oracle System Assistant.
For more information about how to setup Oracle System Assistant network access, refer to the Oracle X4 Series Servers Administration Guide (http://www.oracle.com/goto/x86AdminDiag/docs).
- Ensure that the server is in standby power.
-
Boot the server.
Watch the video monitor or Remote Console screen for the prompt to press the F9 key to access Oracle System Assistant.
-
When the prompt appears, press the F9 key.
The Oracle System Assistant main screen appears.

-
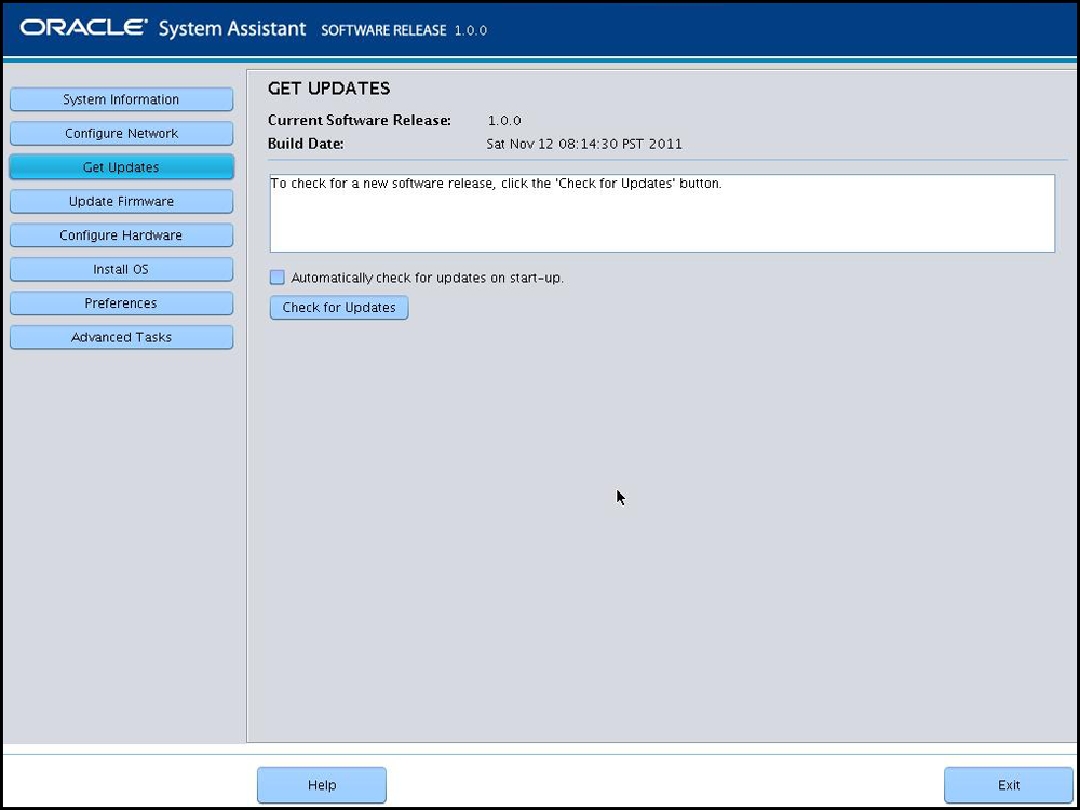
To update the Oracle System Assistant application, click the Get Updates
button.
This action ensures that the application has the latest firmware and drivers before you begin the OS installation.

-
To update the server firmware, click the Update Firmware button.
This action ensures that the server has the latest firmware before you begin the OS installation.
-
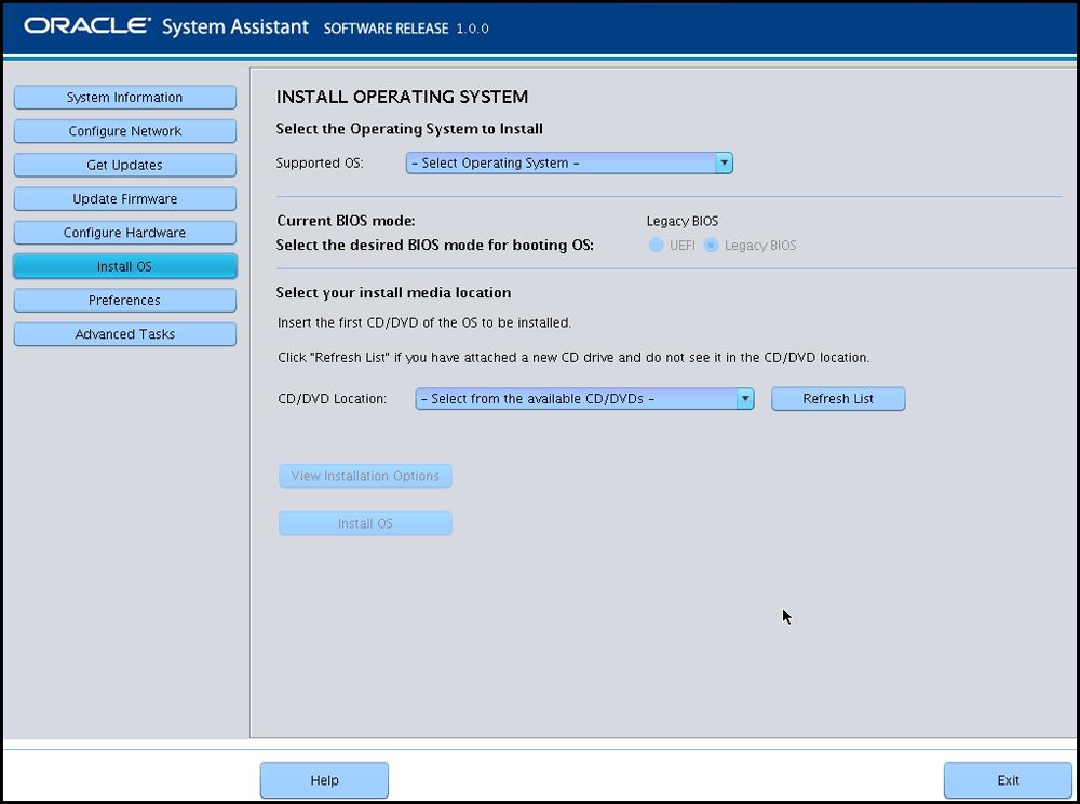
To install the OS, click the Install OS button.
The Install OS screen appears.

- From the Select Operating System drop-down list, select the OS.
-
Select the BIOS boot mode. See Set the BIOS Boot Mode.
For more information, refer to the Oracle X4 Series Servers Administration Guide (http://www.oracle.com/goto/x86AdminDiag/docs).
-
In the Select your install media location section, select the location of
the installation media.
This is the location of the installation ISO image. If you attached a DVD drive, you might need to click the Refresh button to see it in the drop-down list.
-
To select the device on which to install the OS, click View Installation
Options.

Caution - Loss of data. The OS installation erases the contents of the disk. All data on the selected disk is erased.
- To begin the OS installation, click Install OS.
-
Follow the prompts until the installation is finished.
The server boots.
Next Steps