 Part 1: Setup OEPE and Oracle Developer Cloud Service

In the previous section of this tutorial, you created an OEPE project, imported a starter application, and pushed the project to Oracle Developer Cloud Service. You also used OEPE to create an application branch in the Git repository.
Now that you have an application branch to work in, you will create some Oracle Developer Cloud Service tasks to track progress, create a review for code review and approval, and deploy and test your application.
One of the features of Oracle Developer Cloud Service is the ability to initiate, assign, and track tasks related to your project. In this section, you will create a task in Oracle Developer Cloud Service web ui and then resolve it in OEPE.
-
Navigate back to your browser connected to your Oracle Developer Cloud Service project.
-
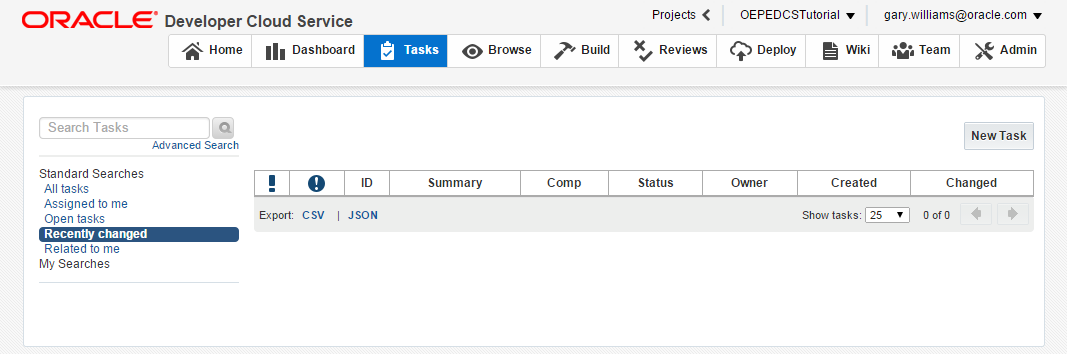
Click the Tasks tab.
-
Click New Task to create a task. Enter details similar to the ones below. For the Owner property, assign the task to yourself. Click Create Task once you have completed the form.
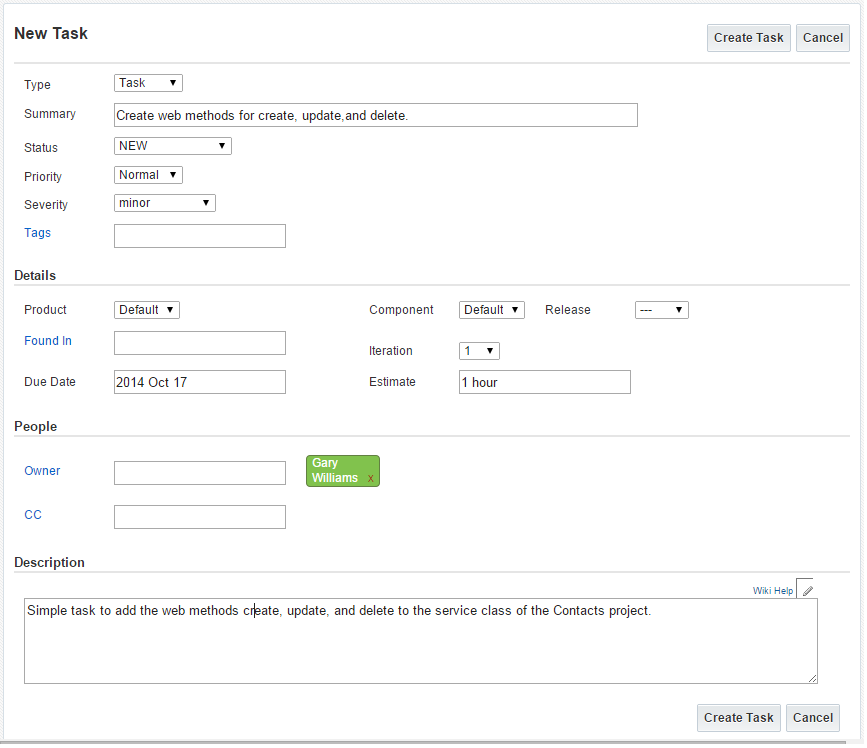
You can edit this task or post additional comments any time.
-
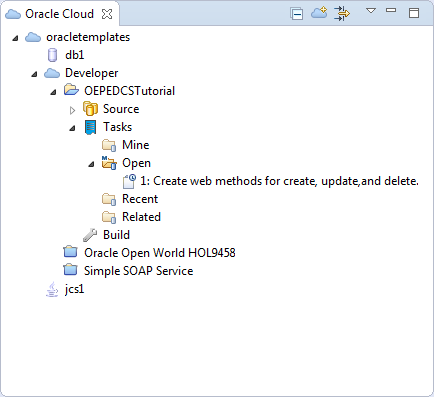
Now go back to the Oracle Cloud view in the lower left of OEPE and double-click Tasks to activate them. Expand Open tasks in the tree to see the task you just created in the Oracle Developer Cloud Service web ui.
-
Double-click the the Create web methods task to open it in OEPE.
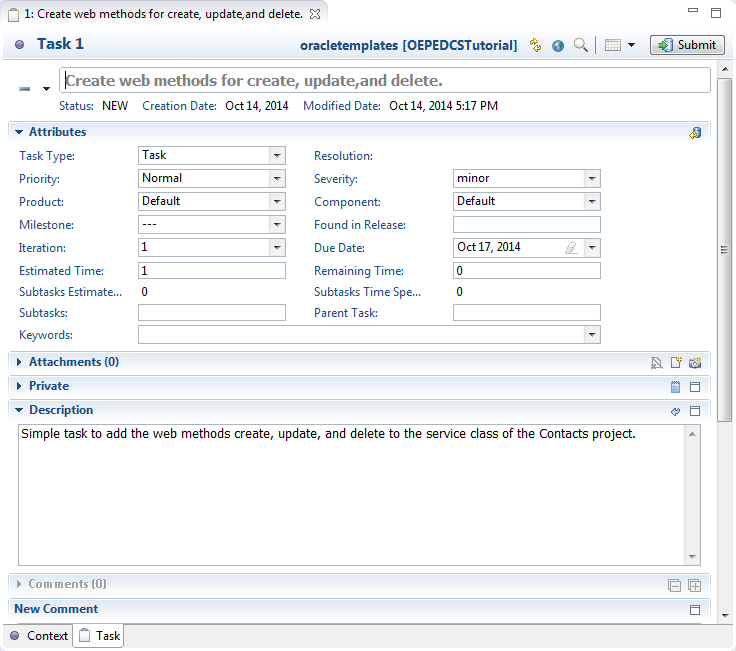
Now that you have a coding task created and assigned to you, let's make the required code changes.
In this section, you make the code changes that have been assigned to you. After you have completed the code, you will update the task. As part of the normal process, you will need to add a code review in Oracle Developer Cloud Service, so that others on your team can see what has changed and make any comments they see necessary. In the environment you are using for this tutorial, you may be the only one on the team, so you will need to add a comment and approve the code.
In these first few steps, you add code to ContactsService.java.
-
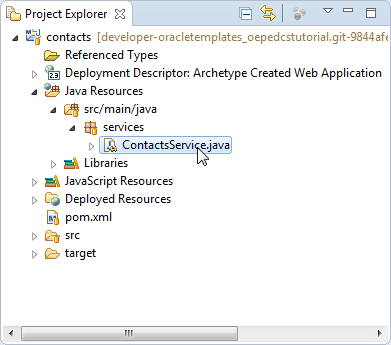
In the Project Editor, expand contacts > Java Resources > src/main/java > Services and double-click ContactsService.java. This will open the file in the code editor.
-
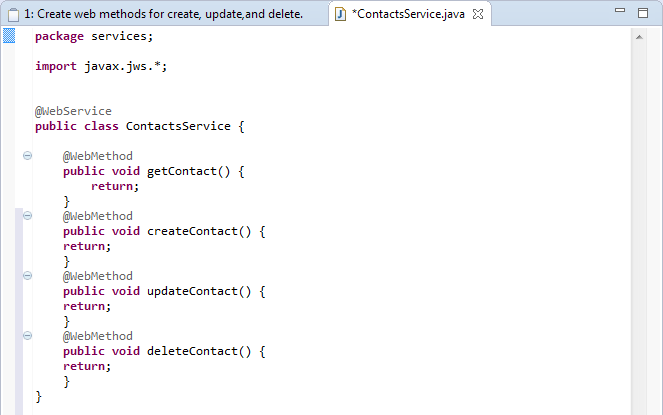
In the code editor, add the following code, just after the getContact() WebMethod.
-
Save your work.
Now that you have added the methods that were requested within the task, you can commit your changes to the local Git repository and then push your changes to the remote repository. This can be done in one step within OEPE.
-
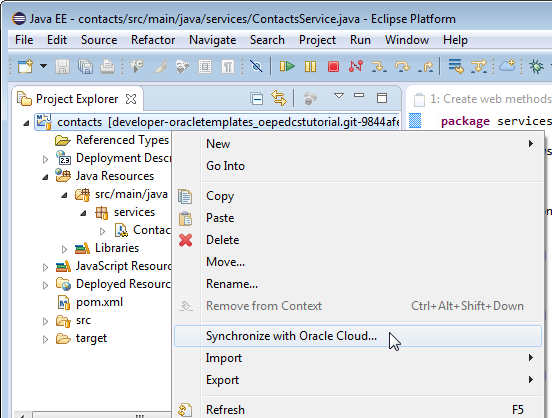
In the Project Explorer, right-click contacts and select Synchronize with Oracle Cloud.
-
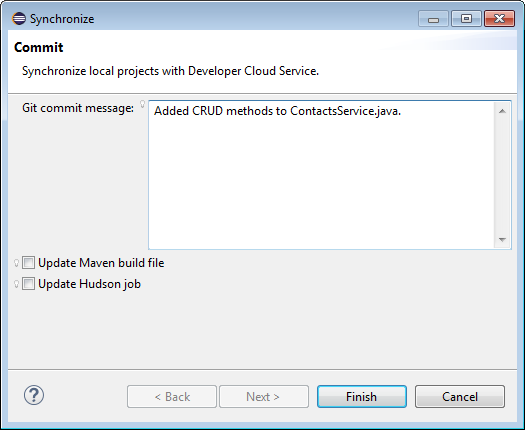
Add a Git commit message in the Synchronize dialog and click Finish.
-
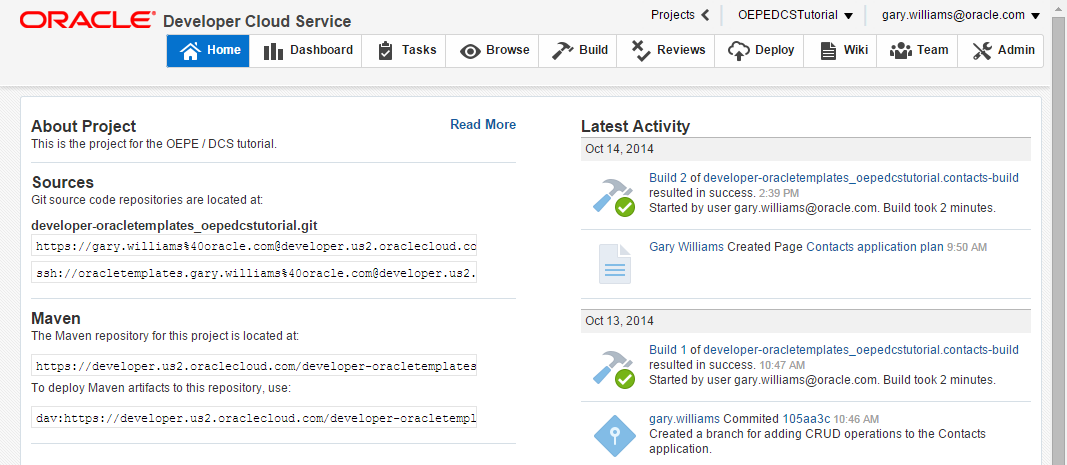
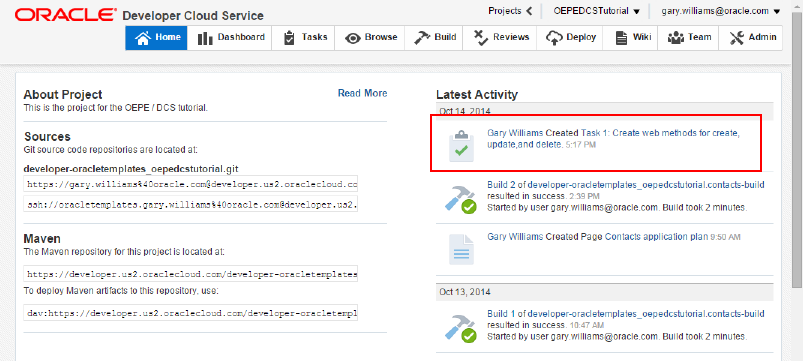
In the browser connected to your Oracle Developer Cloud Service instance, click the Home tab. Notice in the Latest Activity, you can see the latest commit, the code changes that include the CRUD operations.
-
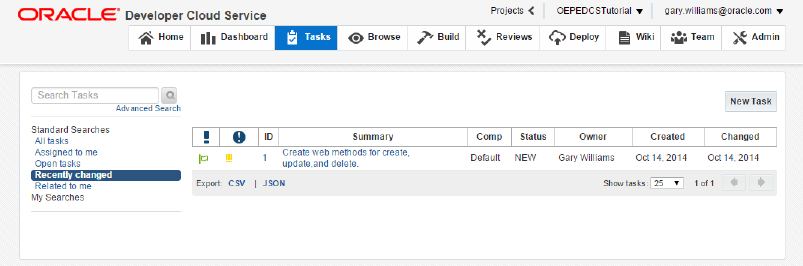
You can update tasks from either the OEPE interface or from the web ui. Click Tasks to see the active tasks.
-
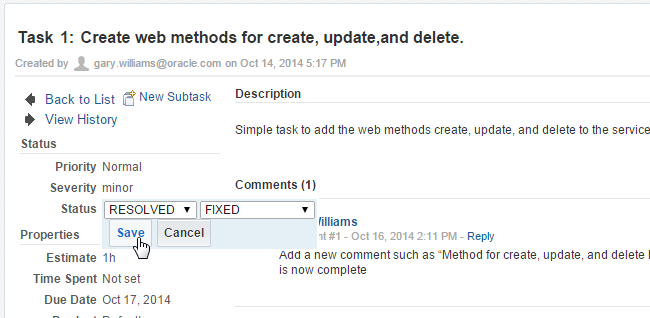
Click the task to edit it and add a new comment such as “Methods for create, update, and delete have been added in the ContactsService.java object. This task is now complete." Click Post Comment to save the comment. Set the Status property to Resolved and Fixed and click Save.
-
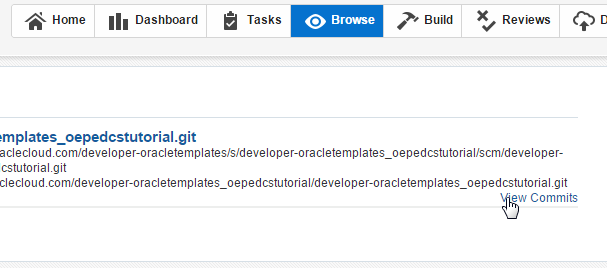
Next, let's look at the code changes you made. Click the Browse tab and then click View Commits.
-
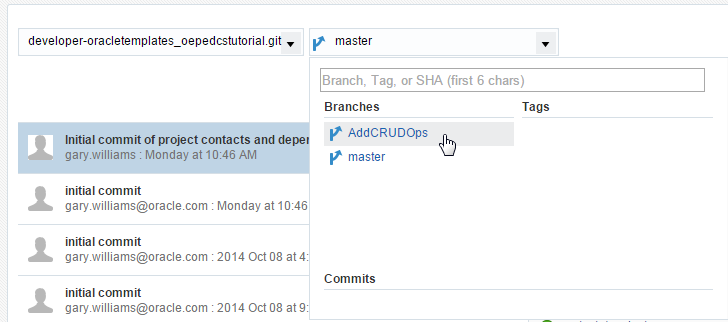
On the Commits page, use the Branches drop-down to select AddCRUDOps.
-
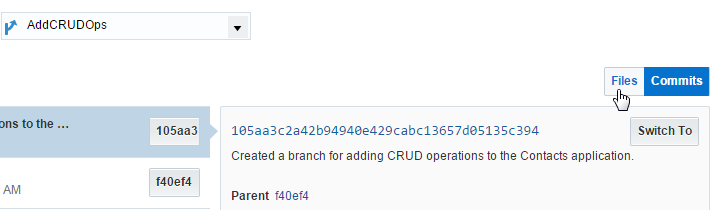
Click Files to see the changed files.
-
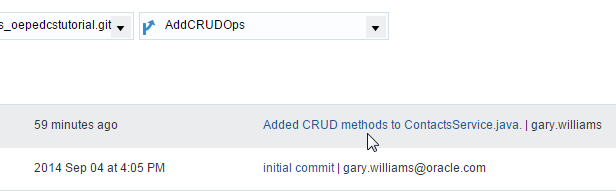
Click the file that was changed (ContactsService.java) to see the changes.
-
The left panel shows the file before this commit, and the right side shows the changes after the commit.
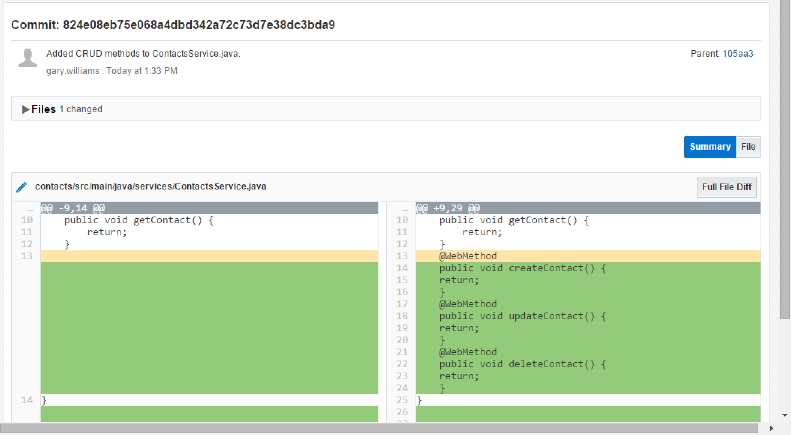
@WebMethod
public void createContact() {
return;
}
@WebMethod
public void updateContact() {
return;
}
@WebMethod
public void deleteContact() {
return;
}
The code should look something like the following:
So now let's go up to Oracle Developer Cloud Service Web Dashboard and see that the changes are there.
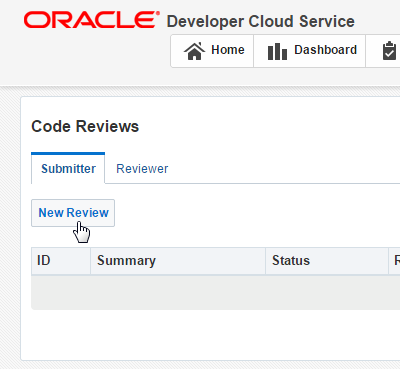
Now that you have added code and pushed it to Oracle Developer Cloud Service, the next step will be to create a review. A review allows other team members to see, evaluate, and comment on the code. They can also approve or reject the code. Once the code is approved, you can mark the code segment as complete.
-
Click the Reviews tab and click New Review.
-
In the Create Review dialog, enter details similar to those below. In your environment you will probably need to add yourself as the reviewer.
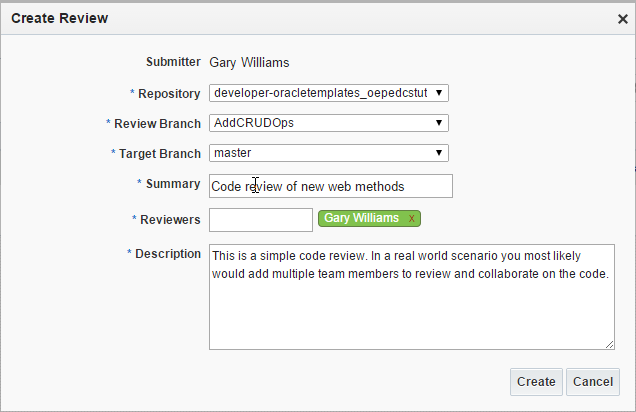
Team members that you added to this code review would receive email messages stating that they've been asked to collaborate in a code review on the project. They can approve or reject the code review and provide descriptive text to support their decision.
-
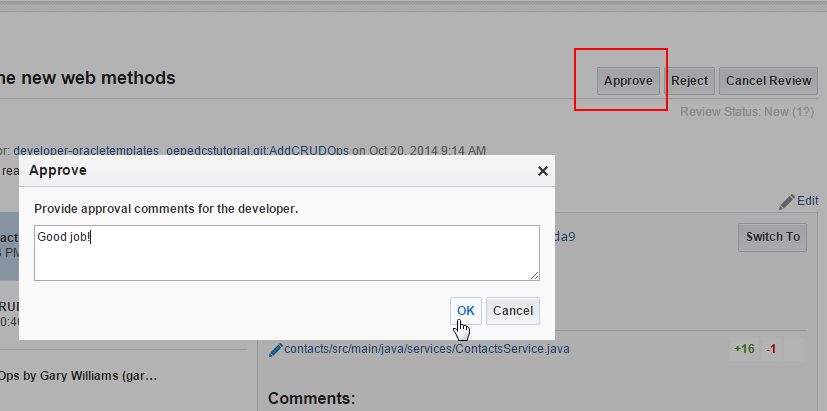
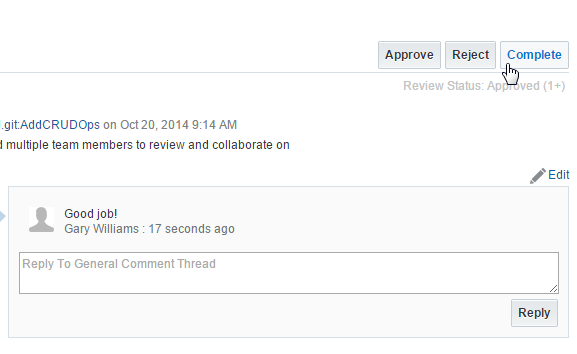
Click Approve to approve the code. Provide an appropriate description of the approval, and then click OK.
-
After the other team members have approved and commented on the review, you can mark the review as complete. Click Complete to finish this review cycle.
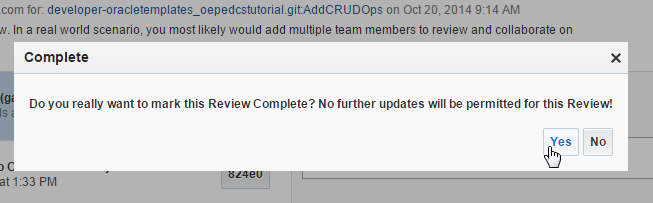
-
Click Yes to mark the review as complete.
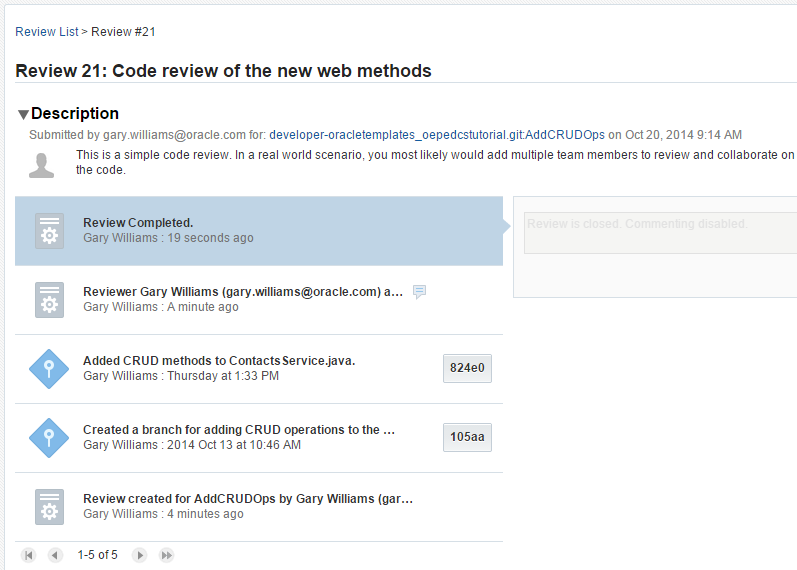
The Review page shows the description, the reviewers' comments and the review status.
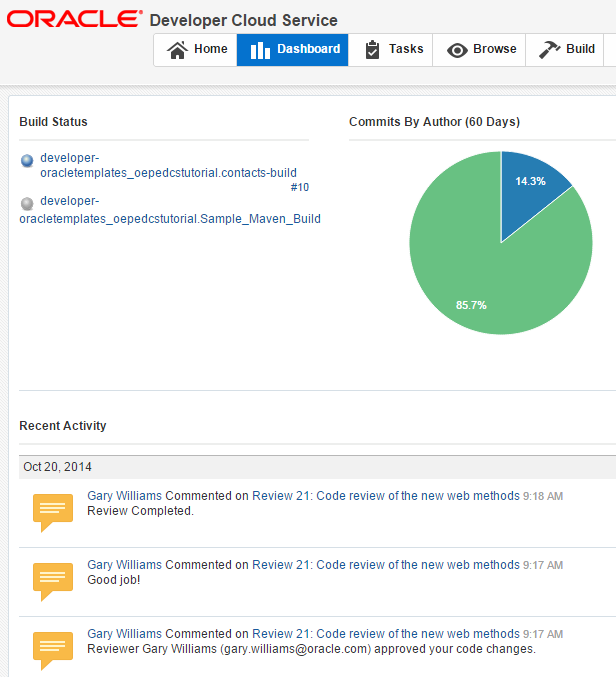
Click Dashboard to see all the recent events that include the code review.
Now that you have added code and the code has been approved, you can build and deploy the application
In this section, you will take the completed code, run a build, and then deploy the application.
-
Click the Build tab. Notice the status of the build. Notice the status of the contacts-build which was created when you uploaded the project from OEPE.
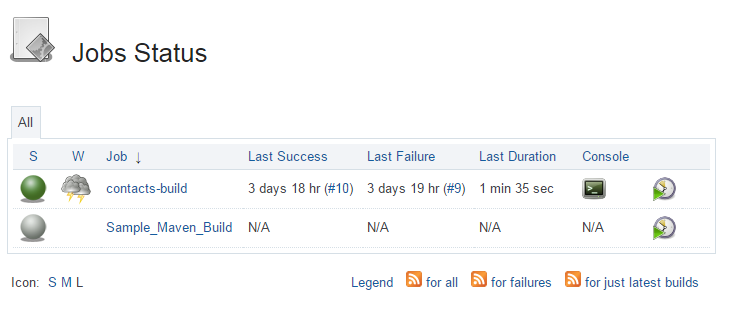
-
We want to examine the configuration of the build job, so click contacts-build.

-
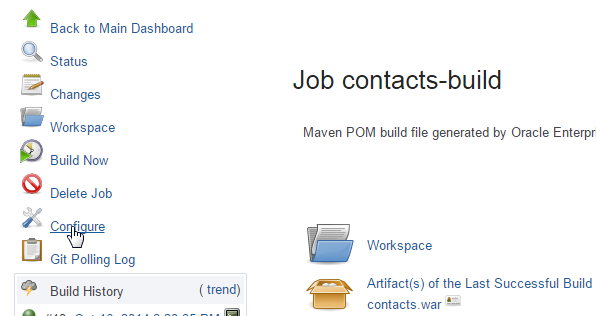
On the Job contacts-build page, click Configure to see the job configuration.
-
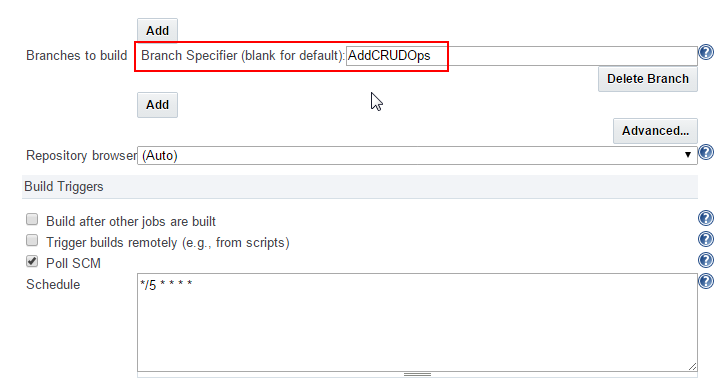
On the Job Configuration page, scroll down to verify that the build branch is set to AddCRUDOps. This is the branch you created to hold the web method changes. When you created the AddCRUDOps branch in OEPE and synchronized with the Cloud, the synchronize wizard updated the build job to point to the new branch.
-
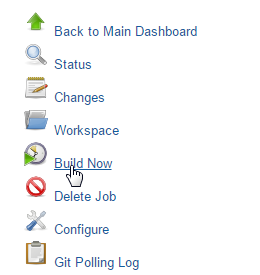
Now that you have verified that the build branch is set correctly, click Build Now to launch the build.
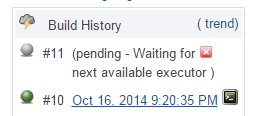
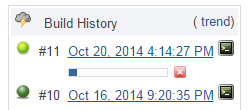
When you click Build Now, your job will be in line for the next available executor. The status of the build job will change. Here are a few of the statuses you may see:
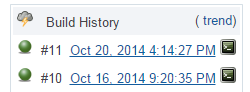
When the build job is complete, you will see the following:
-
After the build is successful, click the Deploy tab.
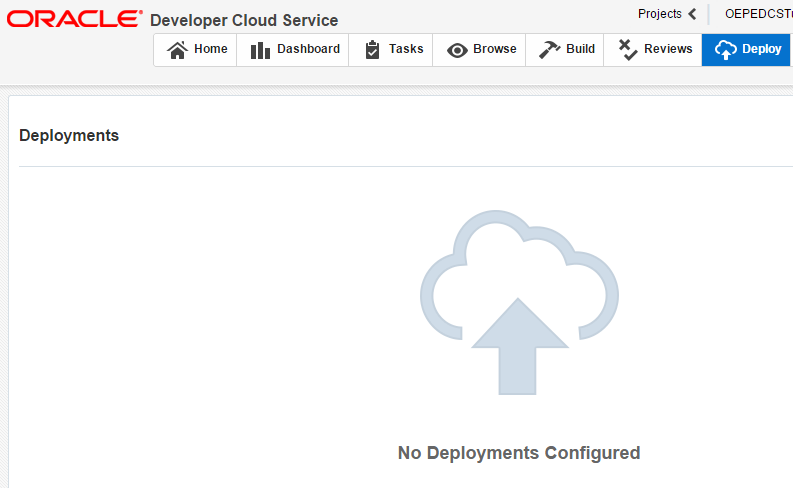
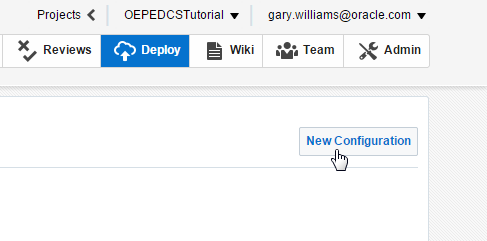
Since you created this project without using a template, there are no built-in deployment configurations.
-
Click New Configuration.
-
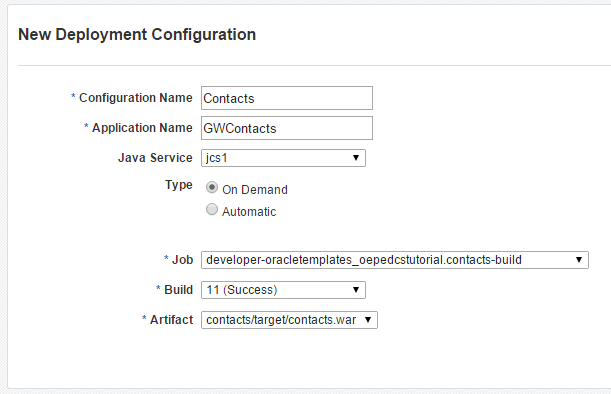
Complete the New Deployment Configuration dialog as shown below paying particular attention to the following:
Use a prefix for the Application Name that is unique to you. There may be others that are deploying to the same JCS instance.
-
Set the Type to On Demand
-
Choose the Job that you just ran
Choose the latest successful build
Choose the .war file that was created from your build
-
Click Save and Deploy.
-
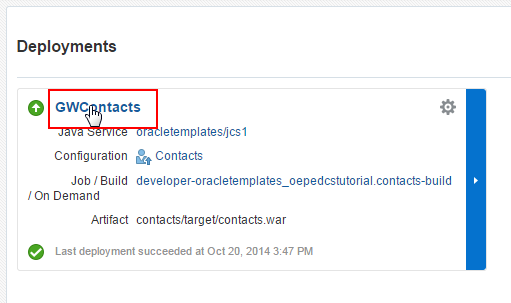
When the deployment is complete, you will see the following:
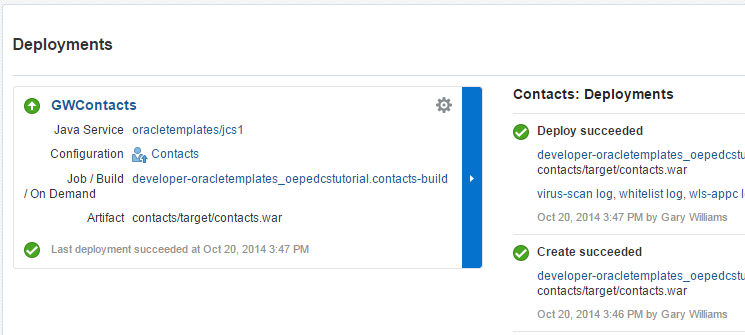
-
Click the application name to test the deployed application..
-
Oracle Developer Cloud Service will open a browser window pointing to the deployed application. It will look like the following.
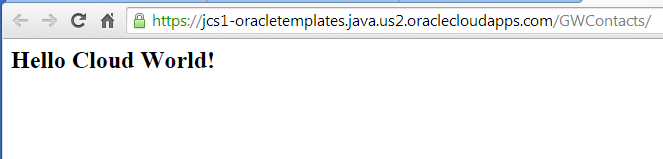
In this section, you ran a build job, created a deployment configuration, and deployed the application.
In this tutorial, you created an Oracle Developer Cloud Service project and populated it from an OEPE project. You learned how to:
- Work with Oracle Developer Cloud Service and the various features provided within the dashboard
- Import a project into the IDE (OEPE)
- Connect to your Oracle Developer Cloud Service instance from within OEPE
- Create a Git Branch for code changes
- Commit/push your contacts project to a Git repository within Oracle Developer Cloud Service
- Create tasks within Oracle Developer Cloud Service and resolve those tasks within your IDE
- Create a Code Review
- Built your project with Hudson Continuous Integration in Oracle Developer Cloud Service
- Deploy your contacts application to Oracle Java Cloud Service
For more information about using Oracle Developer Cloud Service, refer to the product page:
http://cloud.oracle.com/developer

 Expand all |
Hide all
Expand all |
Hide all