 Part 1: Create APIs for REST JSON Services

In the previous part of this tutorial, you used the OEPE REST Editor to create APIs from REST JSON services. In this part, you create Data Controls from the artifacts and use them to build a MAF Application. Data Controls are an abstraction of the REST Service interface. This abstraction is what your application will use to provide data to the user interface.
IIn this first section, you create the Data Controls
-
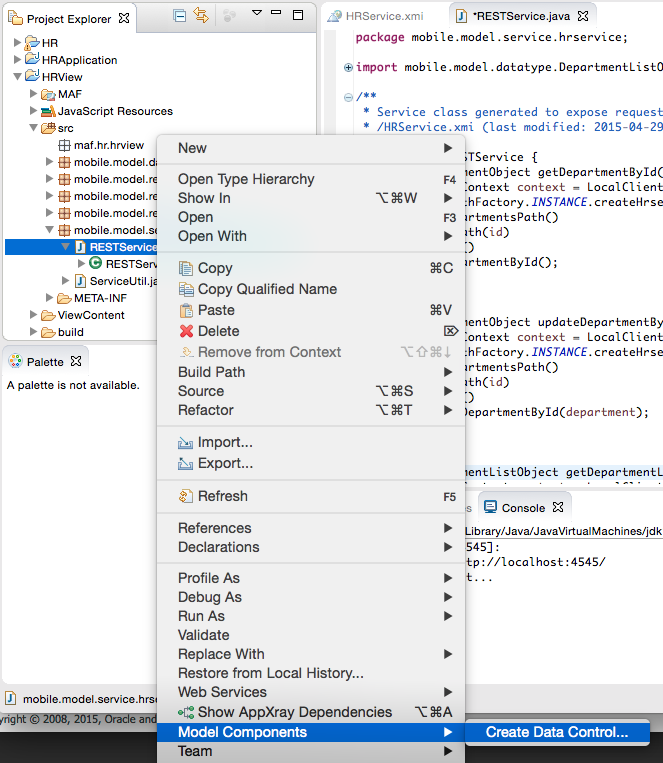
In the Project Explorer, right-click RESTService.java and select Model Components > Create Data Control... .
-
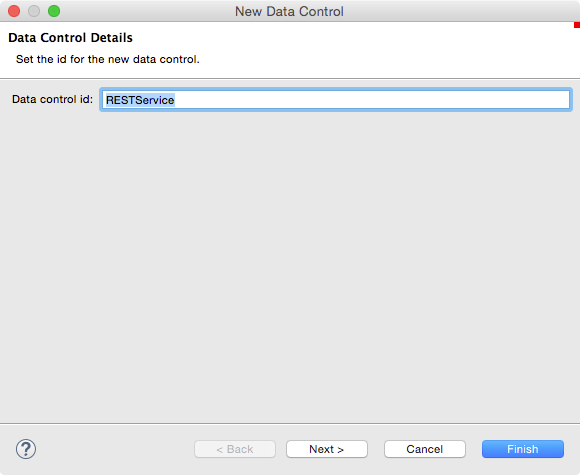
Click Finish to accept the default name of RESTService.
-
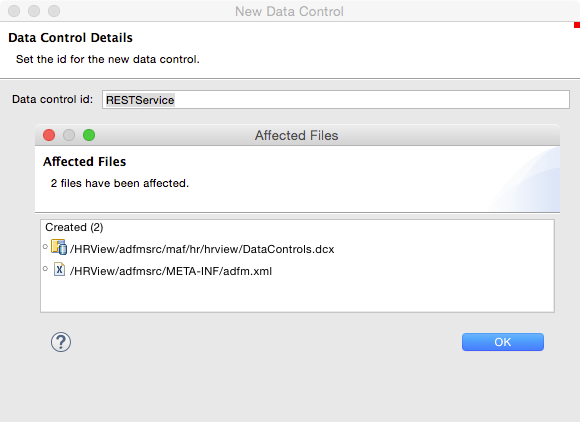
As before, OEPE will show you the list of affected files. Click Ok.
-
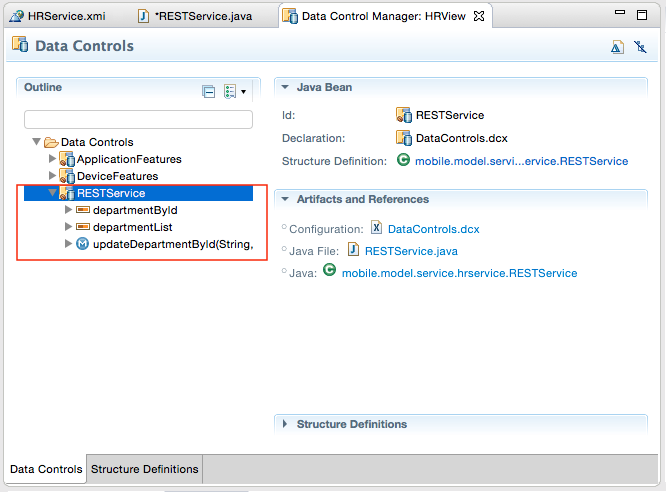
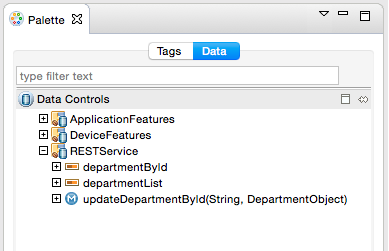
In the Data Control Manager, notice within RESTService, there are 3 Data Controls: departmentById, departmentList, and updateDepartmentById.
-
Save your work.
That's all there is to creating Data Controls based on a REST JSON Service. In this next
In this section, you create a MAF Feature and a Task Flow.
-
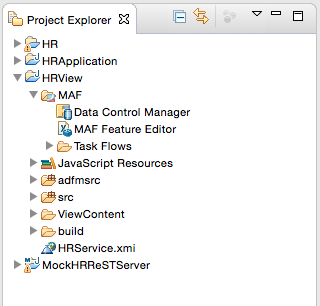
In the Project Explorer, Expand HRView > MAF.
-
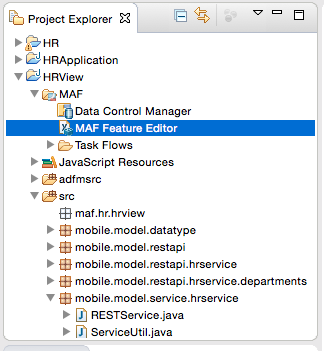
Double-click MAF Feature Editor to open the feature editor.
-
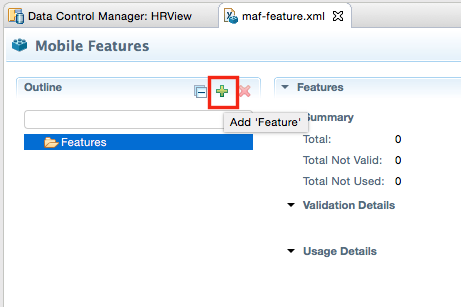
In MAF Feature Editor, click the plus sign to create a feature.
-
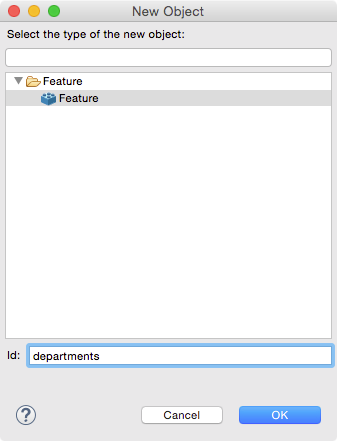
Set the Id to departments and click OK.
-
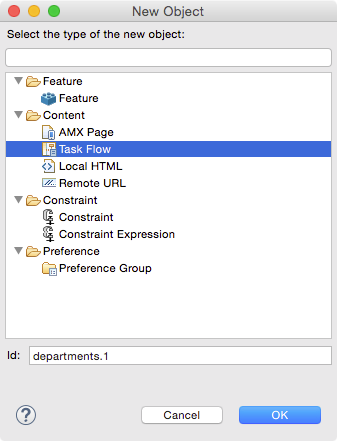
With departments selected in the MAF Feature editor, click the plus sign and select Task Flow as the New Object. Click OK to accept the default name.
-
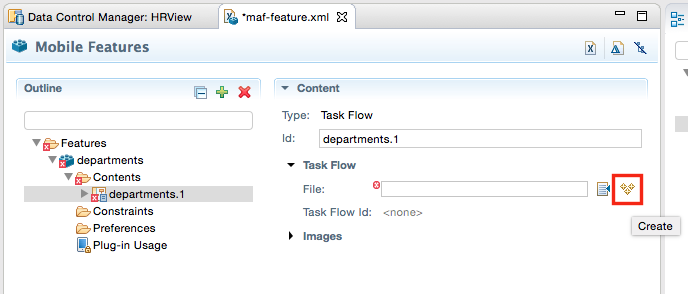
With departments.1 selected, click the Create icon in the Task Flow panel to the right of the File property.
-
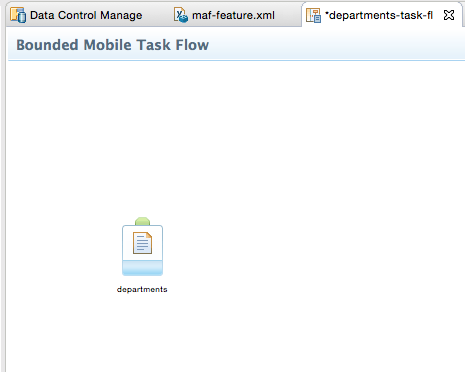
In the MAF Task Flow dialog, set the Task flow ID to departments-task-flow and click Finish.
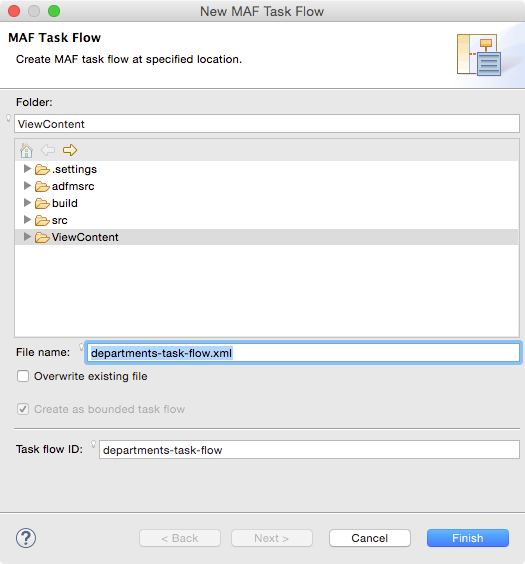
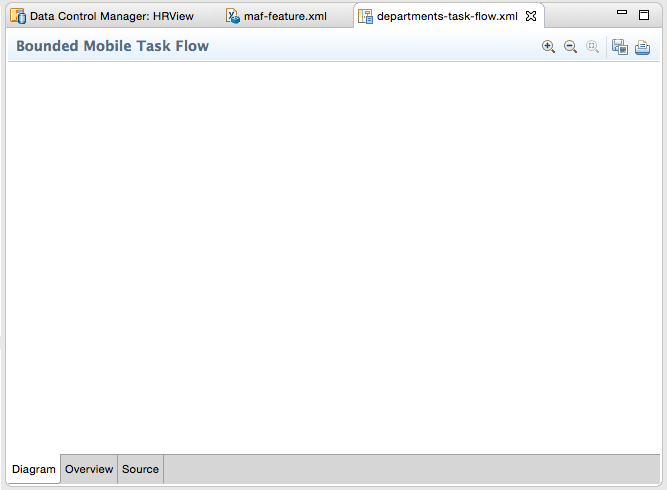
This creates the task flow and opens the editor.
-
Save your work.
-
From the Activities palette, drag a View activity to the Task Flow.
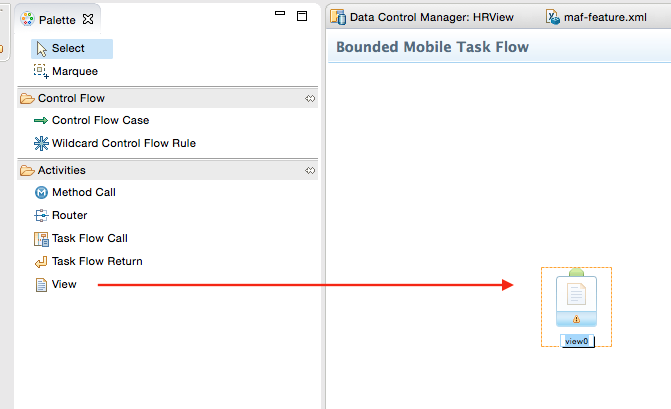
-
Set the name of the View to departments.
-
Double-click the departments View activity to create the page.

-
In the New MAF Page dialog, accept the default name but select only the header and primary Page facets and click Finish.
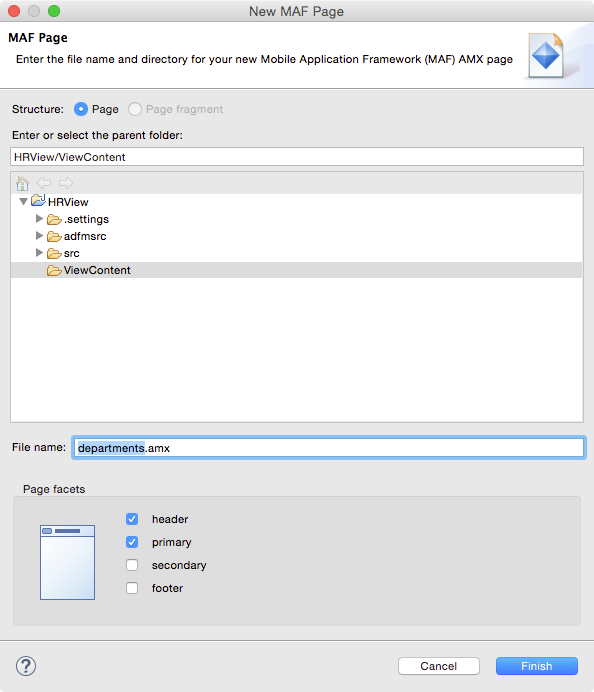
-
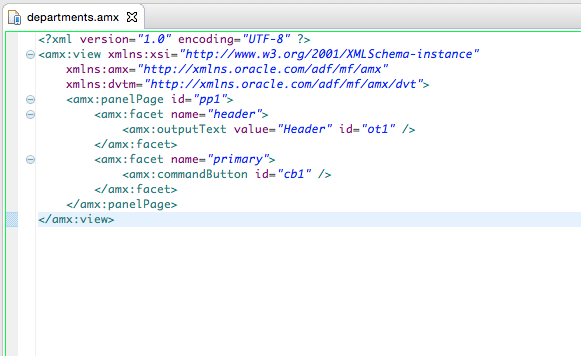
Save your work.
You now have a Task Flow with a single AMX page. In the next section you add layout and data components.
In this section, you add a few layout components to control how the page looks and behaves, then some data control components.
-
You should have the departments.amx page open in the editor. For now, you can close all the other open tabs.
-
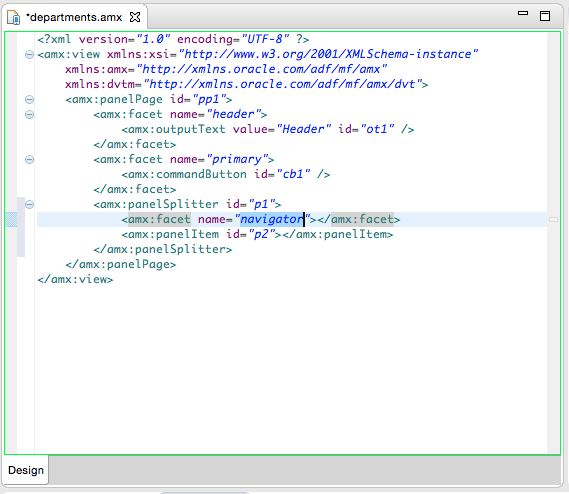
In the Component Palette, expand MAF AMX and find Panel Splitter. Drag the Panel Splitter to just after the closing amx:facet tag (</amx:facet>).

-
Click Finish on the New Panel Splitter dialog.
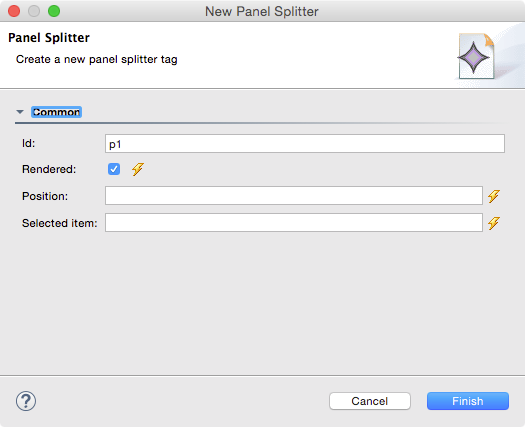
The Panel Splitter includes a navigator facet which is what we will use to show data.
-
Save your work
-
Click the Data tab on the Components Palette. Notice that you see all three REST APIs you created earlier.
-
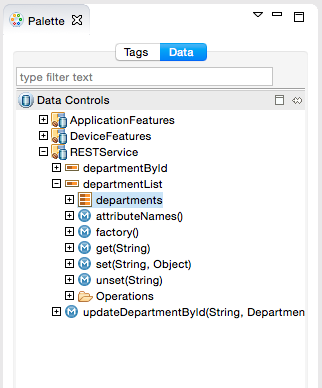
Expand departmentList.
-
Drag the departments collection to the navigator facet and drop it as a List View.
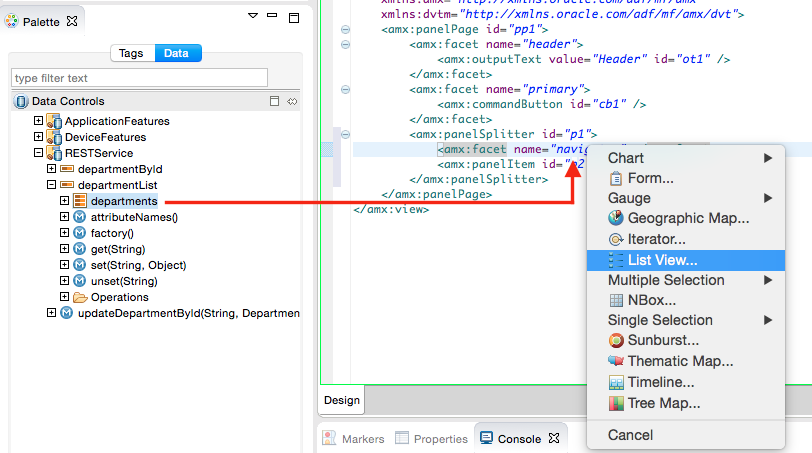
-
In the Bind 'listView' dialog, select Main - Sub Text as the Format and the second Variation and click Next.
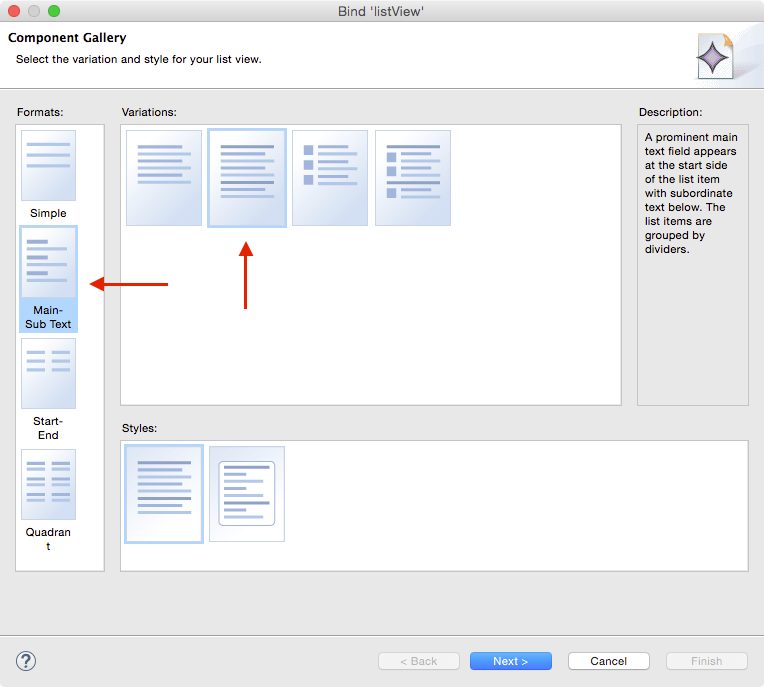
-
In the List View Configuration, set the Main text to departmentName (use the dropdown) and the Subordinate text to departmentId.
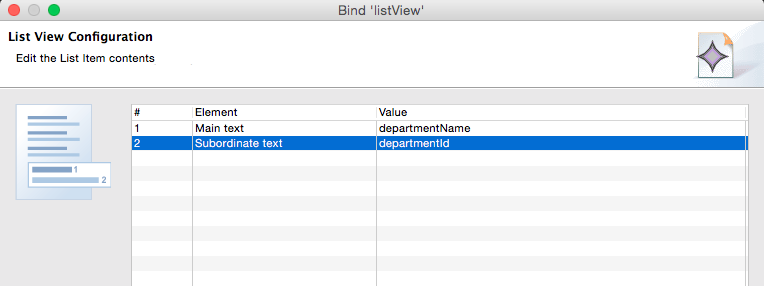
-
Set the Divider attribute to departmentName, the Divider mode to First letter and click Finish.
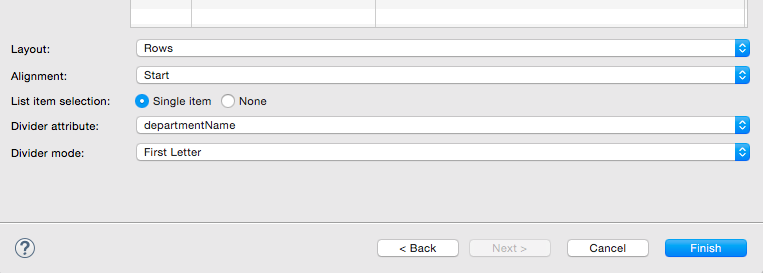
-
Save your work.
You now have a MAF application that shows a list of departments in a List View. In the next few steps, you create a MAF Debug Configuration so you can deploy the application to a simulator.
-
On the menu bar, click the Debug icon dropdown and select Debug Configurations.
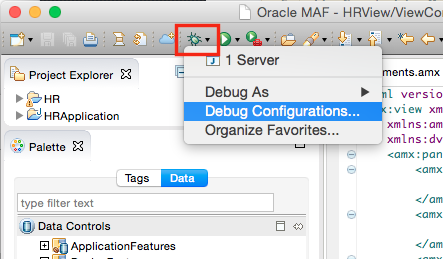
-
Click MAF Application and then click then the New Launch Configuration icon.
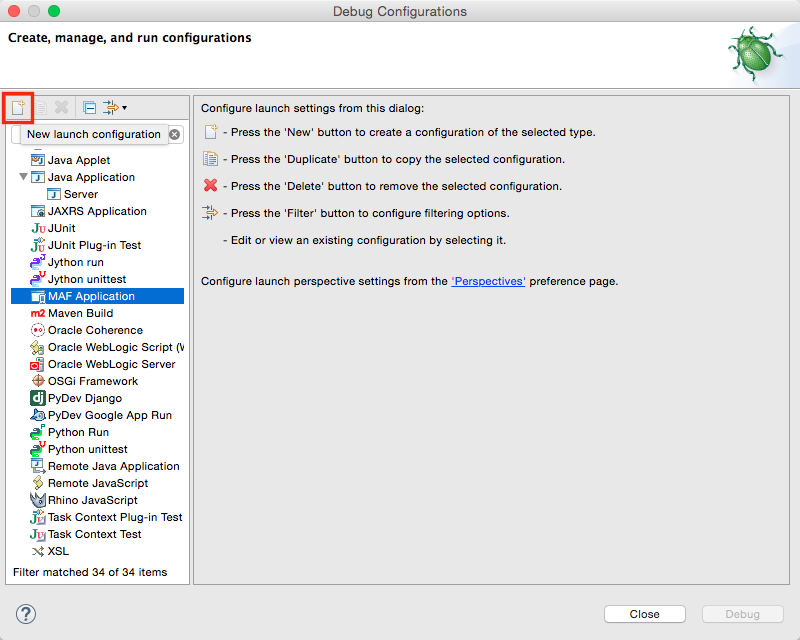
If you have not previously deployed to a simulator, you will need to setup a Deployment Target.
-
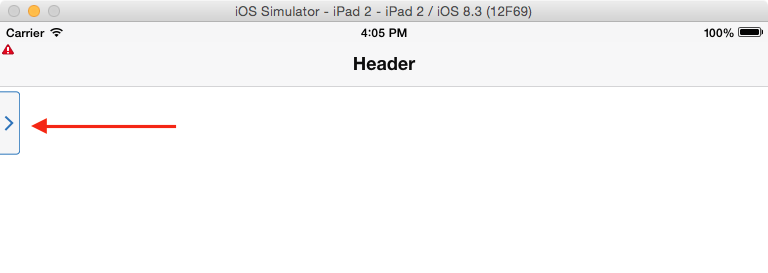
Set the iOS Simulator Name to iPad 2 (iOS 8.3) and click Debug.

-
When the simulator opens, click the expand icon to see the data.
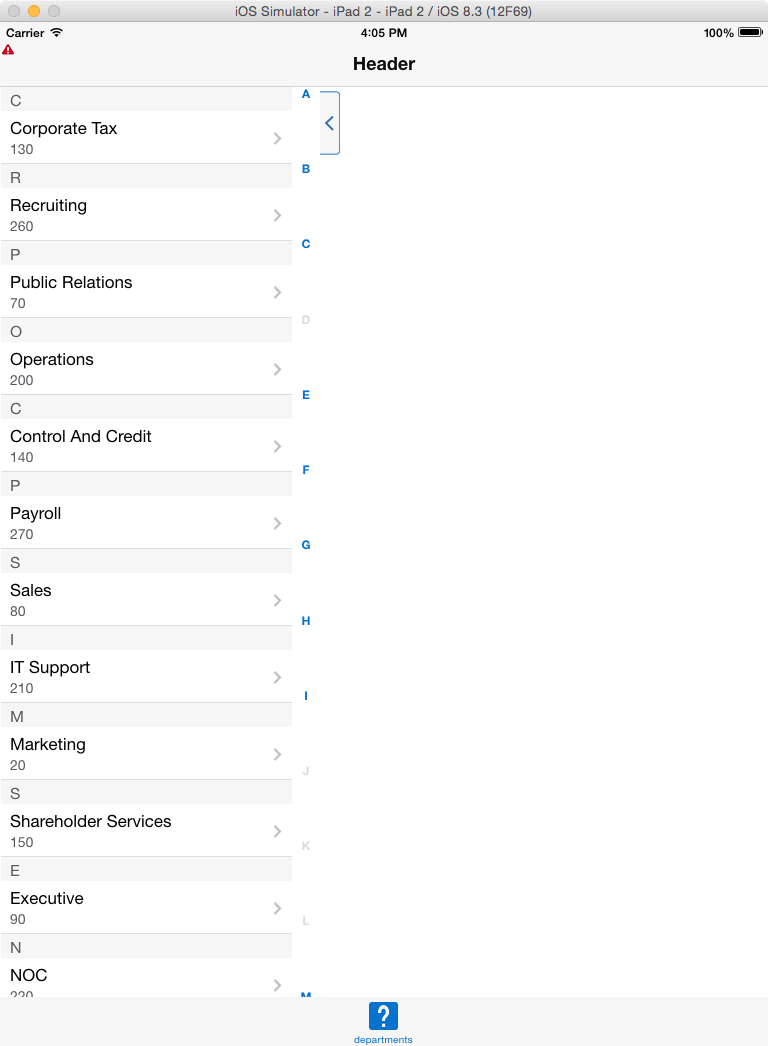
In the List View you can click on any department to select the row. It won't change anything yet, but that is the behavior we want. In the next few steps, you add a detail form that will be coordinated with the selected List View item.
-
On the Data tab, find the same Data Control you used for the List View.
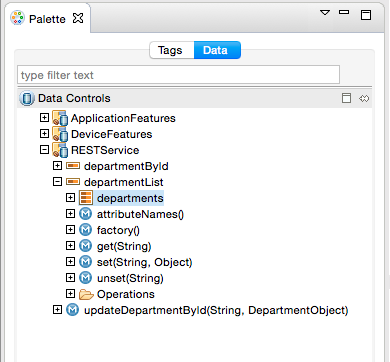
-
Expand the outline panel to see the Panel Item within the Panel Splitter (amx:panelItem).
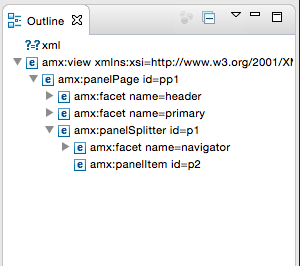
-
Drag the departments collection and drop it on the Panel Item as a Form.
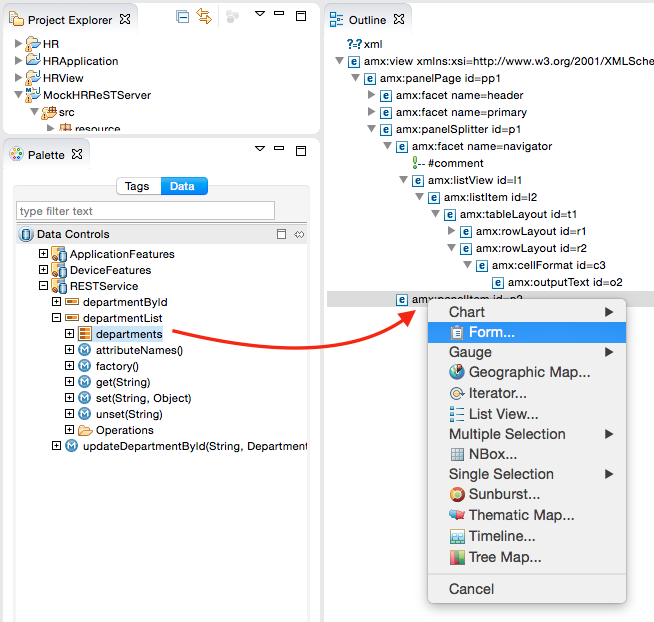
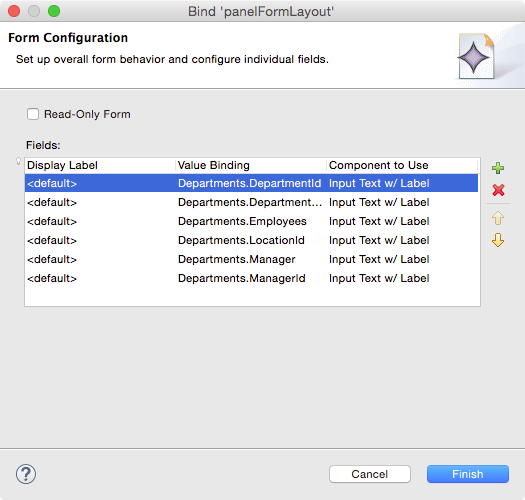
-
Click Finish to accept all the default values for the form.
-
Save your work.
-
Now let's run the MAF application again. Beacuse you have already run the application once, you can just click the Debug icon.
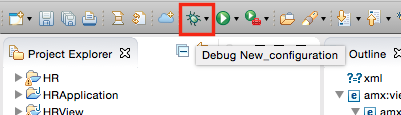
-
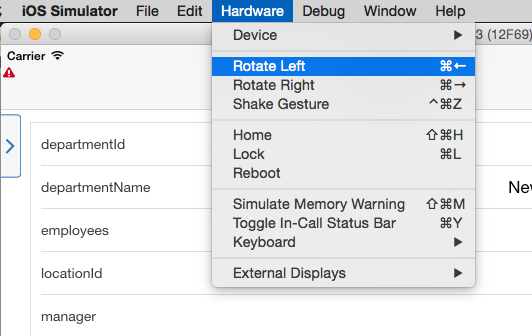
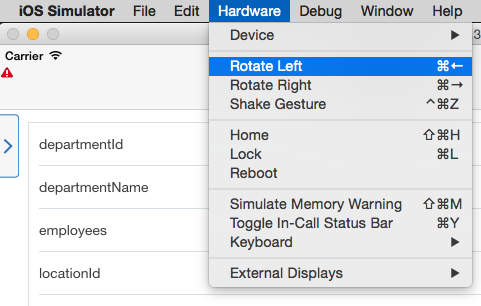
If you are using an iOS Simulator, use the Hardware menu option to Rotate the window to the left (landscape mode).
-
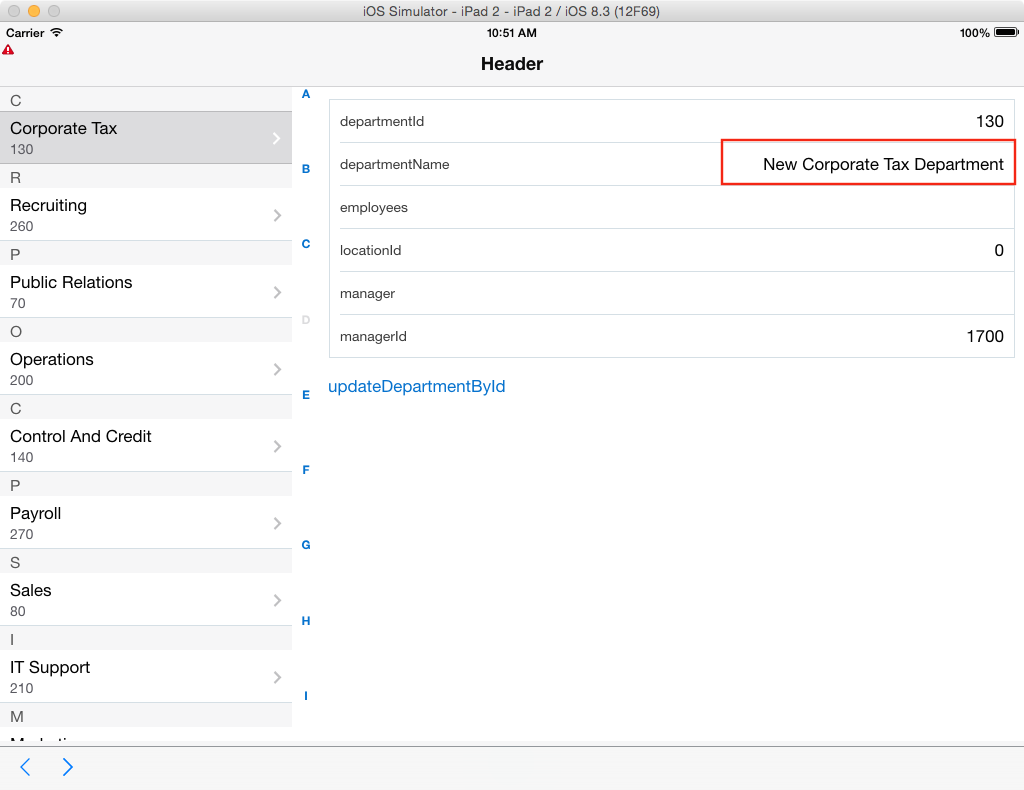
Click on any Department in the List View and notice that the Department displayed in the form reflects the selected Department.

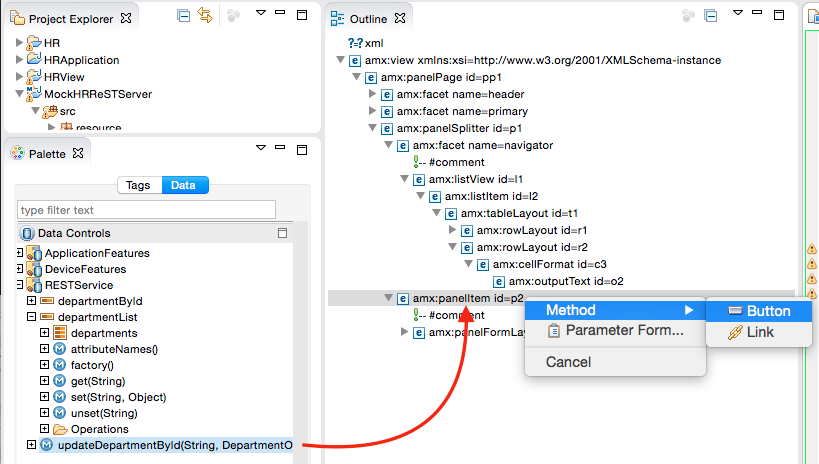
So now the last step. We want to make this form updateable. Since we created the UpdateDepartmentById method and have a form, it will be a pretty easy process.
-
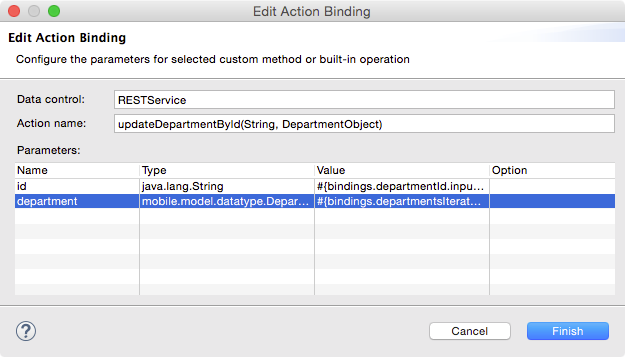
Drag updateDepartmentsById to the Panel Item and drop it as a Method > Button.
-
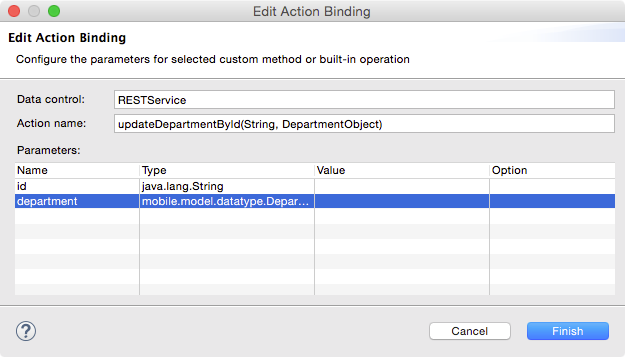
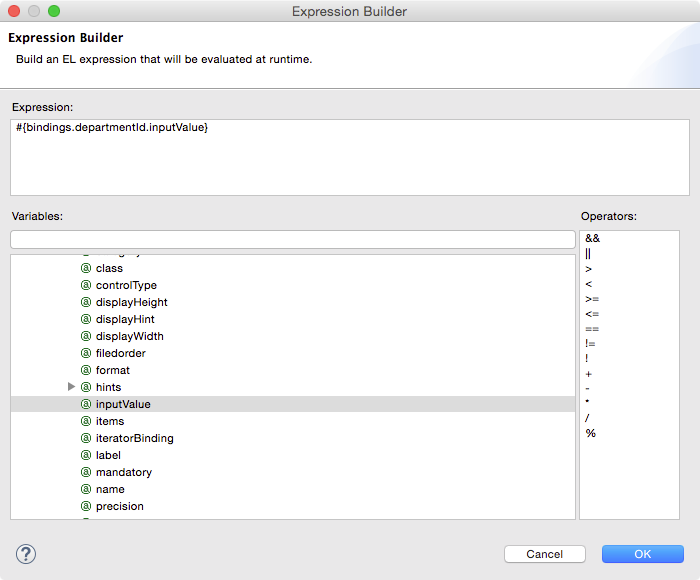
As you may recall, the update method requires two arguments; the Id and the department object. Use the Expression Editor to set the Value of the id to Bindings.deparmtentId.inputValue.
-
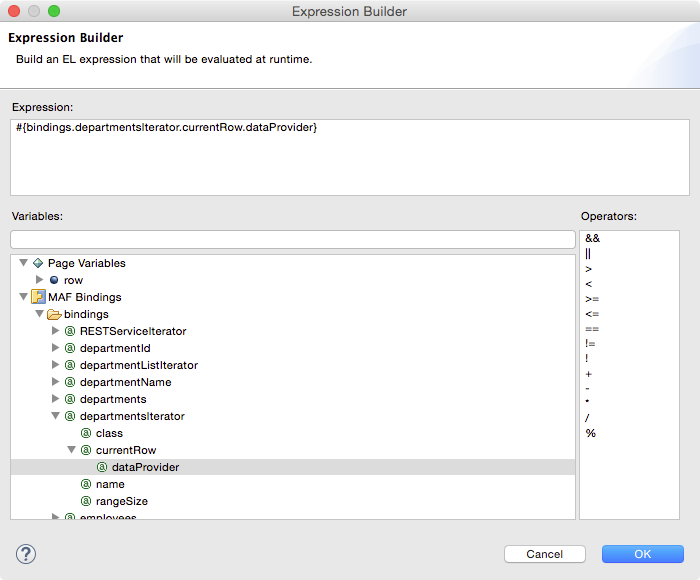
The department argument requires a deplartment object. Using the Expression Editor, set the Value to bindings.departmentsIterator.currentRow.dataProvider.
Now that you have the update button, you are ready to run and test the application.
-
Save you work.
-
Just as before, click the Debug icon to run the application.

-
Use the Hardware menu to rotate the device to the left.
-
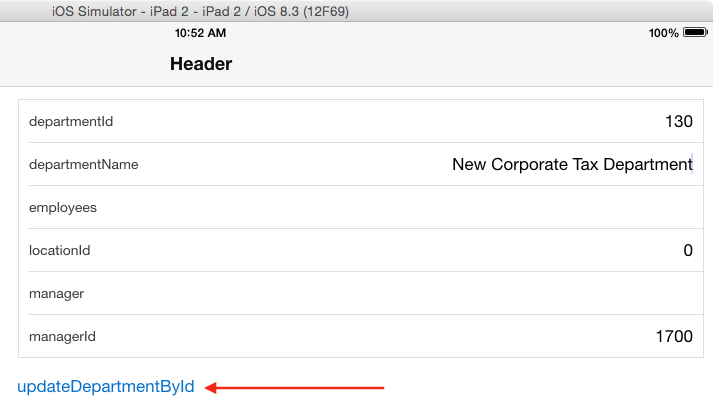
Double-click the value of the departmentName and change the value to anything you like.
-
Click updateDepartmentById to call the update method.
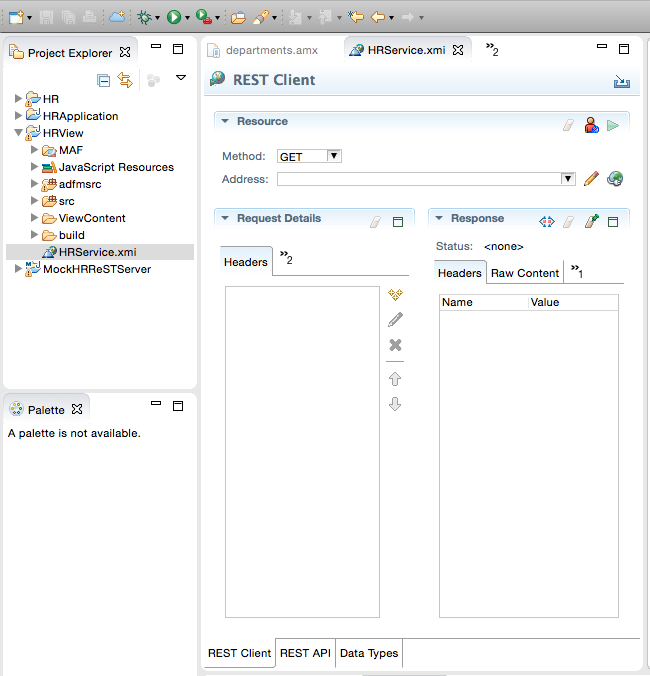
There is no real feedback to the update form so we'll use the Rest Client tester in OEPE to verify that the update worked.
-
If it is not still open, open HRService Rest Editor.
-
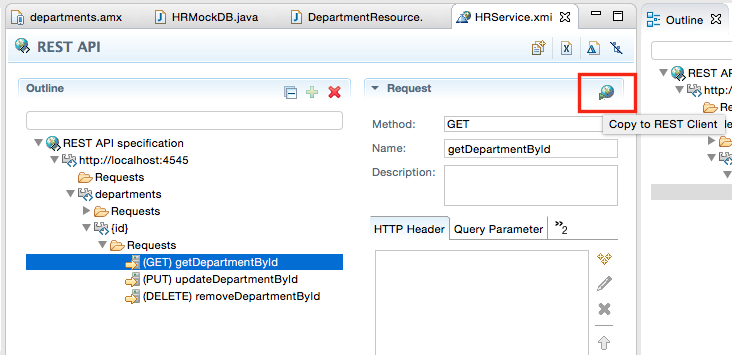
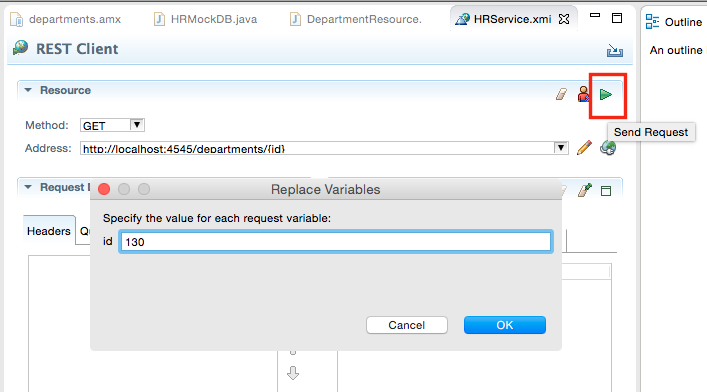
On the REST API tab, select getDepartmentById and click the Copy to Rest Client icon.
-
Click Send Request and enter the department Id of the department you updated.
-
Click Rendered Content in the Response pane to see that the changes were persisted.
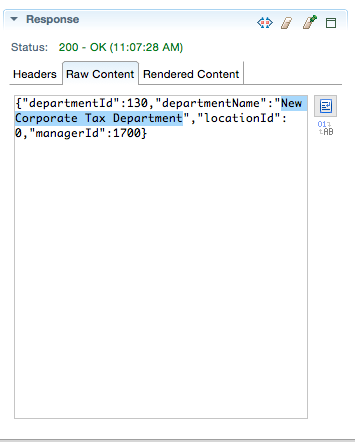
That shows that the changes you made in your MAF application were persisted by the REST Service.
In this part tutorial, you have used the REST Service Editor to test and create APIs to REST Services. You then created data controls based on those REST APIs and a MAF application that used those data controls. You saw your application use the get methods to retrieve data from the REST service. You also used an update method to change and persist data.

 Expand all | Hide all