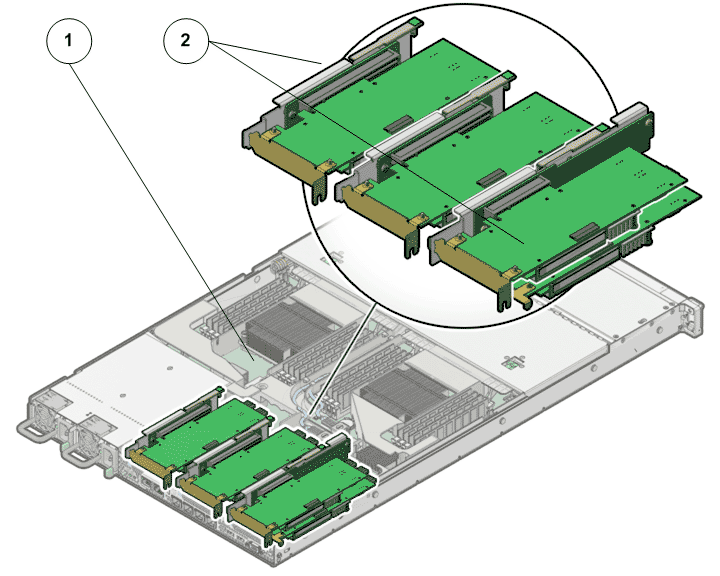
Riser board assemblies include printed circuit boards and PCIe slots in which HBAs can be inserted based on system type and configuration. A failed riser board assembly can cause read and write errors because the HBAs will not be able to function properly. Replace a failed riser board as soon as possible.
- Prerequisites:
Before handling a component, touch a grounded surface to discharge any static electricity.
Attach an electrostatic discharge (ESD) wrist strap to your wrist, and stand on an ESD mat while replacing components.
Ensure that you have a Phillips Number 2 screwdriver with at least a 4-inch shaft.
Fail over the Pilot before replacing the component using Guided Maintenance.
Note: The Pilot must be failed over to prevent data loss or data corruption during the component replacement process.

- Legend
1 Pilot motherboard 2 Risers