4 Phase Four - Run Special Application Jobs
This chapter contains these topics:
-
Section 4.1, "Sign On as the User ID you entered during the OUI process,"
-
Section 4.8, "Only if You Use a Comma for the Decimal Character."
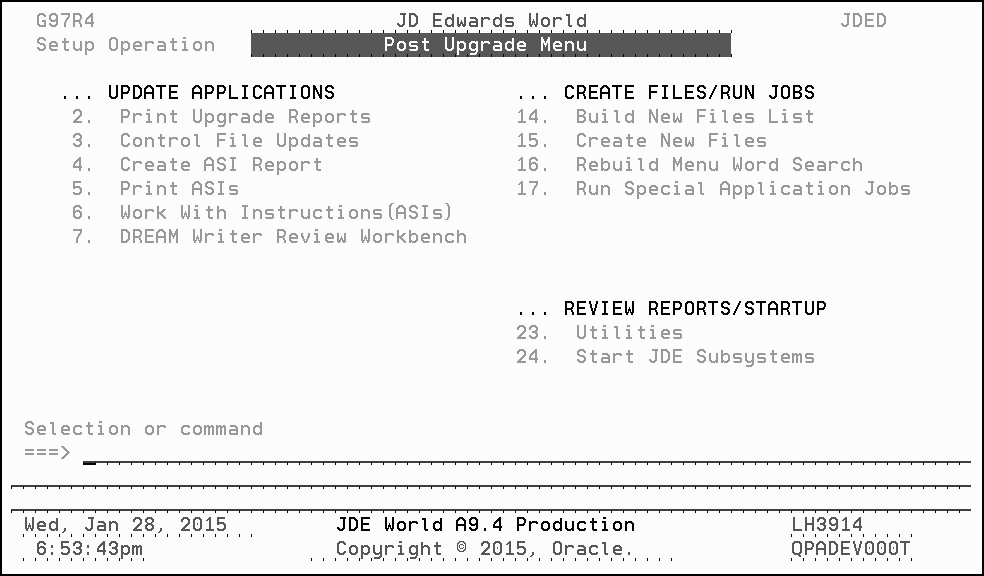
4.3 Rebuild Menu Word Search
From the Post Upgrade Menu (G97R4), select Rebuild Menu Word Search.
The job submits to batch.
4.4 Run Special Application Jobs
|
Note: You must select jobs in the order in which they appear for a product group. Be sure to read the menu message that appears after you select a job. |
MULTI-PLANS: You must run the appropriate special application jobs against each data library defined in your plans.
-
From the Post Upgrade Menu (G97R4), select Run Special Application Jobs.
The A9.4 Special Jobs Menu appears.
Figure 4-2 A9.4 Special Application Jobs screen
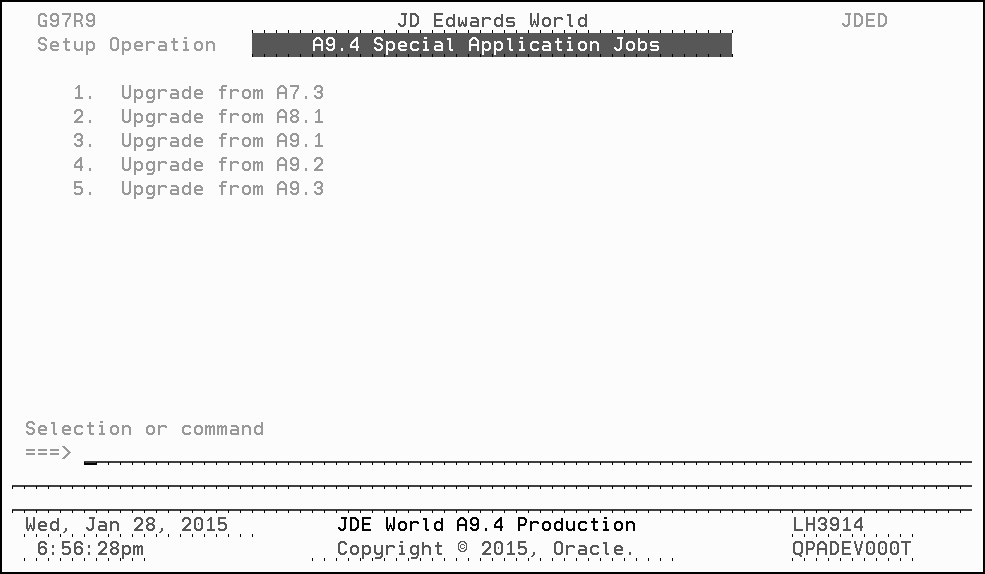
Description of "Figure 4-2 A9.4 Special Application Jobs screen"
Each of the selections that appear on this menu access an A9.4 Special Application Jobs menu specific to the release level you are upgrading from.
-
From this menu, select the release you are upgrading from.
The appropriate A9.4 Special Application Jobs menu appears, as shown in the example below.
Figure 4-3 A9.4 Special Application Jobs menu
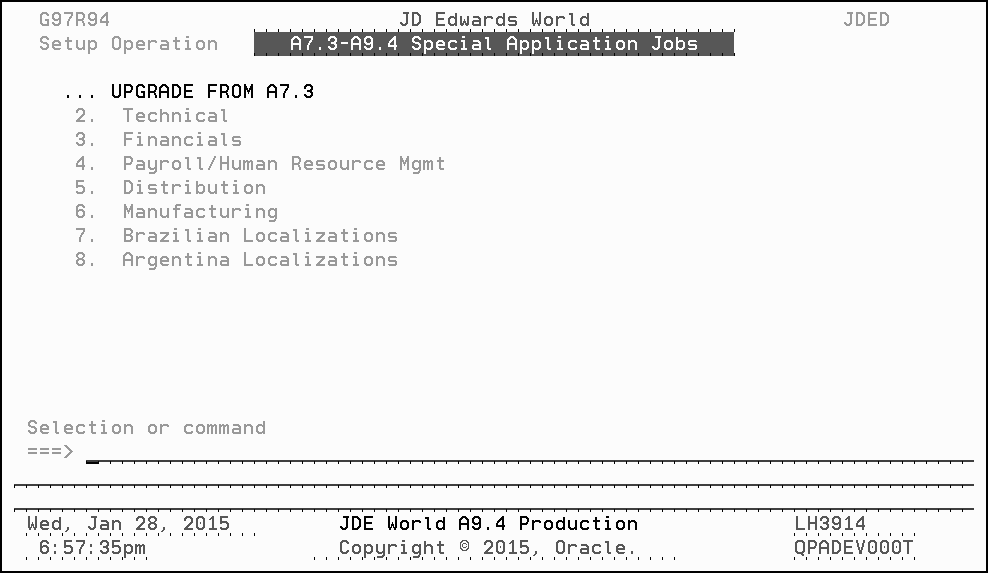
Description of "Figure 4-3 A9.4 Special Application Jobs menu"
-
Required jobs are listed by product group. To display the jobs for a particular product group, select the appropriate product group from the Special Application Jobs menu.
-
Run the jobs for each product group you are using.
Note:
If you are running any special application jobs to build logical files that did not built during create new files because of duplicate records, you must first delete the logical file from your environment if it exists as it would have been created with no members during the create new files process. -
Notes for Special Jobs:
-
For menu G97U64, option 18 MUST be executed before option 3. See Document ID 1585393.1 for more information.
-
For A73, G97U34 option 13 can be ignored if you ran the options on menu G97U141. For A81, G97U32 option 7 can be ignored if you ran the options on menu G97U121.
-
Option 3 on menus G97U74 and G97U72 require the A7.3 or A8.1DREAM Writer files.
-
-
WARNING:
If you are upgrading from A8.1, A9.1, or A9.2, and you will use A9.4 Financials or Purchase Cards, you must ensure that the J0911QD2 job is run and completed normally before entering any data.
The job is on menus G97U12 (option 21), G97U16 (option 18), or G97U15 (option 8). Use the menu that corresponds to the upgrade you are performing. This job will left justify any of the 8 character Enhanced Subledgers for Enhanced Subledger Types A, E, O, W, L, I, or J that were entered in the G/L file (F0911) for release A8.1, A9.1 or A9.2 OR to the Purchase Card Transaction file (F01P111) for release A9.1 or A9.2.
If you have any questions, please contact the Oracle Support Services World Financials group.