| Oracle® Retail Xstore Point of Service Manager's Guide Release 18.0 F12255-02 |
|

 Previous |
 Next |
| Oracle® Retail Xstore Point of Service Manager's Guide Release 18.0 F12255-02 |
|
Previous |
Next |
Store Close
The store is closed to lock out certain business transaction functionality. The store close process clears daily data, accepts downloads from the home office, and prepares your store to open for a new business day. The store close is divided into multiple, individual processes. Oracle Retail Xstore Point of Service guides you through each step in the process.
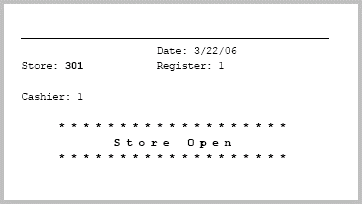
Store Open
The store open process opens the store for the new business day. The store is opened to allow business transactions in the system. The store open process begins when an associate signs on for the first time after a store close is finished. Oracle Retail Xstore Point of Service guides you through each step in the process.
This chapter covers the following topics:
Prerequisites: To begin the store close, all of the tills and registers must be closed for the business date and all associates should be signed off, except for the closing associate and the till open for that register. The store bank must be counted and reconciled.
The store close function is highly configurable and your process may be different from the instructions below. Every effort has been made to include notes or examples of additional steps that may be configured for your store.
|
Note: If your store has a lead register where the database is hosted, the lead register must be the last register closed. If you attempt to close the lead register before all other registers are closed, the system prompts you to close the other registers before closing the lead register. |
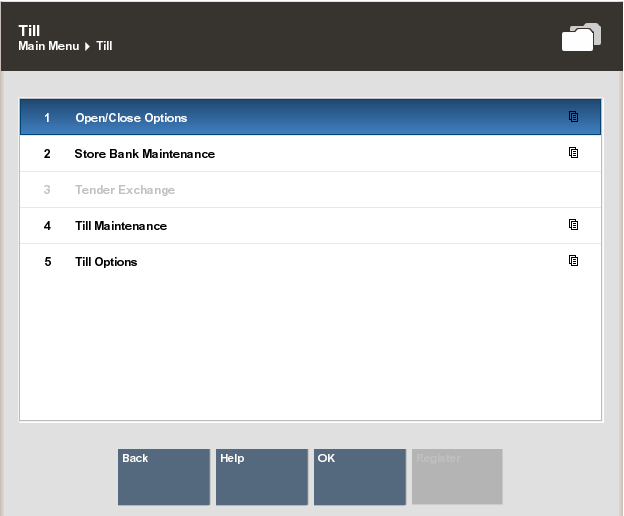
After logging into the Back Office, (see Accessing the Back Office), select the Open/Close Options menu option and press Enter.
|
Note: Store Open and Store Close activities are controlled by user security. An employee must have the proper security privileges to open and close the store. |
|
Note: You can also press the number associated with the menu option on the keyboard to access the open and close functions. |
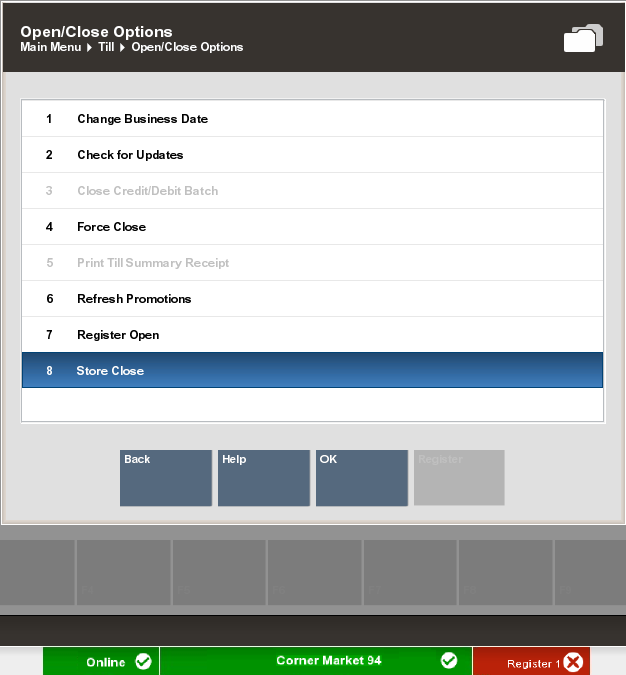
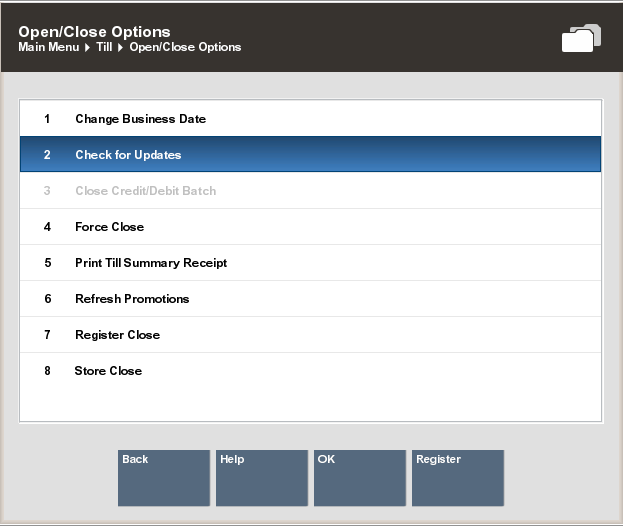
At the Open/Close Options Menu, select the Store Close option and select OK.
|
Note: The Register Close and Store Close menu options toggle between open and close. In Figure 9-2 above, note that the register menu option is Register Open. This indicates that all registers are closed and you can begin closing the store. The Store Close option tells you that the store is currently open. |
The system prompts: Do you want to close this store? Select Yes to begin the store close process.
Oracle Retail Xstore Point of Service verifies that all registers are closed. If any registers are still open, the system displays a list of open registers and prompts you to close each register before the store close process can continue.
Refer to chapter Register Open and Close, for more information about closing the register.
Oracle Retail Xstore Point of Service searches for and lists any transactions created on the current business date that were suspended and not subsequently resumed and completed or cancelled. If any suspended transactions are found, the system displays a list showing the suspended transactions.
You have the following options:
Press Enter (Continue) to automatically cancel all listed transactions and continue with the store close process (step 6. below).
<OR>
Press Esc (Back) to cancel the store close process and reconcile the suspended transactions per your store policy.
In addition, the system may also list any pending orders that require attention. The associate performing the store close can either cancel the store close process, or allow Oracle Retail Xstore Point of Service to continue with the store close. The pending orders retain the same status and are not changed in any way by this notification prompt.
If prompted, select the bank or institution for the bank deposit and press Enter.
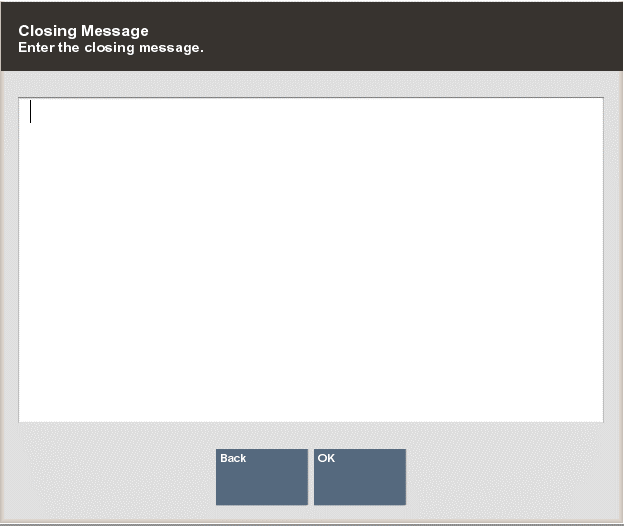
Depending upon the configuration of your system, you may be prompted to enter a message that displays when the store is opened for the next business day. If prompted, type a message and press Enter.
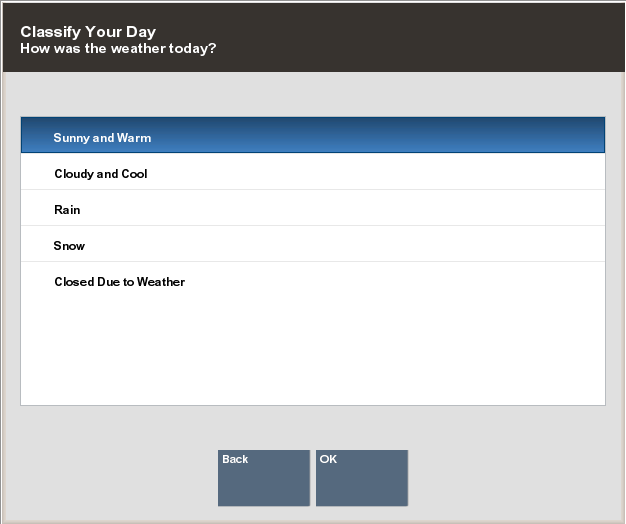
Depending upon your system's configuration, you may be prompted to respond to a store closing question. If prompted, select an answer to the question and press Enter.
Depending upon your system's configuration, you may be prompted with other messages concerning the status of various functions within the store. For example, you may be notified that a cycle count for inventory is due or that items are ready to be received.
Acknowledge these messages by pressing Enter to continue with the store close process.
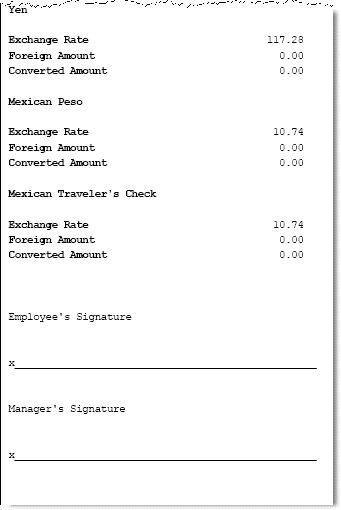
If configured, you may be prompted to count the amount to be deposited in the store bank (safe) at the Store Bank Deposit Count screen. If prompted, count the tenders for deposit and select the Done Counting option when you are finished. Follow instructions for a Till Audit.
If there is a difference between your count and the amount that the system expected, a message displays. You may return to the Count Summary screen and make changes, or accept the difference.
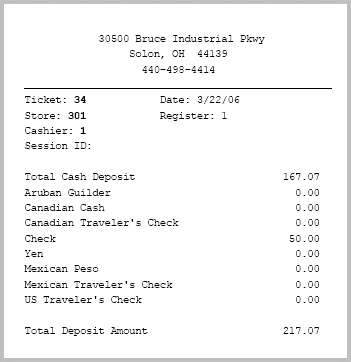
When the counting is complete, a Confirm Bank Deposit prompt displays. Select yes, the system prints deposit receipts for your records.
If prompted, press Enter to begin the nightly close process. Some events that occur during a nightly close are configurable. For example, certain reports may be generated at every closing.
From this point on, no user intervention is required and the store closing process begins. The Message indicator on the status bar may display information about the process as it is occurring.
|
Note: Depending upon your store policy, you may have access to some Back Office functions while the store is closed. |
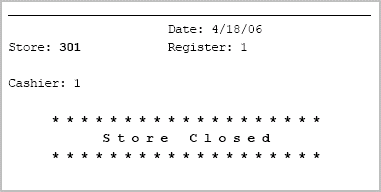
The system prints receipts as required by your system configuration and store policy.
The closed store status is indicated by the color change in the store status area of the screen.
The store open process is performed on only one register. The store open procedure signals that the store is open to all registers. Once the store is open, sales cannot be rung until the register is opened and a till is counted for the register.
During the store open process, the system may also list any pending orders that require attention. Once the store is open, the associate can take any action as needed on the orders.
At the Back Office Login screen, log in with your user name and password.
|
Note: Touch-screen users tap the store status bar to open the store. The focus bar prompts for your employee ID and password. Enter the information when prompted. Proceed to step 4.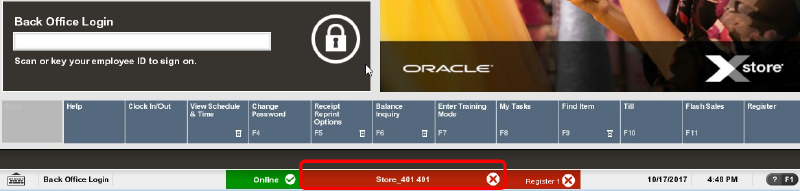 |
The Back Office Main Menu displays. Select the Open/Close Options menu option and press Enter.
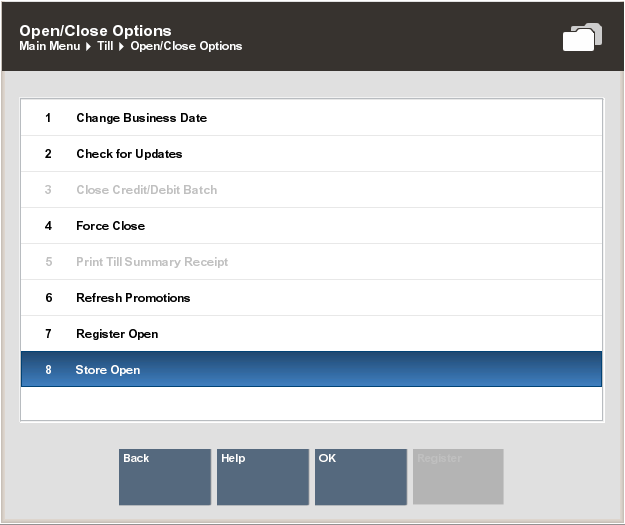
At the Open/Close Options menu, select the Store Open option and select OK.
|
Tip: The Register Open and Store Open menu options toggle between open and close. The Store Open menu option indicates that this store is currently closed. The Register Open menu option indicates that this register is also closed. |
The system prompts: Do you want to open this store? Select Yes to continue with the store open process.
If prompted to confirm the business date, verify the default date shown is correct (today's date) and press Enter.
|
Note: If this date is incorrect, enter the new business date at the prompt. Oracle Retail Xstore Point of Service prompts you to confirm the date you entered.This function is controlled by security. |
Oracle Retail Xstore Point of Service displays a prompt showing the date the store has been opened for. Press Enter for Ok to continue the store open process.
Depending upon the configuration of your system, you may be prompted with other messages concerning the status of various functions within the store. If prompted, acknowledge these messages to continue with the store open process.
For example, you may be notified that a cycle count for inventory is due or that items are ready to be received.
A message that was entered during the store close may be displayed. If displayed, press Enter to acknowledge this message and continue with the store open process.
If prompted, enter the starting cash amount for the store bank. Refer to Safe Bags for more information about opening the store bank.
The system may print a store open receipt for your records.
|
Note: Note that the store status indicator has changed to green indicating the store is now open. However, the Register status indicator is red with a cross mark indicating that this register is still closed. has changed to green indicating the store is now open. However, the Register status indicator is red with a cross mark indicating that this register is still closed. |
The system prompts: Do you want to open this register? Select Yes to open the register. Refer to Register Open and Close for more information about opening the register.
The store and register are opened for the new business day.
|
Note: If you select No at the Open Register prompt, the system returns to the Open/Close Options menu.Once the store is open, sales cannot be rung until the register is opened and a till is counted for the register. |
|
Note: This process is controlled by user security and is only available for authorized users. |
The Check for Updates process allows Oracle Retail Xstore Point of Service to request the download manifest on demand. This option provides the ability to bypass the scheduler normally run during the store close, and to initiate the download manifest when called.
Select the Back Office option and log in with your user name and password.
The Back Office Main Menu displays. Select the Check for Updates menu option and press Enter.
The system prompts: Xstore has requested updates. Press Enter to confirm.
|
Note: Some system updates may not take immediate effect in Oracle Retail Xstore Point of Service. |
Typically a promotion is updated with new information during a register restart. Use this process to update new promotions that are cached without having to restart that register, such as in the middle of the day.
|
Note: Applies to registers only and you would need to perform this action on each register to update it's cache for promotions. |
To refresh the promotion cache for a register:
In the Back Office menu, select Open/Close Options.
Select Refresh Promotions.
Oracle Retail Xstore Point of Service displays a confirmation prompt: Are you sure you want to refresh promotions? This may take several minutes.
Press Y to continue. A progress bar is displayed until the update is complete.
|
Note: Pressing N at the Refresh Promotions confirmation prompt cancels the refresh process and returns you to the Open/Close Options menu. |
When the update is complete, a prompt is displayed: "Promotions have been refreshed as of (time and day)." Select OK to exit.