| Oracle® Retail Xstore Point of Service User Guide Release 18.0 F12254-01 |
|

 Previous |
 Next |
Returns allow you to create transactions for returned merchandise and to associate the reason the item was returned with the transaction. Xstore Point of Service allows you to create return transactions both with and without the original receipt.
Depending on your store policy, you may not be able to return merchandise purchased in another country. If your store restricts cross-border returns, a message displays indicating that cross-borders returns cannot be processed.
If a Tax Free Invoice (TFI) was issued from one or more transactions from which one or more items were returned:
|
Note: For more information on Tax Free Invoices, including the procedure for issuing them, see Tax Free Invoices. |
The item(s) must be returned to the store where the purchase was made.Items from multiple TFIs cannot be returned in the same transaction. Only one return transaction is permitted for each TFI.The old TFI is voided automatically and a new TFI is issued at the end of the return transaction.If the TFI cannot be voided, the return cannot be performed.If there are remaining items on sales transactions from the original TFI, and if any of these sales transactions are now too old to be placed on a TFI, then Xstore Point of Service warns the user that the old TFI will be voided, but that it will not be possible to issue a new TFI for the remaining items. The user can cancel the return or proceed with the process.If there are new items on the current transaction and remaining items on sales transactions from the original TFI, and they breach the receipt consolidation rules, Xstore Point of Service prompts the user that the old TFI will be voided, but that it will not be possible to issue a new TFI including its items. The user can cancel the return or proceed with the process.If there are no time limitations, Xstore Point of Service prompts the user that the old TFI will be voided and that, at the end of the transaction, they will have a chance to issue a new TFI, with items from the current transaction and from the original TFI. The user will have a choice to proceed or cancel the return.At the end of the transaction, when the tendering function selected, if a TFI item was returned and either remaining items and/or new items are eligible for TFI, then the user is given the option to have a new TFI issued.After tender completion, if a TFI item was returned, before saving the transaction Xstore Point of Service tries to void the original TFI. It the TFI cannot be voided because of an error, the cashier is returned to the tendering screen and can either complete tendering and retry, or cancel tenders and the transaction.If the user requests a new TFI, a new TFI is created that includes the items from the current transaction and any remaining items from the original TFI. Minimum amount limitations are still enforced.
If the customer has the original receipt or credit card, the system verifies that the receipt that accompanies the return, or the original credit card used in the sale, is found either on the local system or the home office system. When the original transaction is found, the system displays the original sale information in the View Port. A return using the customer's original sale receipt or credit card to locate the transaction information stored in the database is a verified return.
You can start a return by doing one of the following:
To start a verified return:
Scan the barcode on the customer's original receipt at the Register Sale screen.
If you are prompted to enter customer information:
Enter customer search information.
Click Process.
Xstore Point of Service displays a list of customer matching the search criteria.
Select the customer from the list.
Click OK.
Continue with Return Items.
To start a verified return:
Click Return Item in the Register Sale menu.
If you are prompted for customer information, enter the customer information.
Select Process.
Xstore Point of Service displays a list of customer matching the search criteria.
Select the customer from the list.
Click OK.
Xstore Point of Service displays a prompt asking whether the customer has the original receipt, original credit card, gift receipt, or serial number for the item.
Click Yes.
The system prompts for information about the original sale transaction.
Do one of the following:
Enter the credit card or debit card used in the transaction (enter the card in the chip reader, or swipe the card).
Xstore Point of Service prompts for an item ID. Continue with Step 8.
Enter the receipt barcode information and click Process.
Continue with Return Items.
Scan the receipt barcode.
Continue with Return Items.
Scan the item or enter the item ID.
If prompted to select a transaction:
Click the correct transaction or use the up and down arrows to highlight the correct transaction.
Click OK.
Continue with Return Items.
To start a verified return:
Click Return Item in the Register Sale menu.
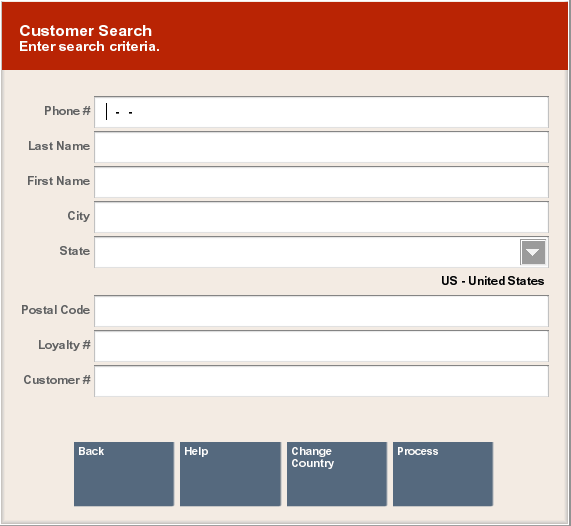
If you are prompted for customer information, enter the customer information. See Figure 3-1.
Click Process.
Xstore Point of Service displays a list of customer matching the search criteria.
Select the customer from the list.
Click OK.
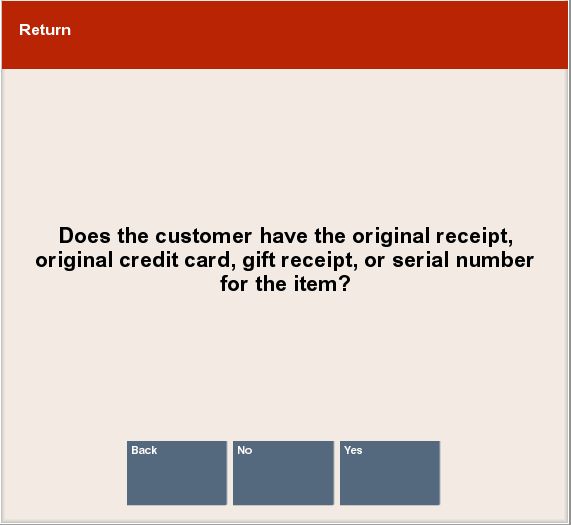
Xstore Point of Service displays a prompt asking whether the customer has the original receipt, original credit card, gift receipt, or serial number for the item. See Figure 3-2.
Click Yes.
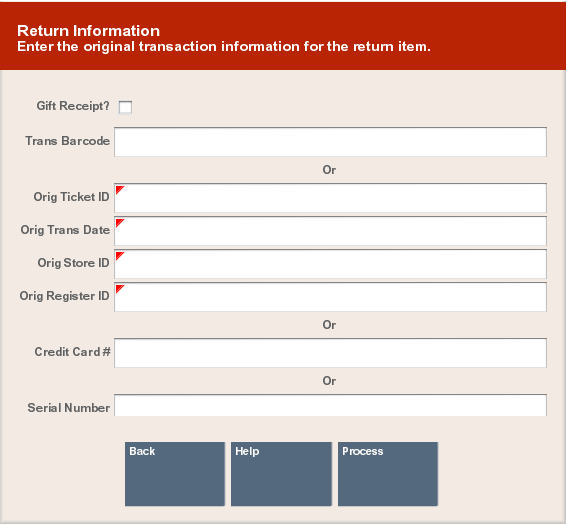
The system prompts for information about the original sale transaction. See Figure 3-3.
Enter search information for the transaction and click Process.
This prompt has the following criteria:
Orig Ticket ID - ID of the original transaction.
Orig Trans Date (MM/DD/YYYY) - Date of the original transaction.
Orig Store ID - ID of the store where the original transaction was performed.
Orig Register ID - ID of the register where the original transaction was performed.
Click Process.
If customers can return items from online purchases at a store (cross-channel returns), do the following to perform a cross-channel return:
Enter the ID from the shipping document in the Web Order ID field.
Click Process.
|
Note: Freight, handling, or other delivery changes are not returnable. |
If the transaction is not found, a prompt opens:
Click Yes to continue with an unverified return. See Blind & Unverified Returns.
Click No to re-enter transaction information. See Start the Return.
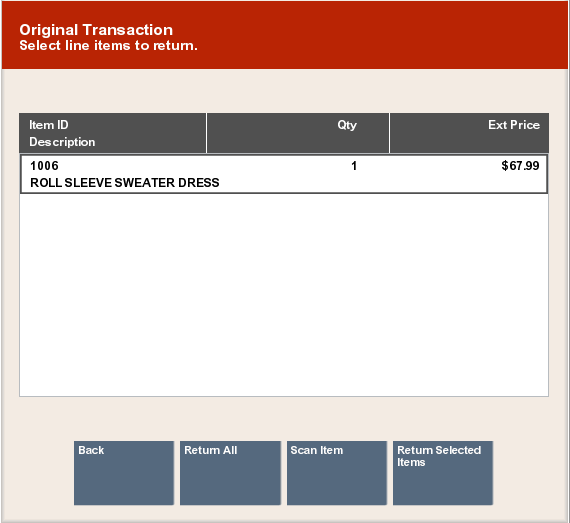
After attaching a transaction to the return transaction, enter items:
|
Note: Click Return All to return all items in the original transaction. |
Select the items to return:
Click items to select them.
Use the up and down arrows to highlight items, then press the Spacebar to select them.
Click Return Selected Item(s).
If you are prompted for the quantity of an item:
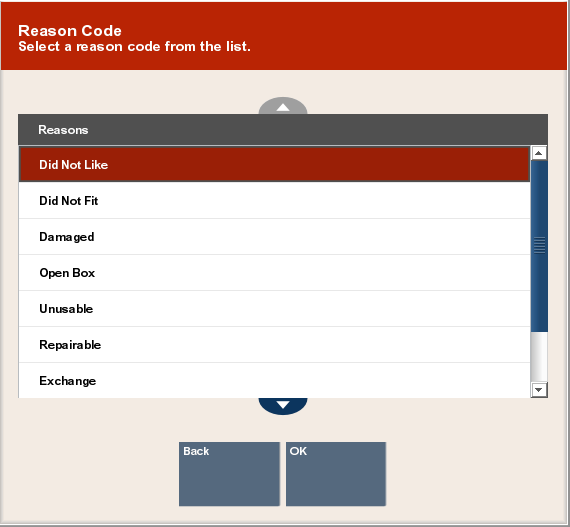
Xstore Point of Service prompts for a reason for the return.
Select the reason for the return:
Click the reason.
Use the up and down arrows to select the reason, then press the Spacebar.
Click OK.
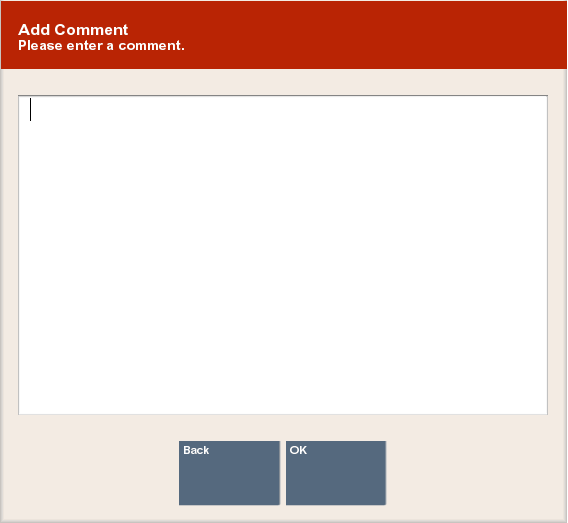
If you are prompted for comments:
Enter additional information about the return.
Click OK.
If the item is part of a kit, indicate whether all kit items are available:
Click No if all items in the kit are not available. The return item is removed from the transaction. If no other items are included, return to Step 1.
Click Yes if all items in the kit are available. The return continues.
If an acknowledgement prompt opens, read the message and click OK to continue.
Xstore Point of Service returns to the return items screen.
|
Note: The return item quantity has been decremented by the quantity returned for each item that was added to the return. |
Repeat Steps 1 to 4 to return additional items from the transaction.
|
Note: Depending upon your return policy, certain items may be returned at a prorated value from their original purchase price. If so, the amount refunded for these prorated items is determined by the number of days between the original date of purchase and the date of return.For example, some store return policies offer a full refund if the item is returned within 30 days. After 30 days, a reduced refund (declining over time following the purchase date) is calculated automatically. |
Continue the transaction:
Click Add Tenders tender the transaction.
Click Exit Return to return to the sales transaction.
Click New Return to return more items from a different transaction.
If a customer does not have the original receipt, or the receipt cannot be verified, the return item price may be determined from the customer's purchase history. To perform a return through a customer's purchase history, perform the procedure Blind & Unverified Returns and select the transaction in Step 9. The transaction will continue as a verified return.
A blind return is a return without a receipt. An unverified return is a return where the customer has a sale receipt, but it cannot be found in the database. These two return procedures are essentially the same.
If the customer does not have the original receipt for the return item, or the customer's receipt cannot be verified, perform the following procedure to complete the return transaction.
To start a blind or unverified return:
Click Return Item in the sale screen.
If you are prompted to enter customer information, continue with Step 2. See Figure 3-1.
If you are prompted for a receipt, continue with Step 6. See Figure 3-2.
Enter the customer search information:
Phone # - Customer phone number.
Last Name - Customer last name.
First Name - Customer first name.
City - City for customer's address.
State - State in the customer's address.
Postal Code - Postal code or zip code for he customer's address.
Loyalty # - ID number for the customer's loyalty account.
Customer # - Customer ID number.
Click Process.
If necessary, select the customer in the search results:
Click the customer.
Use the up and down arrows to highlight the correct customer, then press Spacebar.
Click OK.
Indicate whether the customer has the original receipt:
Click Yes if the customer has the receipt.
Click No if the customer does not have the receipt.
Enter an item:
Scan the item.
Enter the item ID the press Enter.
If prompted for an item quantity, enter the quantity, then click OK.
If the item is found in the customer's transaction history:
Select a transaction from the list.
Click OK.
Continue with Return Items in Verified Returns.
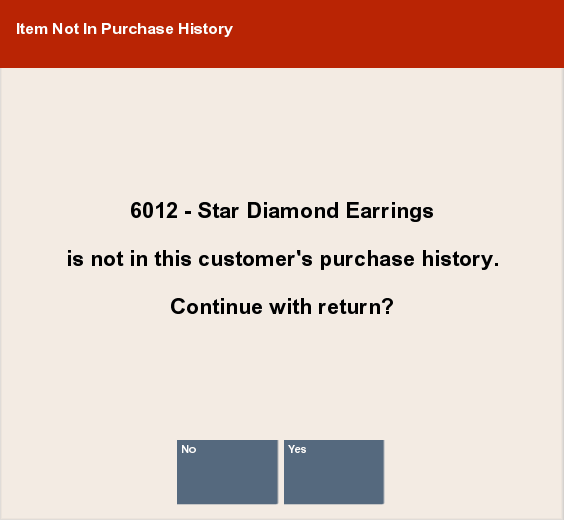
If prompted that the item was not found in the customer's transaction history:
Click Yes to continue the return.
Click No to cancel the return transaction and return to the sale screen.
Select the reason for the return:
Click the reason.
Use the up and down arrows to highlight the reason, then press the Spacebar.
Click OK.
If you are prompted for additional information:
Enter the information.
Click OK.
If you are prompted with a list of previous prices for an item:
Select the item:
Click the reason.
Use the up and down arrows to highlight the reason, then press the Spacebar.
Click OK.
If a notification prompt opens indicating that a restocking fee is applied, click OK to acknowledge the prompt.
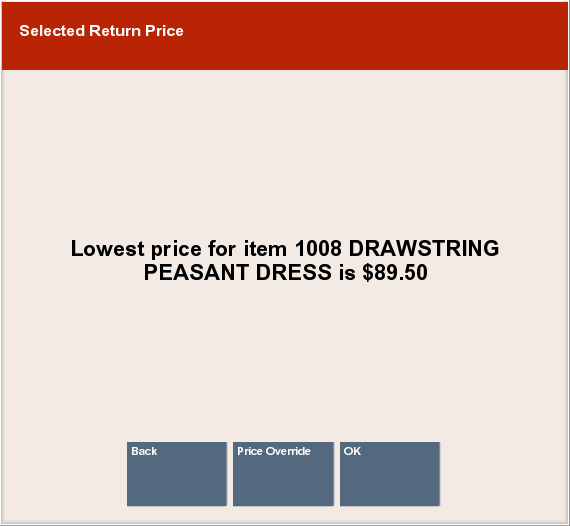
If a notification prompt opens, indicating the lowest price for the item:
Click Price Override to change the price.
Click OK to continue the return with the listed price.
If you are prompted for a serial number:
Enter the serial number.
Click OK.
If the item is part of a kit, indicate whether all kit items are available:
Click No if all items in the kit are not available. The return item is removed from the transaction. If no other items are included, return to Step 7.
Click Yes if all items in the kit are available. The return continues.
Xstore Point of Service returns to the return screen.
Do one of the following:
Click Add Tenders to tender the transaction.
|
Note: If your store has a maximum amount for a blind return, you may be prompted for manager approval, or you may not be permitted to complete the transaction. Ask your manager for assistance. |
Click Exit Return to return to the sale screen to continue selling items.
Click Return Item to perform another return (for example, items that appear on an original receipt).
Click Change Item to modify an item.See Modify a Line Item for more information.
Click Add Discount to reduce the amount due to the customer.
Click Return Non-Merch to return a non-merchandise item. See
Click Item Lookup to find a return item Item ID for a return item. See Item Lookup.
To return non-merchandise items in a blind return:
Click Return Item option in the sale screen.
The system prompts whether the customer has a receipt or serial number for the return item.
Click No.
Click Return Non-Merchandise.
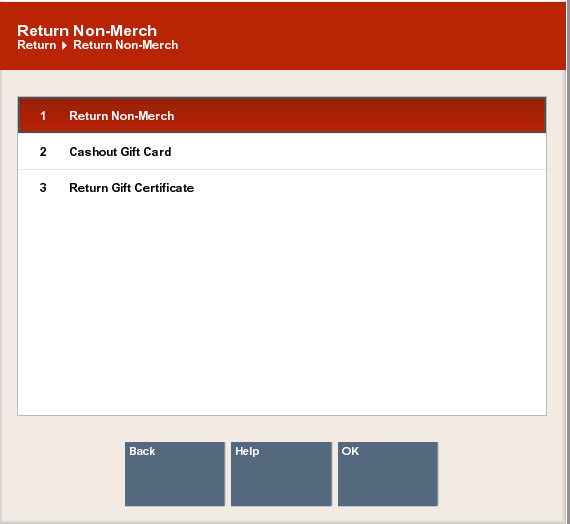
Xstore Point of Service prompts for the category of non-merchandise item.
Select the category of the non-merchandise item:
Click the category.
Use the up and down arrows to highlight the correct category, then press the Spacebar.
Click OK.
If prompted for a security login to return a gift card or gift certificate, enter the security information or request access from a person with the appropriate security permissions.
Enter the information required for the item. This will vary depending upon the configuration of your system and the category of the item returned.
Select the reason for the return:
Click the reason.
Use the up and down arrows to highlight the reason, then press Spacebar.
Click OK.
If you are prompted for additional information:
Enter the information.
Click OK.
Do one of the following:
Click Add Tenders to tender the transaction.
|
Note: If your store has a maximum amount for a blind return, you may be prompted for manager approval, or you may not be permitted to complete the transaction. Ask your manager for assistance. |
Click Exit Return to return to the sale screen to continue selling items.
Click Return Item to perform another return (for example, items that appear on an original receipt).
Click Change Item to modify an item. See Modify a Line Item for more information.
Click Add Discount to reduce the amount due to the customer.
Click Return Non-Merch to return a non-merchandise item. See
Click Item Lookup to find a return item Item ID for a return item. See Item Lookup.
Taxes for return items are determined by the taxes for the store associated with the original transaction.
|
Note: If an original store number is not available (for example, for an unverified return), the return store's tax rate is used. |
To change the taxes on an item, see Change the Tax for an Item for more information about changing taxes.