| Oracle® Retail Xstore Point of Service Reports Guide Release 19.0 F21535-03 |
|

 Previous |
 Next |
This chapter describes the report options of Xstore Point of Service.
The information on a report is filtered to include only the data from a specific date or from a range of dates. Oracle Retail Xstore Point of Service offers you the flexibility to specify dates in several different ways:
A single, fixed date - Limit the report to a single fixed date that never changes by entering the same date in both date entry fields.
A range of dates using fixed dates - Limit the report to a date range by entering different start and end dates in the date entry fields.
Relative dates - Limit the report to a date or date range defined with respect to the current system date.
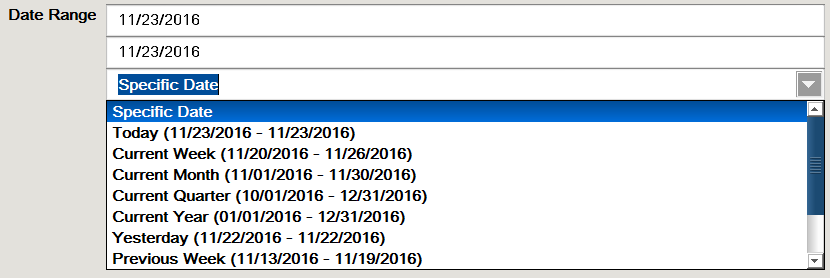
The Date Range field includes two date entry fields for fixed dates. It also includes a drop-down list of relative date options.
Fixed date fields for begin and end dates:
If you want to specify one fixed date, enter the same date in both of the date entry fields. For example, to indicate the single date
02/25/2013, you must type that date in both of the date entry fields.
<OR>
If you want to specify a range of dates having different starting and ending dates, type the start date in the top date entry field. Likewise, type the end date in the second date entry field.
Drop-down list for relative date options:
To use a relative date, select the down arrow to display a drop-down list of relative date options. You may need to scroll down the list to see all of the options. The list of relative date options varies with different reports.
When a relative date is selected from the list, the system automatically enters a begin date and the end date. These dates are displayed as grayed-out since they are calculated automatically based on the current date and cannot be changed.
|
Note: The System Date is the Business Date. |
Reporting dates are based on the kind of calendar your system uses - a regular calendar year running from January through December, or a fiscal calendar as defined in your system's configuration.
Table 2-1 Relative Date Options
| Relative Date | Calendar Year | Fiscal Calendar |
|---|---|---|
|
Today |
Current system date |
Current system date |
|
Yesterday |
Previous system date |
Previous system date |
|
Current Week |
First business day of the current week up to and including the current day |
First day of the current business period up to and including the current day |
|
Current Month |
First date in the current calendar month up to and including the current day |
First date in the first week of the fiscal month up to and including the current day |
|
Current Quarter |
Uses quarter starting dates of January 1, April 1, July 1 and October 1; Begins on the quarter start date immediately preceding the current day and includes all following dates up to and including the current day |
First date in the current fiscal quarter up to and including the current day |
|
Current Year |
January 1 of the current year up to and including the current day |
First date in the first week of the current fiscal year up to and including the current day |
|
Previous Week |
First through last dates of the business week preceding the current day |
First date through and including the last date of the fiscal week preceding the current one |
|
Previous Month |
First date through and including the last date of the previous month |
First date through and including the last date of the preceding fiscal month |
|
Previous Quarter |
First date through and including the last date of the calendar quarter immediately preceding the current calendar quarter |
First date through and including the last date of the fiscal quarter immediately preceding the current day |
|
Previous Year |
January 1 through December 31 of the year preceding the current year |
All business periods in the fiscal year immediately preceding the current one |
You can save a report to view or print again later. However, the data that appears on the report at a later viewing depends on whether you entered fixed dates or whether you selected one of the relative date options.
See also: Making Your Saved Reports Reusable and Saving a Report.
If you enter the fixed date 5/12/2015, in both of the date entry fields, the information on the report always shows the historical record of the data that existed on May 12, 2015. Likewise, if you enter the range of dates from 7/1/2015 to 7/31/2015, the data for the month of July, 2015, is always shown on the saved report.
See also: Making Your Saved Reports Reusable and Saving a Report.
If you save a report that uses one of the relative date options, the data on the report is always relative to the current system date.
|
Note: A saved report also uses any other non-date criteria that you specify. See Selecting Non-Date Report Criteria. |
For example, you originally save a report on December 10, 2014, using the relative date option Previous Month.
If you run the report on December 31, the report shows data for November, 2014.
However, if you run the same saved report on March 31 of the following year (2015), it shows data for the month of February, 2015.
See also: Making Your Saved Reports Reusable and Saving a Report.
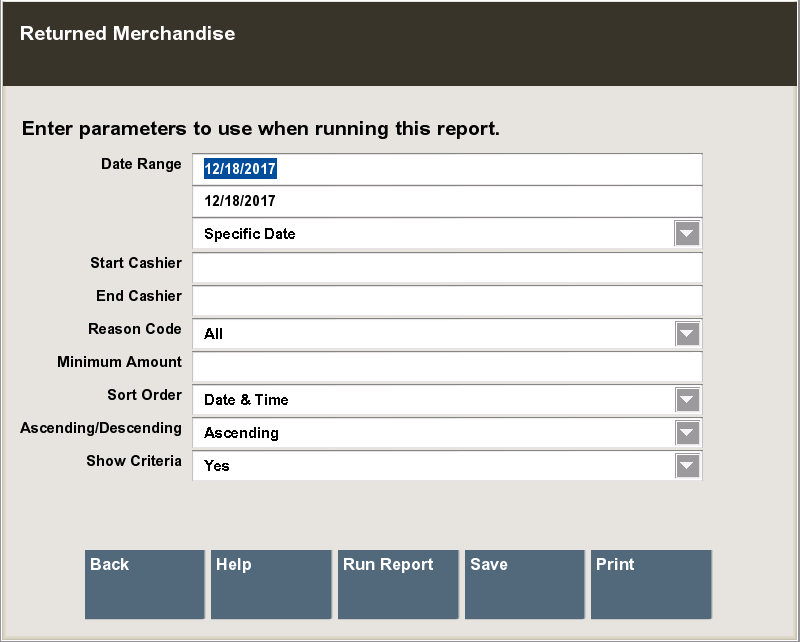
The criteria selection form for reports also provides a wide variety of non-date fields so you can define the information included on the report.
If you do not change any of the default criteria, you may get a report with more information than you actually need. It is wise to make more entries rather than less so the retrieved information is focused on what you really need to see.
The options that appear on the criteria selection screen depend upon which report you select. Some reports offer a few options and others have many selection criteria. Refer to the chapter on the report you want for a list of the actual criteria selection options.
|
Note: Enter more criteria on the form to produce a report that contains more focused information. If you reduce the number of criteria, the resulting volume of information on the report may increase, and analysis may become more difficult. |
After you have entered all of your report criteria, select the Run Report option on the Criteria Selection form.
|
Note: The amount of data that must be retrieved to generate the report determines how long you must wait before it displays or prints. The system displays a message that indicates it is running the report. |
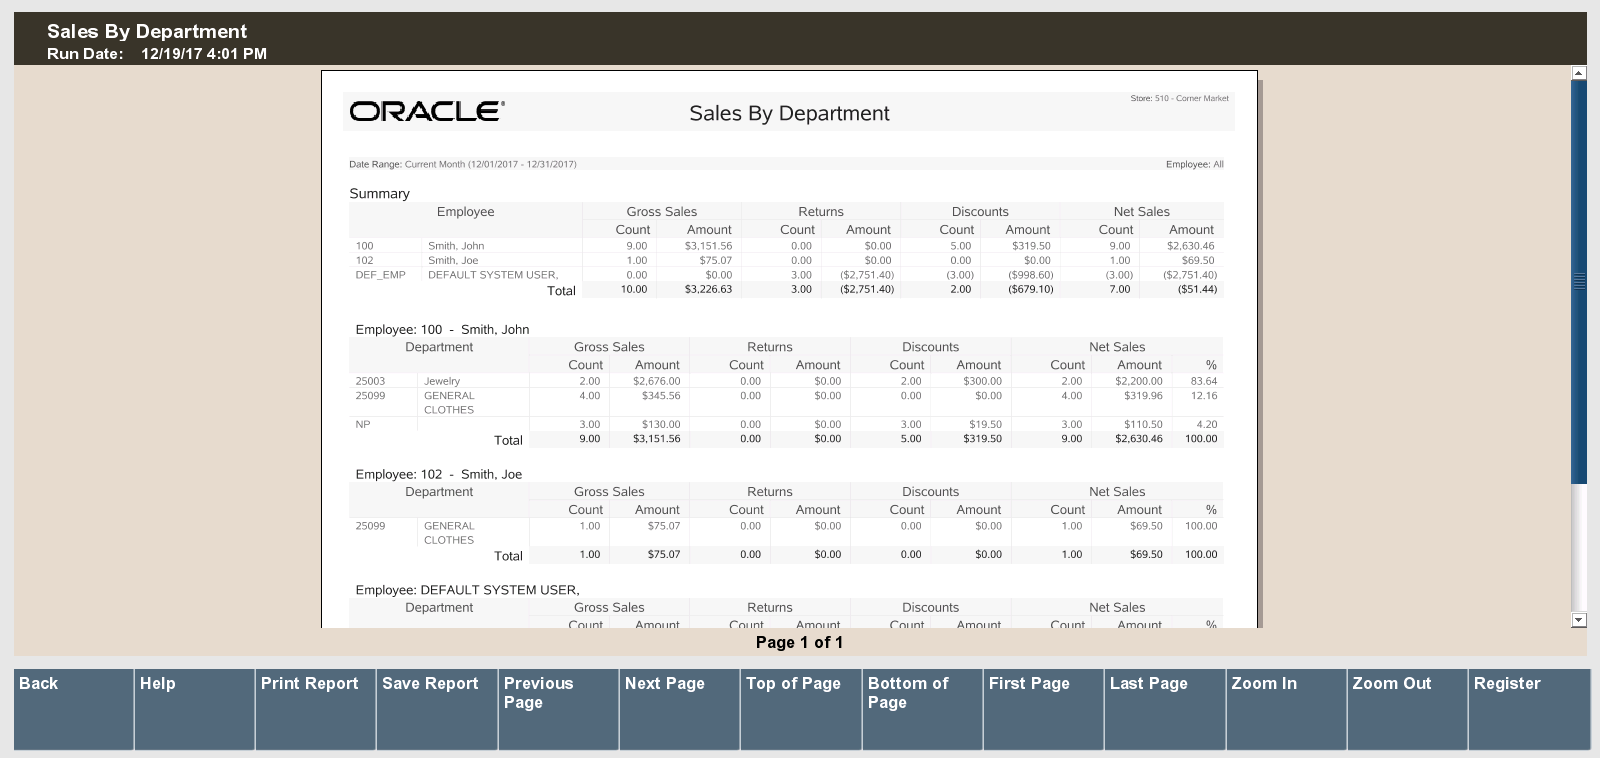
The criteria you selected will be displayed as header information on the report.
Oracle Retail Xstore Point of Service provides a standard set of options that allow you to move through the pages of a report and quickly navigate to the sections you want to see.
The available Report Navigation Options are:
Back: Return to previous screen.
Help: Opens context-sensitive help, if available.
Print Report: Send current report to the printer (see Report Printing Options).
Save Report: Keep a report you want to rerun and view later (see Saving a Report).
Previous Page: Display the preceding report page.
Next Page: Display the following report page.
Top of Page: Display start of current page.
Bottom of Page: Display end of current page.
First Page: Display page 1.
Last Page: Display last report page.
Zoom In: Increase size of report image; you may need to scroll to see the entire page.
Zoom Out: Reduce size of the report image.
One or more reports may be configured to run automatically - without manual intervention. When the conditions specified in the report configuration files are met, reports can be produced on a scheduled basis. For example, you may want reports at the end of the business day, or at the end of a week (contact your Corporate Office for more information about the specific auto-generated reports for your store).
There are two things you can do to make your saved reports reusable:
Save your report with relative dates (for example, Yesterday or Previous Week or Previous Month) instead of using fixed dates.
Save the report using the original parameters option so the same parameters are reused when you run the saved report the next time. This ensures that the report is updated because the current information is retrieved. Refer to Saving a Report with Date Criteria for more information about relative and specific dates.
After running a report, it can be saved so that the data can be reviewed later. The system automatically stores your saved report in a location based on the system's configuration and your login ID.
|
Note: Only you can view the reports you have saved. No one else has access to your saved reports. |
Select the Save option on the criteria selection form to rerun or view a report later.
This option is also available when viewing a report using the Save menu option.
The system displays the Save Form for the report.
Edit or accept the report name in the Save Report As field.
Select one of the two options in the Report Save Options field:
Save Report With Current Data: The next time you view this report, it will be exactly the same as it was when originally generated.
Save Report Parameters: The next time you view this report, it will be based on the same selection criteria (parameters). If you use a relative date parameter, the actual data retrieved is updated using current information. See Making Your Saved Reports Reusable.
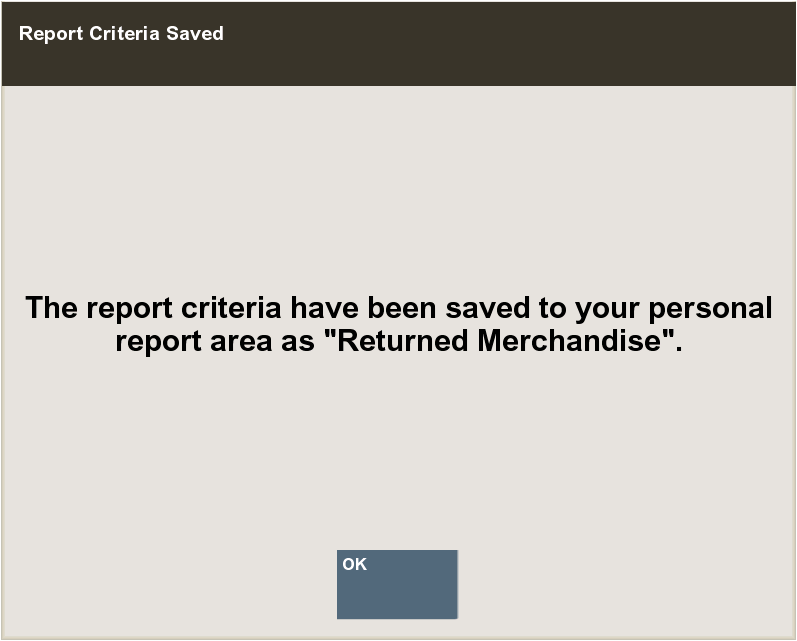
Select Ok to save the report.
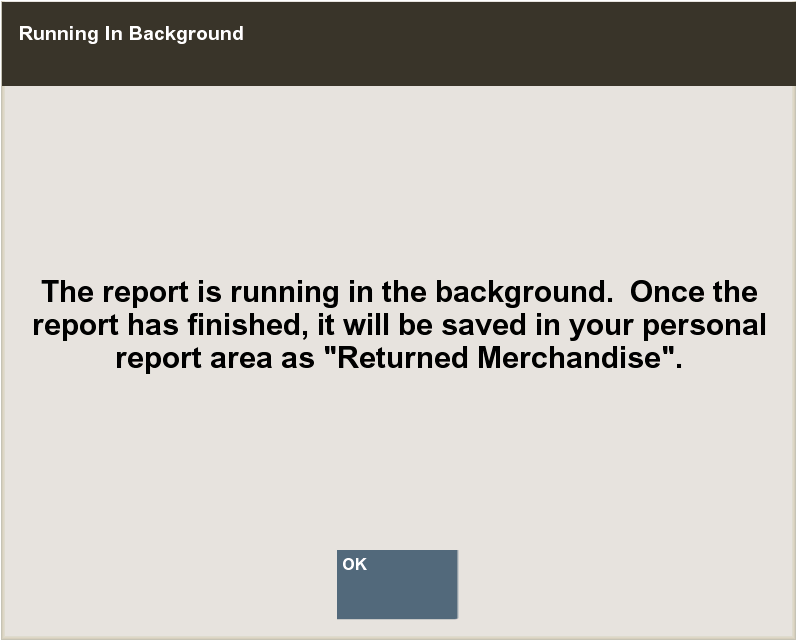
The Report Criteria Saved or Running in Background prompt displays, select Ok.
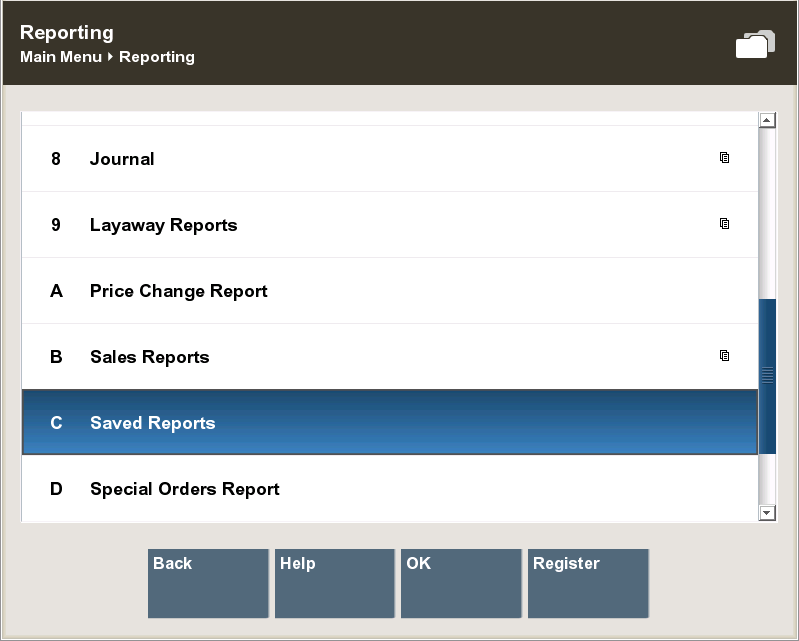
After logging in to the Back Office, select Reports and then choose the Saved Reports option on the Back Office Main Menu, and select Ok.
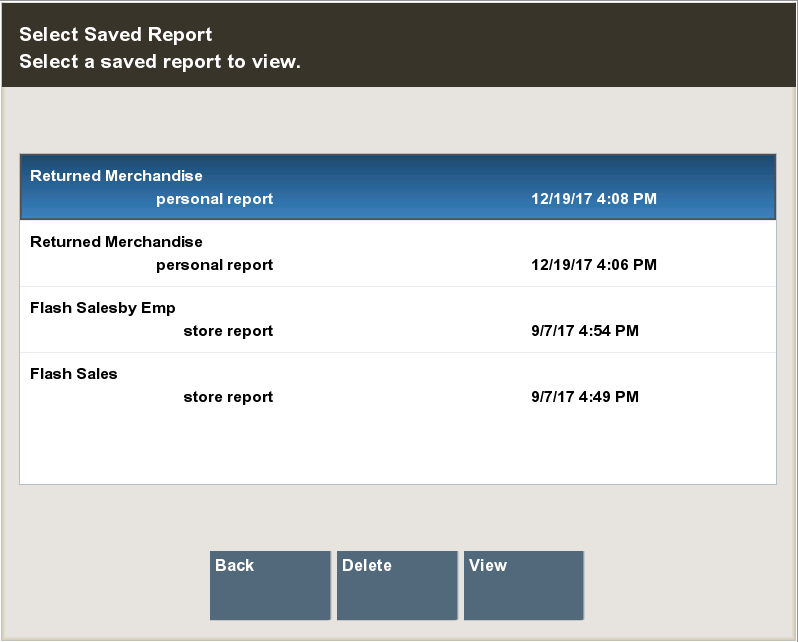
Select the report you want to see. If necessary, use the up and down arrows to scroll and see additional saved reports.
To view a saved report, select the View option to display the report on the screen.
To delete a saved report, select the Delete option on the list of saved reports and select Yes to confirm that you want to delete the selected report.
After you are finished viewing or deleting the report, select the Back option to return to the saved reports list.
An option to print a page range may be available for some reports. The reports that support this feature are determined by the Home Office. If a report supports printing a specified page range, you will be prompted to enter the page(s).
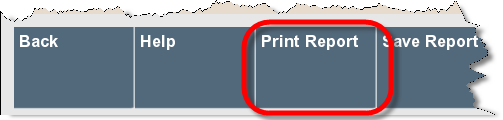
After generating a report, and with the report displayed, select the Print Report option.
If prompted, type the page, pages, or page range to be printed. For example, at the prompt, type 1-3,6,7-9,12 to print only those pages and press [Enter] to print the report.