| Oracle® Retail Xstore Point of Service Mobile User Guide Release 20.0 F35714-03 |
|

 Previous |
 Next |
| Oracle® Retail Xstore Point of Service Mobile User Guide Release 20.0 F35714-03 |
|
Previous |
Next |
IP enabled cash drawers are also known as networked cash drawers.
Manage Networked Cash Drawer (only for new networked cash drawers that have not been configured yet). See Discover and Activate a New Networked Cash Drawer.
Configure cash drawer
Activate cash drawer
Assign and count till
Scan cash drawer
Put physical till in cash drawer
Networked cash drawer is ready for use in Xstore Sales.
Scan cash drawer
Remove physical till from cash drawer
Count till
Discover new networked cash drawers using the Manage Networked Cash Drawers menu option. These steps are only required for new networked cash drawers.
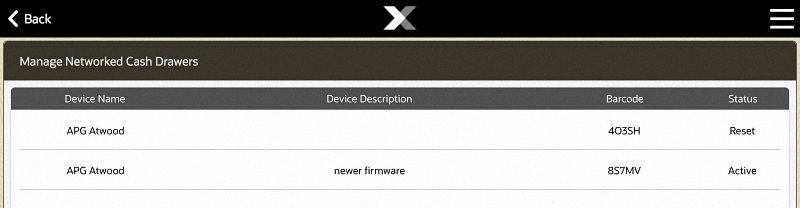
From the Main menu, select System Admin then Manage Networked Cash Drawers. The list of networked cash drawers displays. If this is the first time drawers are being discovered the list may be empty.
|
Note: If a networked cash drawer has a status of Reset extra steps are required. This is the status that is shown when Xstore does not recognize the configurations found upon discovery of the cash drawer. A hard reset is required. Refer to your IP Cash drawer device documentation for instructions on resetting the networked cash drawer. |
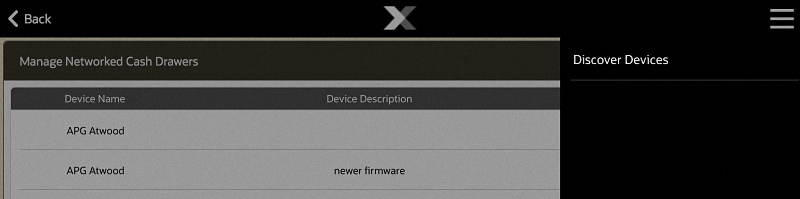
If your cash drawer is not listed and you need to find/discover your networked cash drawer go to the Context Menu and select Discover Devices.
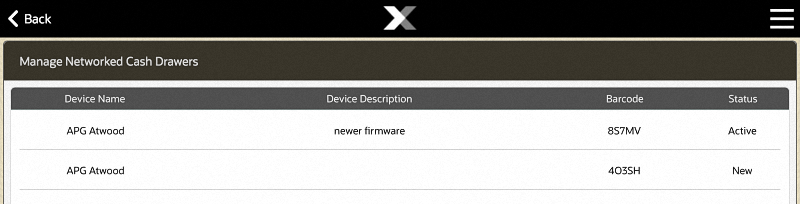
Your drawer will be listed now with a status of New.
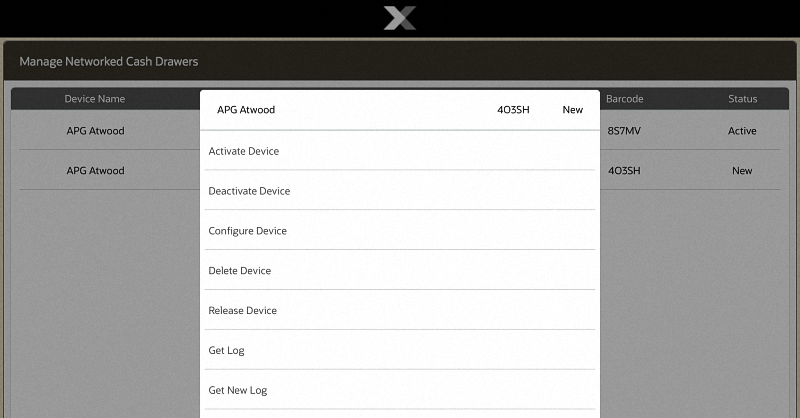
Select your networked cash drawer. An option menu opens.
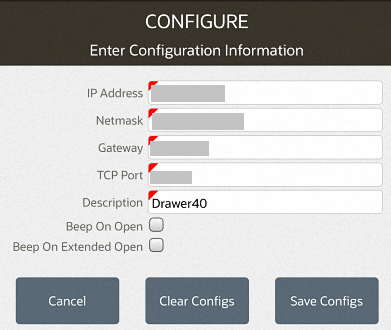
Select Configured Device. The Configuration Information window displays:
Enter the required fields: IP Address, Netmask, Gateway, TCP Port and a description.
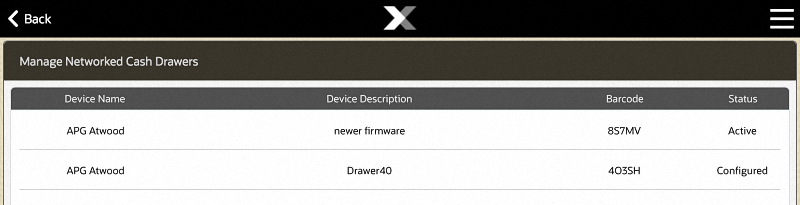
Select Save Configs. The system will take a couple minutes to save your configurations. Your drawer will be listed in Configured status.
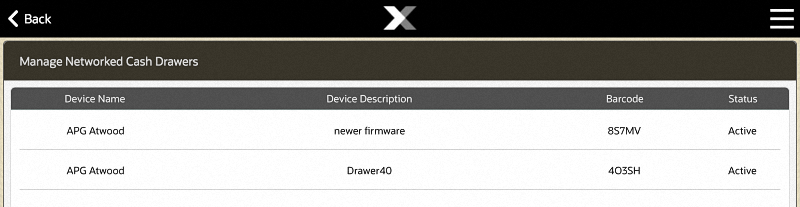
Select your drawer again to open the list of menu options and select Activate Device. The status of your networked cash drawer updates to Active.
Your networked cash drawer is now available to be set up for use in your store. Prior to moving on to the next steps you need to open the store and open the register. See Opening the Store and Register Open for more information.
To use the networked cash drawer that has been activated, you need to open the cash drawer. This must be done prior to Attach Cash Drawer.
|
Note: If you try to attach the cash drawer till first, you get an error message that there are no cash drawers available to attach till. |
To open the networked cash drawer
Select Till from the Main Menu.
Select Open/Close Options from the Till menu.
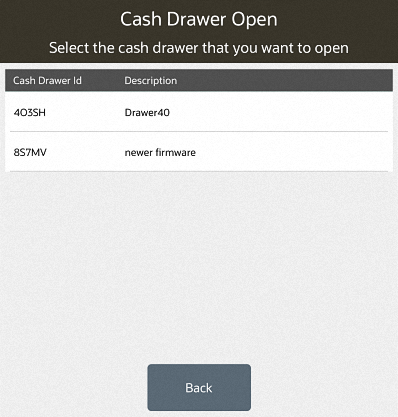
Select Open Cash Drawer from the Open/Close Options menu. The system displays a list of networked cash drawers that are available.
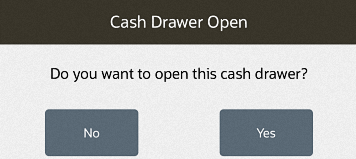
Select the networked cash drawer to open from the list. The system prompts 'Do you want to open this cash drawer?'
Select Yes.
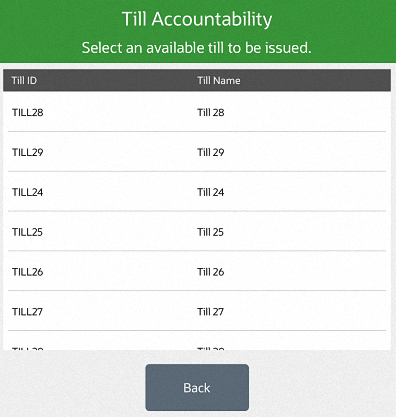
A cash drawer needs a till (insert that holds the money inside the cash drawer) so the system prompts for the till that will be issued for this cash drawer and go through the process of counting the till.
Select the till ID/Name that is located inside their cash drawer or associated to the cash drawer.
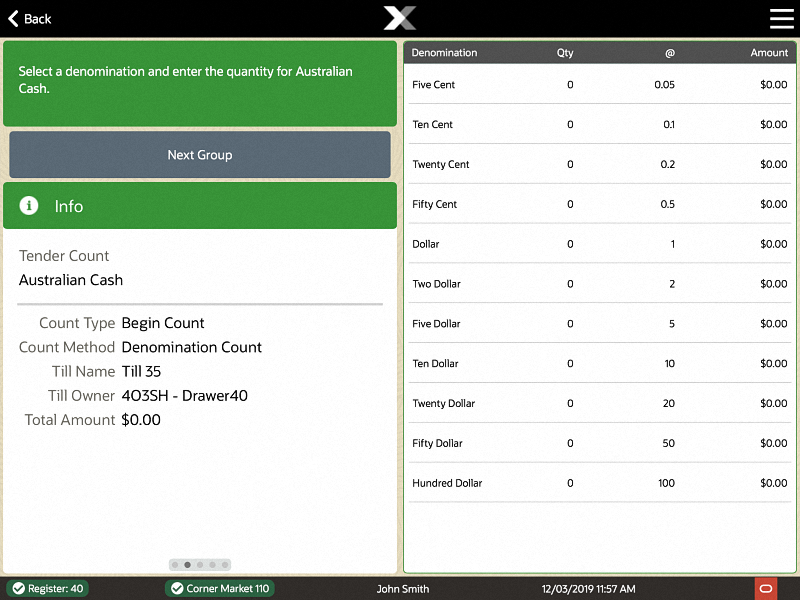
Count the till contents.
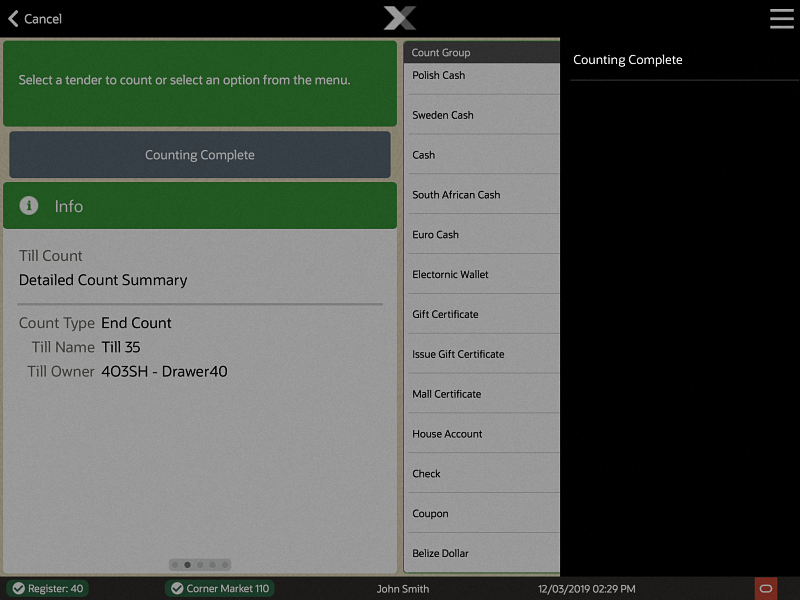
Select the Count Group to count first such as Australian Cash, Canada Cash, or Cash. The following example shows a denomination count for Australian cash first.
Select Next Group to perform the denomination count for the next currency, in this example, Canada Cash.
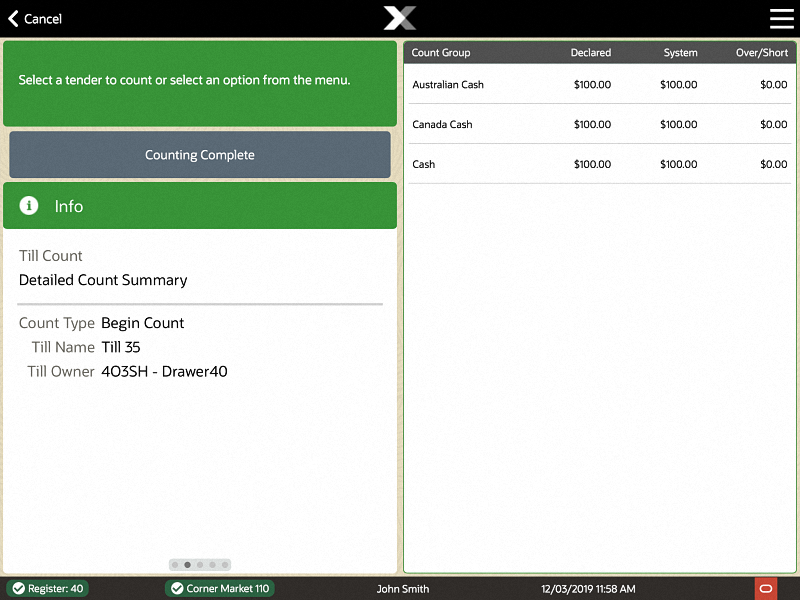
Select Next Group to complete the last denomination count, Cash.
Now the counting is done, select Back to exit the counting function and to select Counting Complete.
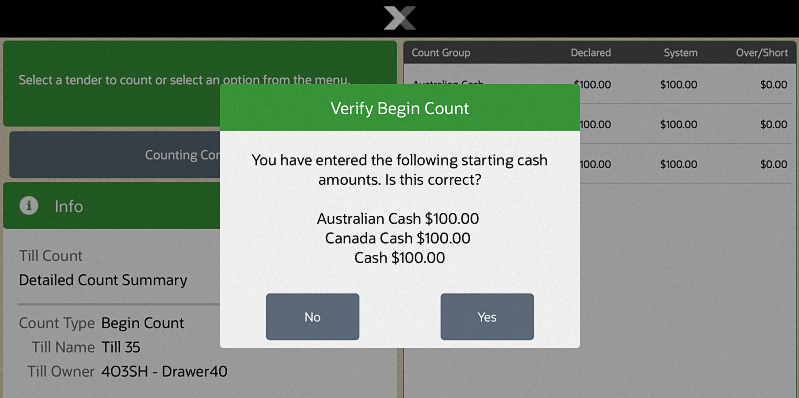
The prompt displays to verify the counts.
Select Yes if the amounts are correct.
Continue with attaching the cash drawer till.
To attach a cash drawer till:
Select Till from the Main Menu.
Select Till Maintenance from the Till menu.
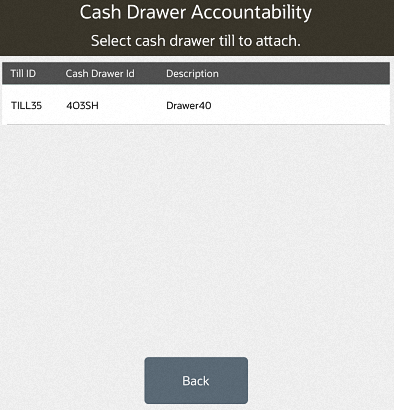
Select Attach Cash Drawer Till from the Till Maintenance menu. A list of cash drawer tills is shown.
Select the till you had selected during the open cash drawer process. The system prompts you to scan the cash drawer barcode. This is the cash drawer the till will be placed inside.
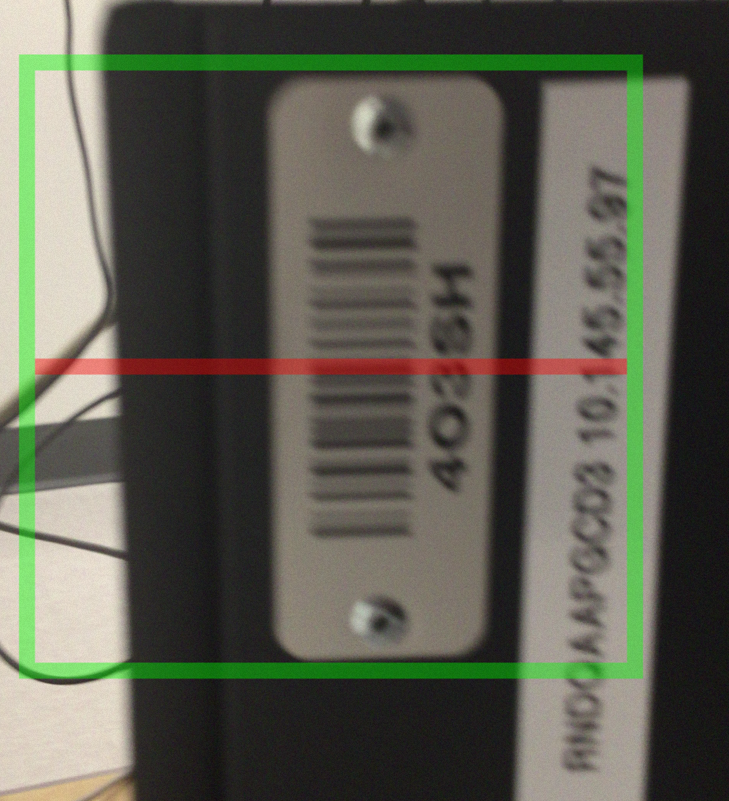
If the mobile device does not have a scanner, tap the barcode icon to open the mobile device camera. The device camera opens and will 'look' for your barcode.
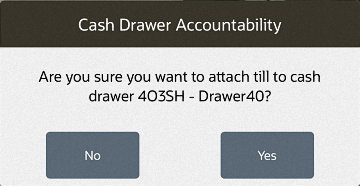
Once your device camera finds the barcode it captures the data and the camera closes. The system prompts, "Are you sure you want to attach till to cash drawer ### (listing the specific cash drawer).
Select Yes to attach the till to that networked cash drawer.
The networked cash drawer will open. Insert the till into the networked cash drawer. The system prompts to close the cash drawer.
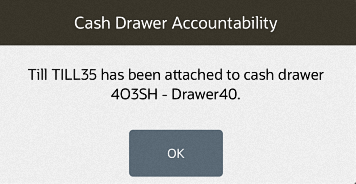
Close the cash drawer. A final prompt displays stating which till has been attached to which networked cash drawer.
You can now perform sales. At the end of the day/shift remove the cash drawer till, followed by closing the cash drawer (which includes the counting of the till contents).
To remove a cash drawer till:
Select Till from the Main Menu.
Select Open/Close Options from the Till menu.
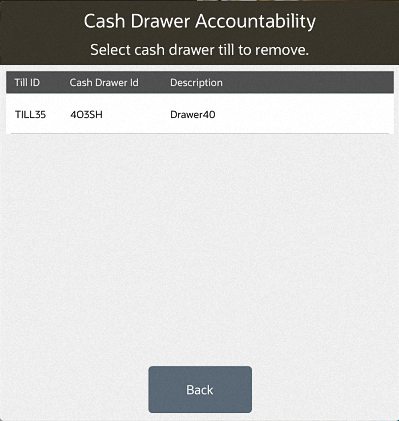
Select Remove Cash Drawer Till from the Open/Close Options menu. The system displays a list of networked cash drawers that are available to remove.
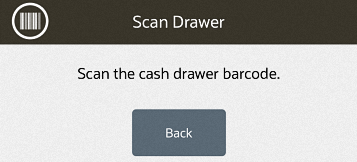
Scan the cash drawer barcode. If the mobile device does not have a scanner, tap the barcode icon in the upper left hand corner of the prompt (next to the header - Scan Drawer) and this will open the mobile device camera for scanning the cash drawer barcode.
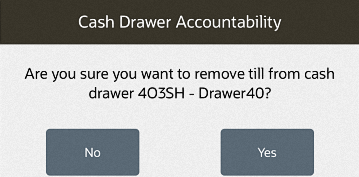
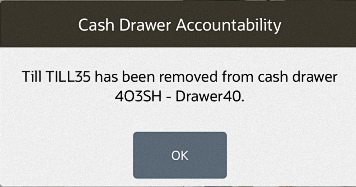
When the camera captures the barcode the camera is closed and the system prompts to confirm you want to remove the till from this specific cash drawer (listing the name/description of the cash drawer).
The cash drawer will pop open to take out the cash drawer till. The system will prompt to close the drawer once the till is removed.
Close the cash drawer. A final prompt displays stating which till has been attached to which networked cash drawer.
The last step will be to close the cash drawer.
To close the cash drawer:
Select Till from the Main Menu.
Select Open/Close Options from the Till menu.
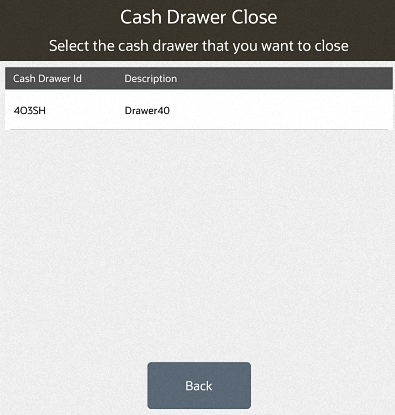
Select Cash Drawer Close from the Open/Close Options menu. The system displays a list of networked cash drawers to select from.
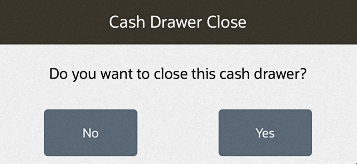
Select the cash drawer to close. The system prompts to confirm that you want to close the cash drawer.
Select Yes and the process for counting the till will begin.
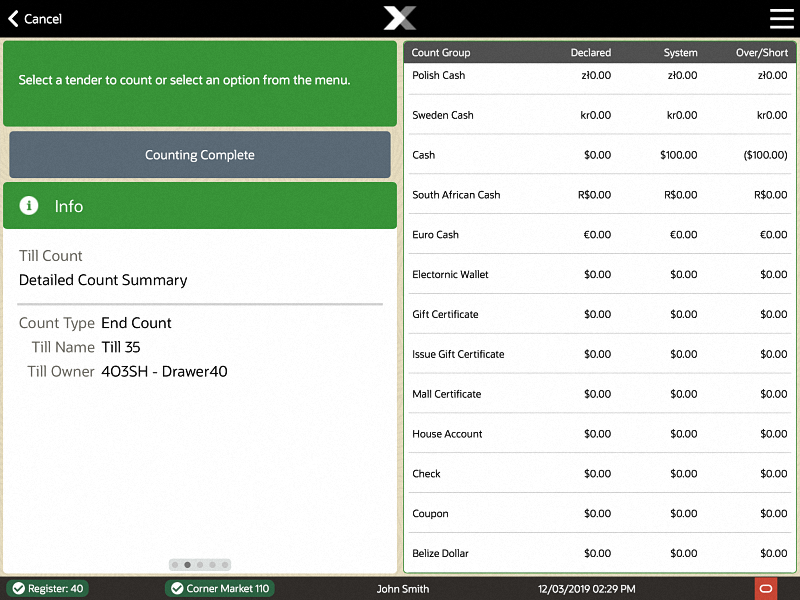
Count each of the count groups that are in the drawer and when done counting will select Counting Complete from the Context Menu.
If there are any discrepancies in the count the system will prompt you to confirm the count.
This concludes the process for closing the cash drawer.
Handheld devices have the menu options for attaching and removing the till. Handheld does NOT have the ability to open the cash drawer and close the cash drawer as shown above because a handheld does not have the ability to count the cash drawer tills. This must be done on Tablet, thin or desktop.