5.8 Exporting a Template File
Out-of-the-box ServiceNow customized template files are included in the Self Update archive that was installed in Installing the ServiceNow Ticketing Connector.
To extract a template file to use as a base for customization:
-
Export the installation files to a managed host machine or to your workstation:
-
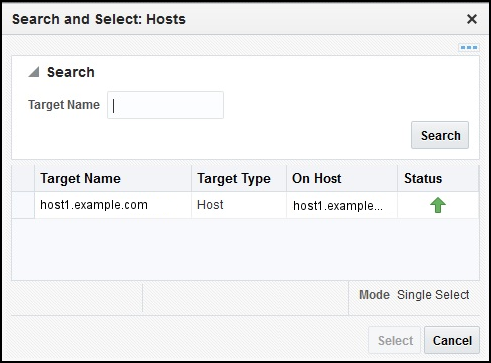
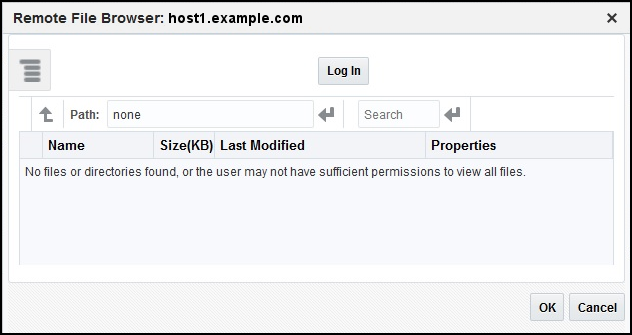
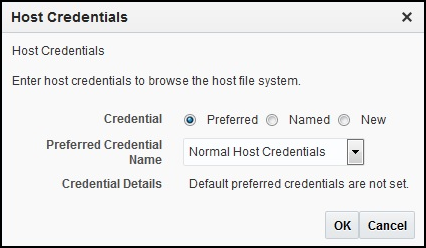
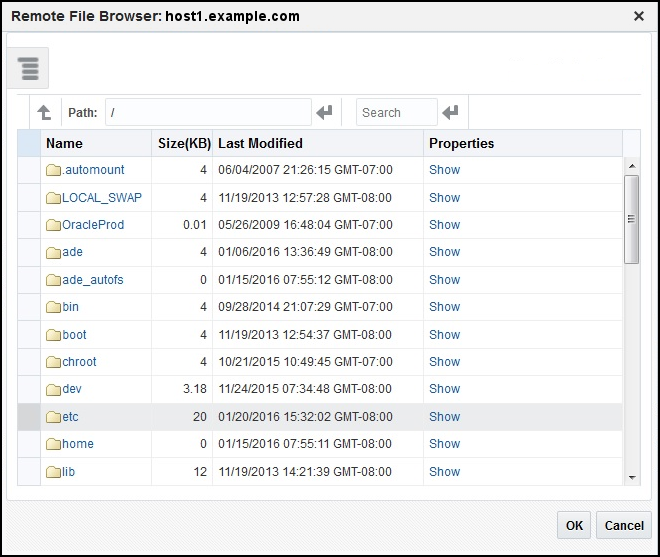
To export to a managed host, refer to Exporting Installation Files to a Managed Host.
-
To export to your workstation, refer to Exporting Installation Files to Your Workstation.
-
-
Open a command window on the host where the export file was copied and navigate to the directory where the file was copied.
-
Extract the ServiceNow template file from the .zip file using the following command:
unzip *.zip archives/service_now_connector.jar
-
Extract the templates from the jar file using the following command:
$JAVA_HOME/bin/jar xf archives/*.jar templates
5.8.1 Exporting Installation Files to a Managed Host
5.8.2 Exporting Installation Files to Your Workstation
- From the Setup menu, select Extensibility, then select Self Update.
- On the Self Update page, select Management Connector and select the appropriate ServiceNow connector name from the list, then select Export to->Your Workstation from the Actions list.
- A pop-up window will be displayed that prompts whether to open or save the file. Select Save File and click OK.
- A pop-up window may be displayed that allows you to select the location where the file will be saved. Select the location and click Save.


