7 Previewing, Sharing, and Publishing Apps
Mobile App Designer makes it easy to preview and share your apps while still in design mode. Once your app is finished, with just a few clicks you can publish it to your company's Apps Library where it can immediately be consumed by authorized users.
This chapter includes the following sections:
7.1 Previewing Apps
While still in design mode you can preview your app at any time. You can preview on your desktop in the mobile device simulator with a single click, or you can preview on a mobile device.
7.1.1 Preview on Your Desktop
To preview an app on your desktop:
-
In the Mobile App Designer, click Preview.
Your app is displayed in the tablet or mobile phone simulator.
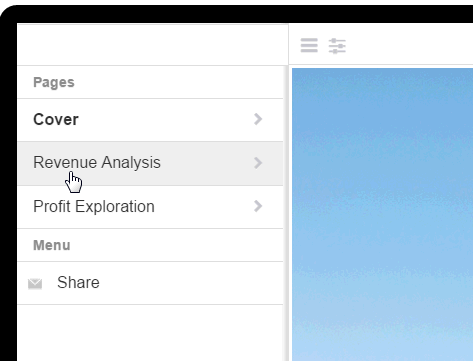
To view the other pages of your app, click the page menu icon in the upper left corner, then click the page title.
-
Click Edit to return to the designer.
7.2 Sharing Apps
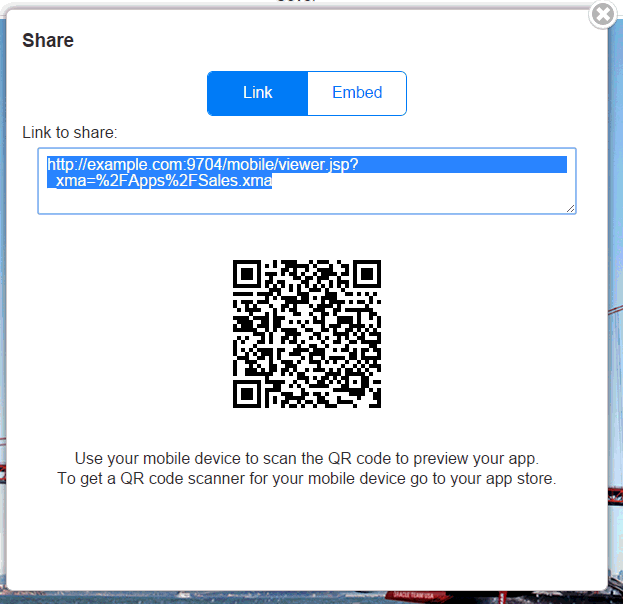
The Share option of the mobile app viewer generates a link to your app that you can share with others.
To generate the link to share:
-
Open your app in the mobile app viewer, either by clicking Preview in the designer or by clicking the Open link in the catalog.
-
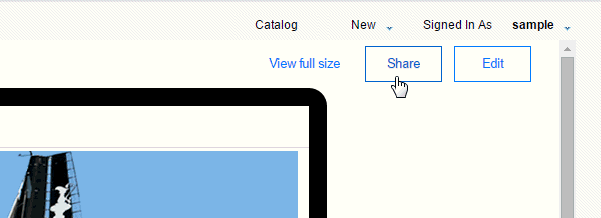
In the mobile app viewer, click Share.
-
Copy the Link to share and send it to yourself or others.
7.3 Embedding Apps
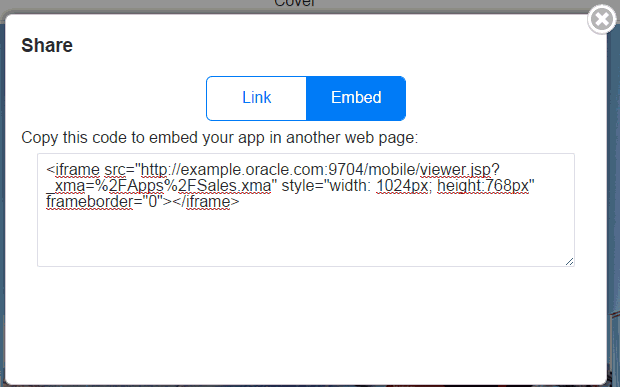
The mobile app viewer also generates a code snippet for you to easily embed your app into other Web pages.
To generate the code snippet for embedding:
-
Open your app in the mobile app viewer, either by clicking Preview in the designer or by clicking the Open link in the catalog.
-
In the mobile app viewer, click Share.

-
In the Share dialog, click Embed.
-
Copy the code snippet and include in your Web page code to launch your app from another site.
7.4 Publishing Apps to the Apps Library
The Apps Library is where users access and subscribe to your apps from their mobile devices. When you publish your app it is copied to the Apps Library folder set up by your administrator and is immediately available to users with access to the library and permissions to run your app.
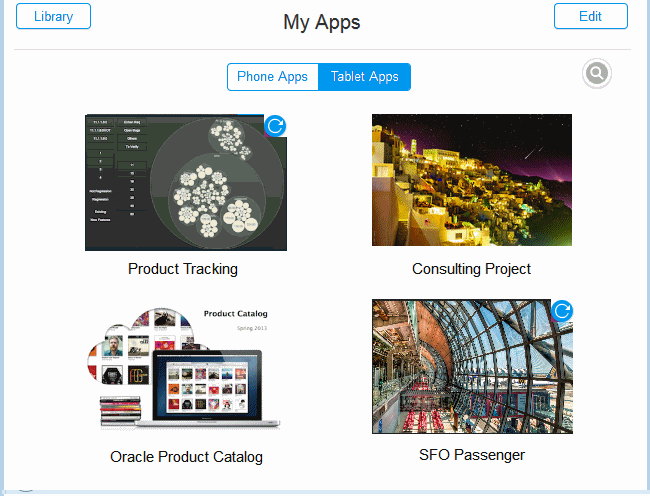
If you update an app that you have already published to the Apps Library, users that have subscribed to your app see a Refresh icon in their My Apps library notifying them that the newer version is available. Users must explicitly click the Refresh icon to get the new version.
The Apps library must be configured by an administrator see Section A.2, "Setting Up the Apps Library Locations."
You must have write permission on the Apps Library folder in the catalog to which you are publishing.
Oracle recommends that you apply appropriate permissions to your app before you publish it.
The Publish feature enables you to quickly expose your apps in the Apps Library configured for your environment.
To Publish an app:
-
From the Mobile App Designer, click Publish, as shown in Figure 7-6.
-
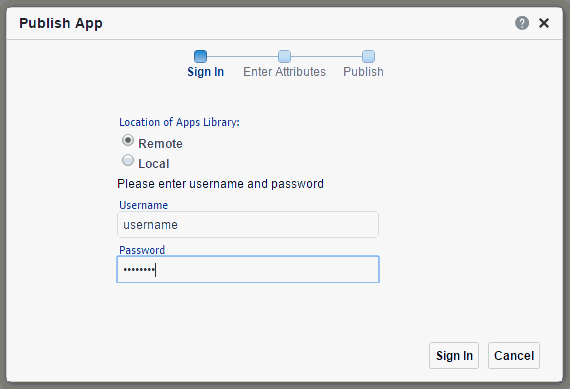
In the Publish App dialog, choose whether to publish your app to the Apps Library in the current (Local) environment or to a preconfigured Remote environment.
If you choose Local, click Next.
If you choose Remote, enter the username and password for the target environment.
-
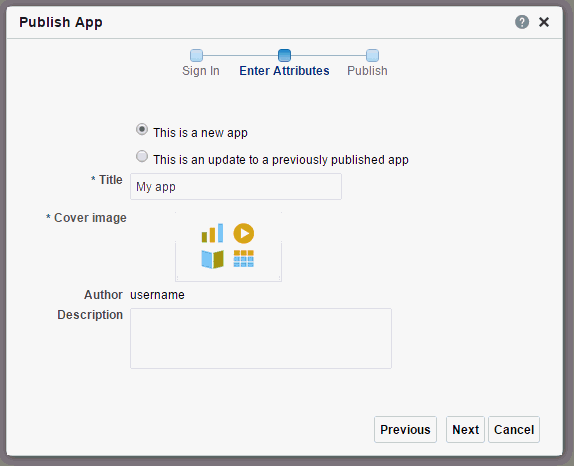
Enter the attributes for your app:
-
Title - enter the title of the app to display in the Apps Library.
-
Cover Image - upload a cover image for the App. The cover image is a thumbnail image that displays in the Apps Library for your app. A cover image is required.
Click the image icon to open the Upload dialog.
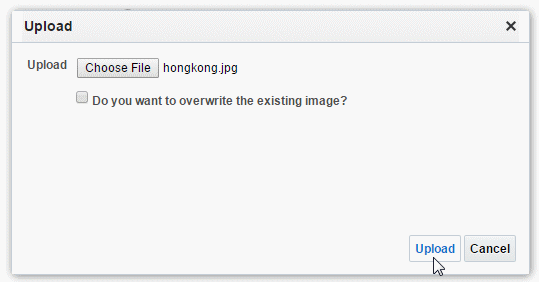
Click Browse to locate the image in the file system, then click Upload.
-
-
Click Next to validate your app. The validation process verifies that the data source (BI Publisher data model or BI subject area) exists in the target environment.
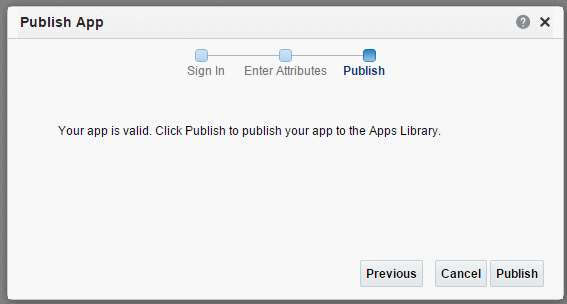
If validation fails, ensure that the data model or subject area exists in the target environment and is located in the same path as the source environment.
-
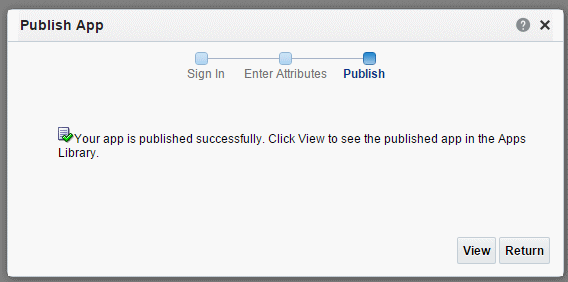
Click Publish to publish your app to the target Apps Library.
-
Click View to view your App in the Apps Library or click Return to return to the Mobile App Designer.


