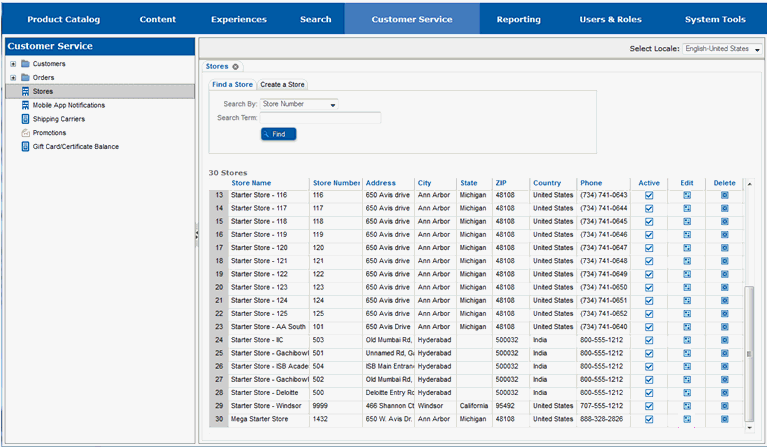
To complete these steps, you will need to be in the Customer Service -> Stores portion of the Site Manager. If you are unsure where that section is, see Work with a Store.
You will edit the store that you are adding the notification to.
Locate the store you will be adding the notification to.
Select the Edit button for the store.

The page will redraw and you will see multiple tabs for the store.
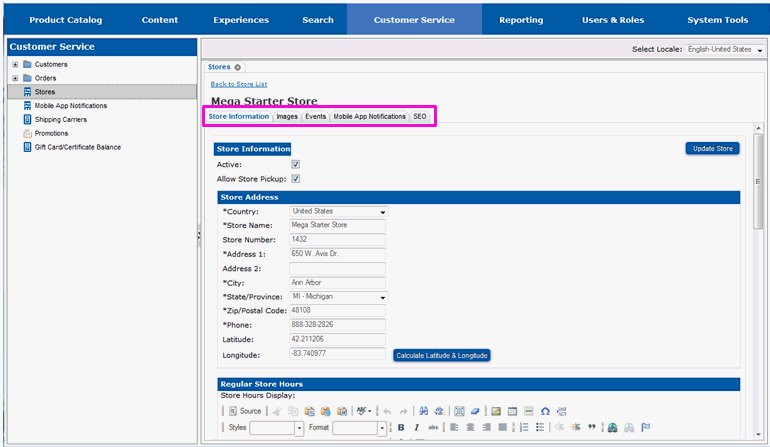
You will be working in the mobile App Notifications tab.
Select the Mobile App Notifications tab.
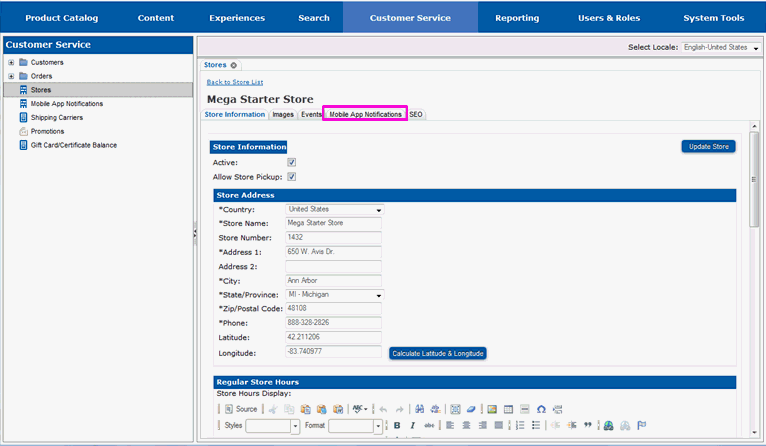
The page will redraw and you will see fields to define notifications for the store, along with a list of any notifications currently defined for the store.
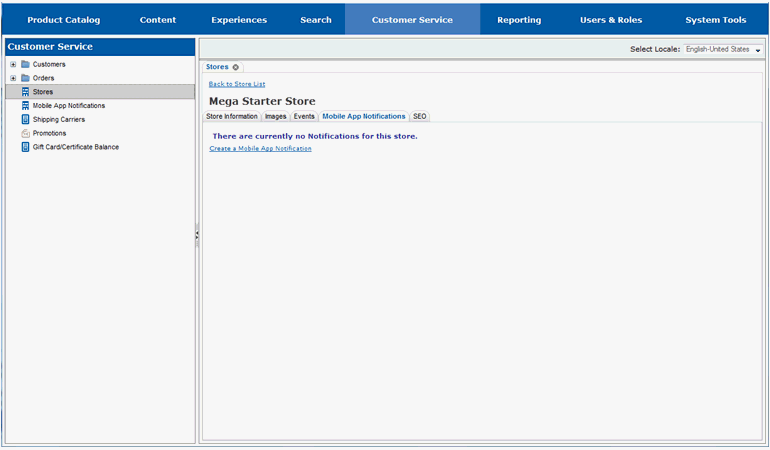
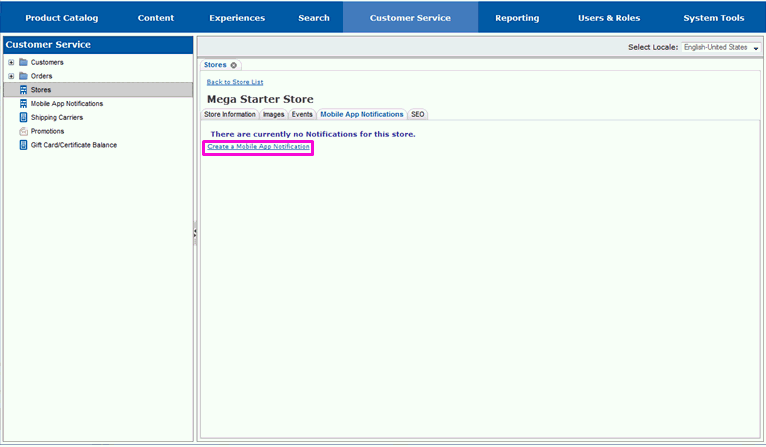
New notifications are created in the Customer Service -> Mobile App Notifications portion of the Site Manager. You can access that section by selecting the Create a Mobile App Notifications link.
Select the Create a Mobile App NOtification link.
The page will redraw and a new Mobile App Notifications tab will appear.
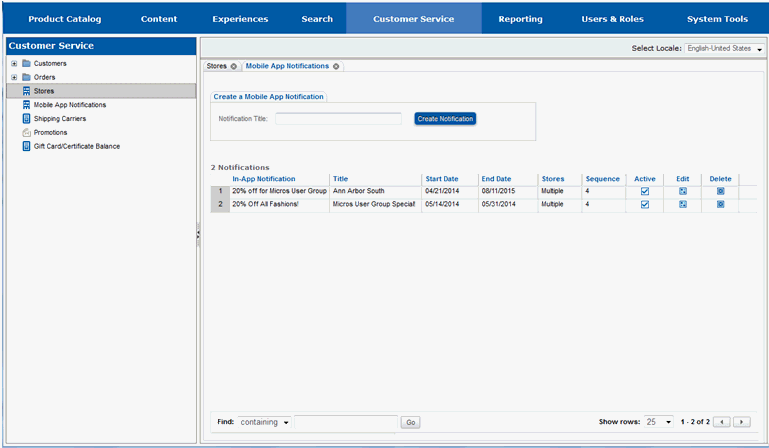
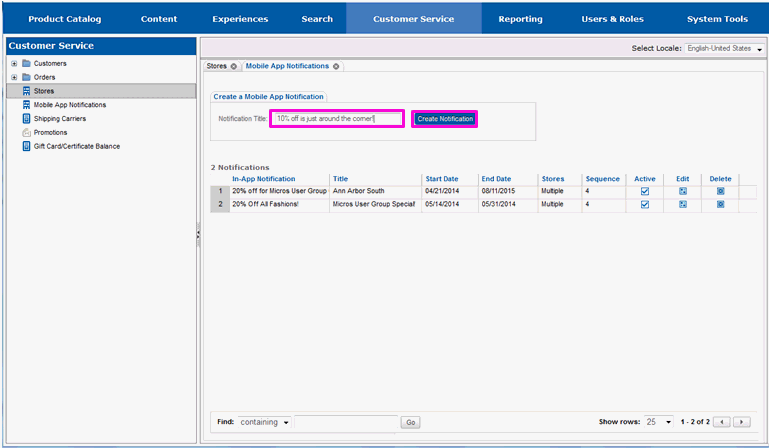
Enter a title for the notification in the NOtification Title link.
Select the Create NOtification button.
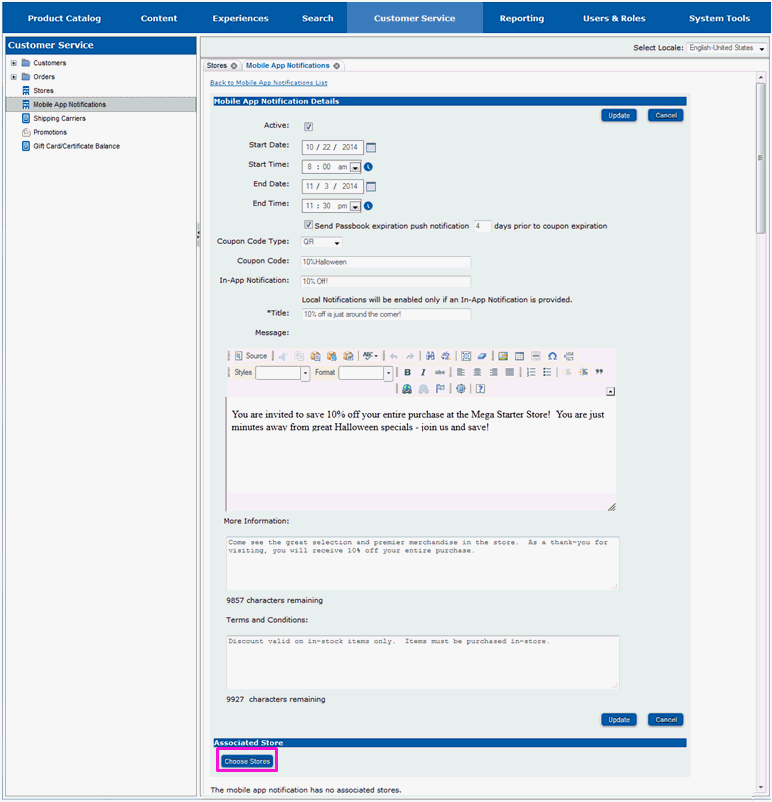
The page will redraw and a screen with fields to fill in for the notification will appear.
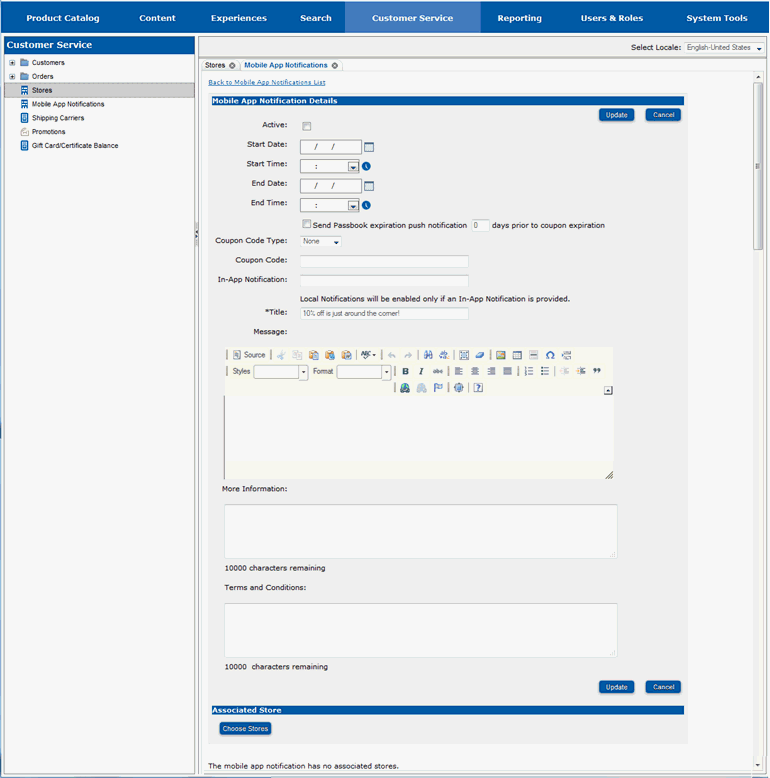
Select the Active checkbox if you wish the notification to be active immediately upon creation.
Enter the first date the notification can be used in the Start Date field. You can use the calendar to select the date or enter it by hand.
Enter the time on start date that the notification can first be used in the Start Time field. You can use the clock to select the time or enter it by hand.
Enter the last date the notification can be used in the End Date field. You can use the calendar to select the date or enter it by hand.
Enter the time on the end date that the notification should stop being used in the End Time field. You can use the clock to select the date or enter it by hand.
A notification can be sent to the customer prior to the expiration of the Passbook.
Select the Send Passbook Expiration NOtice checkbox to send an expiration notice.
Enter the number of days prior to the passbook expiration to send the notice in the days prior to coupon expiration field.
The Coupon Code Type field is used to determine the type of coupon to send to the customer.
Select the type of coupon to create in the Coupon Code Type field.
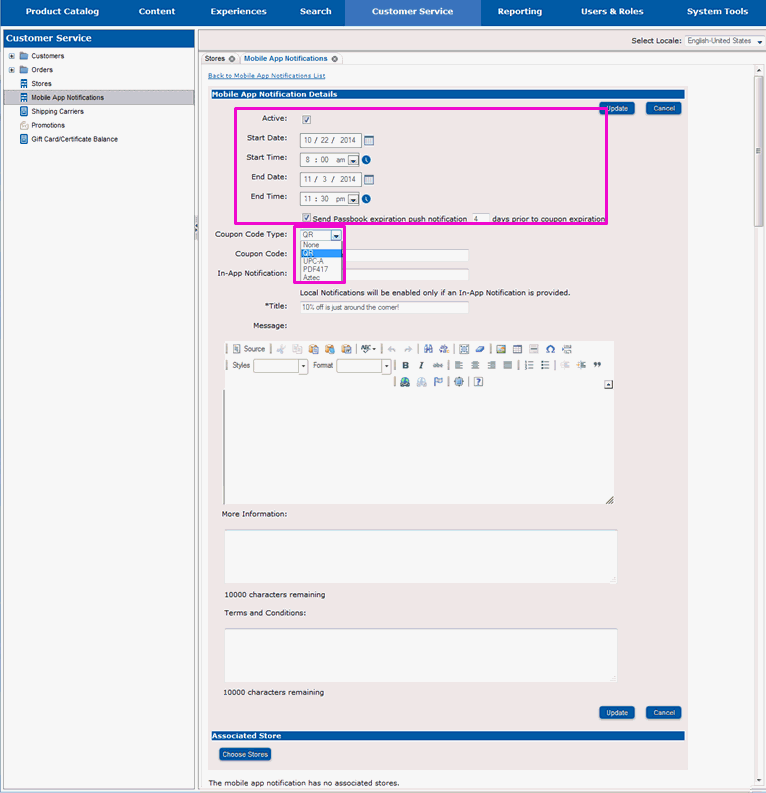
Enter a coupon code for the notification in the Coupon Code field.
Each notification should have text for when the notification appears in the app.
Enter the text for the in-app notification in the In-App NOtification field.
A detailed message should be entered for the notification. The message describes the notification and why the customer should visit the store.
Enter the notification message in the Message field.
Addtional information on the notification, as well as terms and conditions, should be entered for it.
Enter additional information for the notification in the More information field.
Enter the notification's terms and conditions in the terms and conditions field.
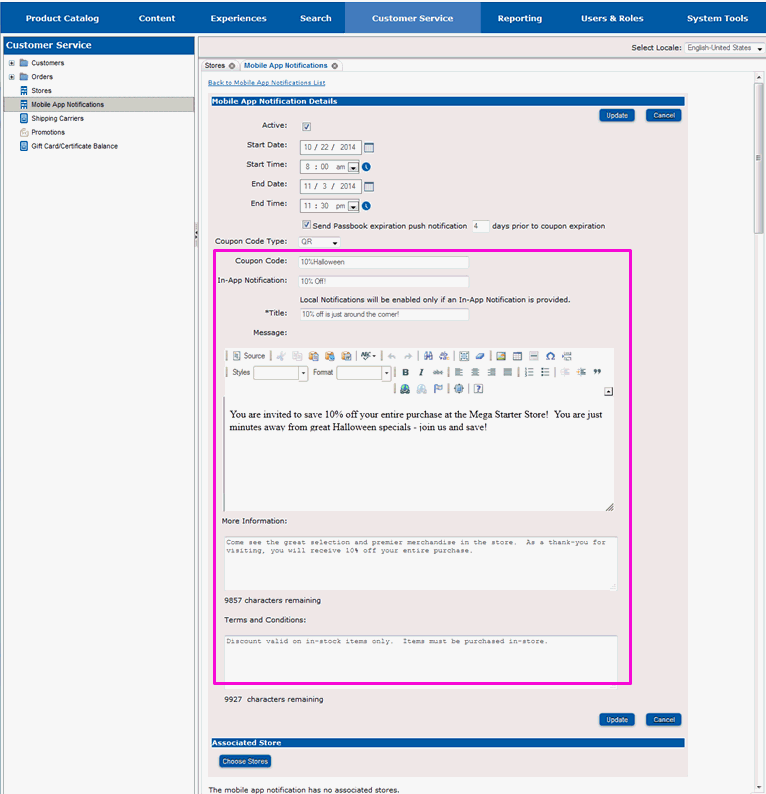
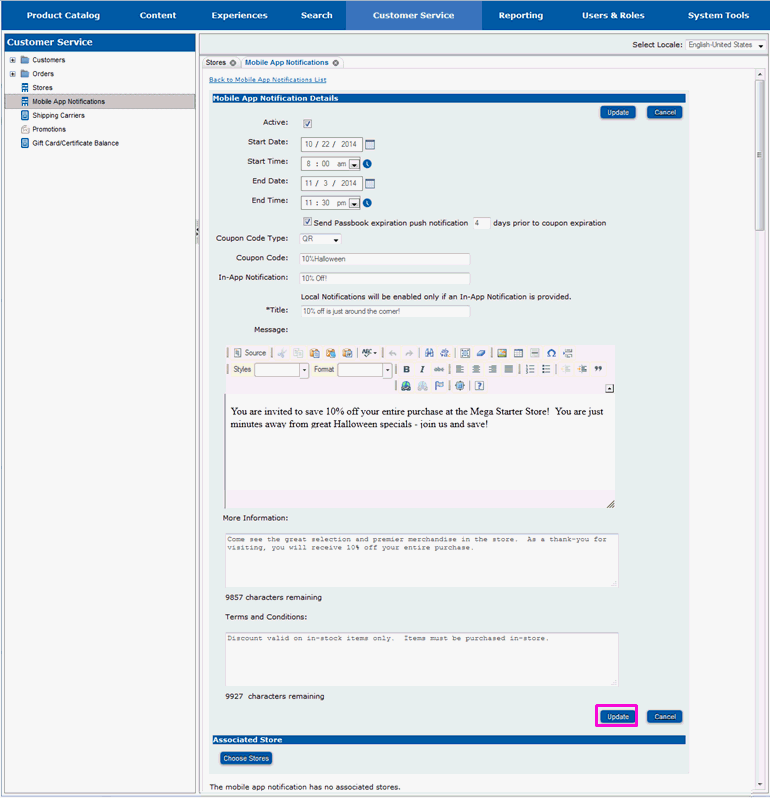
The information that has been entered should be saved.
Select the Update button.
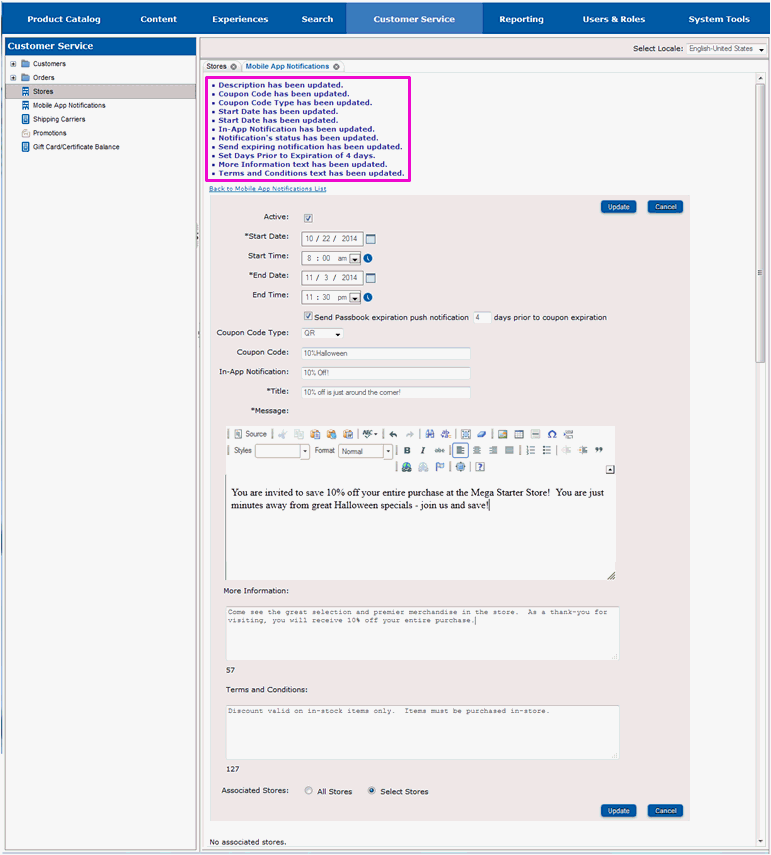
The screen will redraw and messages will appear that indicate that the information has been saved.
The notification needs to be associated with the store.
Select the Choose Stores radio button.
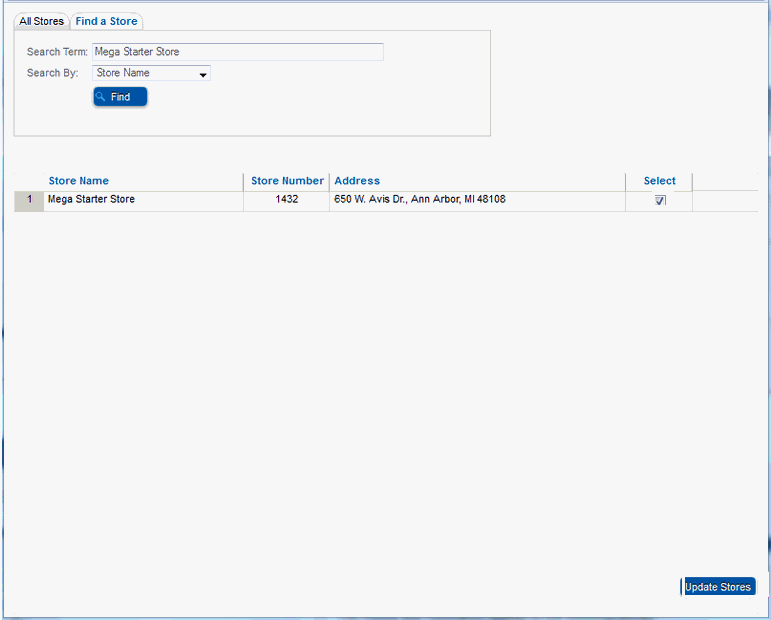
A pop-up window will appear which will allow you to select a store or stores.
Select the FInd a Store tab.

Fields to search for stores will appear.

Enter the name of the store as the Search Term .
Select Store name as the Search By method.

Select the Find button.

The window will refresh and the name(s) of matching stores will appear at the bottom of the window.

Select the Select icon for every store that you wish to associate the notification with.
Select the Update store button.
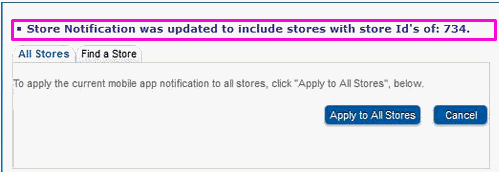
A brief message will appear on the pop-up window indicating that the store notification has been updated to include the selected store(s).
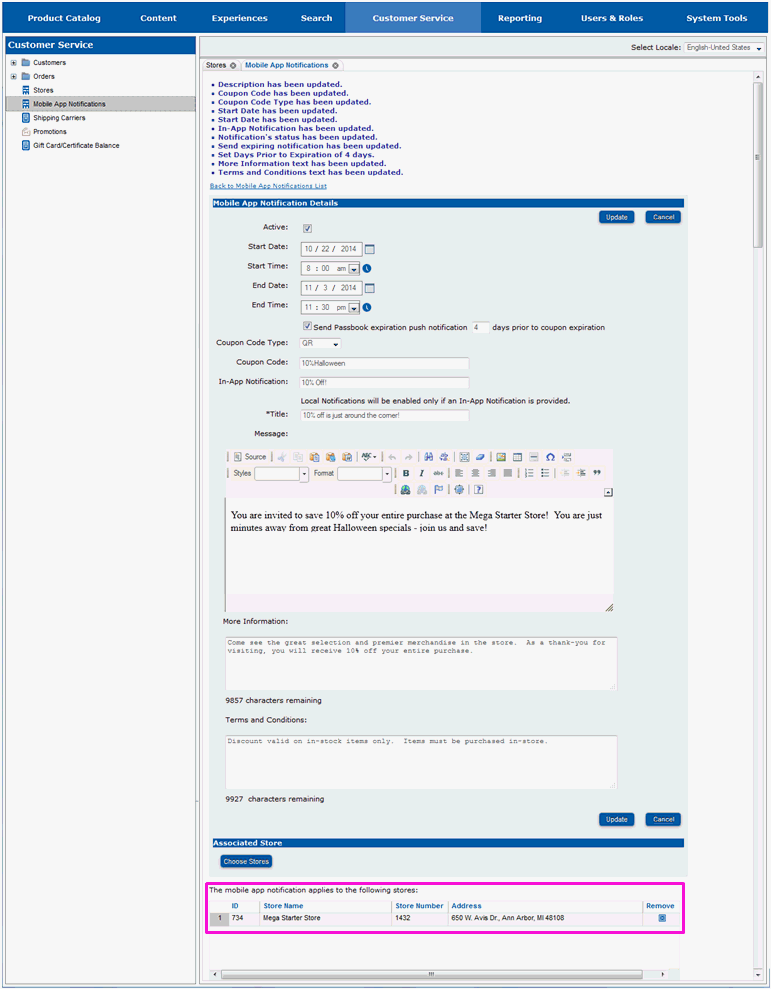
The pop-up window will dismiss, and a message will appear on the main screen showing that the notification has been associated with the store.
Continue on to section View New Items on a Store Locator Page if you want to view the store on the store locator page.