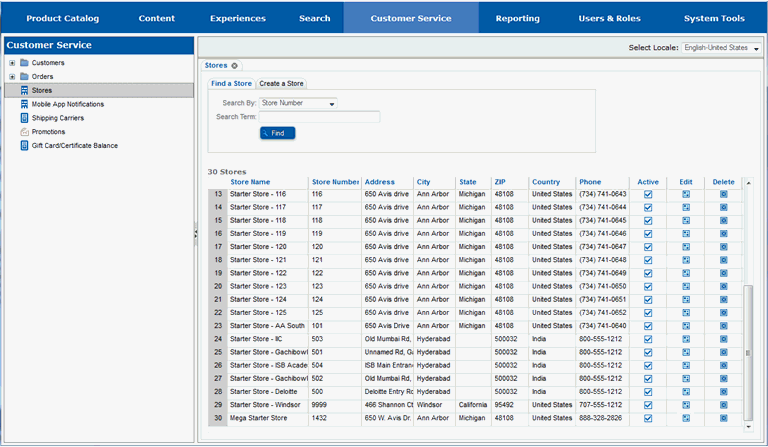
To complete these steps, you will need to be in the Customer Service -> Stores portion of the Site Manager. If you are unsure where that section is, see Work with a Store.
You will edit the store that you are adding the image to.
Locate the store you will be adding the image to.
Select the Edit button for the store.

The page will redraw and you will see multiple tabs for the store.
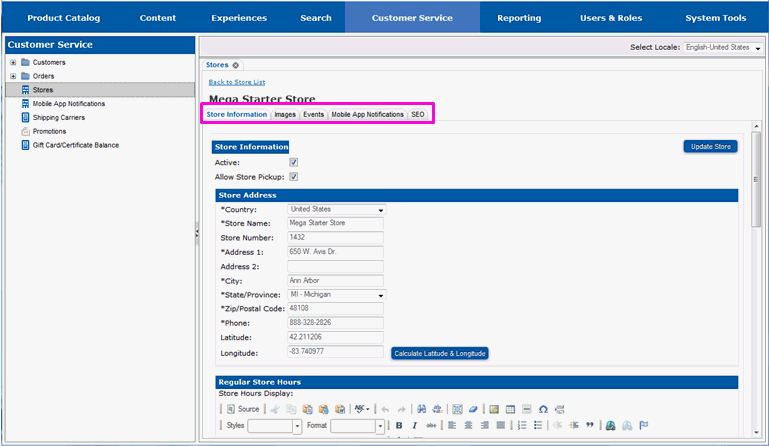
You will be working in the images tab.
Select the images tab.
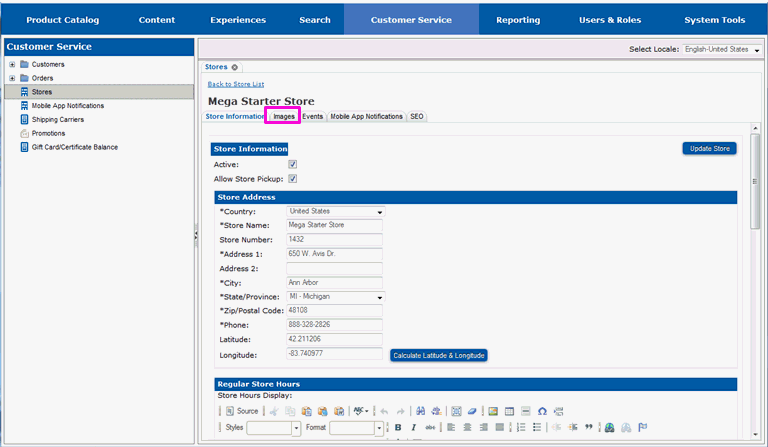
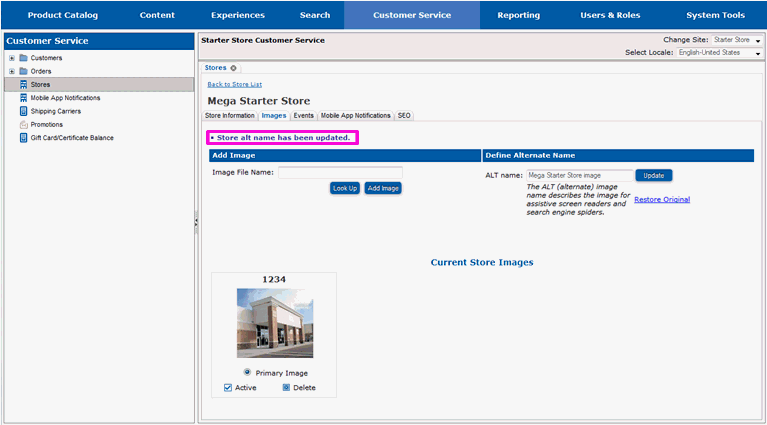
The page will redraw and you will see fields to add an image for the store, along with any images previously defined for the store.
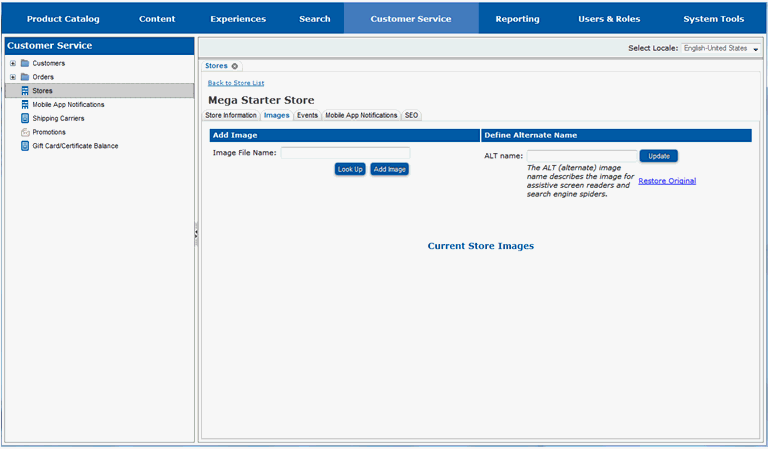
You can add as many images as you want for the store.
Enter the name of an image file in the image file name field.
Select Look up to find the image in the image server.

A thumbnail of the image will appear to the right of the Image File name.
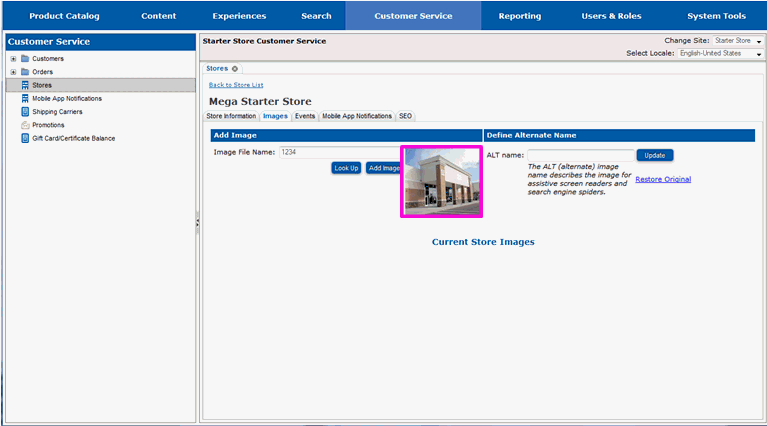
Select the Add Image button to add the image to the list of store images.
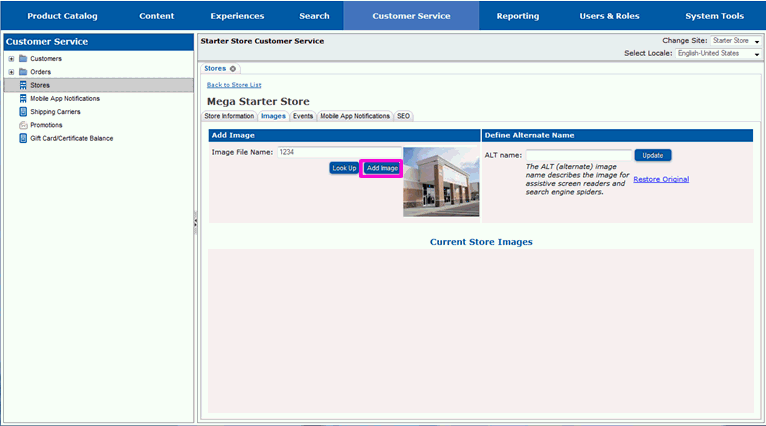
The image will appear in the Current Store Images section of the page. The image will automatically be selected as the primary image for the store.

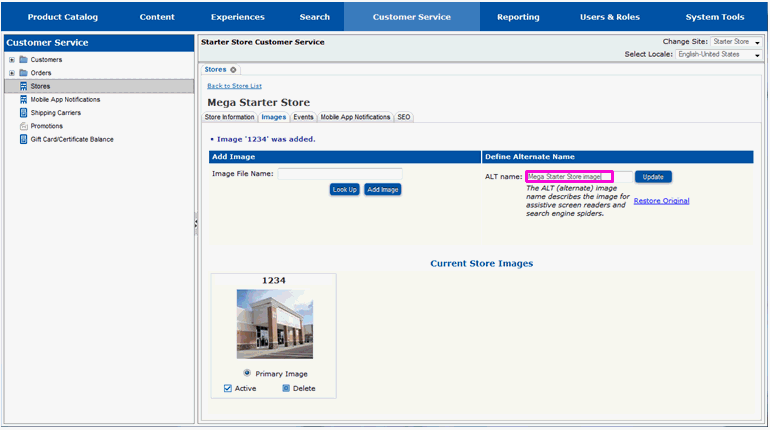
Each image should have alternate text set up for it. Alternate text is used by assistive screen readers and also used in place of the image if for some reason the graphic becomes unavailable. Alternate text for store images defaults to the name of the store. You can update the alternate text if you would prefer different text.
Enter new alternate text in ALT Name.
Select the Update button.
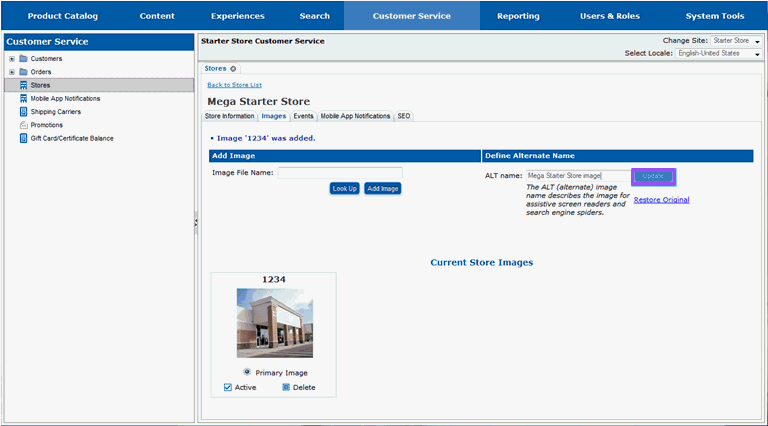
You will see a message indicating that the alternate name has been updated.
The image is now available for display on the store locator page on the website. Continue on to section View New Items on a Store Locator Page if you want to view the new image on the store locator page.